At first glance, installing glass clamps may seem straightforward, but in reality, accuracy makes all the difference. Even a few millimeters of error can prevent the glass from fitting correctly—or worse, allow it to shift over time. Whether you’re building a modern deck railing, a staircase balustrade, or a pool fence, knowing the correct installation method is essential for both safety and appearance.
This guide explains how to install glass clamps on square posts, round posts, and wall-mounted surfaces. It walks through each key stage of the process, from marking and drilling to securing the clamps properly so your glass panels stay firmly in place.
By following these steps, you’ll be able to complete your glass railing project with confidence and achieve a clean, professional result.
Tools You Will Need
Before drilling into your posts, make sure you have the right tools on hand. Proper preparation will save time and help avoid mistakes.
A power drill with variable speed control is essential, especially when working with metal. Starting slowly helps prevent the drill bit from slipping.
A center punch is used to create a small indentation in metal surfaces, keeping the drill bit from wandering during the initial drilling stage.
An M6 or M8 tap set is required if you plan to tap threads directly into steel posts. This allows clamps to be securely bolted without needing access to the back of the post.
An Allen key (hex key) set is needed to tighten the clamp screws accurately. Hand tightening provides better control than power tools.
A laser level or spirit level ensures that all clamps align perfectly. Poor alignment not only looks unprofessional but can also place unnecessary stress on the glass.
Masking tape helps mark positions without scratching or staining the post surface, which is especially useful on brushed stainless steel.
Safety glasses are a must when drilling metal to protect your eyes from flying metal shavings.
Finally, prepare appropriate drill bits, starting with a small pilot bit (around 3mm) and progressing to the final size, typically 6mm for M6 bolts or 8mm for M8 bolts.
Step 1: Planning and Marking the Position
Good planning is the foundation of a successful installation. As a general rule, each vertical edge of a glass panel should be supported by at least two clamps—one near the top and one near the bottom.
For standard railing heights, place clamps approximately 150mm to 200mm from the top and bottom edges of the glass. This positioning provides strong support while keeping clamps away from high-contact areas. For taller glass panels (over 1200mm), adding a third clamp in the middle can improve stability.
To mark the positions accurately, follow this process:
First, apply masking tape to the post where the clamps will be mounted. This protects the surface and provides a clear area for marking.
Next, use a laser level to project a straight vertical line along the post. This ensures the top and bottom clamps remain perfectly aligned, preventing a twisted or uneven appearance.
Mark the center point of each mounting hole on the tape using a pencil. Double-check all measurements before moving on. If a post supports glass on multiple sides, mark all positions before drilling to maintain consistent spacing.
When working on multiple posts, measure and mark them all at once. This helps keep the entire railing system uniform.
Step 2: Drilling the Post (The Hard Part)
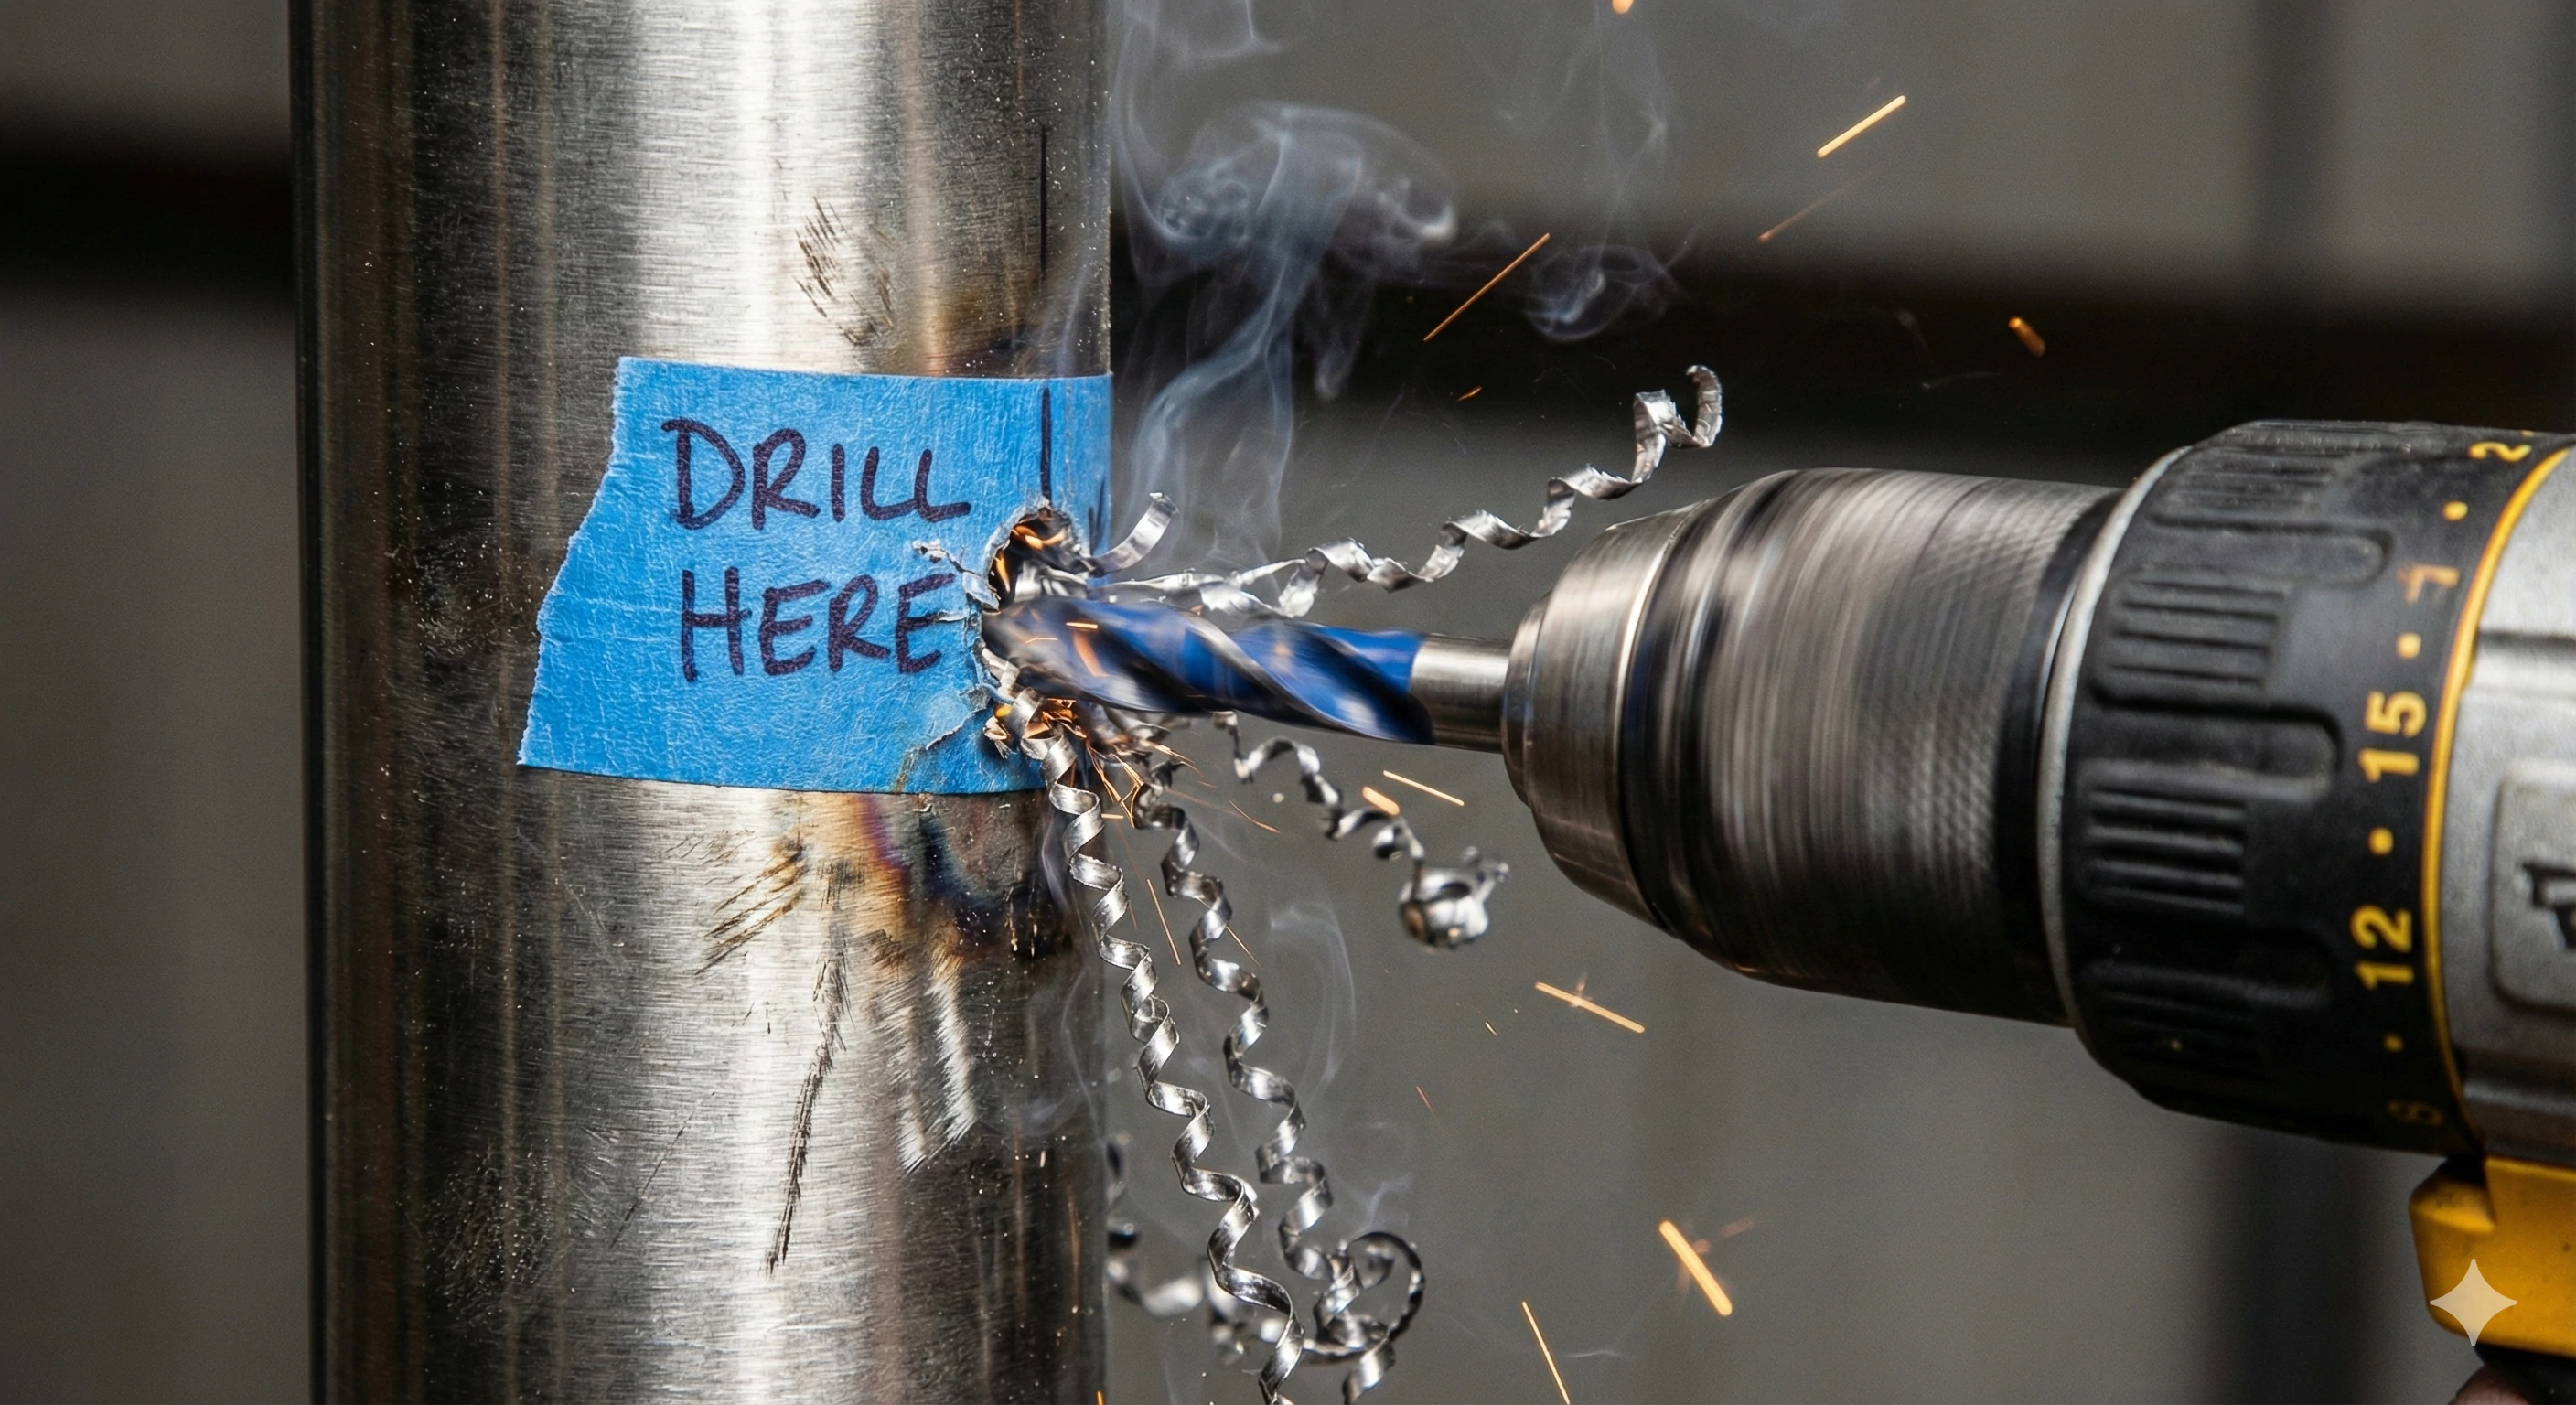
Drilling is often the most challenging part of the installation, but using the right technique will make it manageable.
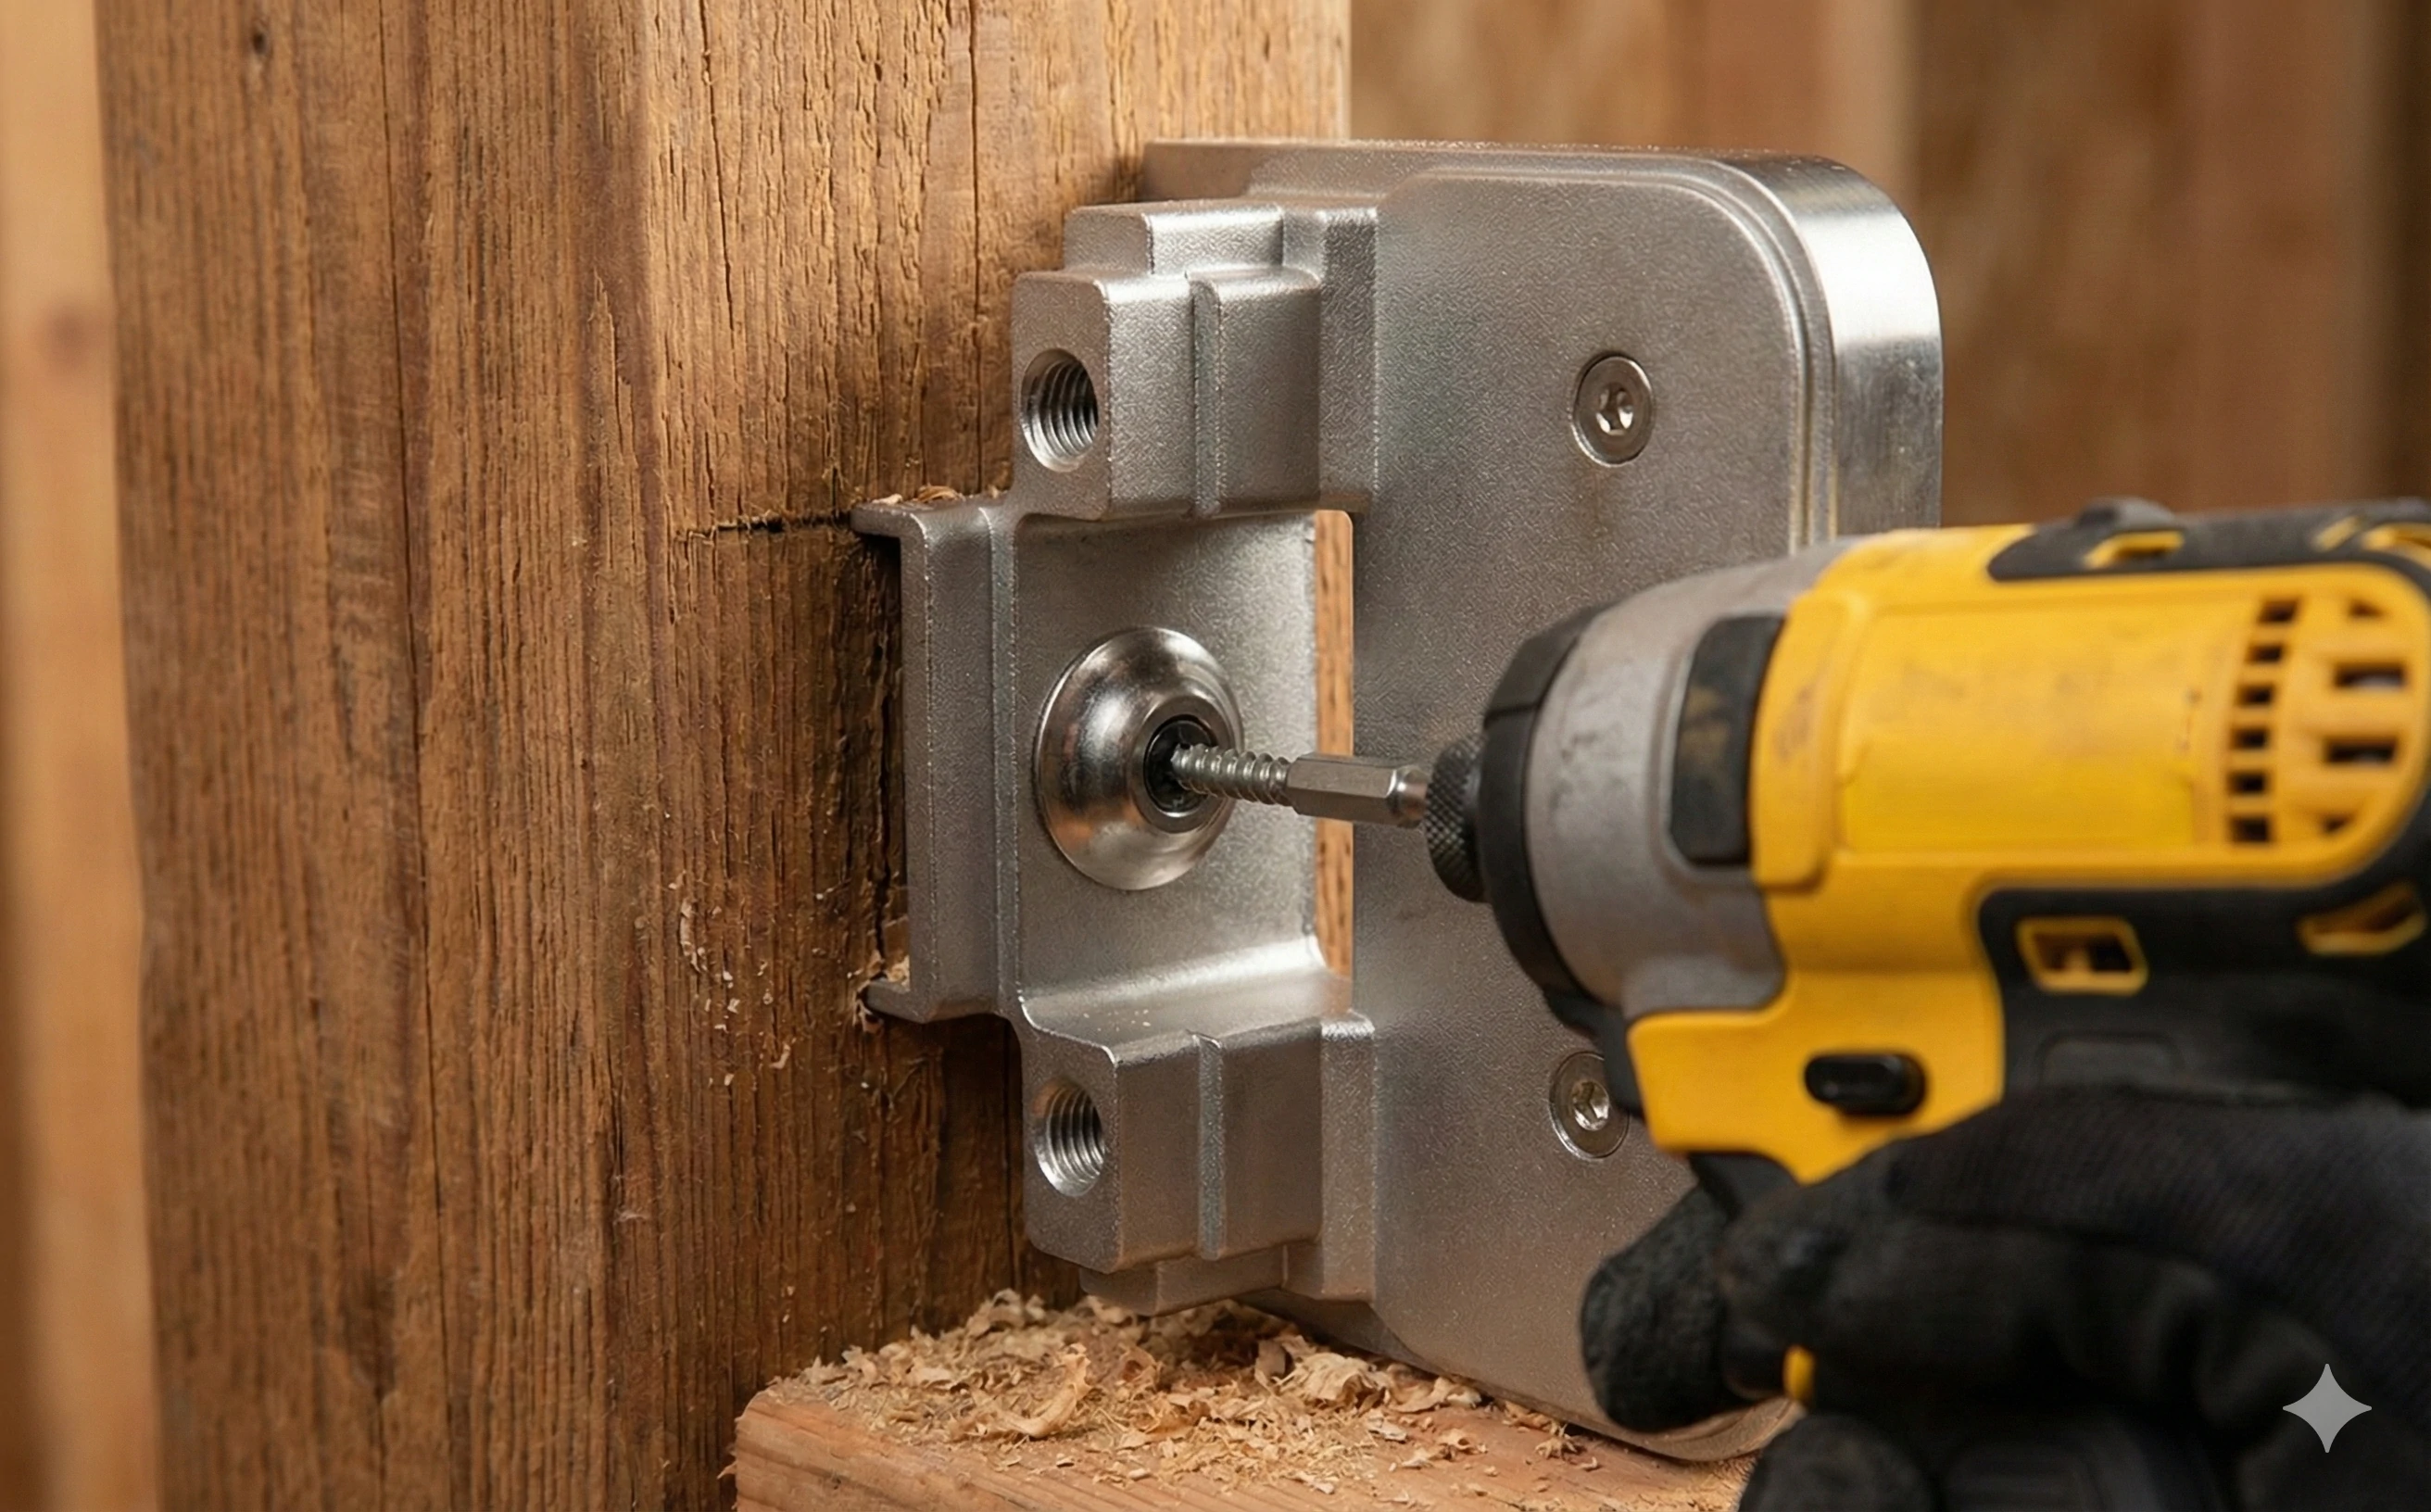
For wood posts, start by drilling a pilot hole slightly smaller than the lag screw diameter, then drive the screw directly into the wood. The natural grain of the wood provides excellent holding strength.
For stainless steel posts, patience is key. Stainless steel is tough and can harden if drilled too aggressively.
Use a center punch to create a small indentation at the marked location. Strike it firmly with a hammer—this keeps the drill bit from slipping.
Begin drilling with a small pilot bit (around 3mm) at a slow speed, applying steady pressure. Let the bit do the work. If you see burn marks or discoloration, reduce speed immediately.
Once the pilot hole is drilled, gradually increase bit size until you reach the required diameter. For M6 bolts, drill a 5mm hole for tapping or 6.5mm for a clearance hole. For M8 bolts, use 6.5mm for tapping or 8.5mm for clearance.
Pro tip: Tapping threads directly into the post creates a clean and secure installation without needing access to the back side. Use cutting oil, turn the tap slowly, and back it out slightly after each full turn to clear metal chips.
Drilling round posts can be more difficult due to the curved surface. Take extra care with the center punch and consider using a drilling guide or drill press if available.
Safety reminder: Always wear safety glasses when drilling steel.
Step 3: Mounting the Clamp Body
Once the holes are prepared, it’s time to mount the clamp bodies.
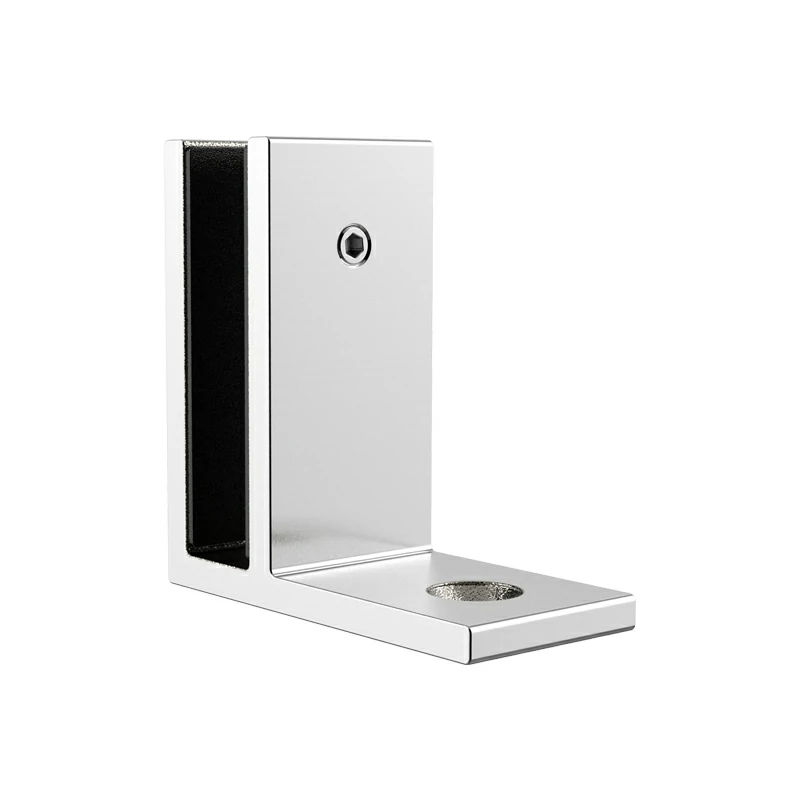
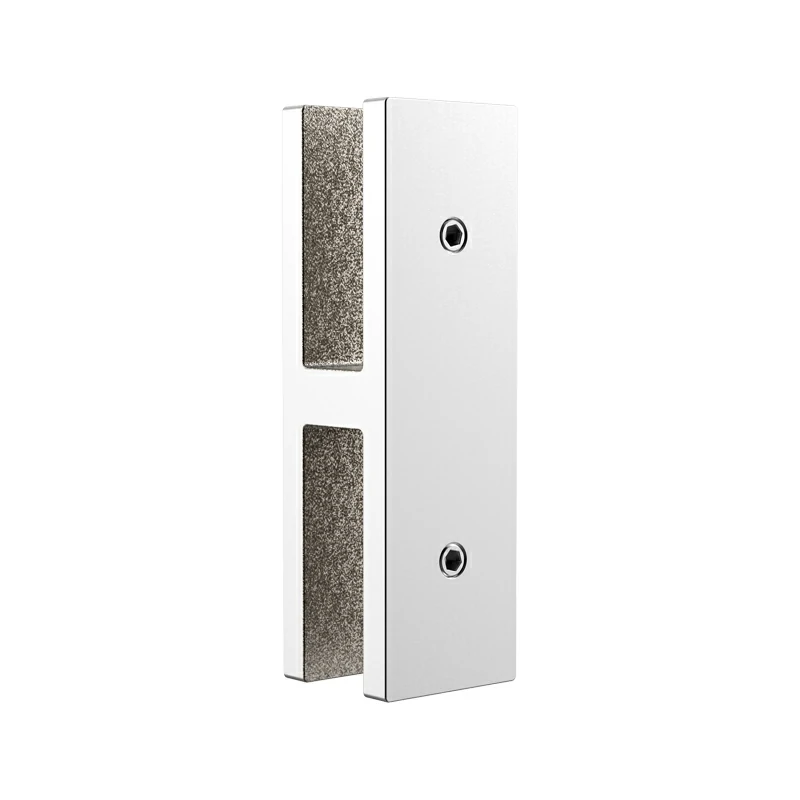
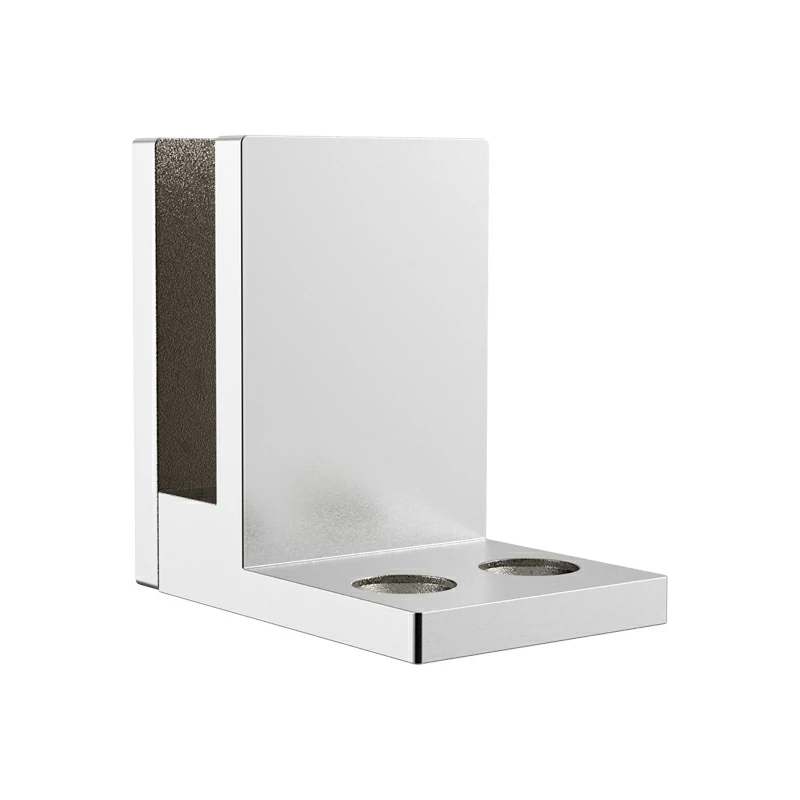
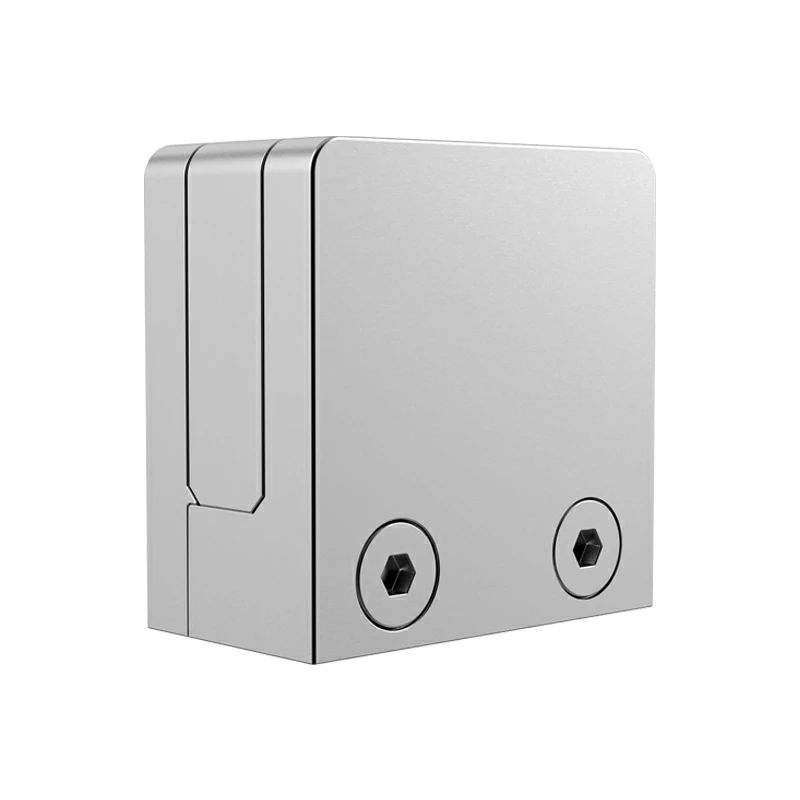
Disassemble each clamp by removing the front cover plate and rubber gaskets. Only the metal clamp body should be mounted at this stage. This makes installation easier and reduces the risk of damaging the gaskets.
Orientation is critical. Make sure the safety shelf or safety pin hole is positioned at the bottom of the clamp. Installing the clamp upside down is a common mistake and defeats the purpose of the safety feature.
Insert the M6 or M8 bolt through the clamp body and secure it to the post. If using through-bolts, ensure the nut on the back is accessible and unobstructed.
Before tightening fully, use a level to confirm the clamp is perfectly vertical. Once aligned, tighten the bolt firmly so the clamp sits solidly with no movement.
Install all clamp bodies on a post before proceeding to the next step. This allows you to check alignment one final time.
For round posts, always use radius back clamps that match the post diameter (commonly 42mm or 48mm). Flat back clamps will never seat properly on round posts.
Step 4: Rubber Gaskets and The Safety Pin
Though small, the rubber gaskets and safety pin are essential for a safe installation.
Select gaskets that exactly match your glass thickness, commonly 10mm or 12mm. The gaskets should fit snugly in the clamp grooves without forcing.
Never use gaskets designed for thicker glass on thinner panels, as they won’t grip properly. Likewise, forcing thicker glass into thinner gaskets can lead to cracks during tightening.
If your glass has pre-drilled holes, insert the stainless steel safety pin into the clamp so it aligns with the hole in the glass. The safety pin carries the weight of the glass and acts as a fail-safe if friction ever decreases.
If there are no holes in the glass, ensure the clamp includes a built-in safety shelf to support the glass from below.
Step 5: Installing the Glass Panel

Now you’re ready to install the glass panel itself.
Carefully lift the glass and lower it into the open clamps. For larger panels, this should always be done by two people. Glass panels are heavy—a typical 10mm panel measuring 1m by 1.5m weighs over 35kg.
Ensure the glass rests evenly on the safety pins or shelves and is centered within each clamp. If the glass has drilled holes, align them carefully with the safety pins.
Tighten the clamp screws gradually using an Allen key. Move from clamp to clamp, tightening in stages rather than fully tightening one at a time.
Important: Never use power tools to tighten clamp screws. Hand tightening gives you the control needed to avoid damaging the glass or stripping threads.
Once secured, install any decorative cover plates to complete the finished look.
Troubleshooting Common Issues
Glass slipping or loosening usually indicates incorrect gasket size or missing safety pins or shelves.
Clamp won’t close or glass won’t fit often means the glass is thicker than the clamp’s rated capacity.
Rust or corrosion is common when zinc or zamak clamps are used outdoors. For exterior or coastal environments, always choose SS316 stainless steel.
Misaligned clamps result from poor marking. Unfortunately, the only solution is re-measuring and re-drilling.
Scratches after installation can be avoided by keeping protective film on the glass until installation is complete and ensuring gaskets are clean.
Screws loosening over time may require a small amount of removable threadlocker (blue Loctite).
Conclusion
Successful glass clamp installation depends on careful planning, accurate drilling, and proper use of safety features. Take your time, measure carefully, and never rush the process.
When installed correctly, glass clamps provide a clean, modern look and long-term safety. With the steps outlined above, you can confidently install glass panels that are secure, aligned, and built to last.
Looking for clamps that are installer-friendly and built for durability? Explore our Adjustable Glass Clamps range—designed for precise installation and professional results.
Frequently Asked Questions
What size screw do I use for glass clamps?
Most glass clamps use M6 or M8 bolts. M8 is more common for exterior and heavy-duty applications, while M6 is typically used indoors.
Do I need to tap threads into my stainless steel post?
It’s not mandatory, but tapping threads offers the cleanest and strongest installation without requiring rear access.
Can I install glass clamps on a round post?
Yes, as long as you use radius back clamps matched to the post diameter, usually 42mm or 48mm.