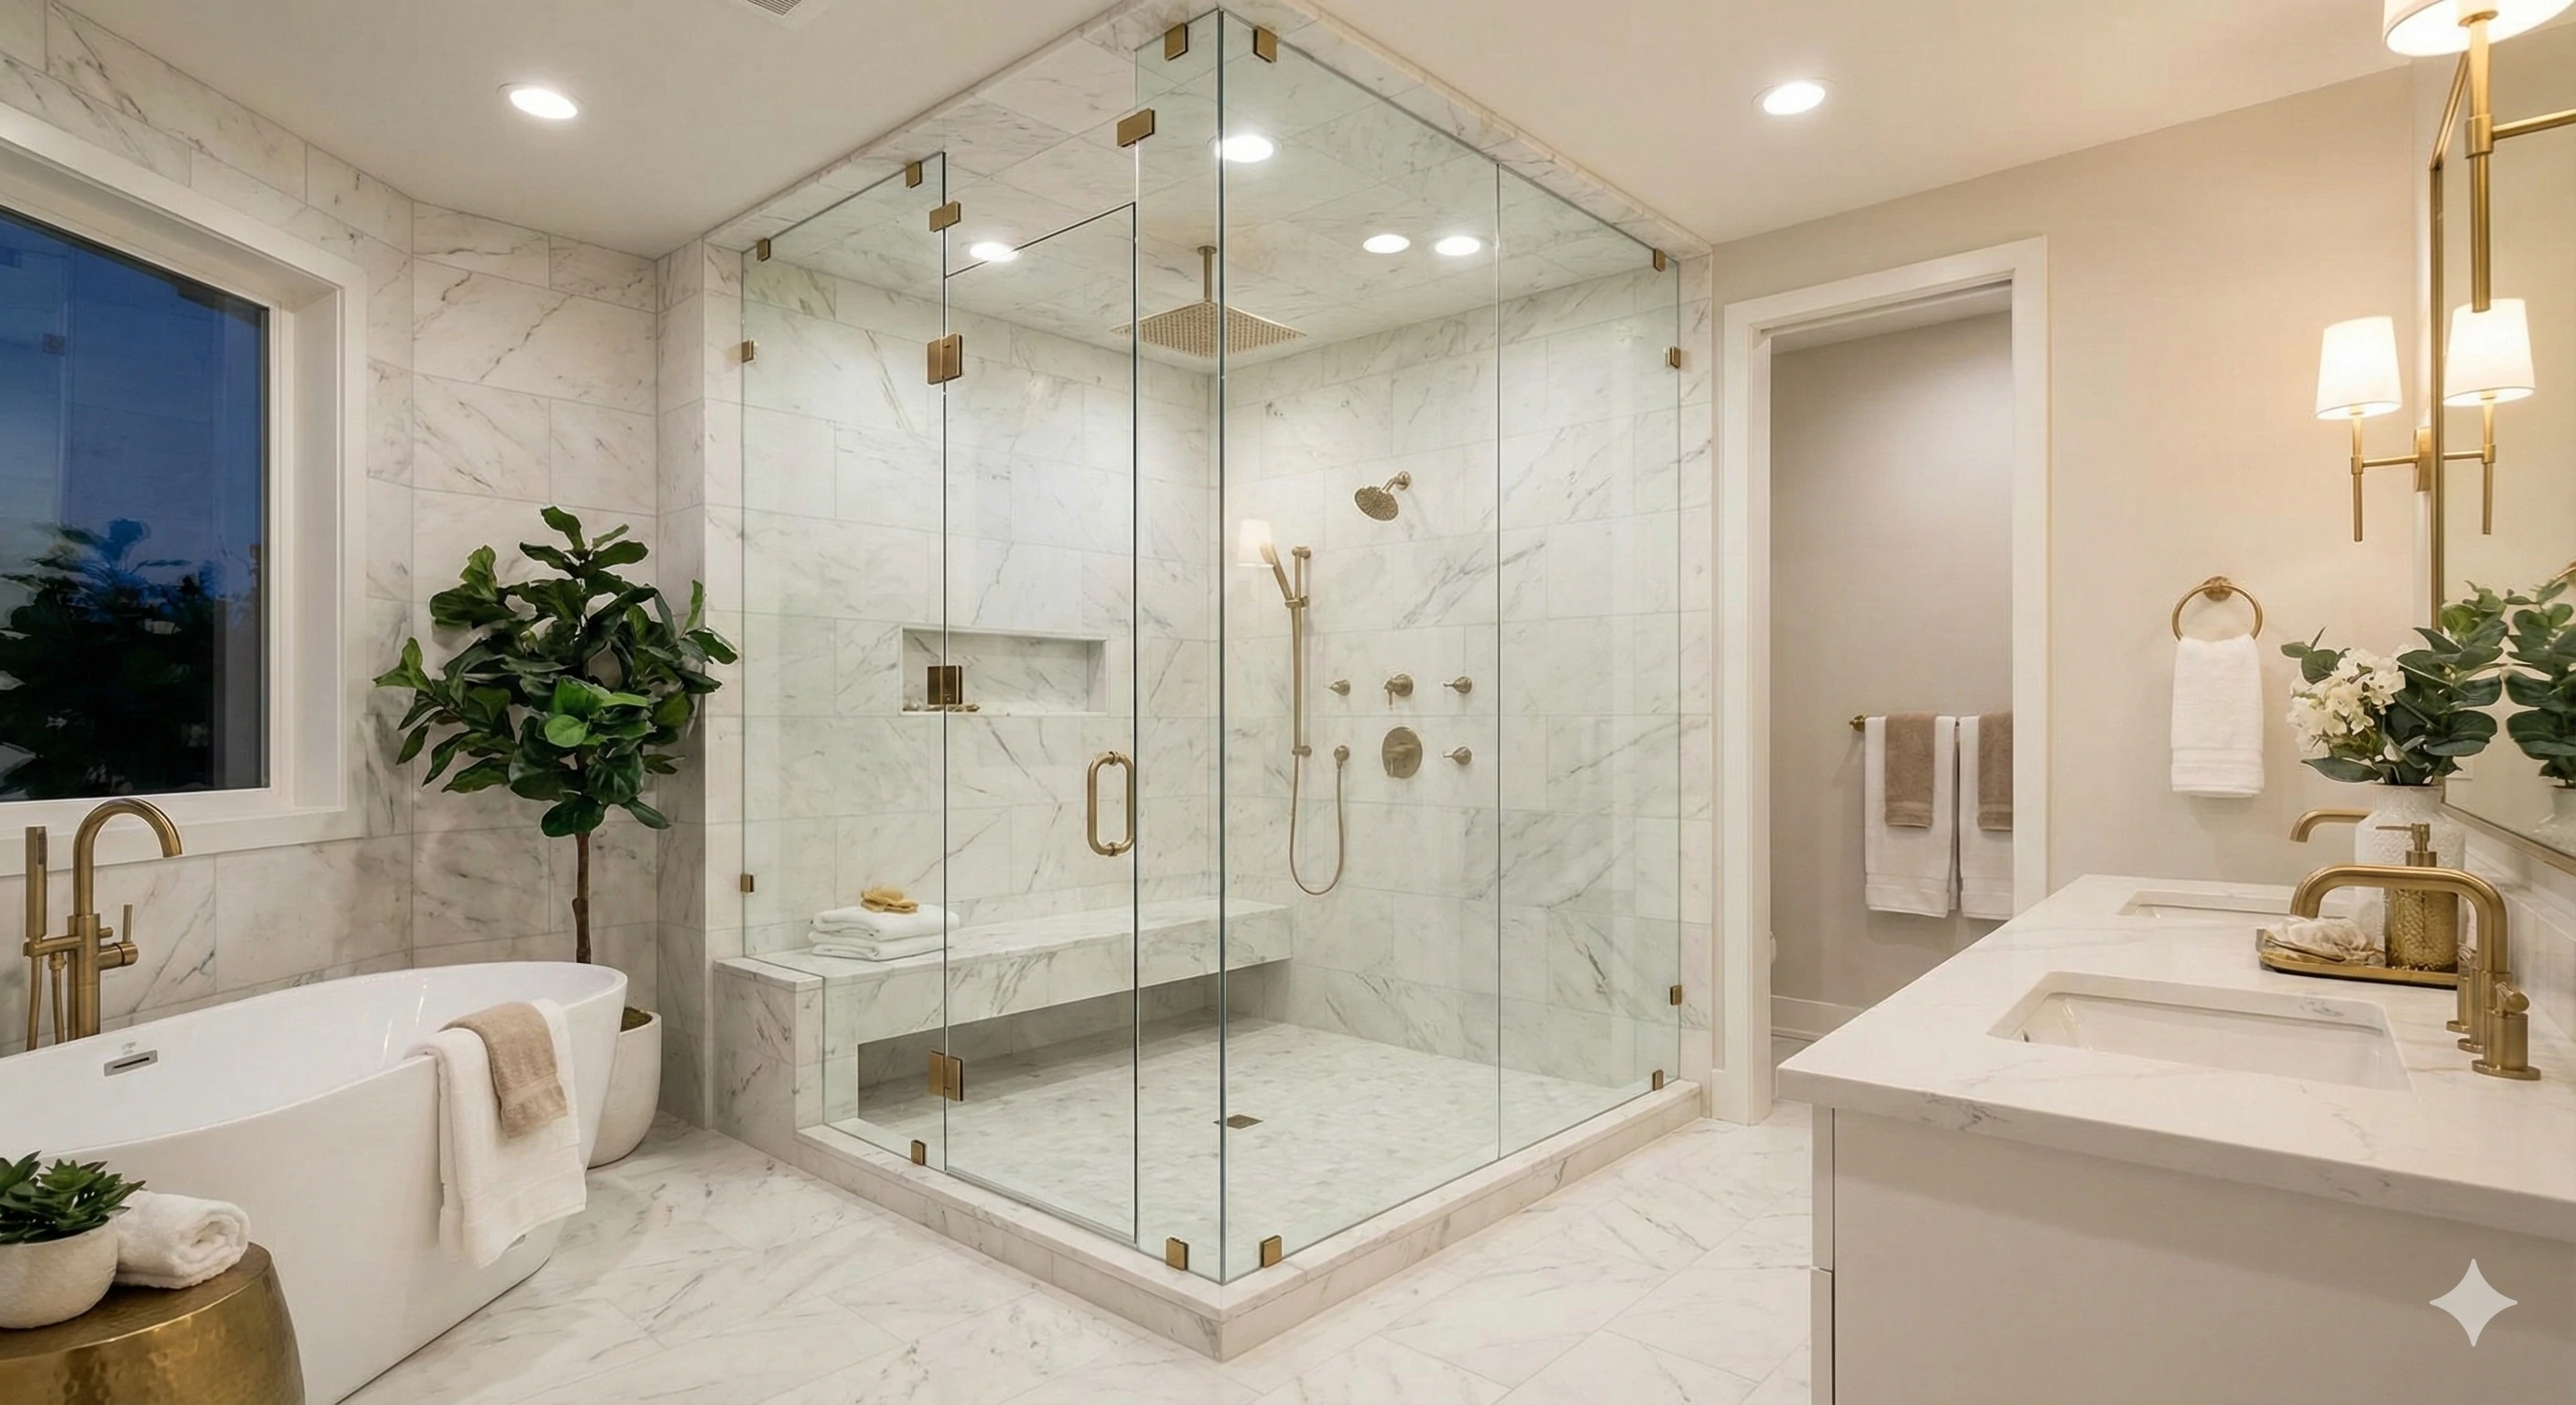
A glass spigot might look like a simple block of metal, but on our factory floor, we know it performs a critical safety function—holding heavy glass panels against high winds and impact. If the internal structure is weak, the safety of the entire balcony is compromised. We refuse to take shortcuts in production because we understand the liability our clients face. To guarantee structural integrity, we rely exclusively on the .
The glass spigot casting process uses the investment casting method to transform raw stainless steel into durable safety hardware. This comprehensive 8-step procedure involves wax pattern creation, ceramic shell building, dewaxing, and high-temperature pouring, followed by precision CNC machining and mirror polishing to ensure maximum structural integrity.
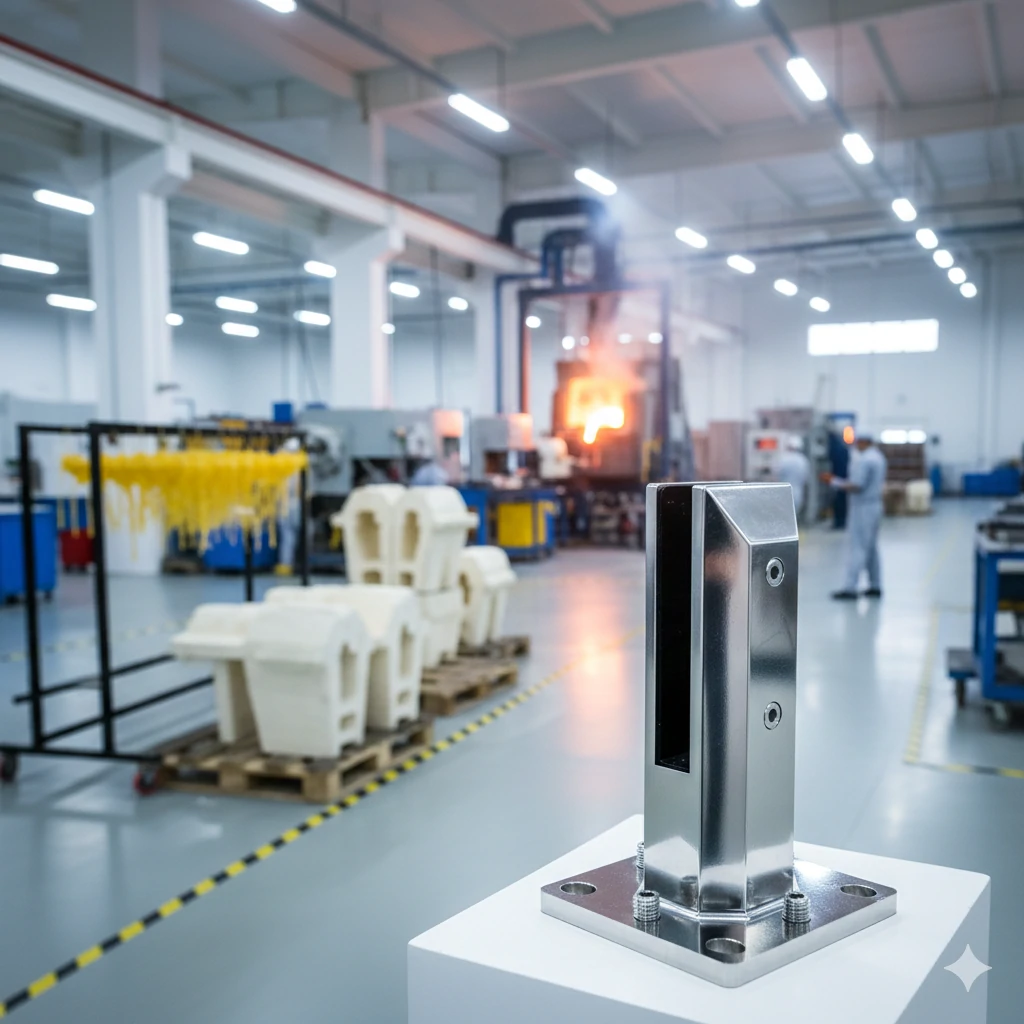
We want to take you onto our factory floor to show exactly how raw steel is transformed into a mirror-polished spigot.
Step 1: Wax Injection (Creating the DNA)?
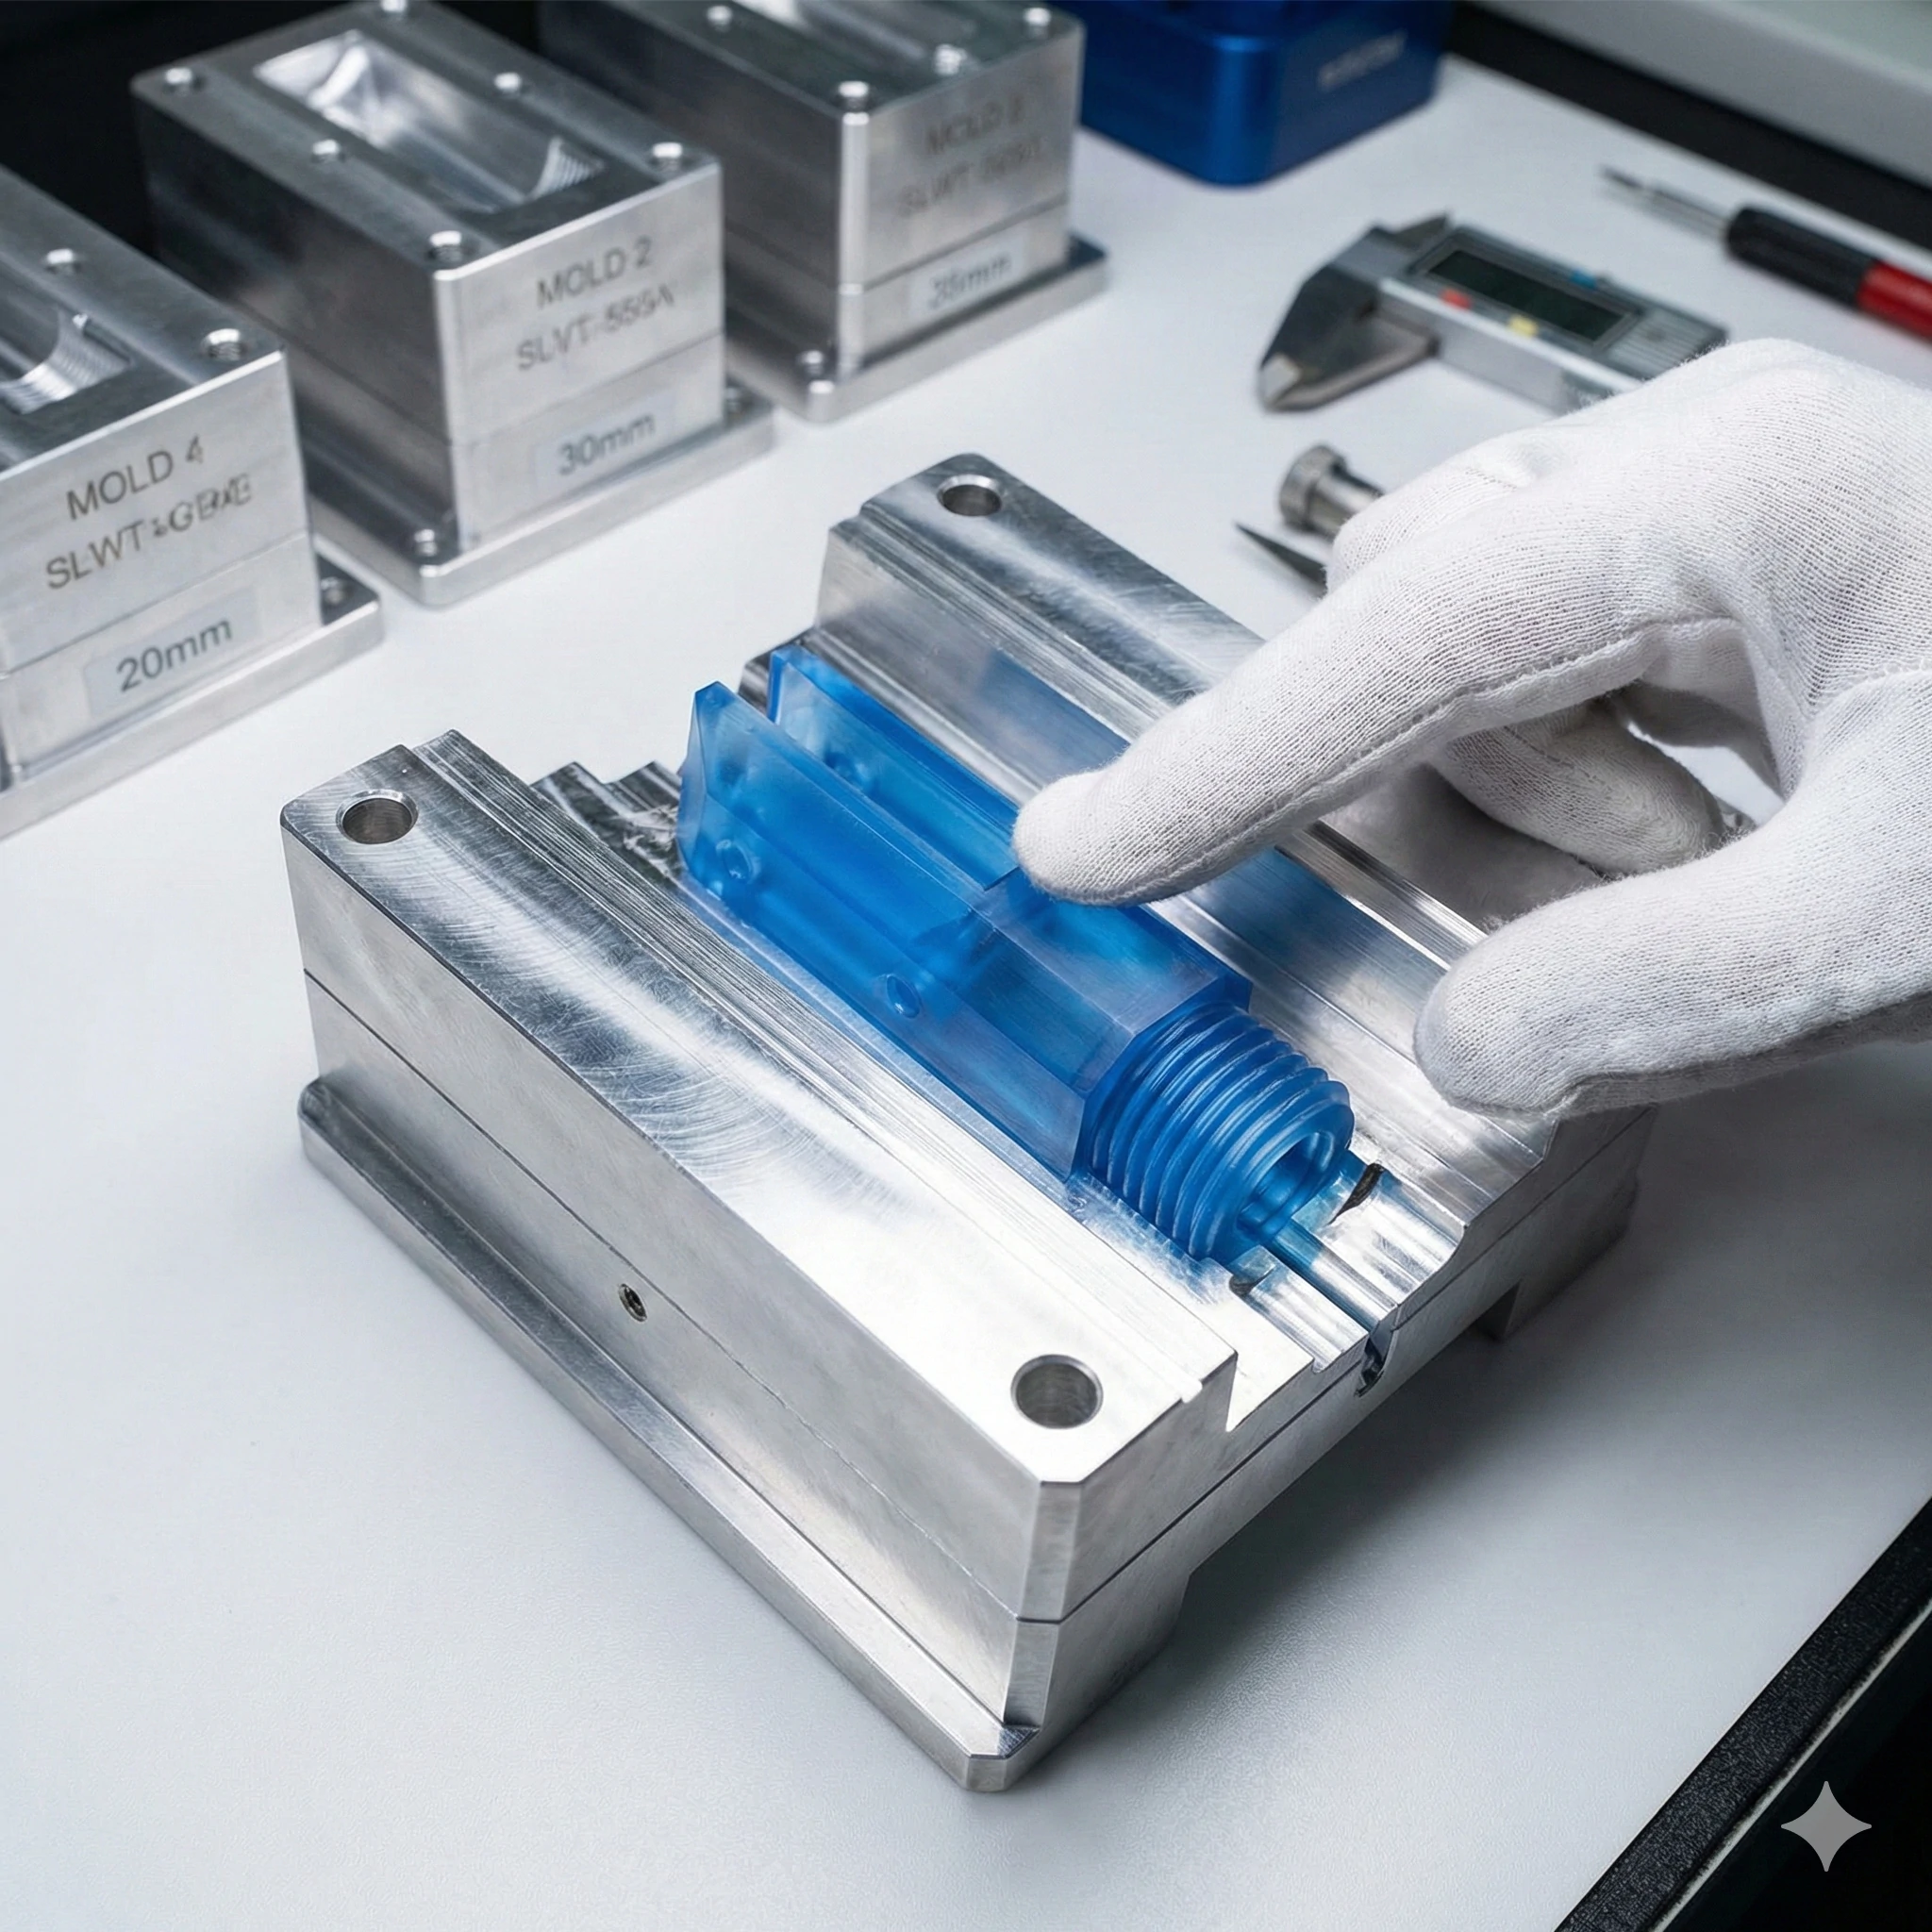
When we begin a new production run for a custom design, precision is our obsession. We know that any flaw in the initial model will be replicated in the final steel. That is why we start with a . It takes us about 15-20 days to create this initial metal mold, but it is the most crucial investment for accuracy.
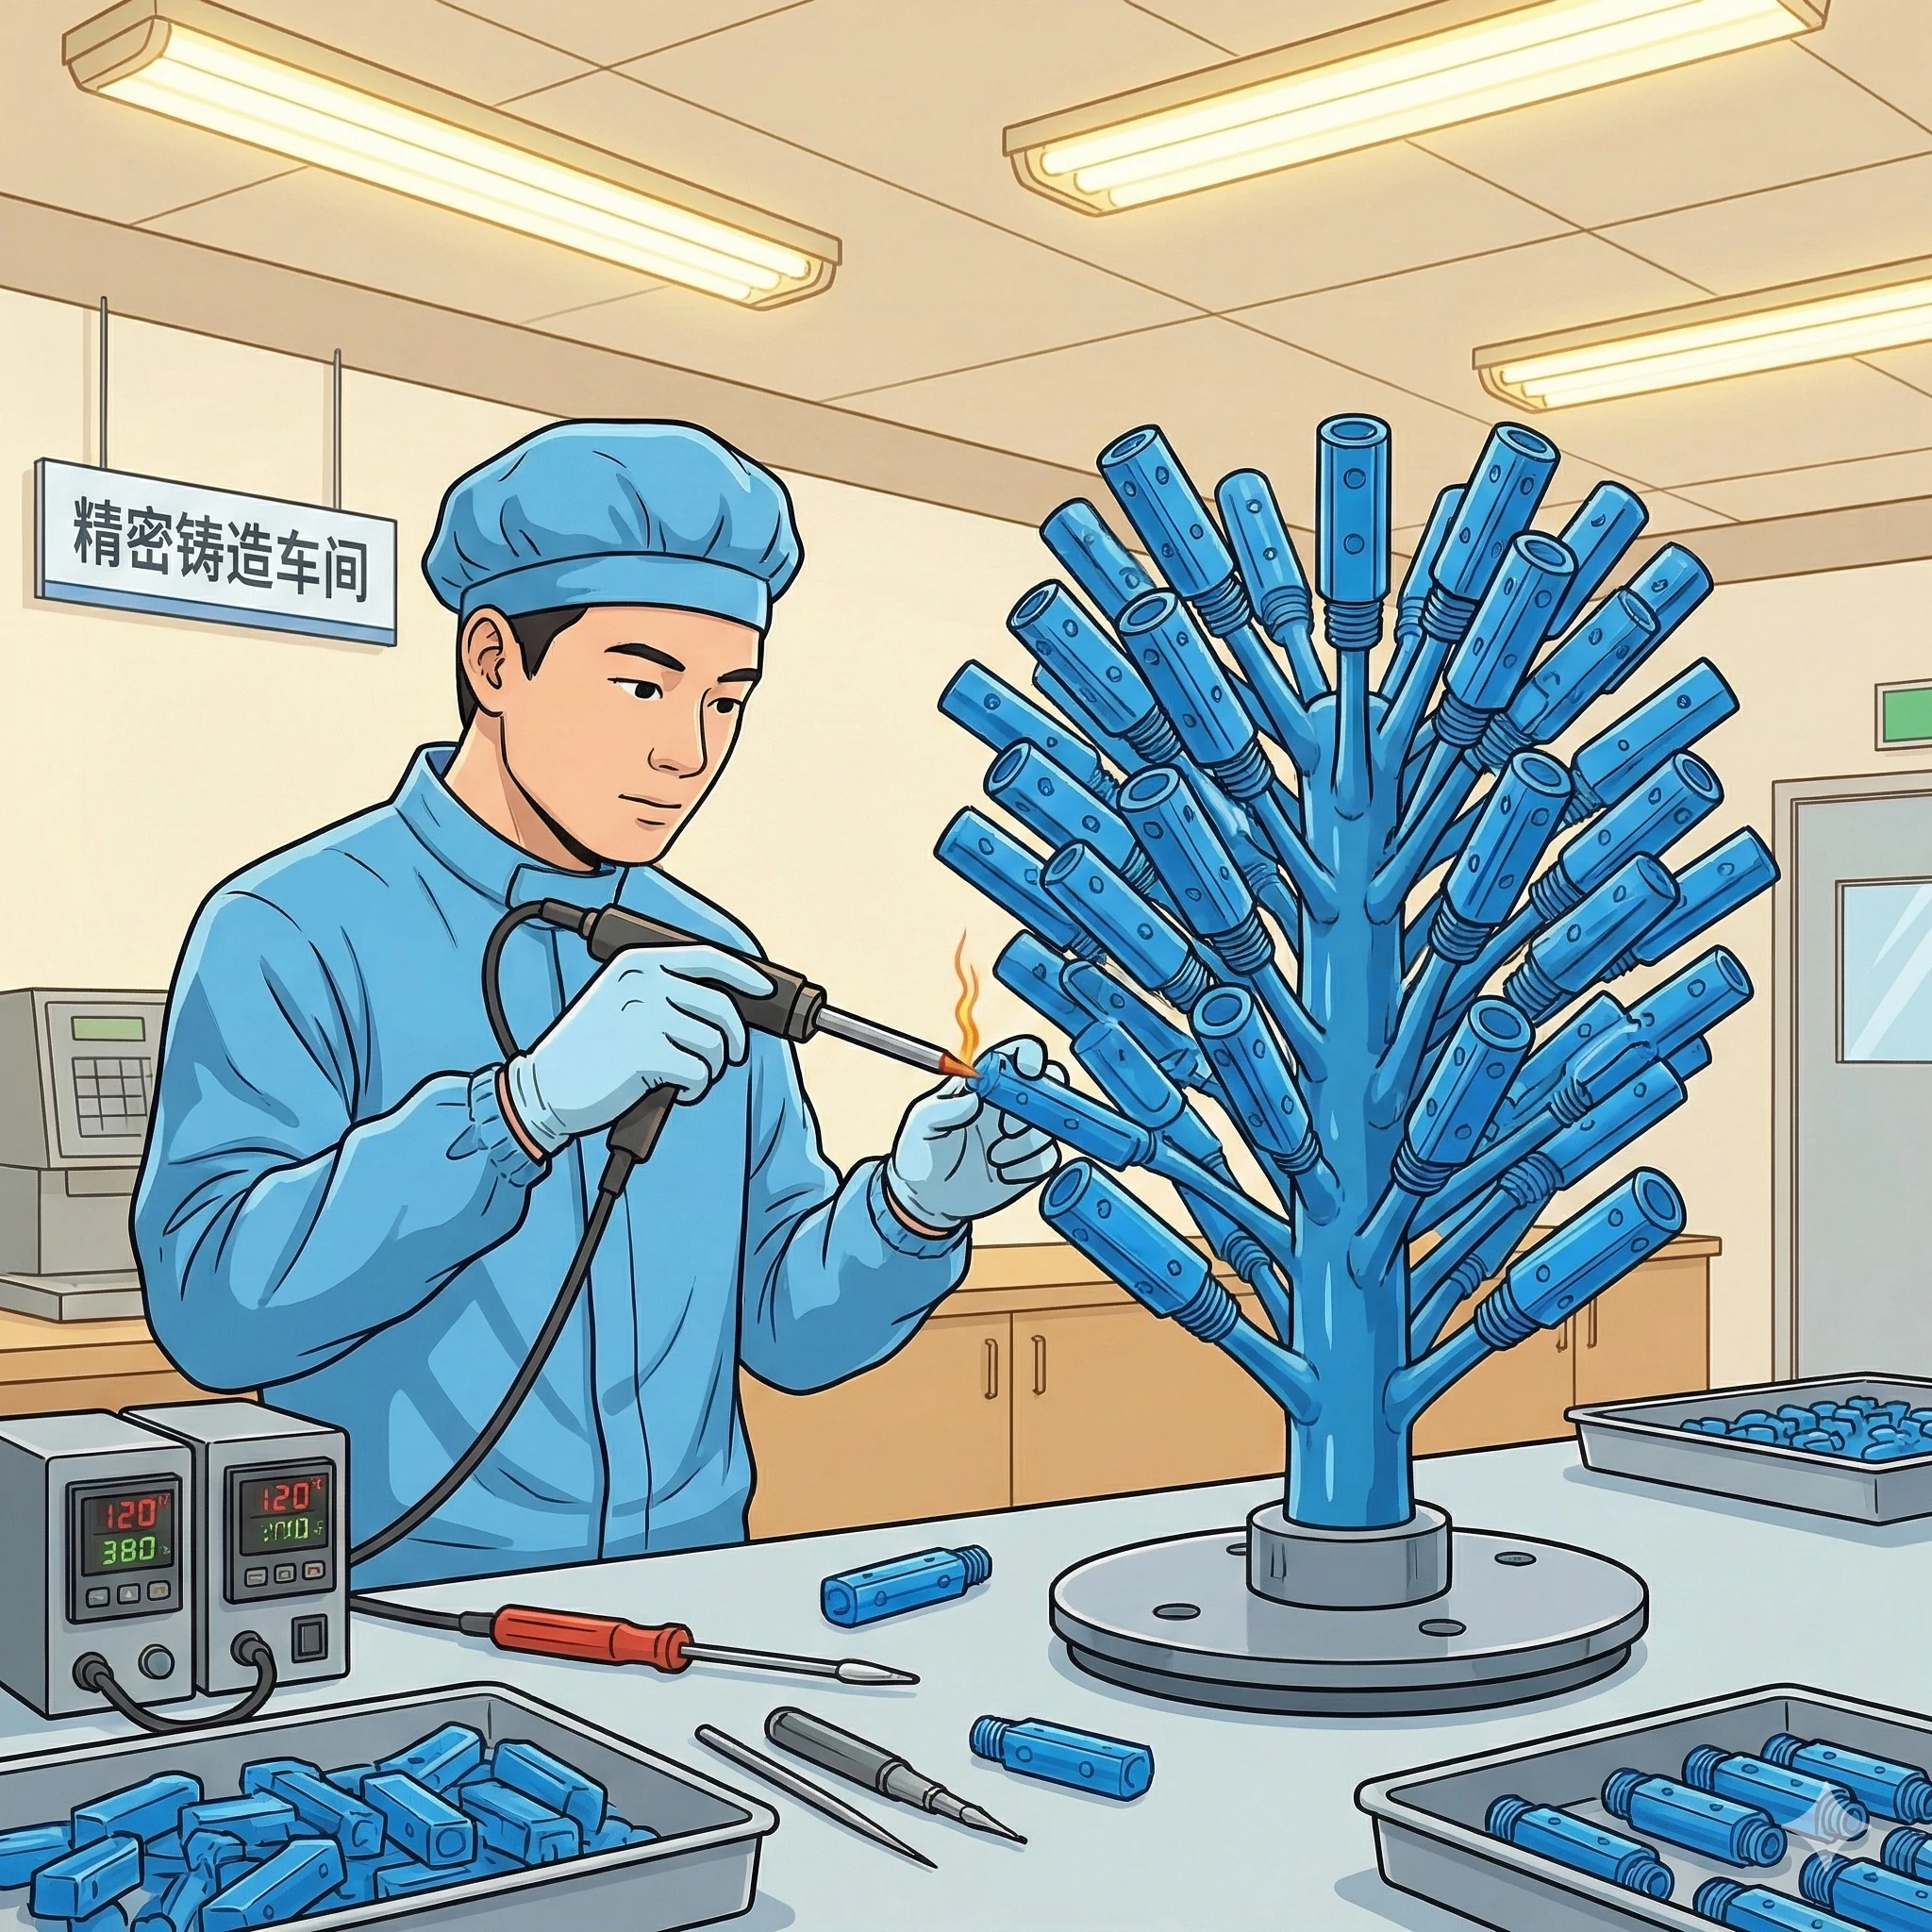
Wax injection is the foundational step where we create a precise replica of the final spigot using molten wax and an aluminum mold. These individual wax models are then assembled onto a central wax stick to form a tree cluster, serving as the biological DNA for the final metal casting.
The Importance of the Wax Tree
At this stage, we are essentially creating the "negative" of the final product. Molten wax is injected into the aluminum mold to create a perfect replica of the spigot. Once the wax cools, we remove it and inspect it for any deformities.
We then move to the assembly station. Here, our technicians carefully glue these wax replicas onto a central wax stick. This assembly is called a "Wax Tree" or cluster. It looks exactly like a tree, where the trunk is the channel for molten metal, and the branches are the spigots themselves. If you visited our workshop, you would see rows of these wax trees waiting for the next phase. This method allows us to cast multiple spigots simultaneously while ensuring uniform flow during the pouring stage.
Why We Use Wax?
We use wax because it melts easily and completely. This property is vital for the later stages of the process. If we used a material that left residue, the final steel would have inclusions or weak spots.
| Feature | Description | Benefit |
|---|---|---|
| Material | Industrial Grade Wax | Melts cleanly without ash residue |
| Tooling | Precision Aluminum Mold | Ensures tight tolerances (+/- 0.1mm) |
| Assembly | Tree Cluster Format | Increases production efficiency and consistency |
Step 2: Shell Building (The Ceramic Mold)?
Once the wax tree is ready, we need to build a container that can withstand molten steel at 1600°C. In our experience, rushing this step leads to cracked molds and dangerous metal leaks. Therefore, we take our time to build a robust ceramic shell around the wax.
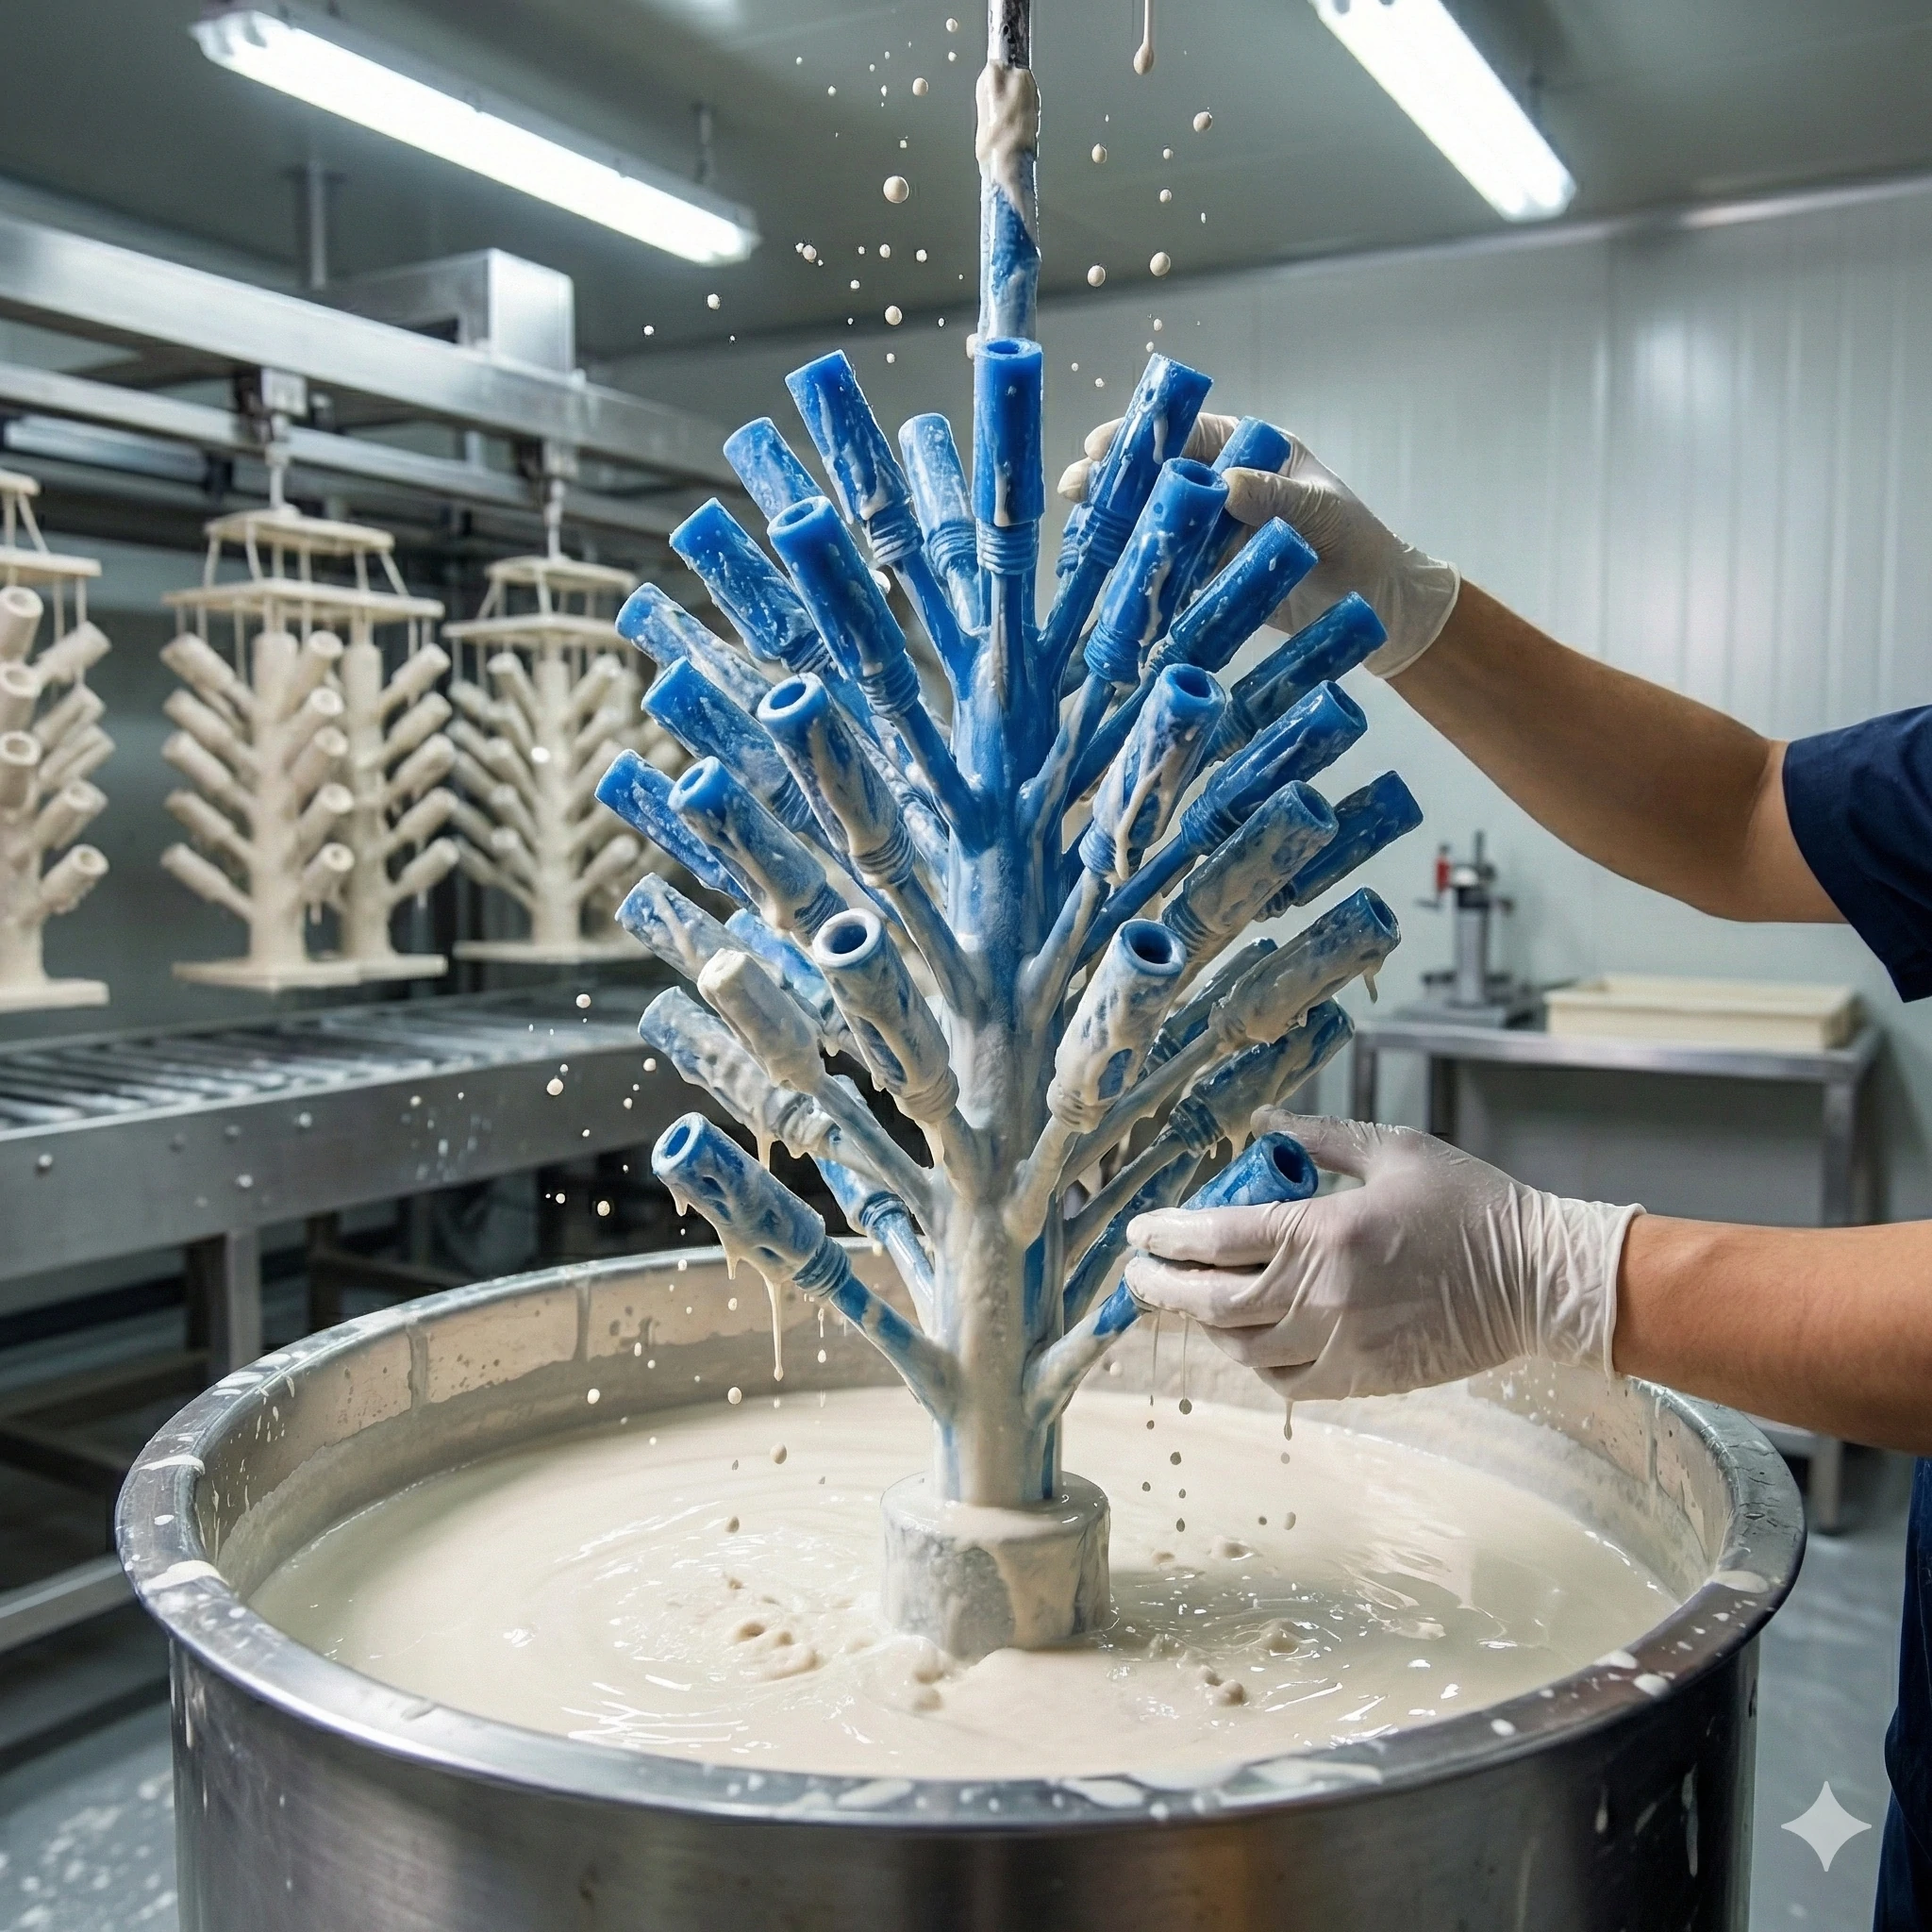
Shell building involves dipping the wax tree into a ceramic slurry of zircon sand and binder, followed by stuccoing with fine sand. This layering process is repeated 5 to 7 times and dried in a temperature-controlled room to create a hard, heat-resistant shell.

Building Strength Layer by Layer
This process is a test of patience. We dip the entire wax tree into a ceramic slurry—a mixture of high-grade and binder. While it is still wet, we sprinkle fine sand over it, a process known as stuccoing.
We don't just do this once. We repeat this process 5 to 7 times. Between each dip, the shell must dry completely. We store them in a special temperature-controlled room to ensure they dry evenly. If the room is too hot, the shell cracks; too humid, and it won't cure. This creates a thick, rock-hard shell around the wax that is capable of holding the weight and heat of molten stainless steel.
Material Selection Matters
We utilize Zircon sand because of its high thermal stability. Cheaper foundries might use silica sand, which can react with the steel and cause surface pitting. By using Zircon, we ensure the surface of your spigot comes out cleaner, reducing the amount of grinding needed later.
Step 3: Dewaxing & Sintering (Losing the Wax)?
Now we have a wax tree trapped inside a hard ceramic shell. To get the "mold" ready for metal, we have to get the wax out. In our foundry, we use high-pressure steam to ensure every drop of wax is removed without damaging the delicate ceramic structure.
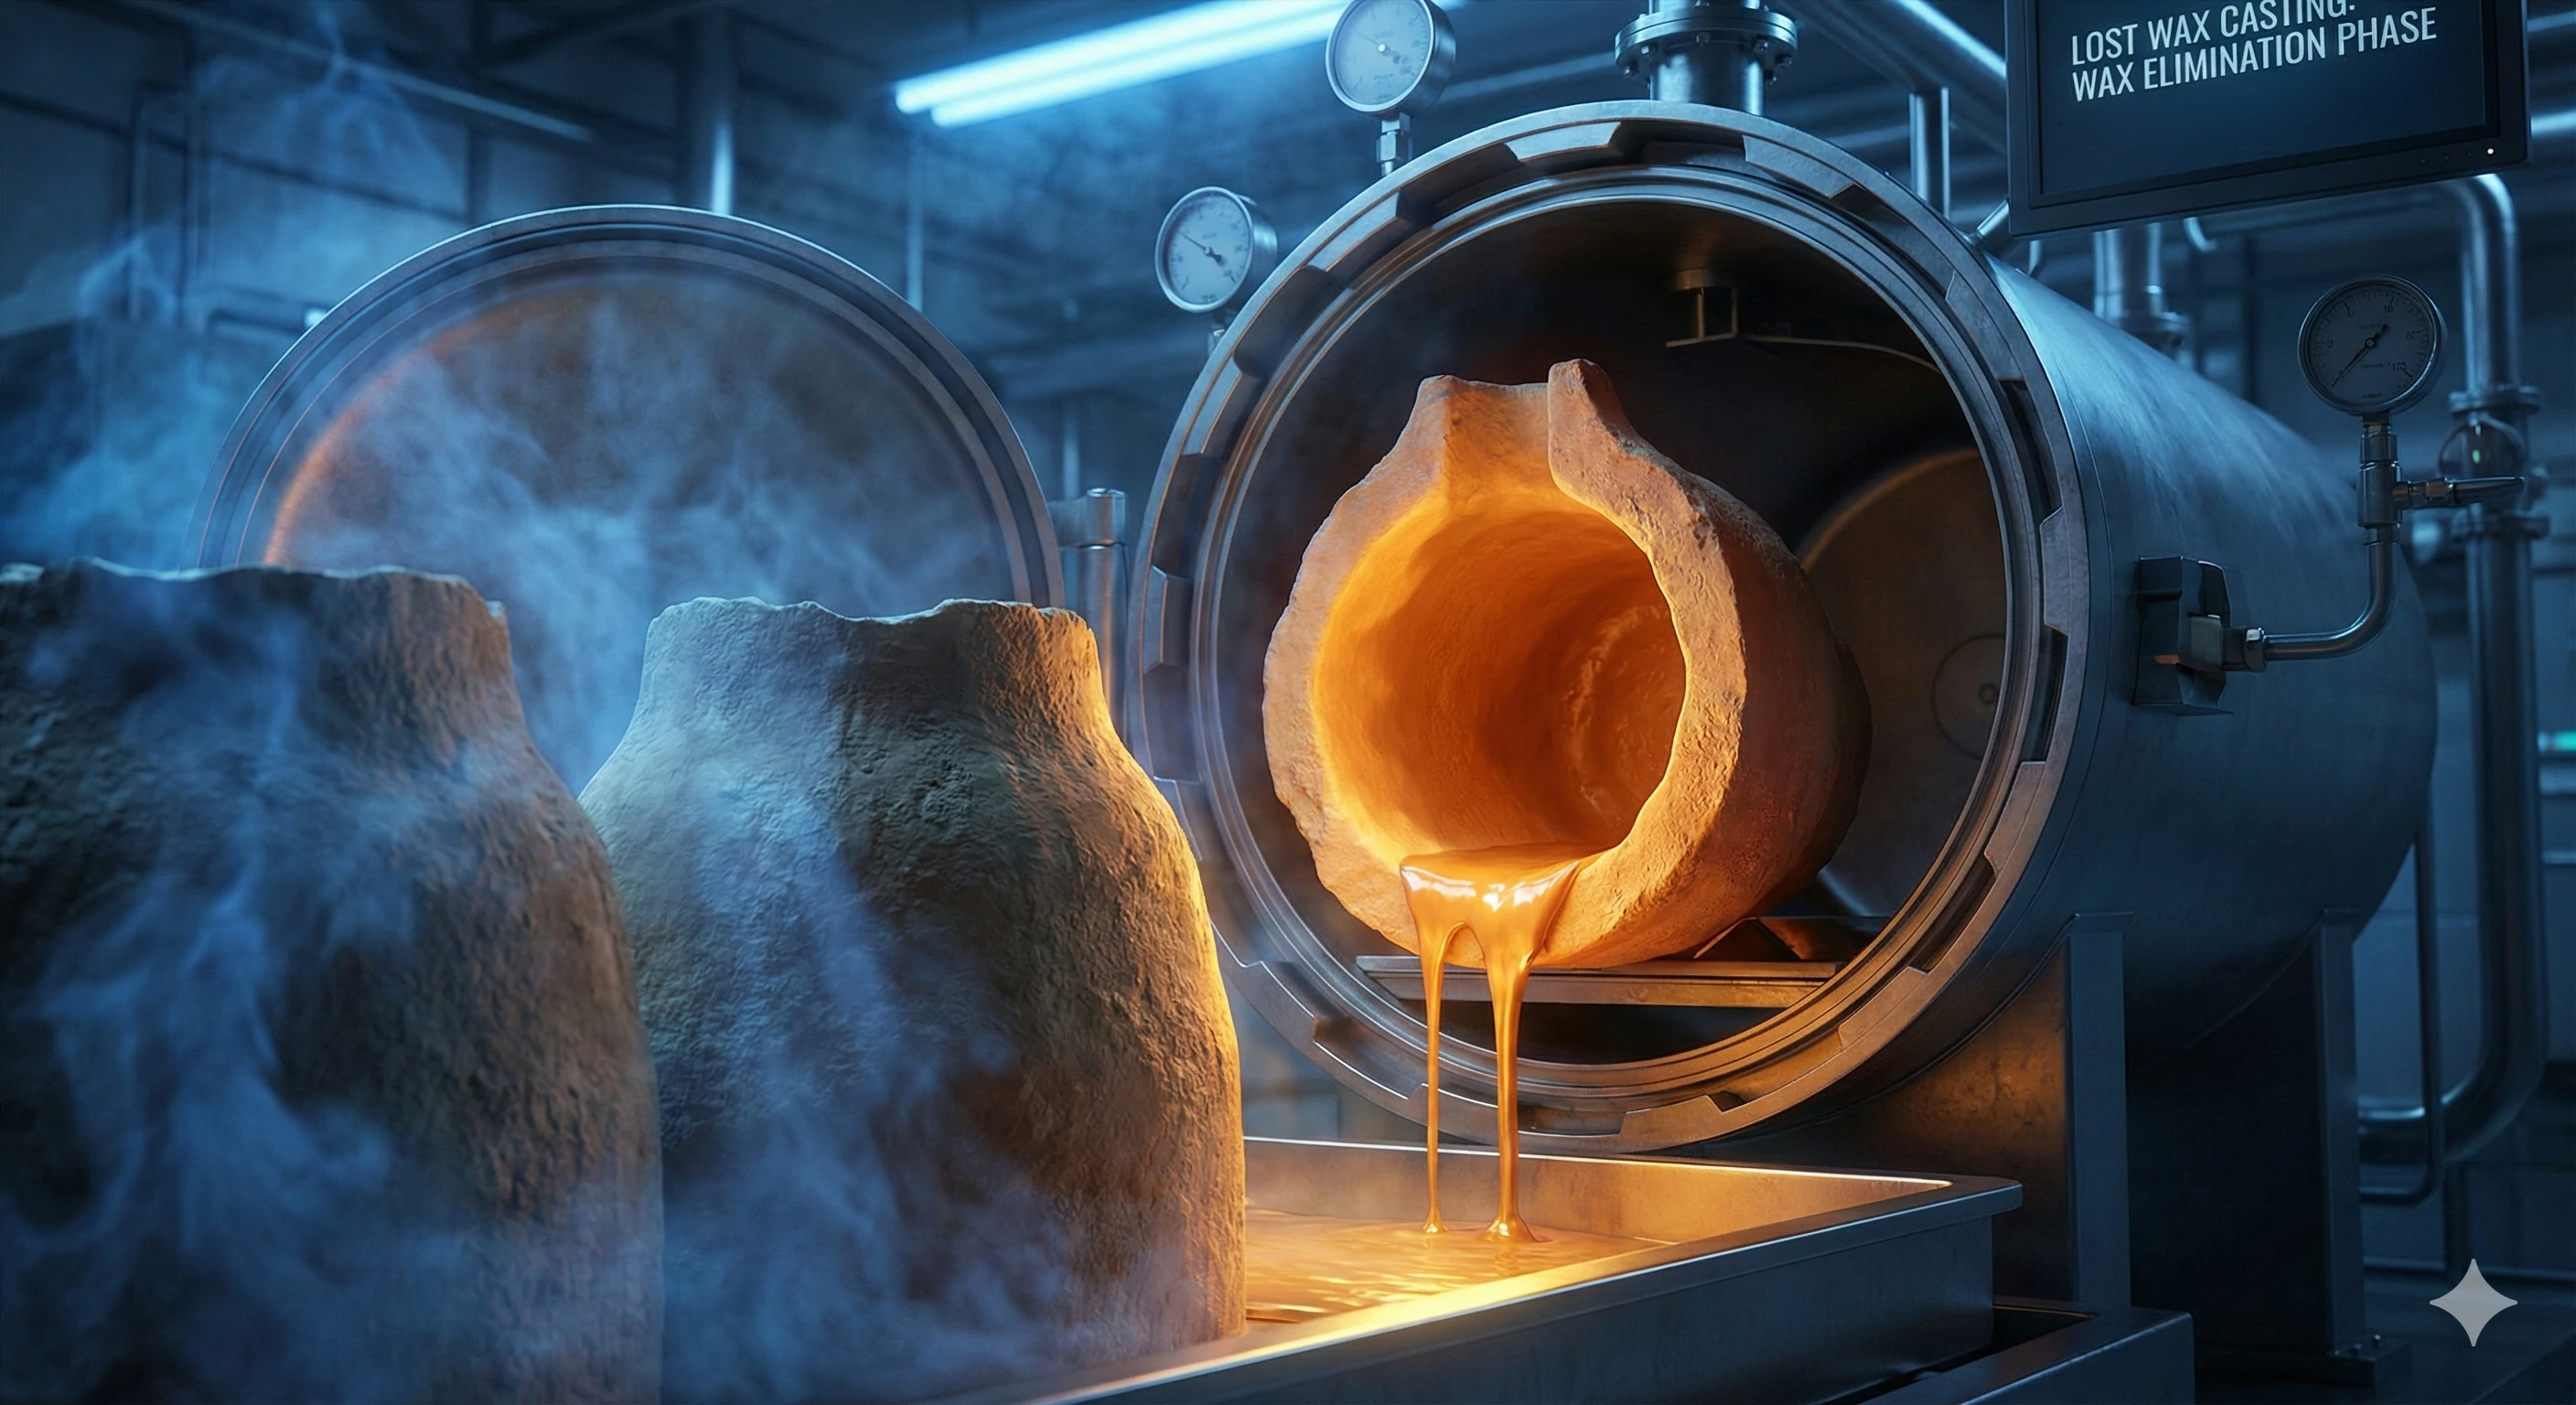
Dewaxing and sintering is the process of removing the wax pattern using a high-pressure steam autoclave, leaving a hollow cavity. The remaining ceramic shell is then fired in a kiln at approximately 1000°C to harden it into glass-like strength, ready to receive molten metal.
The "Lost Wax" Explanation
This is where the term "Lost Wax" comes from. We place the shell into a . The heat melts the wax, which drains out from the bottom, leaving a perfectly hollow cavity in the exact shape of the spigot.
Sintering: The Critical Hardening
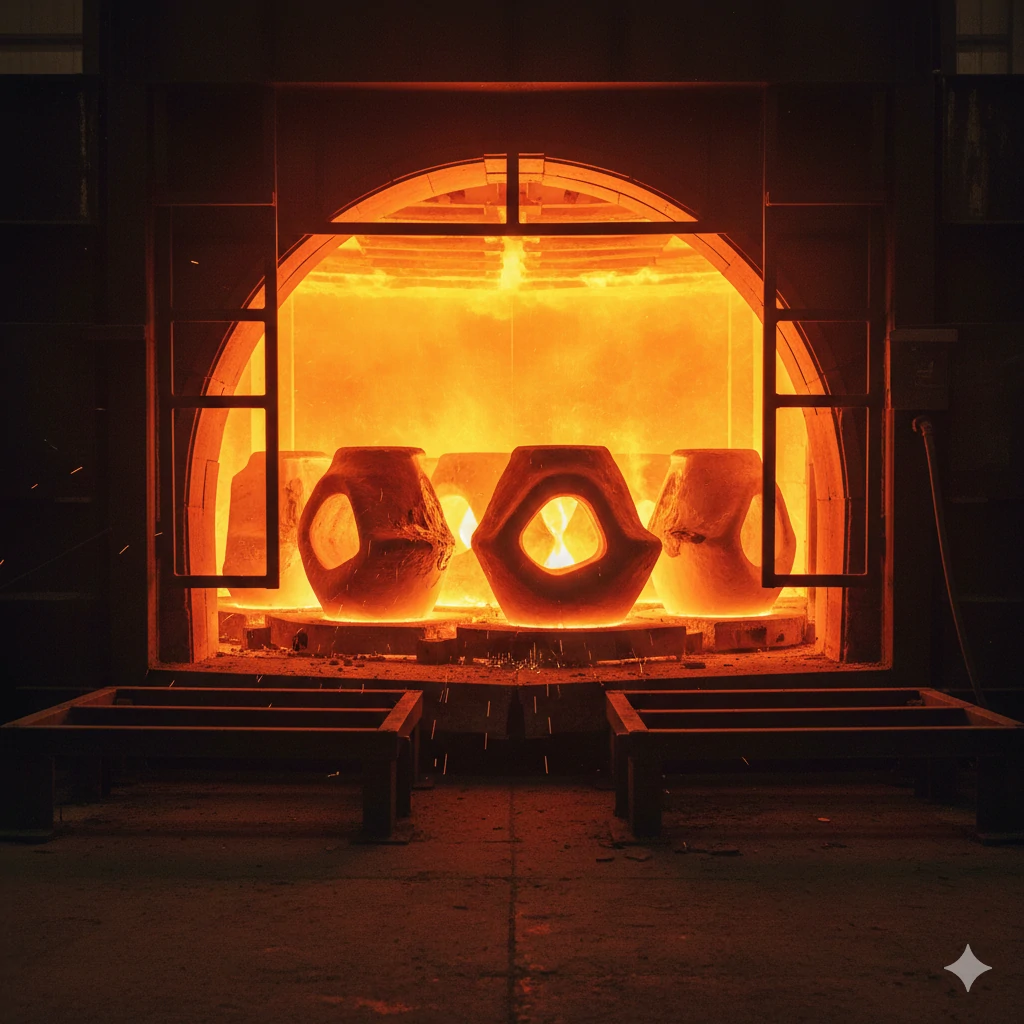
Once the wax is gone, the shell is brittle. To reinforce it, we bake the hollow ceramic shell in a kiln at roughly 1000°C. This firing process, known as sintering, fuses the ceramic particles together. It transforms the shell into a vessel with glass-like strength.
If we skipped this, the shell would explode when the molten steel hits it. Sintering also pre-heats the mold, which prevents the steel from cooling too quickly when we pour it. This ensures the metal flows into every tiny detail of the spigot design before solidifying.
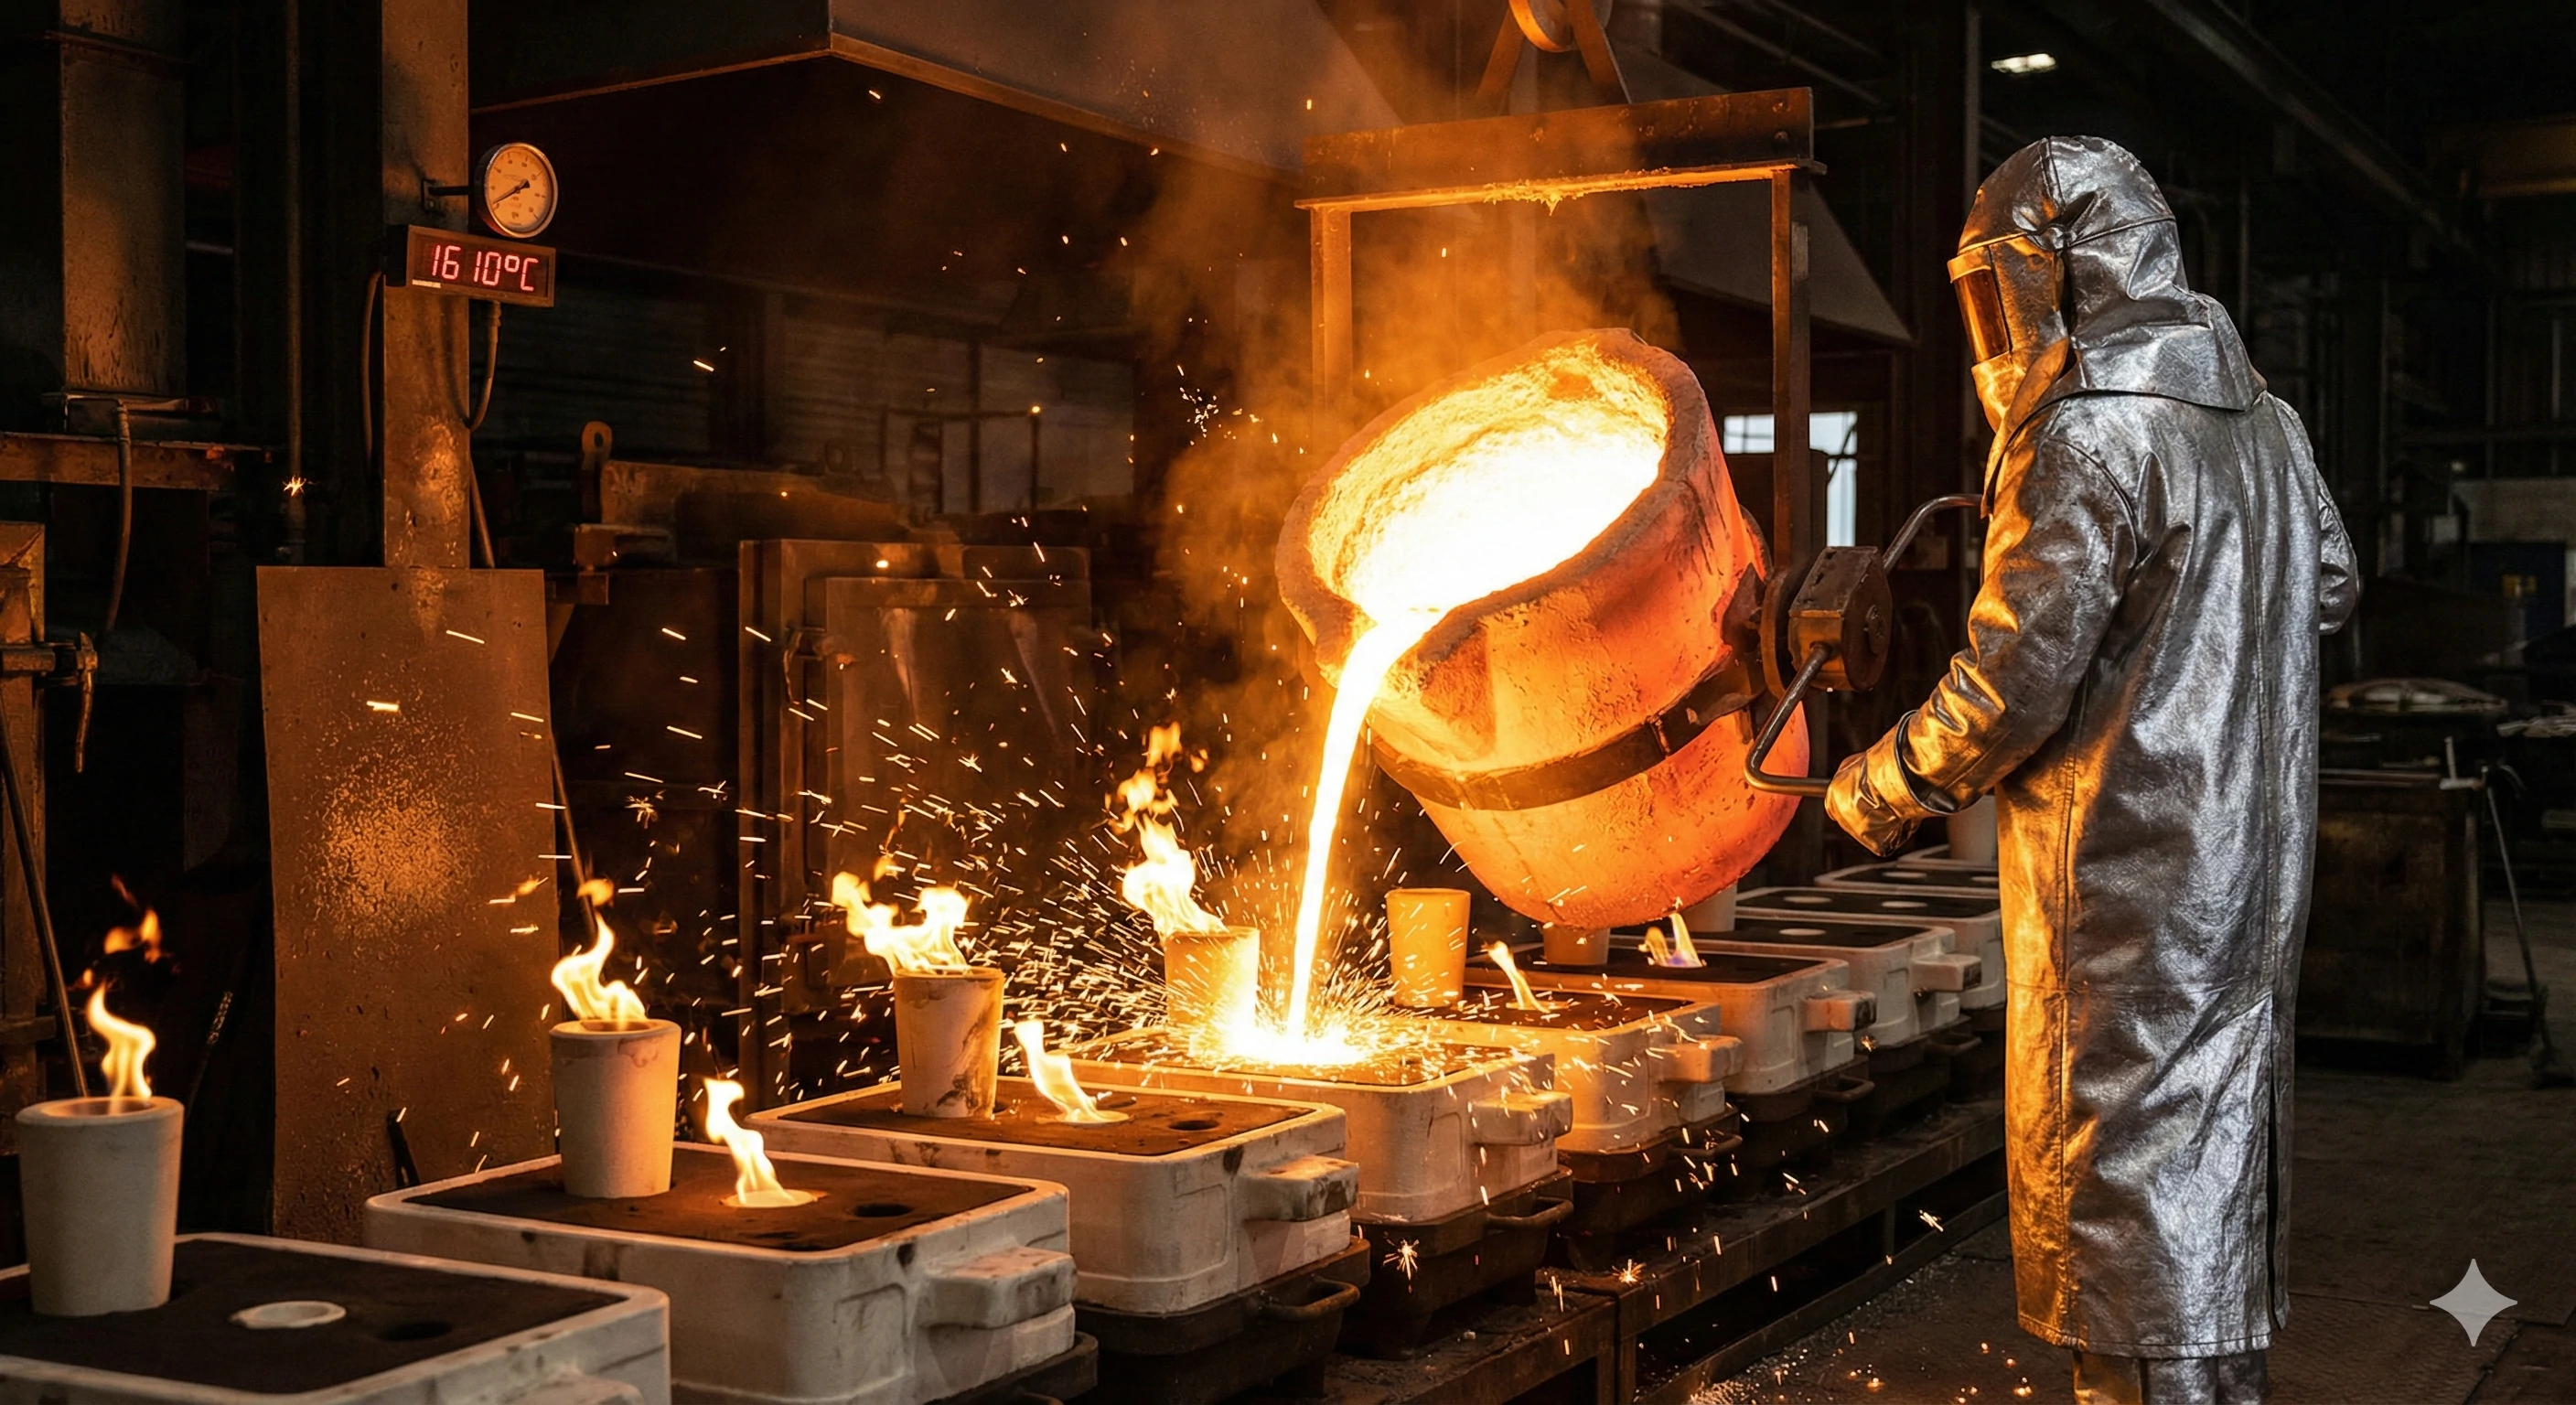
Step 4: Pouring (The Transformation)?
This is the most visually spectacular part of our work, but also the most technically demanding. We are dealing with temperatures that can melt almost anything. Our metallurgists are on high alert here because this is where the chemical composition of your or SS316 is finalized.
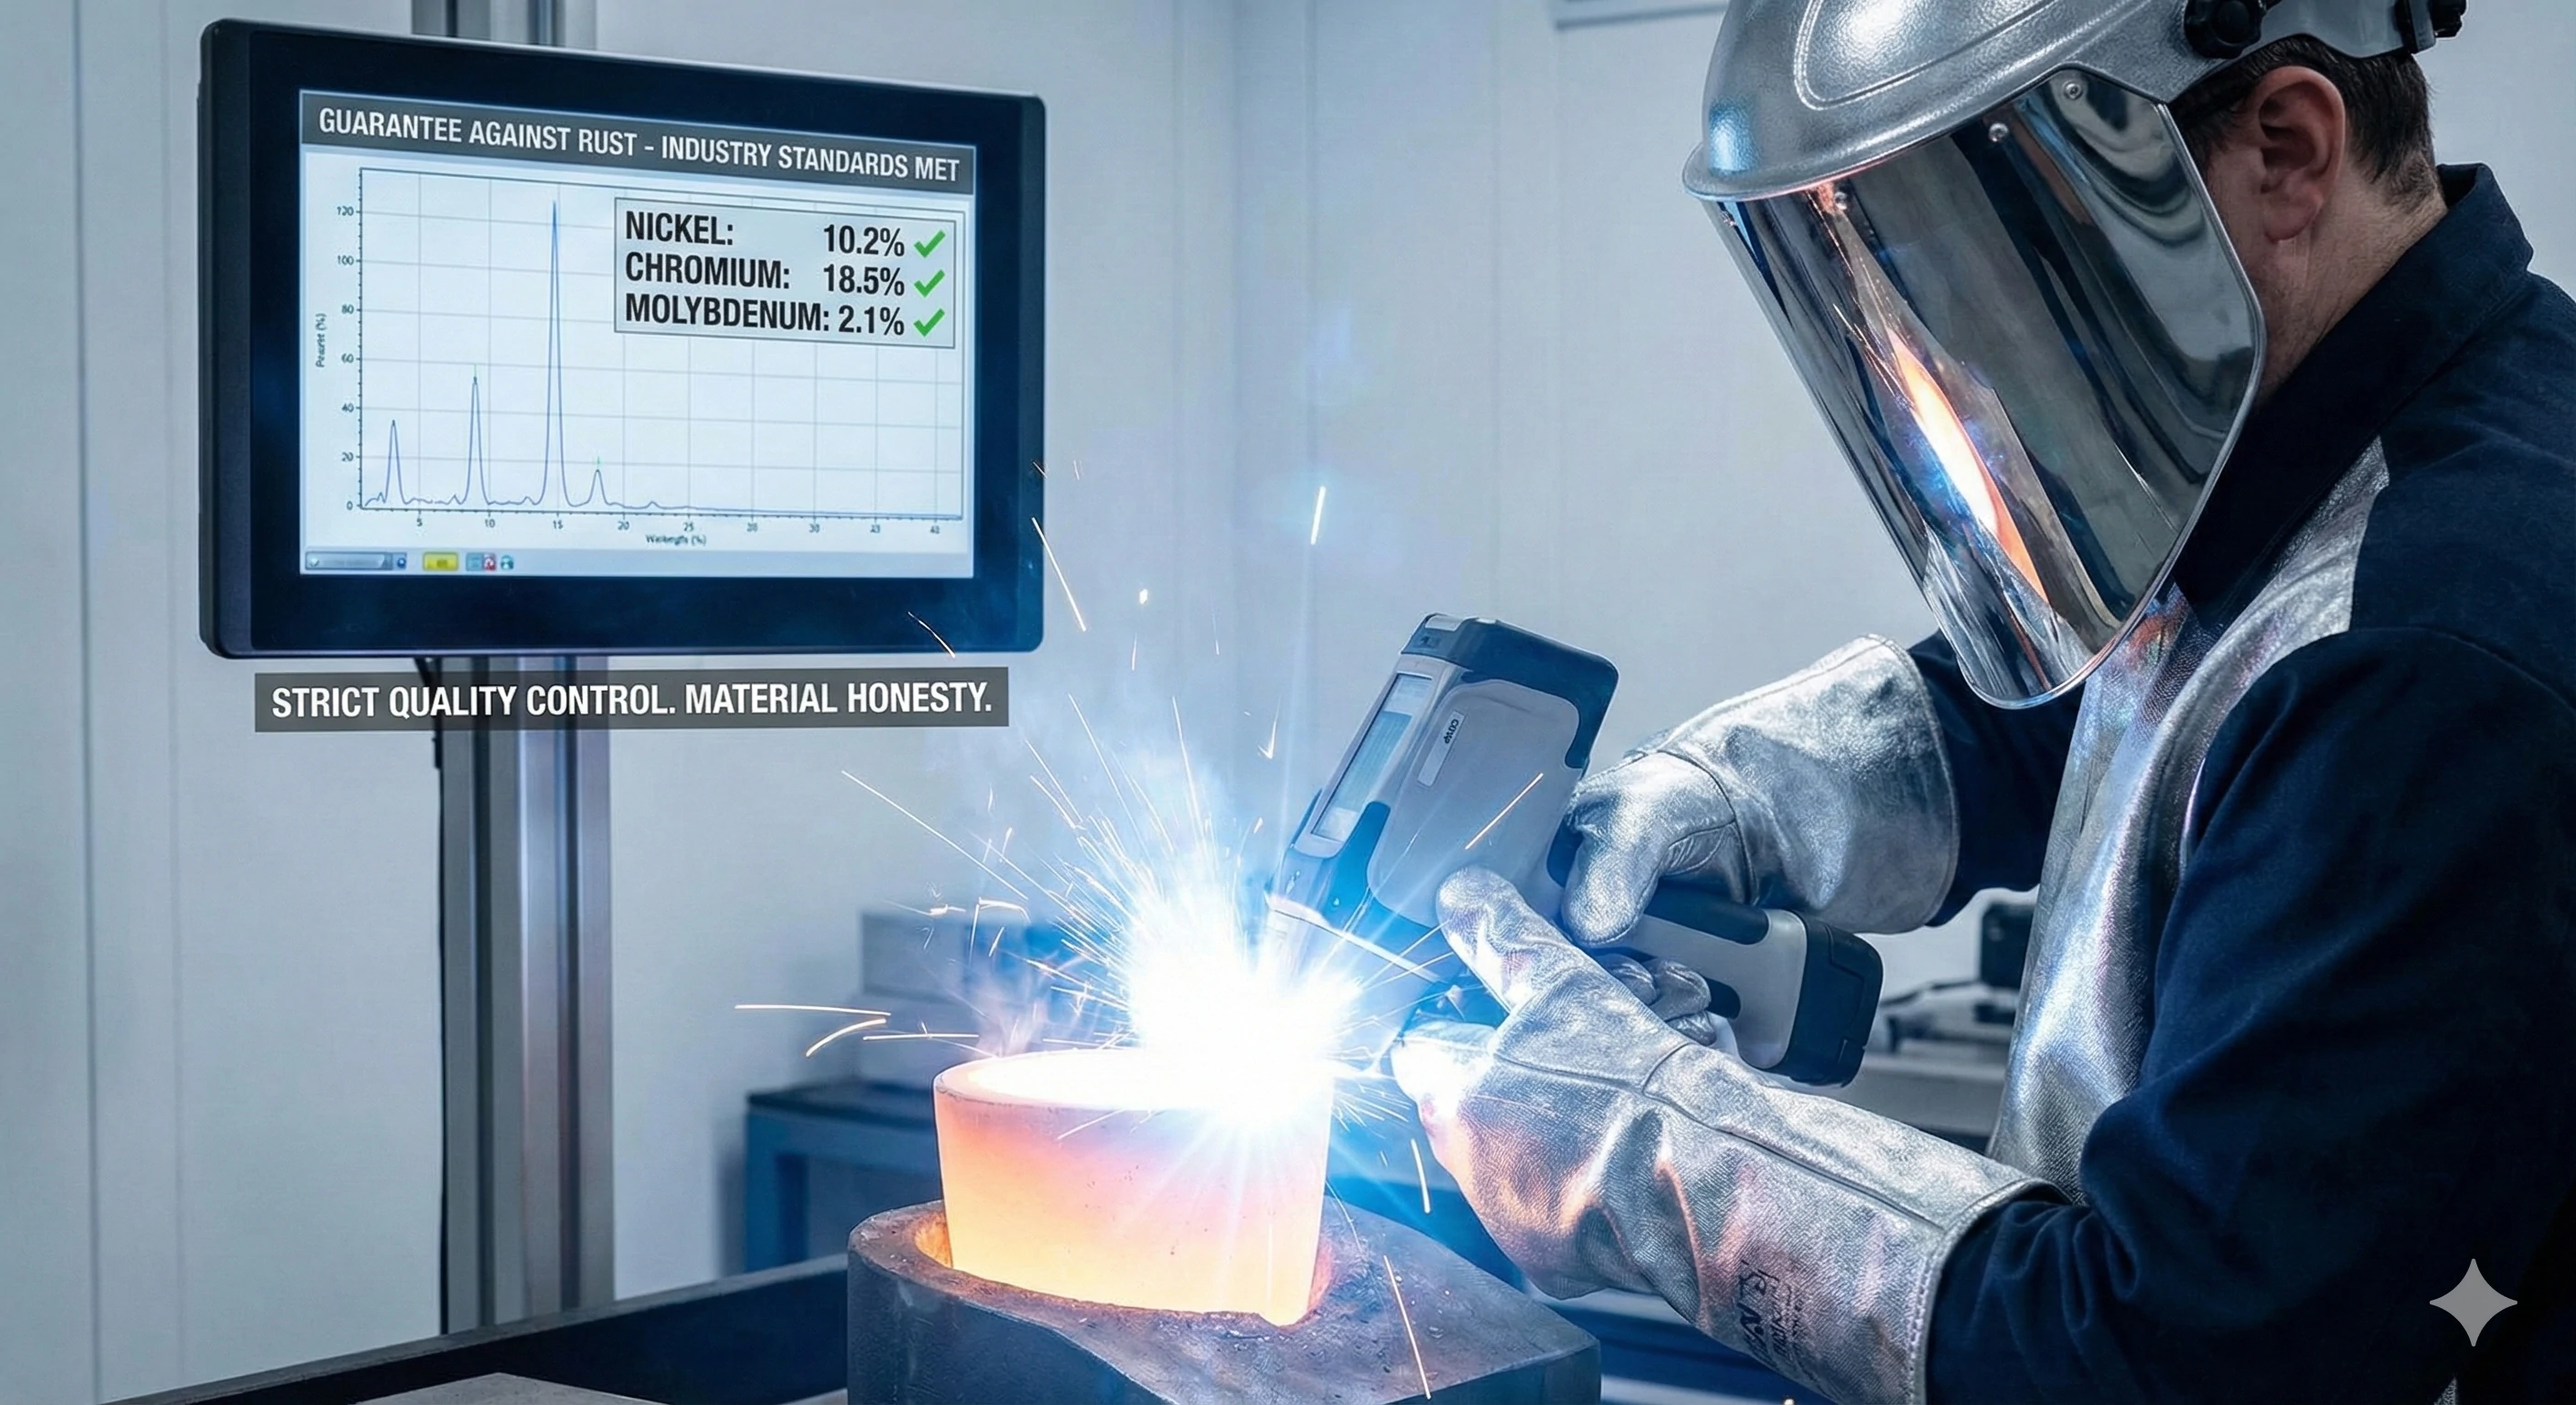
Pouring involves melting stainless steel ingots in an induction furnace at 1600°C and transferring the molten metal into the hot ceramic shells. Before pouring, a spectrometer analysis is conducted to confirm the chemical composition of Nickel, Chromium, and Molybdenum matches industry standards.
The Spectrometer: Your Guarantee Against Rust
Many B2B buyers worry about "fake" 316 steel. We eliminate that risk before the metal is even poured. Before we tip the crucible, we take a small sample of the molten liquid and run it through .
We verify the content of:
-
Nickel: For corrosion resistance.
-
Chromium: For hardness and oxidation resistance.
-
Molybdenum: Essential for pitting resistance in coastal areas.
Only when the numbers match the standard do we give the green light to pour.
Controlling the Flow
We pour the molten steel (at roughly 1600°C) directly into the hot ceramic shells. We control the pouring speed precisely. If we pour too fast, we trap air (turbulence). If we pour too slow, the metal cools before filling the mold (cold shuts). To prevent porosity, we also design the molds with adequate "risers" that allow trapped gases to escape.
| Parameter | Value | Reason |
|---|---|---|
| Pouring Temp | ~1600°C | Ensures fluidity to fill complex shapes |
| Mold Temp | ~1000°C | Prevents thermal shock and premature cooling |
| QC Tool | Spectrometer | Verifies chemical composition (No fake steel) |
Step 5: Knockout & Cleaning (Revealing the Metal)?
Once the pour is complete, the factory floor quiets down in that specific area while the metal cools. But the work isn't done. We now have a solid metal tree encased in a rock-hard ceramic shell. Removing this shell requires brute force and mechanical precision.
Knockout and cleaning is the process of breaking off the ceramic shell using vibration hammers once the metal has solidified. The individual spigots are then cut from the central tree stem and shot-blasted with steel beads to remove any remaining residue.
Removing the Shell
We wait for the metal to solidify completely. Then, we use vibration hammers to shatter the ceramic shell. The ceramic falls away, revealing the raw stainless steel tree underneath.
Cutting and Blasting
Next, we have to separate the spigots from the tree. We use high-speed cutting saws to slice the individual spigots off the central stem. At this stage, the spigots look rough and have a dark, oxidized skin.
To clean them up, we place them in a . It scours away any remaining ceramic residue and leaves the surface with a uniform, matte grey finish. This "blank canvas" allows us to see the casting quality clearly for the first time.
Step 6: CNC Machining (Precision Work)?
A casting provides the general shape, but it cannot provide the tight tolerances needed for glass installation. We transfer the raw castings to our CNC department, where computer-controlled accuracy takes over. This is where "hardware" becomes "engineering."
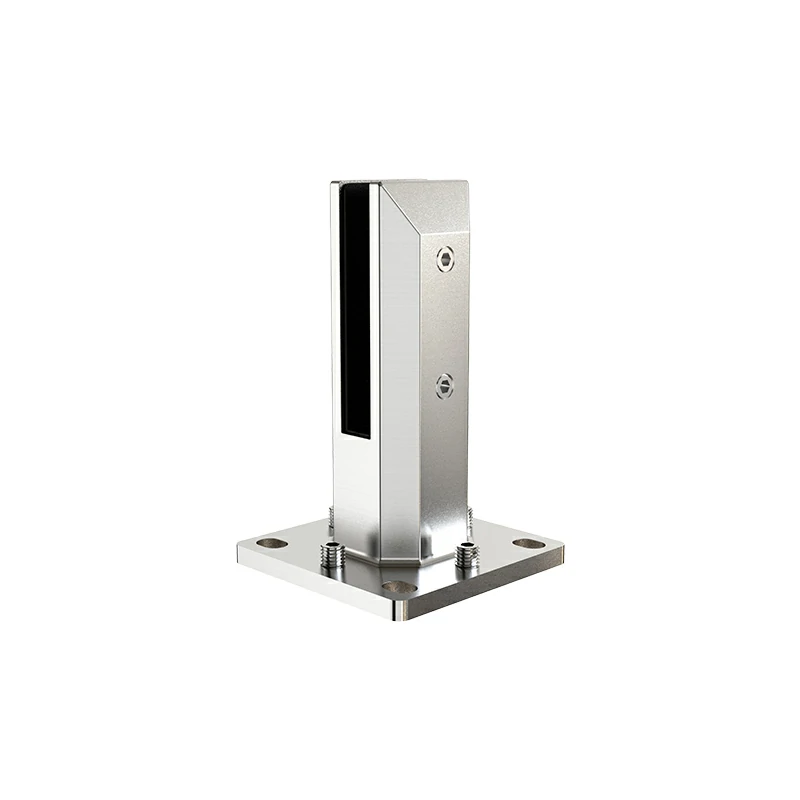
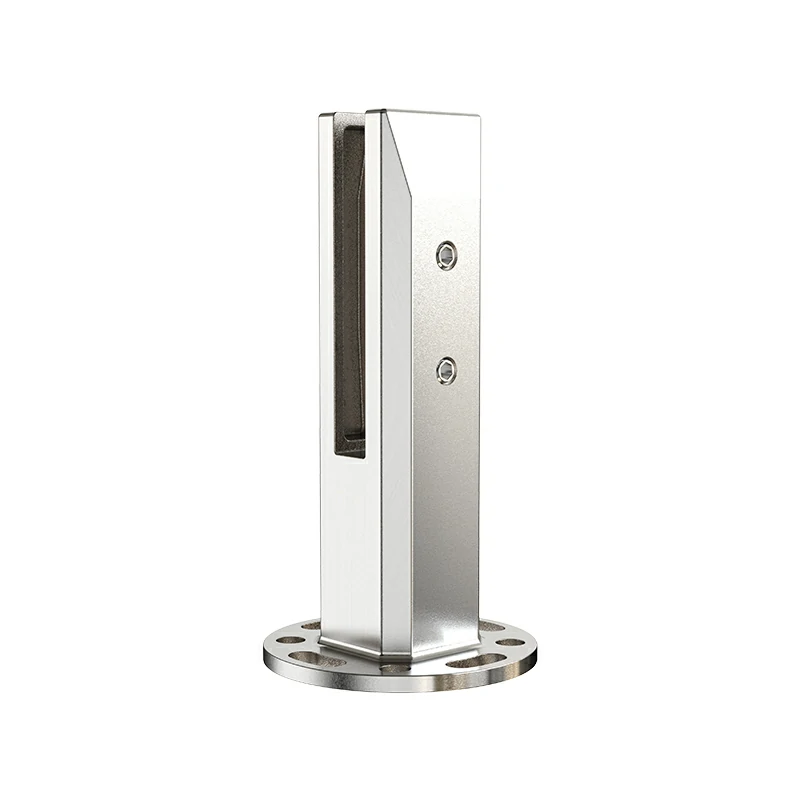
CNC machining is necessary to ensure the perfect fit and function of the spigot by drilling, countersinking, and tapping threads with high precision. This step guarantees that the base plate holes align perfectly and the channel holds the glass vertically.
Why Machining is Non-Negotiable
You cannot cast a threaded hole with high precision. It must be machined. In this stage, we perform several critical tasks:
-
Drilling & Countersinking: We machine the holes in the base plate so your installation bolts sit flush.
-
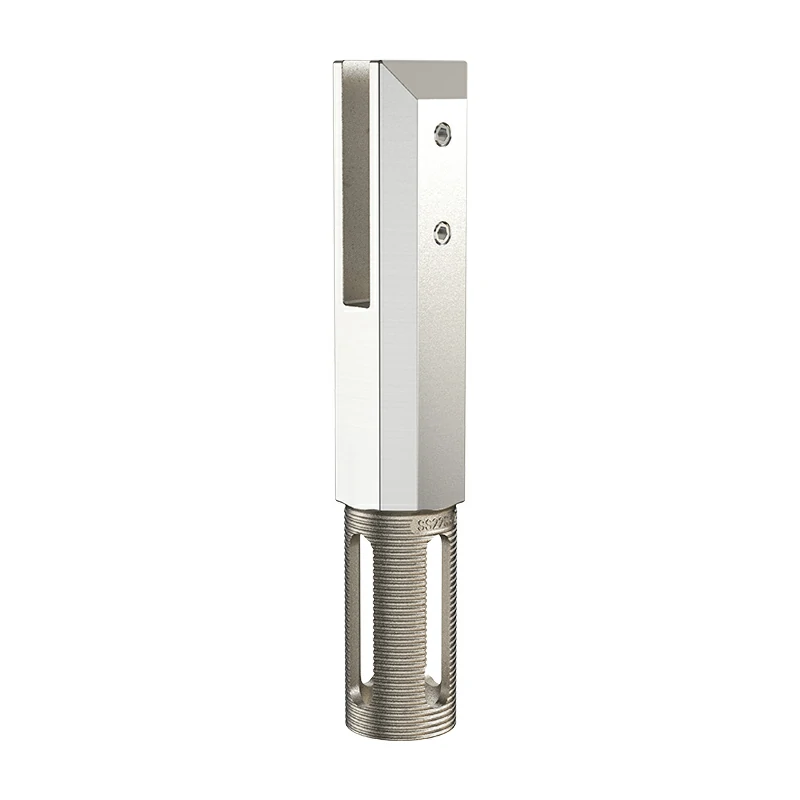
Tapping: We cut the threads for the grub screws (pressure plates) that will hold the glass.
-
Vertical Alignment: We ensure the U-channel is perfectly vertical relative to the base. If this is off by even a degree, the glass panel will lean, ruining the installation.
Investment Casting vs. Sand Casting
We are often asked why we don't use sand casting. The answer lies in the finish and tolerance.
| Feature | Investment Casting (Lost Wax) | Sand Casting |
|---|---|---|
| Tolerance | Very Tight (Reduced machining needed) | Loose (Requires heavy machining) |
| Surface Finish | Smooth, suitable for polishing | Rough, pitted texture |
| Application | Architectural Hardware, Aerospace | Manhole covers, Engine blocks |
Step 7: Surface Finishing (The Aesthetic Touch)?
After machining, the spigot functions perfectly, but it still looks like raw industrial metal. For architectural hardware, beauty is as important as strength. Our finishing team uses a combination of automated belts and skilled hand-polishing to achieve the desired look.
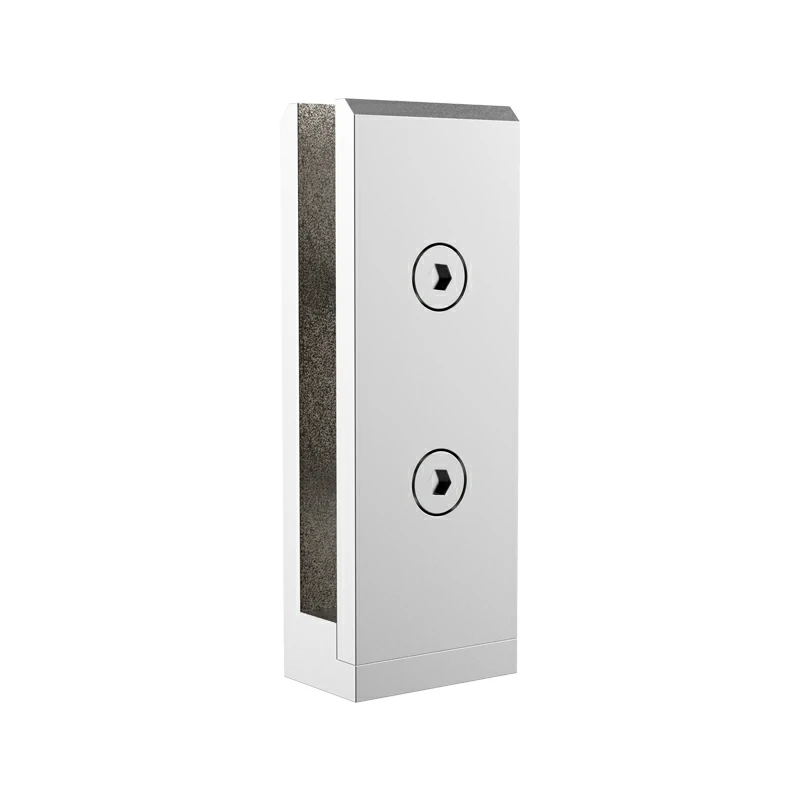
Surface finishing involves grinding away gate marks and polishing the spigot to either a satin brush or mirror finish. Mirror polishing is particularly crucial for corrosion resistance as it smoothes the surface, leaving no crevices for salt or dirt to accumulate.
The Art of Polishing
First, we grind away the "Gate" mark—the spot where the spigot was attached to the tree. Then, we move to polishing:
-
Satin Finish: We use abrasive belts to create a uniform, brushed texture.
-
Mirror Polish: This is labor-intensive. We buff the steel with cloth wheels and compounds until it reflects like a mirror.
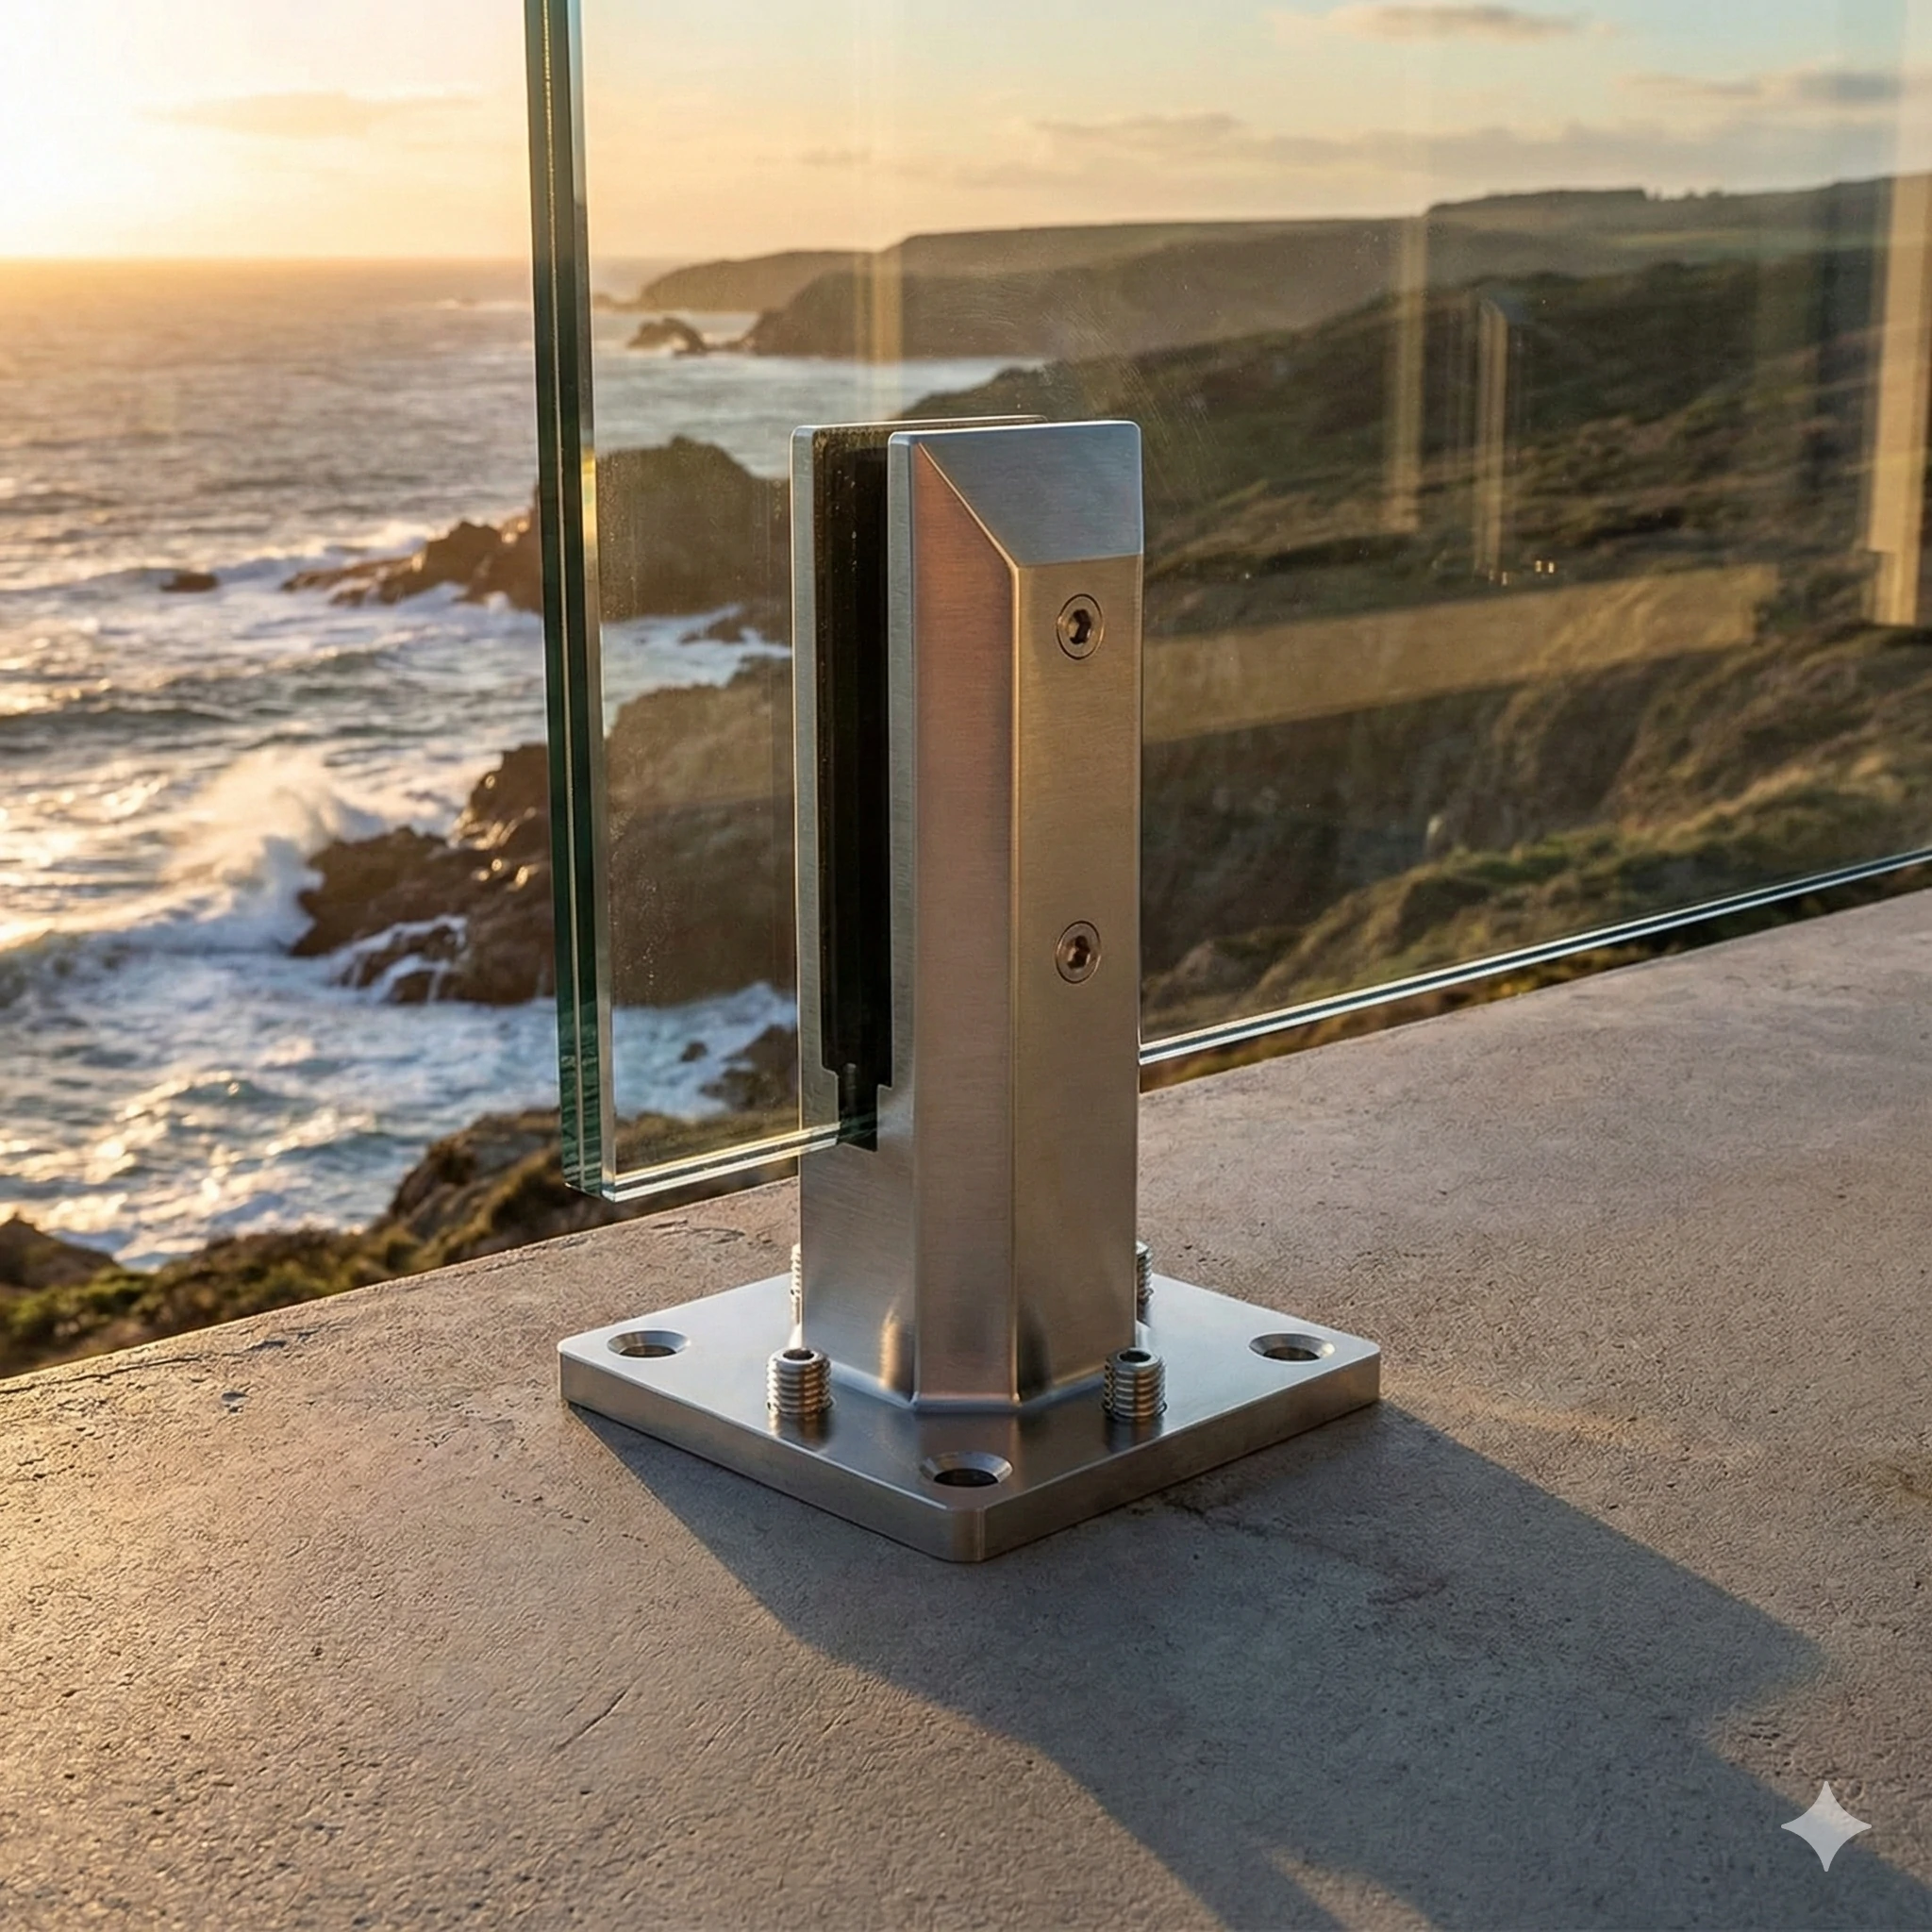
Why Mirror Polish is Better for Coastal Areas
Mirror polishing isn't just about "bling." It is a chemical necessity for coastal projects. A rough surface traps salt and moisture, leading to . A mirror finish is so smooth that salt spray simply runs off.
For clients wanting a modern look, we can also apply (Physical Vapor Deposition) to create Matte Black or Gold finishes. This happens in a vacuum chamber and binds the color to the metal at a molecular level.
Step 8: Final Quality Control (QC)?
Before we box your order, every single spigot goes through a final exam. We don't rely on random sampling for the final check; we inspect everything. We look for both cosmetic flaws and functional issues that could slow down your installation team on site.
Final quality control involves a rigorous three-step inspection: checking dimensions with calipers and gauges, verifying function by installing pressure plates, and visually scanning for pinholes or scratches. This ensures every shipped unit meets our strict quality standards.
The Three Pillars of Our QC
-
Dimension Check: We use digital calipers and Go/No-Go gauges to ensure the base plate holes and glass channel width are within tolerance.
-
Function Check: We actually install the pressure plate and grub screws. We ensure the threads turn smoothly and don't bind.
-
Visual Check: We inspect under bright lights for any casting defects like pinholes, scratches, or uneven polishing.
Only spigots that pass all three checks are wrapped in protective foam and boxed for export.
Conclusion
High-quality spigots aren't just "poured"; they are engineered through a rigorous 8-step process. From the initial wax DNA to the final mirror polish, every step impacts the safety and longevity of the glass railing.
Don't gamble with structural safety. Partner with a manufacturer that controls every step of the process. Contact us for a quote on your next OEM casting order.
Footnotes
1. Overview of the investment casting manufacturing process.
2. Benefits of using aluminum for rapid tooling molds.
3. Properties of zircon sand in ceramic shell casting.
4. How autoclaves function in industrial dewaxing.
5. Chemical composition and properties of Duplex 2205 steel.
6. Explanation of optical emission spectroscopy for metal analysis.
7. Surface preparation techniques using abrasive blasting.
8. Mechanical definition of countersinking for fastener flushness.
9. Causes and prevention of corrosion on coastal stainless steel.