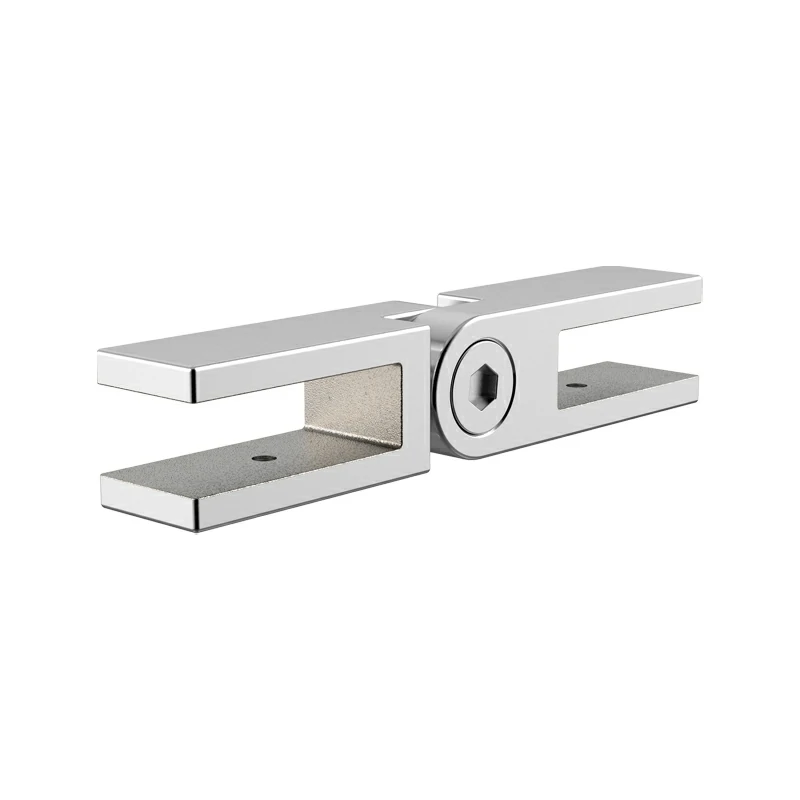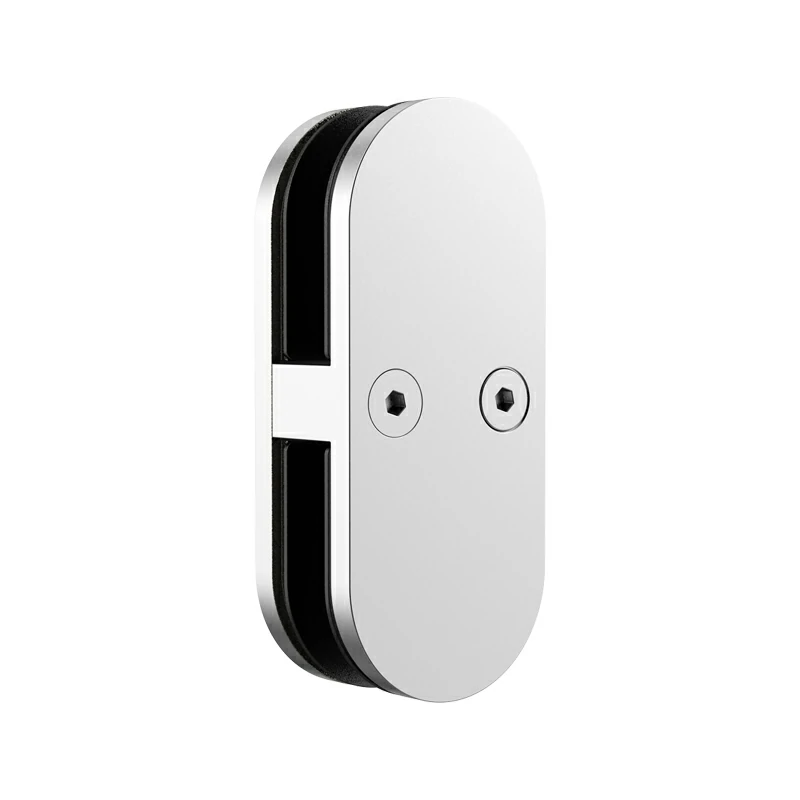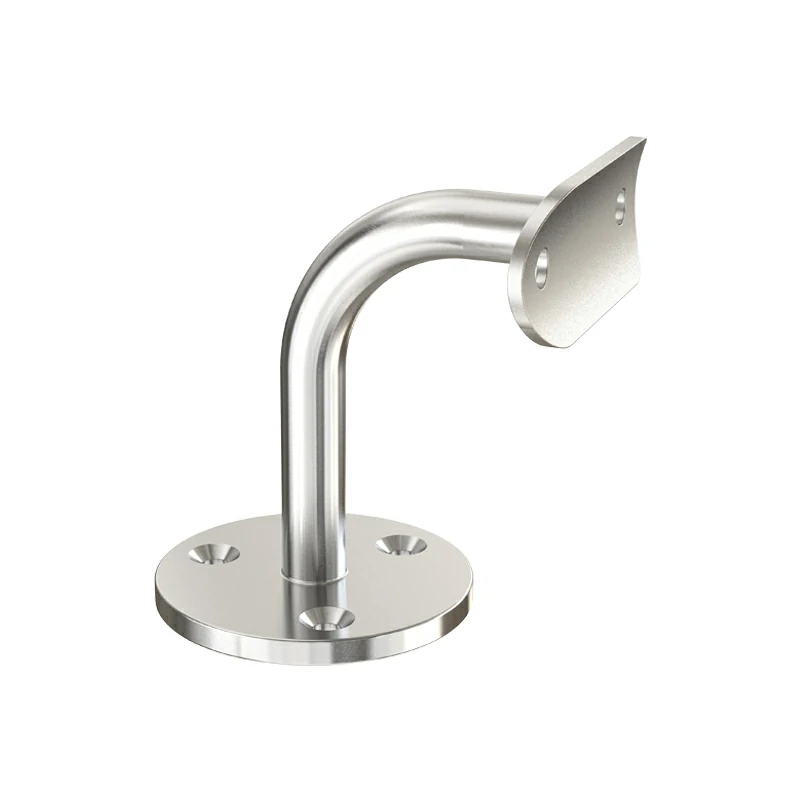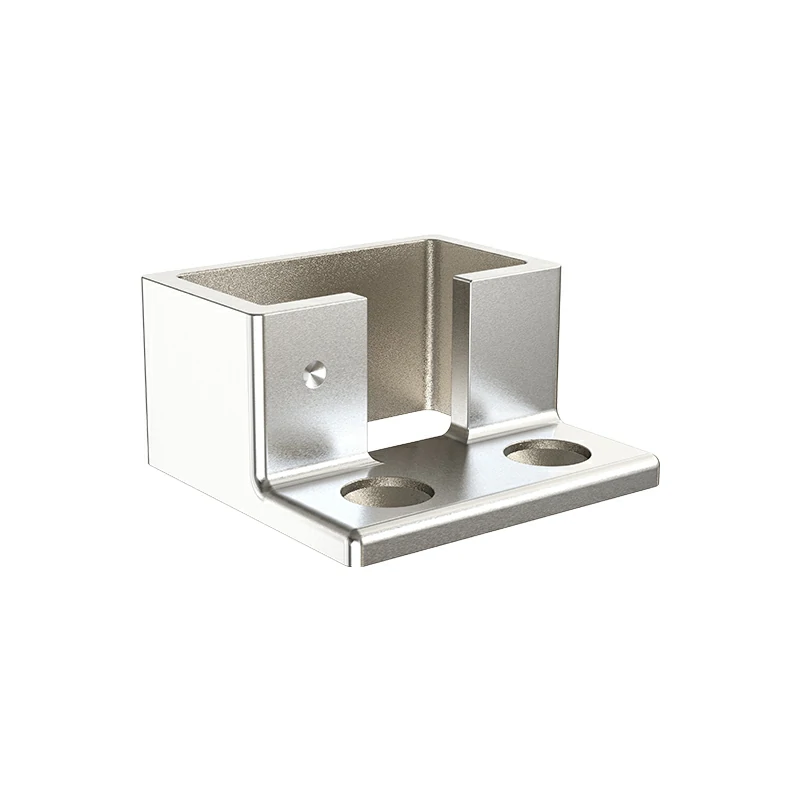

When buyers send our engineers only a clamp photo, the real risk is usually hidden. Two clamps can look almost identical yet serve different panels, loads, and environments. If the wrong model reaches the jobsite, the result may be damaged glass, unstable panels, corrosion, delays, or a complete system redesign.
Table of Contents
- How Do You Choose Glass Clamps for Different Panel Applications?
- How Do Glass Thickness, Inserts, and Panel Loads Affect Compatibility?
- Safety, Structural Roles, and Mounting Substrates
- Stainless Steel Grades and Finishes for the Environment
- How Do You Build a Reliable Glass Clamp Schedule?
- Conclusion
Glass clamps for panels should be selected by application, glass specification, panel weight, support layout, mounting direction, substrate, and environmental exposure. A suitable clamp must fit the exact glass thickness, isolate metal from glass, and perform the intended structural role within a verified complete system.
This guide turns those factors into a practical selection process. It also shows which details a supplier needs before recommending a model.
How Do You Choose Glass Clamps for Different Panel Applications?
When customers send us only a clamp photo, our engineers often see the same problem: the shape looks familiar, but the application and connection are unknown. A clamp that works on a shelf may be unsuitable for a guard or windscreen. Defining the use first prevents most costly mismatches.
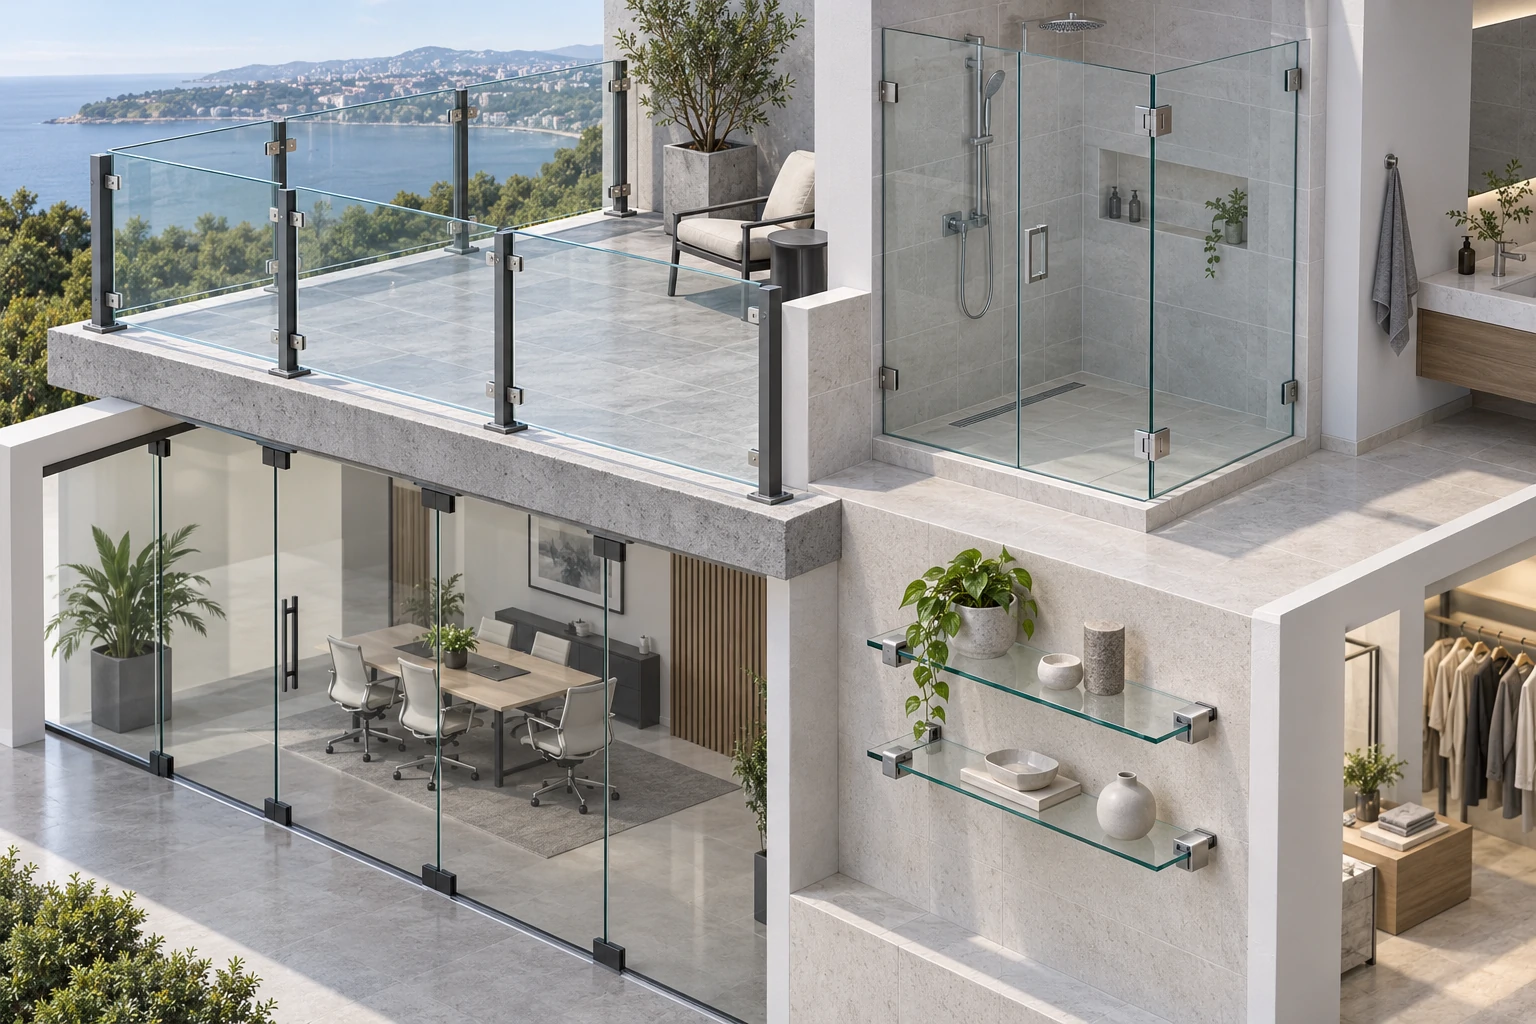
Choose glass clamps for different panel applications by defining the panel’s function before comparing shape or finish. After identifying whether the project involves a railing, partition, shower, shelf, windscreen, or sign, select the correct wall-to-glass, post-to-glass, floor-to-glass, or glass-to-glass connection and angle.
Start with the panel’s job
A description such as “stainless glass clamp” is too broad for purchasing. A shower enclosure separates wet and dry areas. An office partition controls space and movement. A guard panel forms part of a fall-protection system. These uses do not create the same design duty.
Interior signage may need accurate positioning and a clean finish. An exterior windscreen must also deal with wind, water, temperature changes, and vibration. A shelf clamp may carry vertical weight, while a partition clamp may mainly resist sideways movement.
| Application | Main question | Common mistake |
|---|---|---|
| Railing or guard | Is the clamp verified for the complete guard system? | Treating decorative hardware as structural |
| Shower enclosure | Does it fit the glass, layout, and wet area? | Selecting by finish before geometry |
| Partition | How is panel weight and lateral movement controlled? | Ignoring height and supported span |
| Shelf or display | Which part carries the vertical load? | Assuming every clamp supports weight |
| Exterior windscreen | What wind, drainage, and corrosion conditions apply? | Reusing an interior specification outdoors |
Define the connection
State what appears on both sides of the clamp. Common configurations include wall-to-glass, post-to-glass, floor-to-glass, and glass-to-glass. For two-panel connections, confirm whether the angle is 90, 135, or 180 degrees. Post-mounted clamps may also need a flat or curved base.
Product drawings should show mounting faces, hole locations, fastener direction, and orientation. A model intended for a vertical panel should not be rotated to support a horizontal shelf without verified data. Before we quote, we normally request the application, panel drawing, mounting surface, and project location.
How Do Glass Thickness, Inserts, and Panel Loads Affect Compatibility?
At our factory, we often receive requests that mention only a nominal glass thickness. That leaves the panel size, weight, span, and mounting direction unanswered. These details matter because an insert can fit the glass while the complete clamp arrangement remains unsuitable for the load.
Glass clamp compatibility depends on the exact glass thickness, panel dimensions, weight, supported span, orientation, clamp size, and insert specification. A nominal label such as “10 mm clamp” is not enough by itself; the approved glass range and technical data for the selected model should control the decision.

Match the insert to the glass
Rubber or engineered polymer inserts create a protective interface between the metal body and glass. The insert must be specified for both the clamp model and glass thickness. It should seat correctly, distribute pressure, and prevent hard metal surfaces from contacting the glass.
Do not use an improvised pad to make an oversized clamp fit. It may shift, compress unevenly, or change fastener engagement. The glass edge, hole pattern, and required gaps must also agree with the hardware drawing. Tempered glass should arrive with the necessary fabrication already completed 1 by the glass processor.
Separate dead load from lateral restraint
Some clamps position the panel or resist sideways movement. Others include a support feature intended to transfer vertical dead load. Similar-looking bodies can therefore perform different structural roles.
| Compatibility input | Why it matters | Evidence to request |
|---|---|---|
| Glass type and thickness | Controls insert fit and glazing selection | Glass specification and clamp data sheet |
| Panel dimensions and weight | Affect leverage, span, and clamp layout | Dimensioned panel schedule |
| Mounting orientation | Changes the direction of force | Installation drawing |
| Clamp count and spacing | Control how loads are shared | System layout or engineering review |
| Insert model | Isolates metal and distributes pressure | Matching insert code |
| Vertical support feature | Identifies where dead load is carried | Section drawing and supplier confirmation |
Do not choose clamp quantity from habit alone. Panel size, edge distance, load direction, glass design, and system evidence may all change the required layout.
Safety, Structural Roles, and Mounting Substrates
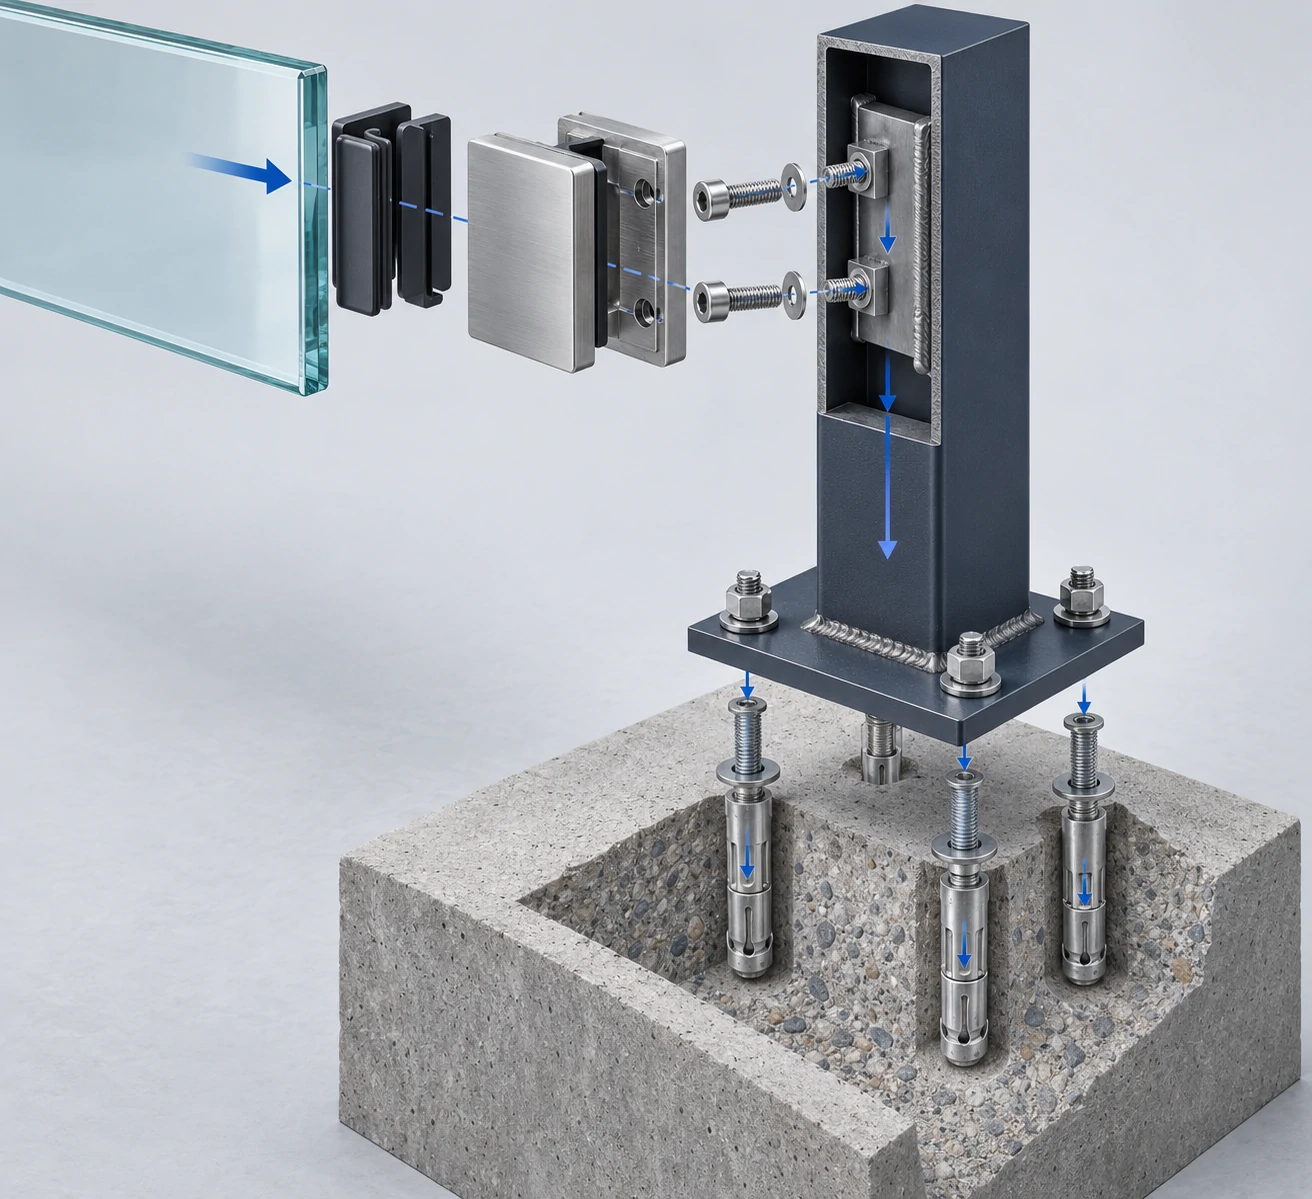
Our quality checks can confirm the clamp body and supplied fastener, but those parts cannot correct a weak wall, thin post, or unsuitable anchor. Problems occur when responsibility stops at the visible hardware. The complete load path must be understood before the order is released.
In safety-critical panel systems, the clamp, glass, fastener, anchor, post, and substrate must be checked as one assembly. Decorative clamps should not be assumed to carry guard loads without verified data. Safety glazing and the governing building rules must also be confirmed for the project location.
Safety glazing does not verify the clamp
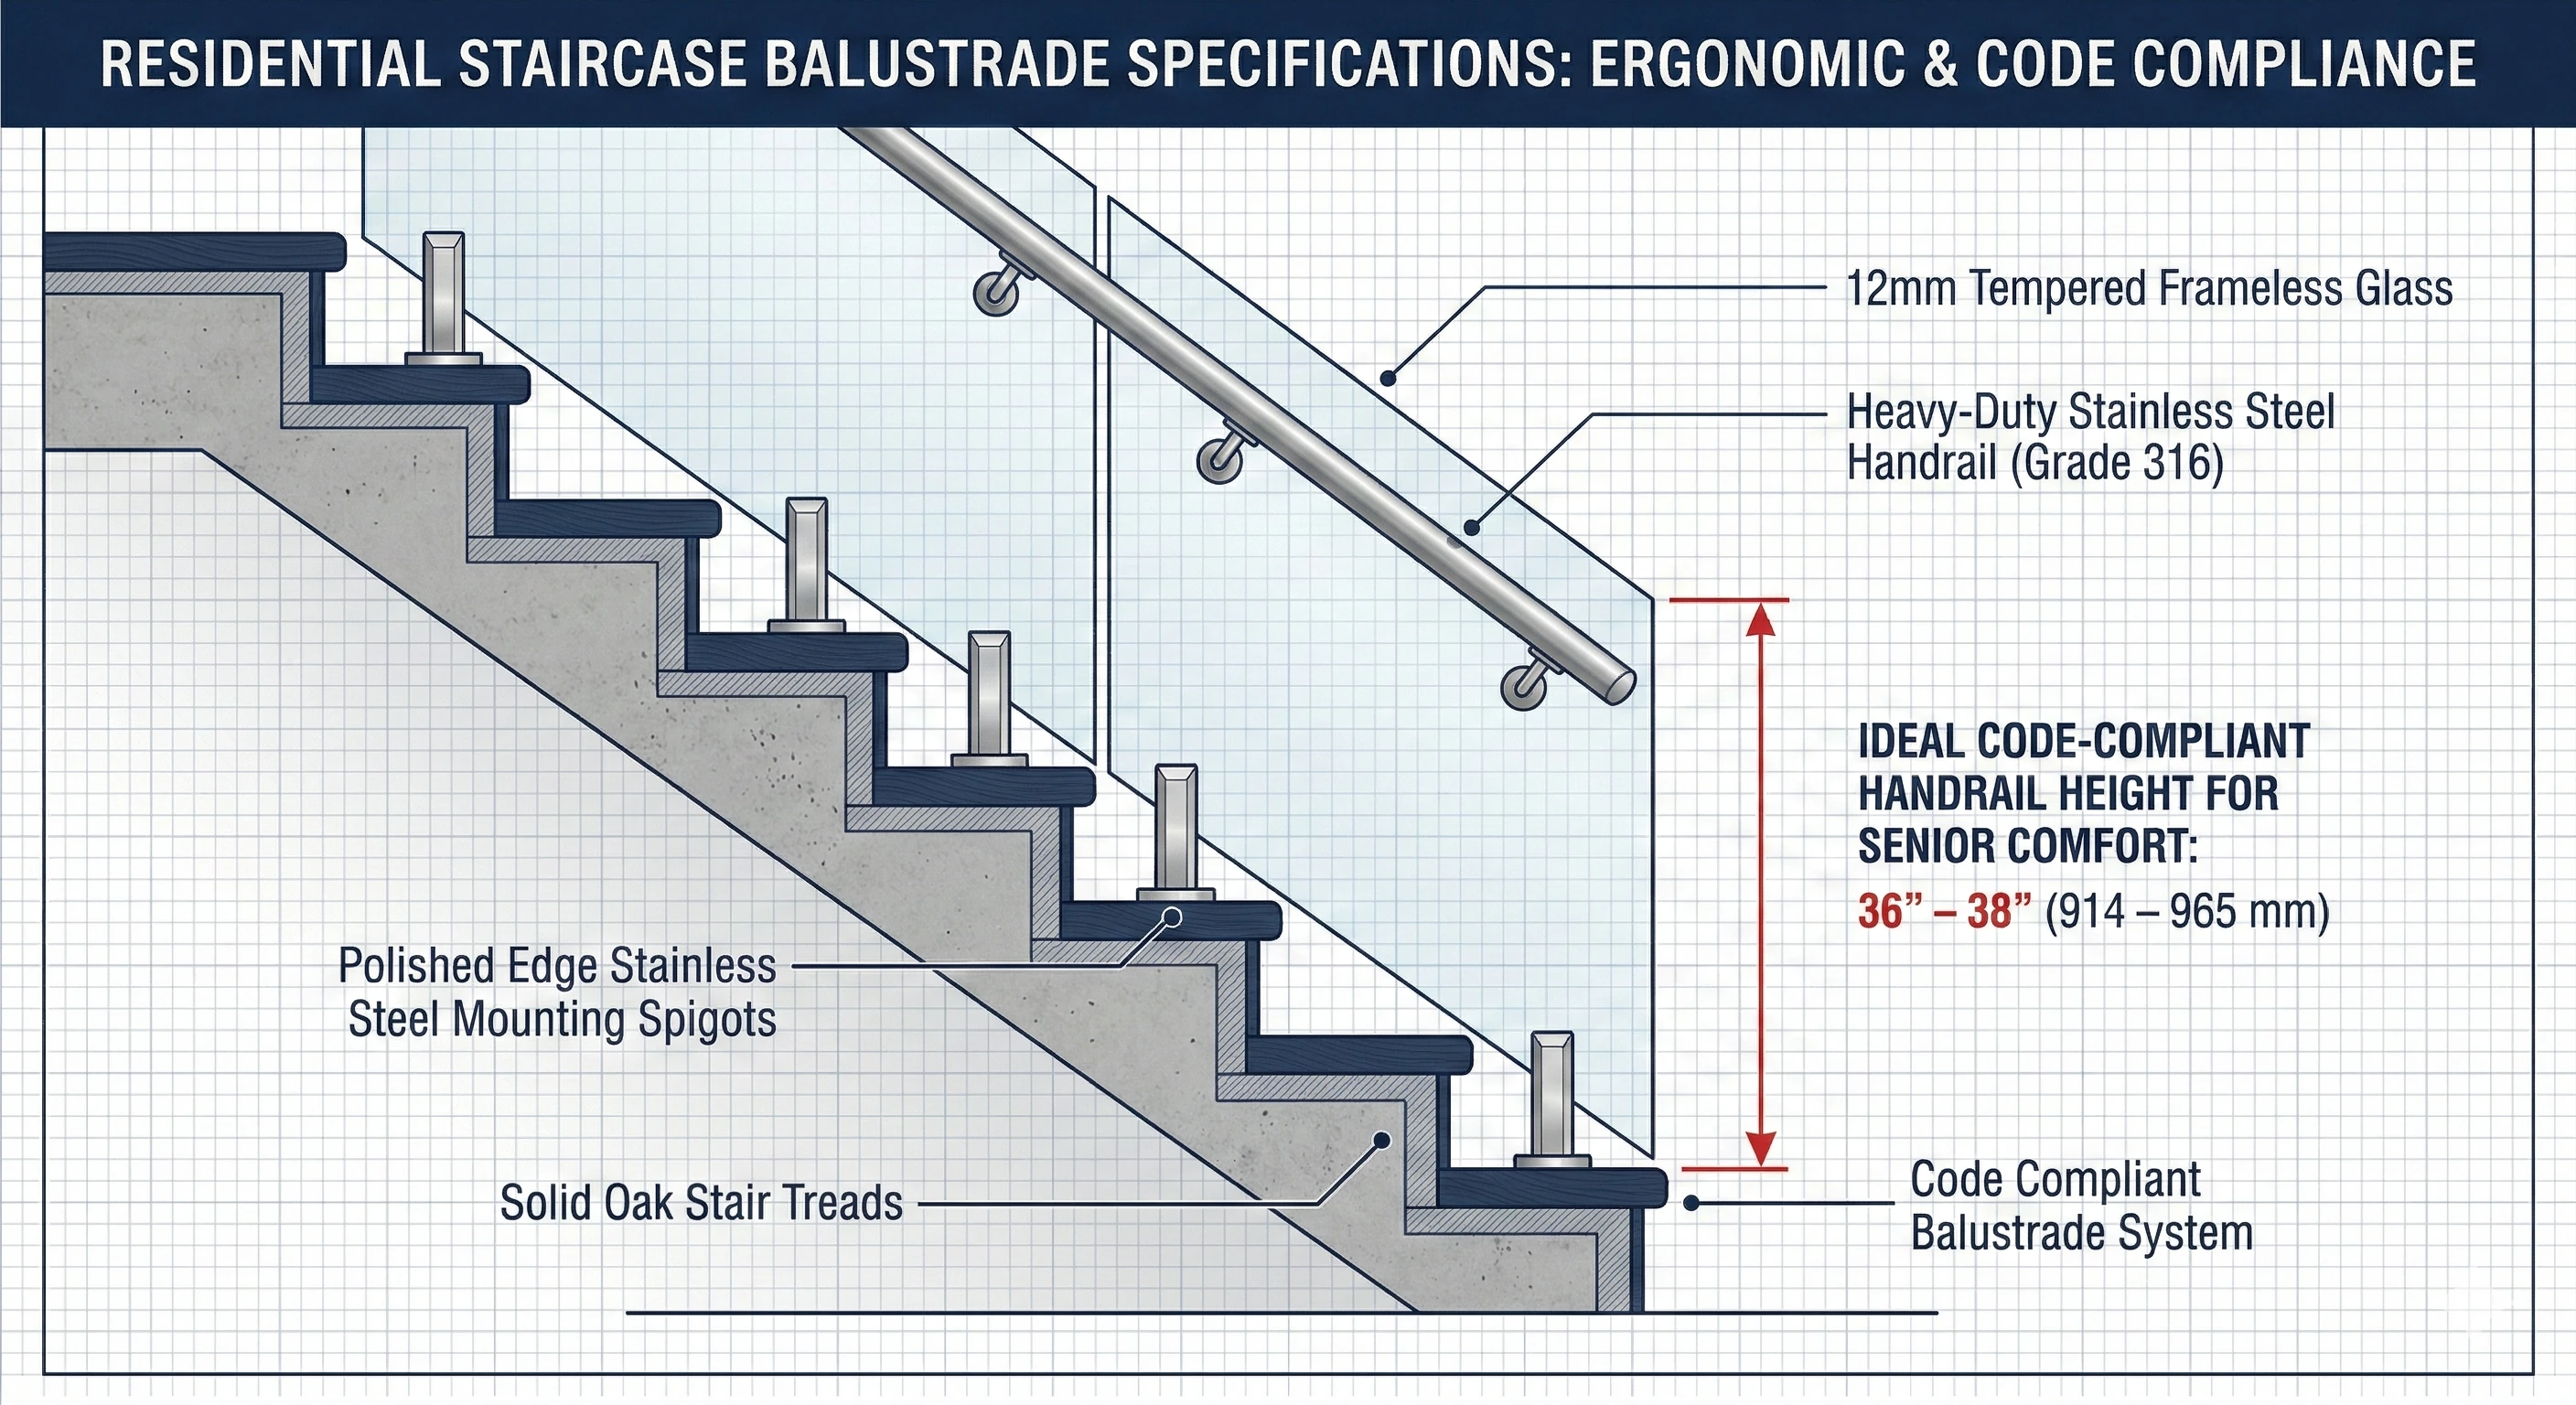
For projects in the United States, the eCFR publishes 16 CFR Part 1201 2 as the Safety Standard for Architectural Glazing Materials. ANSI Z97.1 3 is also used for safety glazing in buildings. These references concern glazing safety, but they do not make an untested decorative clamp suitable for a guard. The applicable building code 4, project specification, and authority having jurisdiction must still be checked.
Requirements differ by country and application. The designer or responsible project professional should identify the governing rules and required evidence. The supplier can then provide relevant drawings, material records, test information, and installation instructions.
Follow the load into the building
The substrate is often the least visible part of the assembly. Thin sheet metal can deform. A post wall may provide inadequate thread engagement. Weak masonry or an unsuitable anchor can compromise the connection even when the clamp body is correct.
| Component | Question to answer | Risk if ignored |
|---|---|---|
| Clamp | What role and orientation are verified? | Decorative hardware carries structural load |
| Fastener | Are grade, size, engagement, and locking defined? | Loosening or thread failure |
| Post or frame | Are wall thickness and reinforcement adequate? | Local deformation or pull-out |
| Anchor | Does it suit the substrate and edge distance? | Cracking or anchor failure |
| Substrate | Is it sound, structural, and accessible? | The complete connection loses capacity |
A reliable submittal should show this complete chain. If one link is unknown, clamp selection is not finished.
Stainless Steel Grades and Finishes for the Environment
When we review finish samples, appearance is only the first check. A bright surface can still be the wrong specification for salt, pool chemicals, or trapped moisture. If grade, finish, drainage, and maintenance are not coordinated, early staining can damage the hardware and the customer’s confidence.
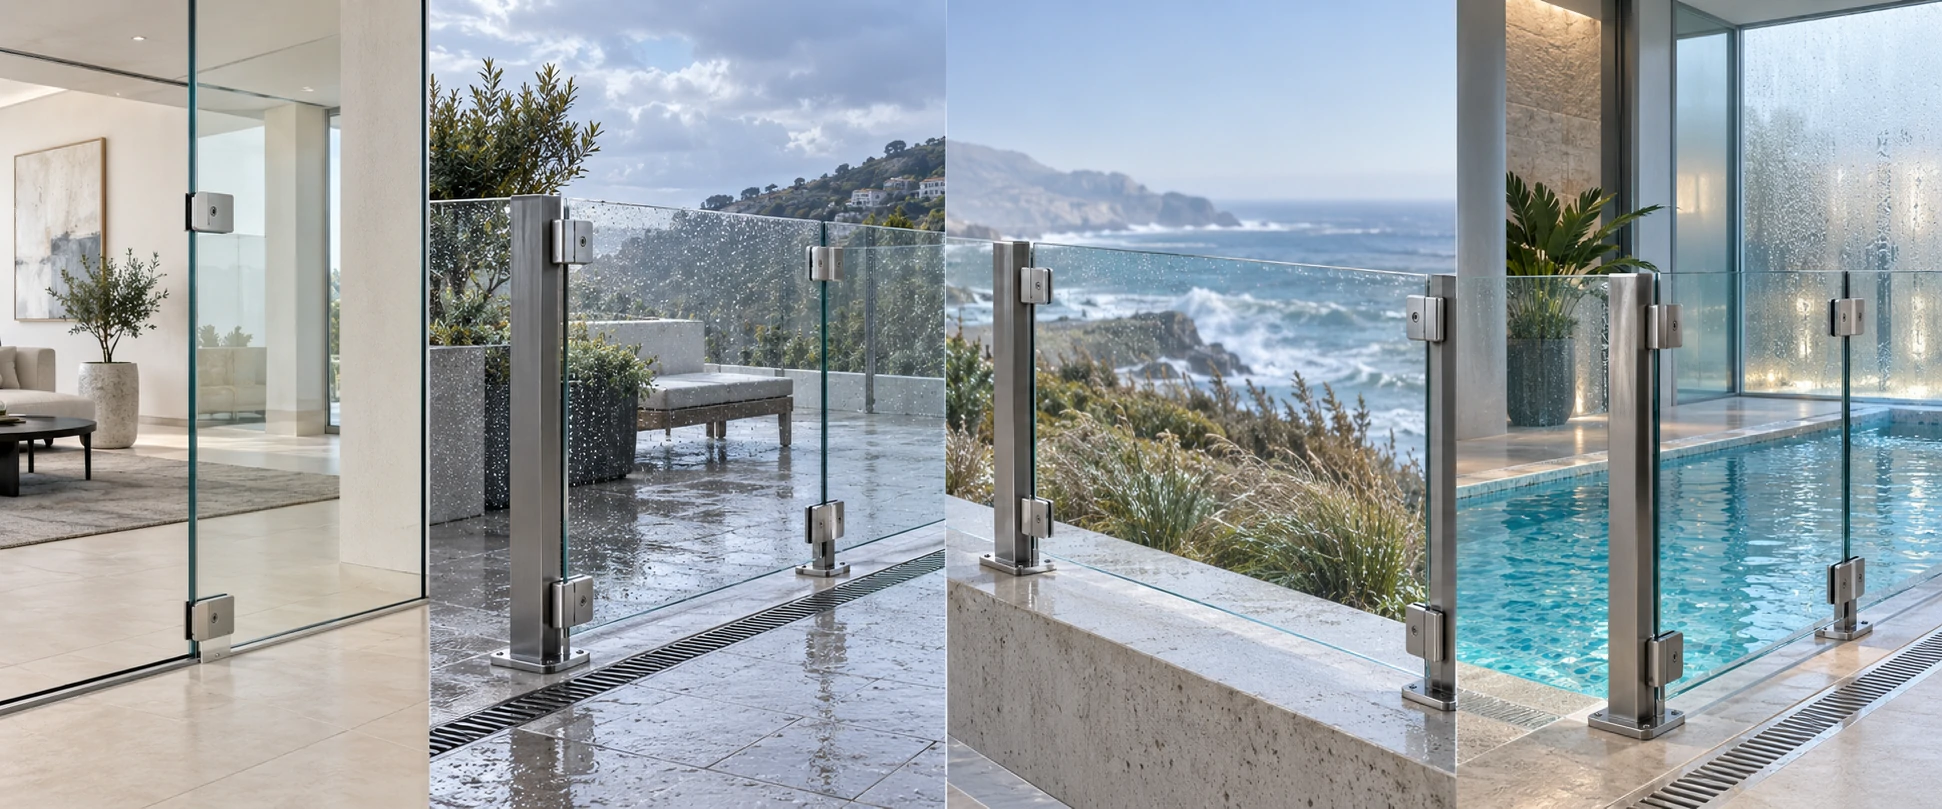
Stainless steel grade and finish should be selected for the actual exposure, not appearance alone. Properly specified 316 stainless steel generally provides better chloride resistance than 304 for coastal, poolside, and similar locations, but design, surface condition, cleaning, drainage, and maintenance still affect long-term corrosion performance.
Specify alloy and appearance separately
“Stainless steel finish” may describe appearance without identifying the base alloy. A purchase specification should state the material grade and the surface finish or coating as separate items. Brushed, polished, mirror, black, bronze, and other appearances can involve different processes and care requirements.
According to the Nickel Institute’s guidance for stainless steel in building and construction 5, alloy selection should reflect the real environment and chloride exposure. Grade 316 is often preferred to 304 where chloride resistance is more demanding 6, but it is not maintenance-free. Rough surfaces, iron contamination, sheltered crevices, and deposits can still cause staining or corrosion.
| Exposure | Selection focus | Service consideration |
|---|---|---|
| Dry interior | Appearance and contact wear | Avoid aggressive cleaners and contamination |
| General exterior | Drainage, pollution, and finish | Inspect sheltered areas and water traps |
| Coastal site | Airborne salt and exposure severity | Use a suitable alloy and cleaning plan |
| Poolside area | Chlorides, humidity, and ventilation | Obtain specialist advice and inspect often |
Exterior details should drain and remain accessible for cleaning 7. Avoid tight crevices that hold contaminants, and use clean tools so carbon-steel particles are not transferred to the surface. A finish sample is useful, but it does not replace a specification for alloy, finish direction, visual tolerance, packaging, and maintenance.
How Do You Build a Reliable Glass Clamp Schedule?
On multi-panel projects, our production team works faster when every location has a clear panel and clamp reference. Without one controlled schedule, decisions become scattered across emails, drawings, and chat messages. That often produces mixed inserts, missing fasteners, or substitutions that no one formally reviewed.
A reliable glass clamp schedule links every panel to its glass specification, dimensions, weight, clamp model, insert, fastener, substrate, edge distance, installation requirement, and exposure class. This record helps purchasing, production, and installation teams work from the same data and prevents unapproved site substitutions.
Use one controlled record
Give every panel a unique ID that appears on the elevation, glass drawing, hardware schedule, and packing list. Link the clamp model to its dimensioned drawing and approved insert. If a revision changes glass thickness or panel size, review the related hardware line again.
| Schedule field | What to record | Who should confirm it |
|---|---|---|
| Panel data | ID, glass type, thickness, dimensions, and weight | Glass supplier and designer |
| Clamp data | Model, orientation, quantity, material, and finish | Hardware supplier and designer |
| Interface data | Insert, hole or edge detail, gaps, and edge distance | Glass and hardware teams |
| Fixing data | Fastener, anchor, post, wall, and substrate | Engineer or responsible installer |
| Installation data | Sequence, specified torque, locking, and access | Supplier and installer |
| Exposure data | Interior, exterior, coastal, poolside, or chemical | Specifier and owner |
Plan installation and future service
Record installation torque only when it comes from verified product instructions or project engineering. “Tighten firmly” is not a controlled requirement, but an invented universal torque is worse. Installers also need the correct sequence so inserts stay seated and panels remain aligned.
For exterior systems, review drainage, crevice corrosion, thermal movement, glass-to-metal isolation, access for inspection, and replaceability. Retightening should not be an automatic maintenance step; it must follow the system supplier’s instructions and project inspection plan. A complete schedule keeps these decisions visible from quotation through installation.
Conclusion
The right glass clamps for panels come from a complete specification, not a visual match. Define the application, connection, glass, insert, load role, substrate, material, exposure, and installation method. For safety-critical work, require verified system information and project-specific code review. Send us your panel schedule and drawings to request a clamp recommendation, quotation, product catalogue, or detailed specification sheet.
Footnotes
1. NGA guidance recommends completing fabrication before heat-treating architectural glass. ↩︎
2. eCFR Part 1201 defines U.S. safety requirements for covered architectural glazing materials. ↩︎
3. ANSI Z97.1 specifies safety performance requirements and test methods for building glazing. ↩︎
4. The 2024 IBC includes guard provisions that reference compliance requirements for glazing used in guards. ↩︎
5. Nickel Institute guidance discusses stainless-steel selection for architectural and construction exposures. ↩︎
6. IMOA’s selection system considers environment, finish, design, and maintenance when choosing architectural stainless steel. ↩︎
7. worldstainless guidance links cleanability and corrosion performance to grade, finish, geometry, and maintenance. ↩︎