Introduction
You’ve reached the most critical stage of the installation. The fixed glass panels are already in place, the posts are set, and now it’s time to hang the swinging gate. This step demands more care than any other part of the fence installation, as even small mistakes can have serious consequences.
Glass is unforgiving. Any direct metal-to-glass contact can lead to immediate breakage or, even worse, hidden stress that causes tempered glass to fail days or weeks later. That’s why correct gasket placement and proper assembly are not optional—they are essential for both safety and long-term performance.
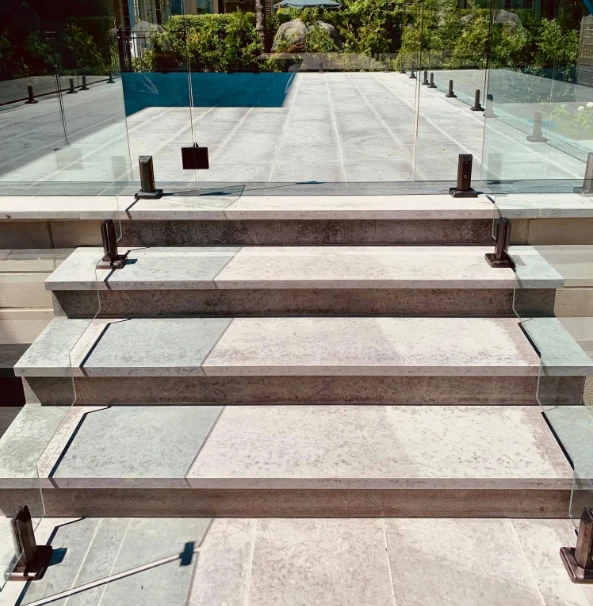
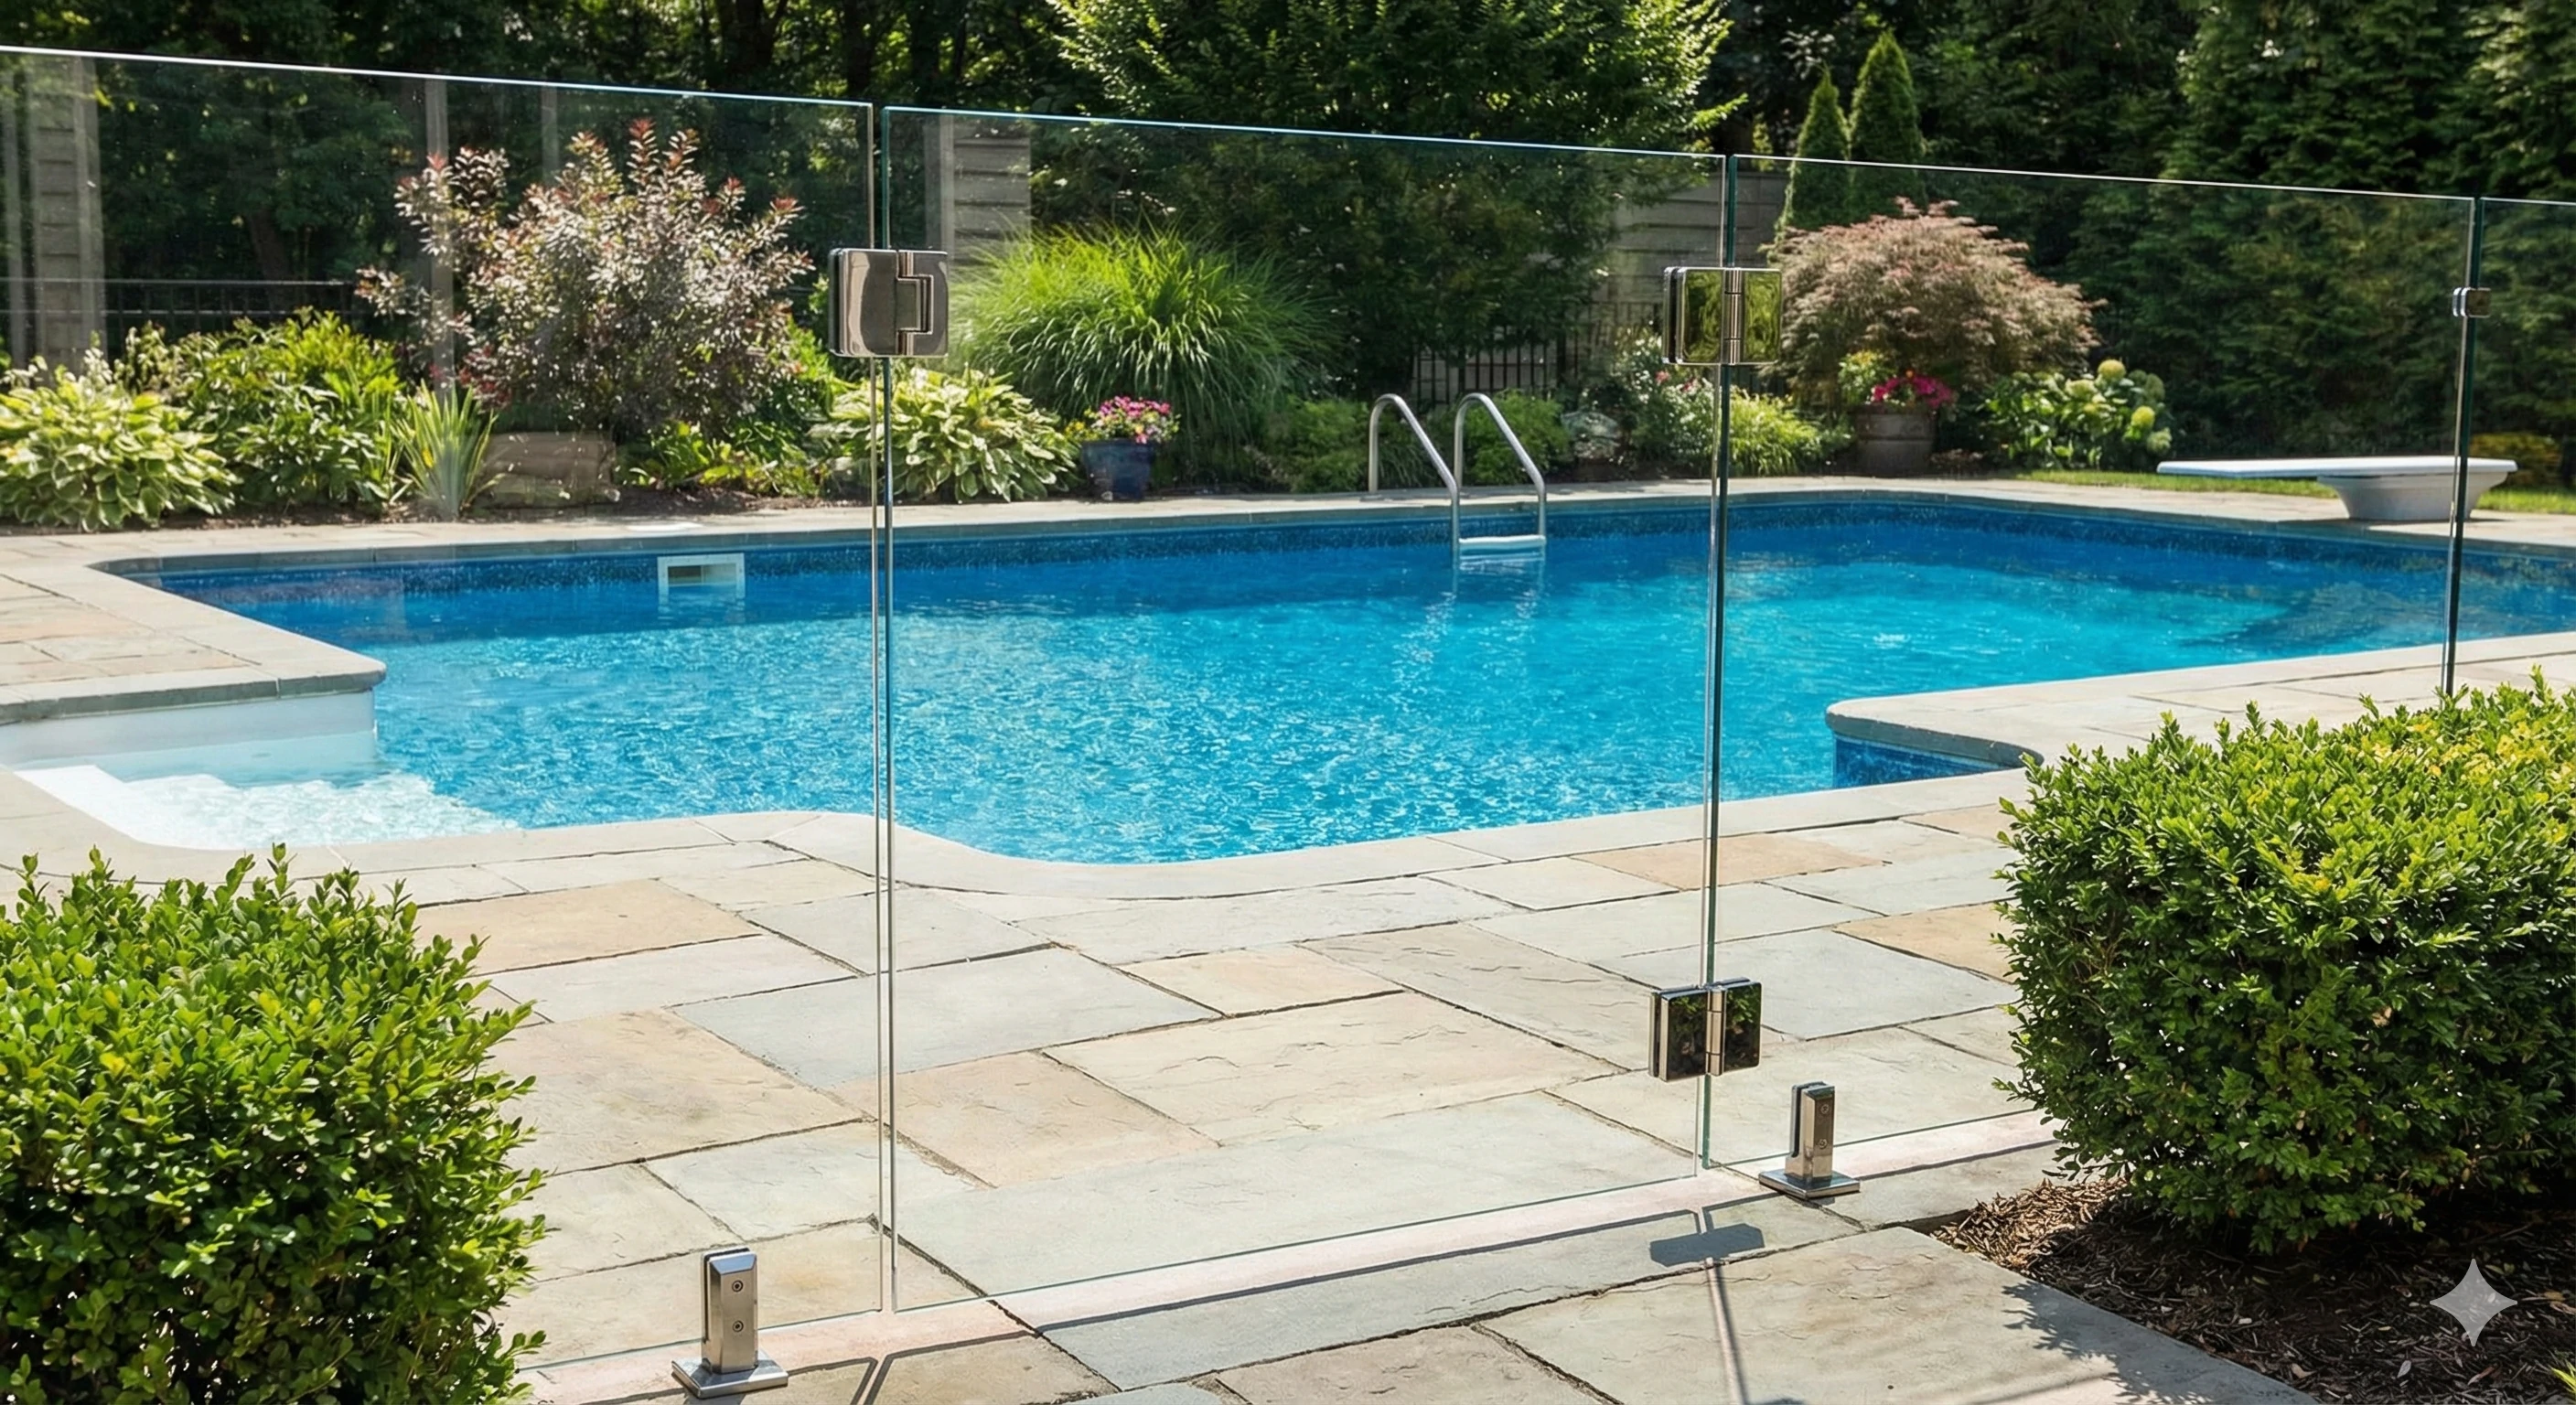
This guide focuses on standard through-glass hinge mounting, where the glass panel is pre-drilled to accept hinge hardware. This method is widely used for pool fencing and frameless glass gates and, when installed correctly, provides a strong, reliable connection that lasts for years.
Preparation: Understanding the "Sandwich" Components
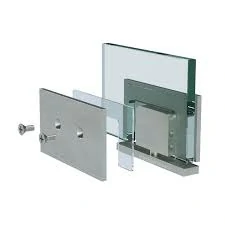
Before installing anything, it’s important to understand how a hinge is meant to interact with glass. A proper hinge connection works like a layered sandwich, with each component serving a specific protective function.
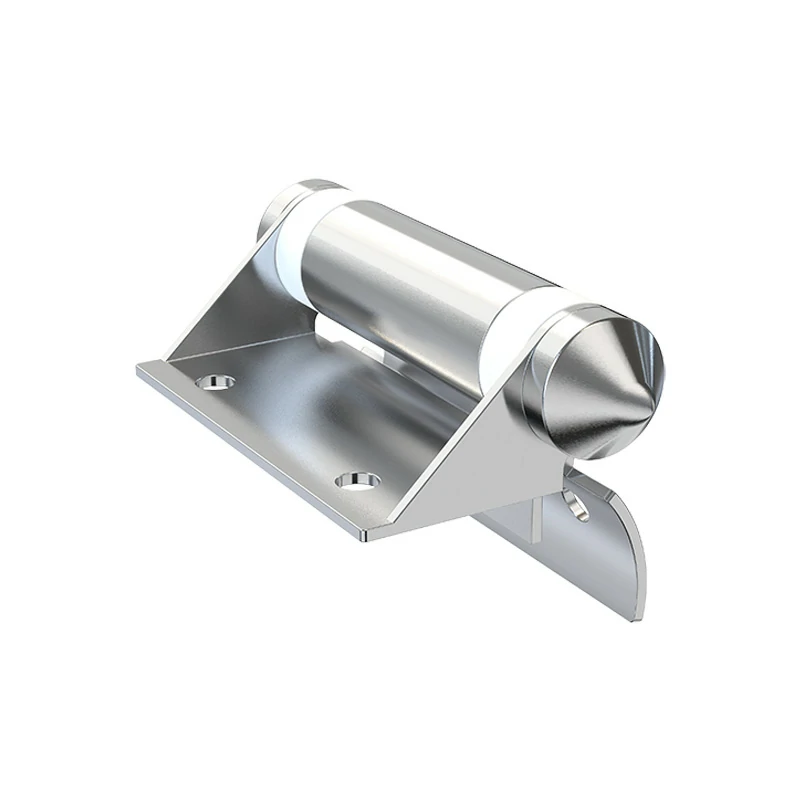
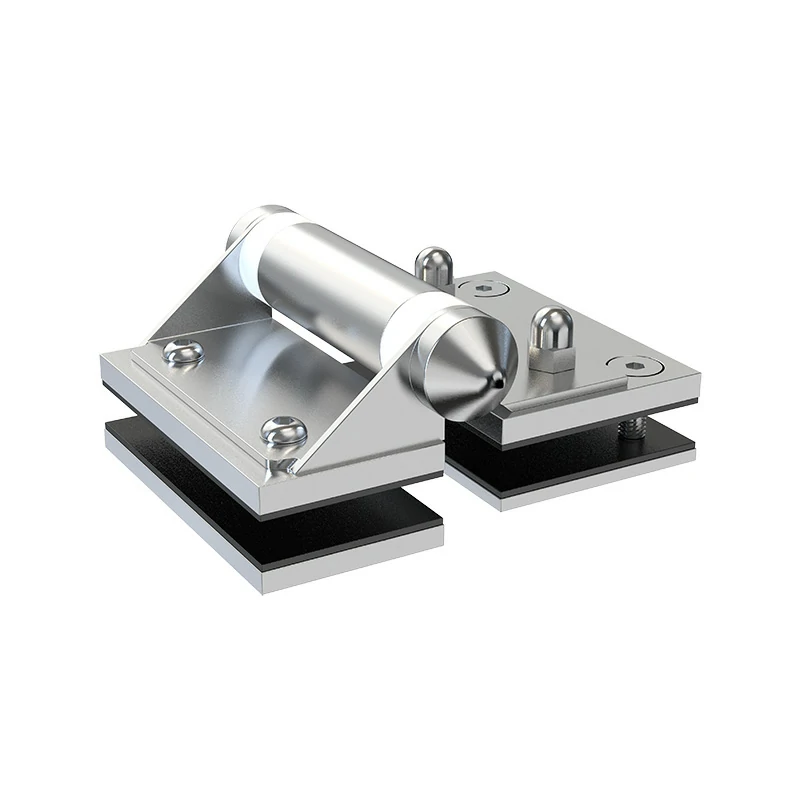
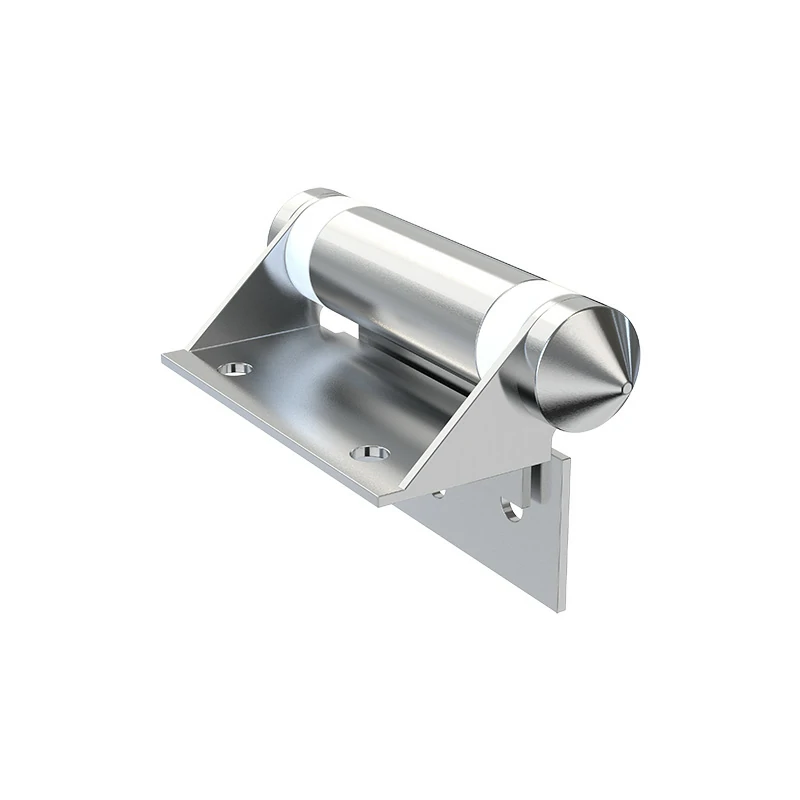
Layer 1: Back Plate (Metal) – The metal mounting plate that sits behind the glass panel and is not visible once installed.
Layer 2: Back Gasket (Rubber/Plastic) – A cushioning layer that prevents the metal back plate from contacting the glass surface.
Layer 3: The Glass Panel – The tempered glass gate itself, with pre-drilled mounting holes.
Layer 4: Front Gasket (Rubber/Plastic) – A second protective layer placed on the visible side of the glass.
Layer 5: Front Plate (Metal) – The decorative cover plate that clamps the assembly together and provides a clean finished look.
Many high-quality hinge kits also include plastic bushings. These small cylindrical sleeves fit inside the drilled holes and prevent the screws or bolts from touching the raw glass edge. If your hinge system includes bushings, they are not optional. They play a critical role in reducing stress inside the hole and must always be installed.
Strategy: Mount to Gate First, or Post First?
Most professional installers follow the same approach: attach the hinges to the swinging glass gate first, while the panel is safely supported on a flat surface. Only after that is the gate lifted and secured to the post or adjacent panel.
There’s a simple reason for this method. Working on a gate that’s lying flat allows you to control gasket placement, plate alignment, and screw engagement without fighting gravity. Trying to mount hinges while holding a heavy glass panel upright is awkward, unsafe, and greatly increases the risk of dropping or damaging the glass.
Step 1: Attaching the Hinges to the Glass Gate

Start by preparing a safe work area. Lay the glass gate flat on padded sawhorses or clean timber blocks. Never place glass directly on concrete, as small debris can easily chip or scratch the edges.
Lay out all hinge components before assembly. Position the back plate beneath the glass, aligning it with the pre-drilled holes. Place the back gasket between the plate and the glass surface. If plastic bushings are included, insert them into the holes first.
From the top side, place the front gasket over the holes, followed by the front plate. Make sure the gaskets fully cover the contact area around each hole so there is no metal-to-glass contact.
Insert the screws or sleeve bolts and tighten them by hand using an Allen key or manual driver. Do not use power tools at this stage, and do not fully tighten the fasteners. The hinge should be secure but still allow for small adjustments later.
Pay close attention to hinge orientation. Most spring-loaded hinges are designed to be installed with the adjustment mechanism or tension collar facing upward. Always confirm the correct orientation with the manufacturer’s instructions before proceeding.
Step 2: Preparing the Gap (The Blocking Method)
One of the most common mistakes during gate installation is trying to support the full weight of the glass gate while fastening it in place. This is not practical and can be dangerous.
The professional solution is the blocking method. Place solid timber blocks or chocks in the gate opening to temporarily support the gate at the correct height. These blocks carry the weight of the glass while you focus on alignment and fastening.
Adjust the block height so the bottom edge of the gate matches the height of the adjacent fixed panels. In most pool fencing installations, this results in a ground clearance of approximately 50 to 100 millimeters. This clearance allows the gate to swing freely and accommodates minor ground variations.
Step 3: Hanging the Gate
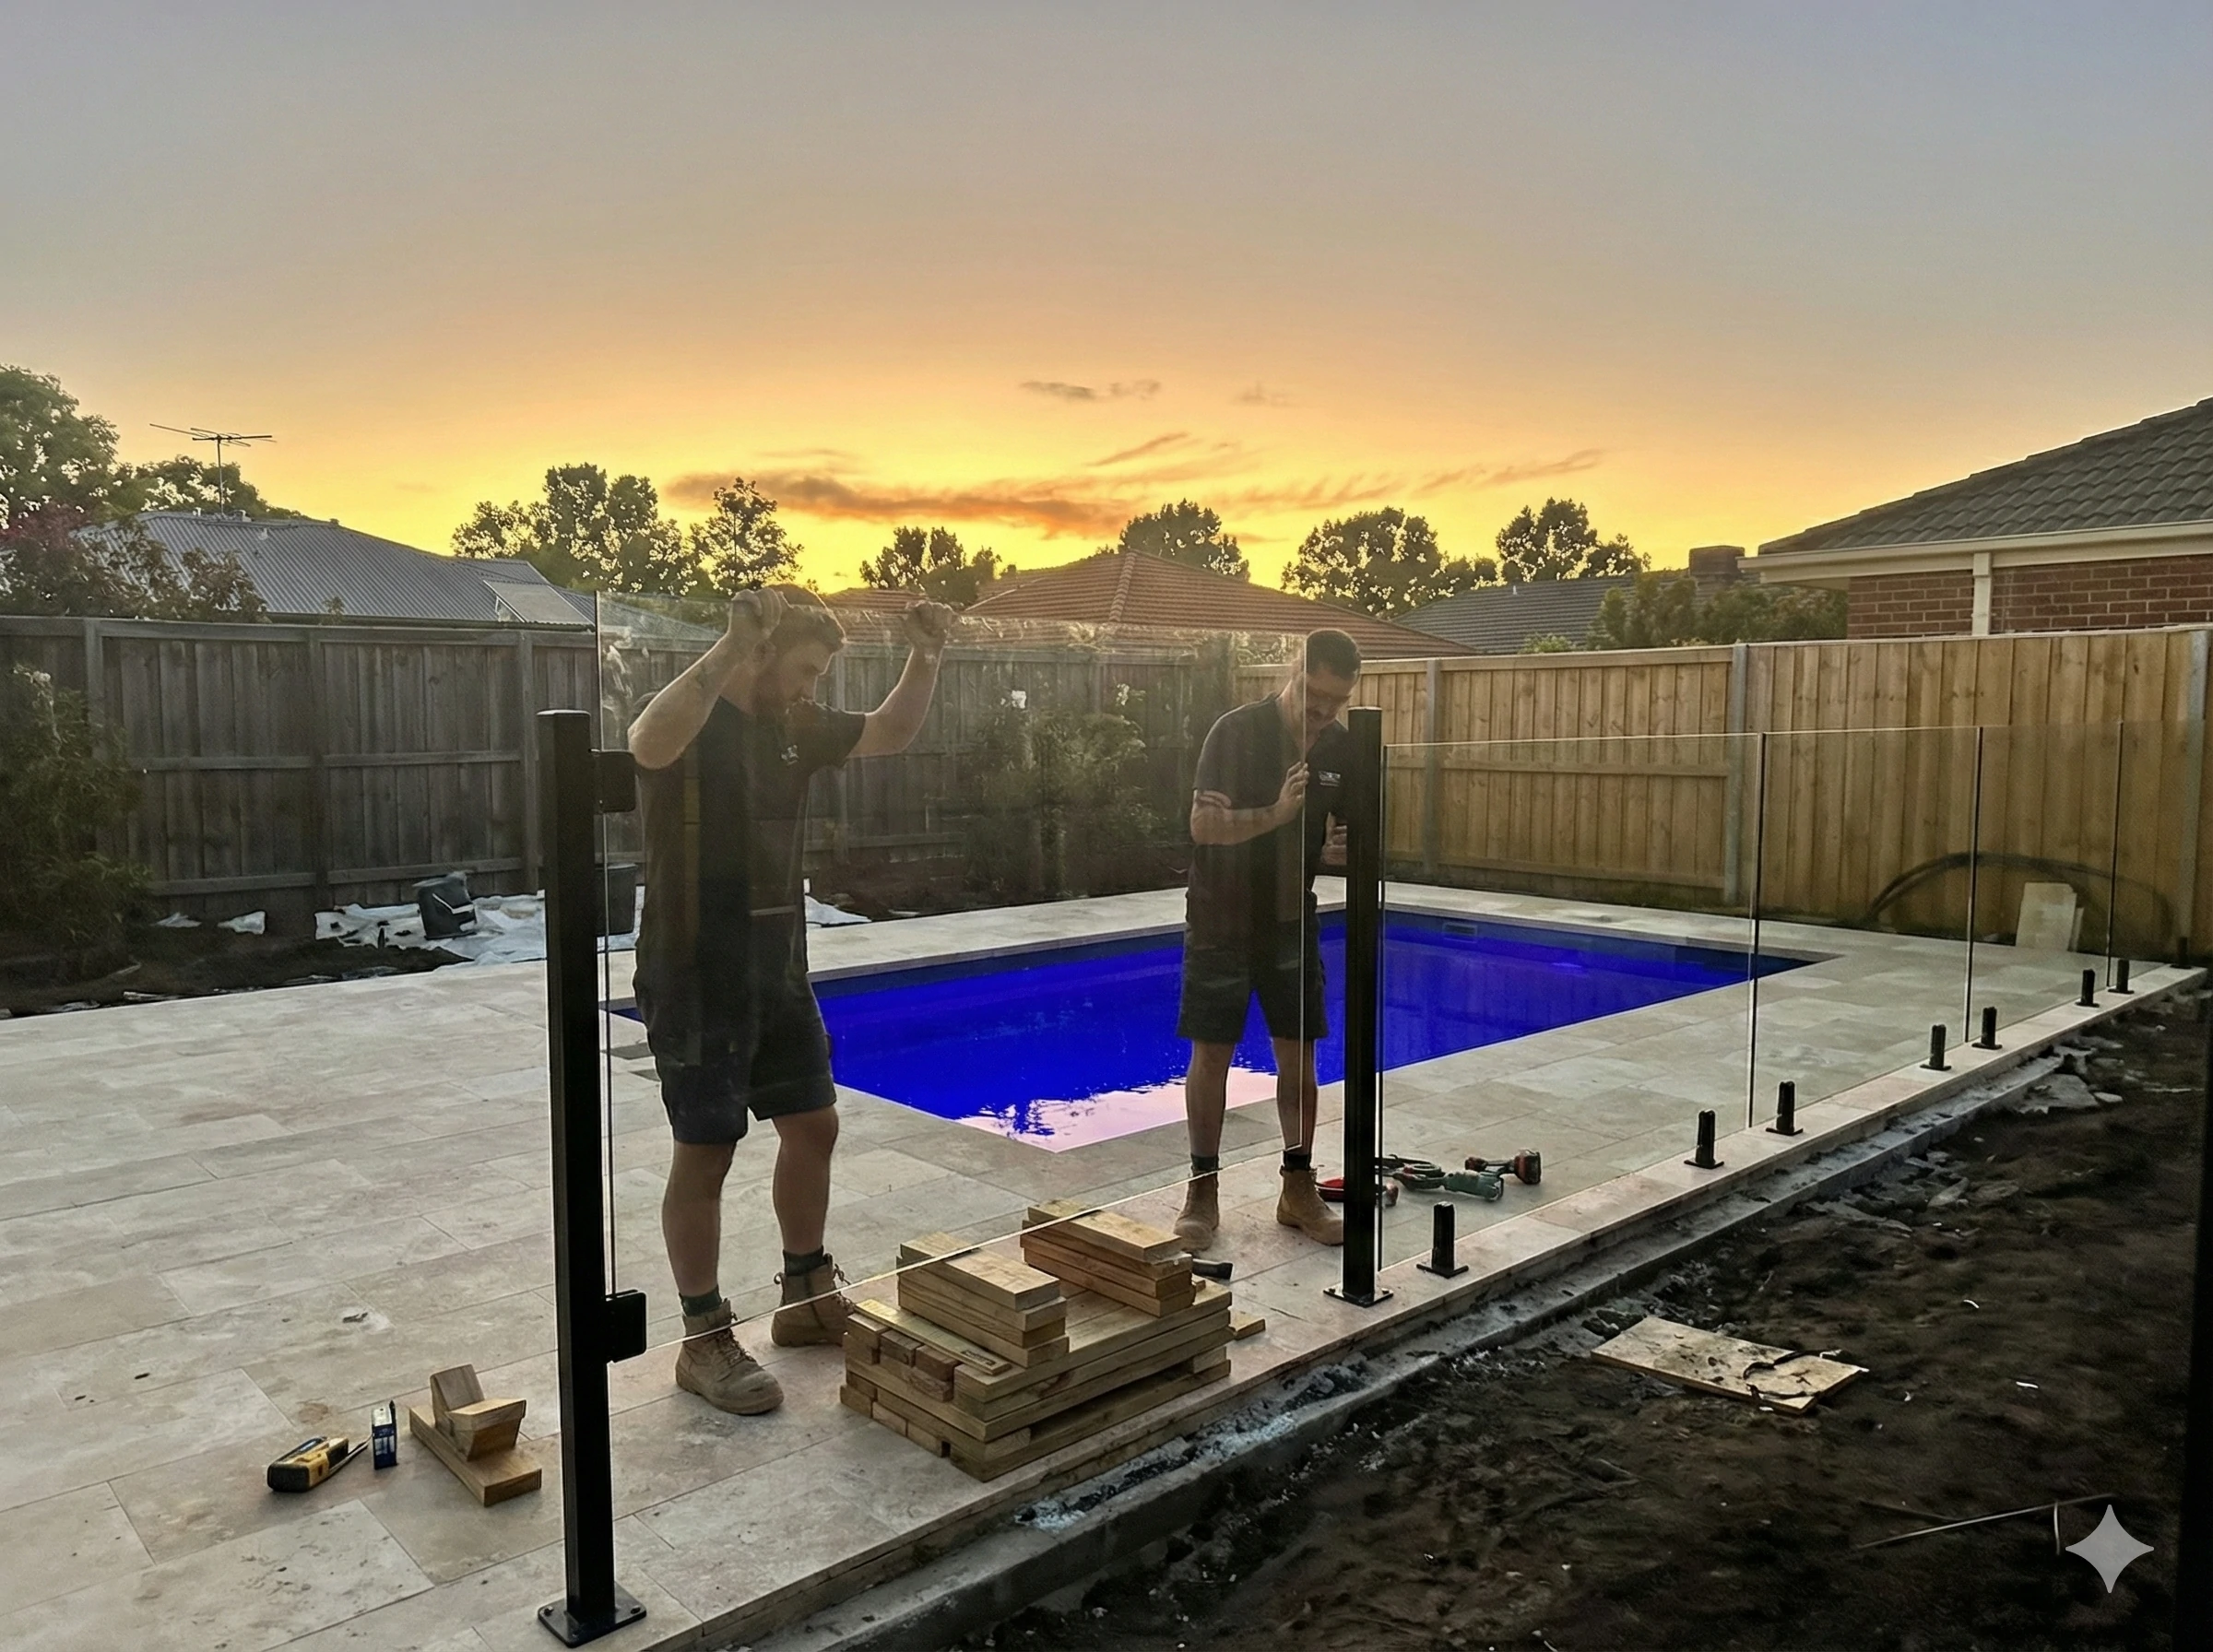
Hanging a glass gate is always a two-person job. One person lifts and supports the gate, while the other aligns the hinges and manages the hardware.
Carefully lift the gate and rest it on the prepared timber blocks. With the weight supported, slide the gate into position until the hinges align with the fixing points on the post or fixed glass panel.
For glass-to-glass installations, repeat the same sandwich assembly on the fixed panel side: back plate and gasket behind the glass, fasteners through the holes, then the front gasket and plate. Tighten all connections by hand only.
For glass-to-wall or glass-to-post installations, secure the hinge leaf to the substrate using appropriate fasteners. Stainless steel screws are typically used for timber posts, while expansion anchors or bolts are required for masonry or metal structures.
Step 4: Final Alignment and Tightening
With the gate supported and all hinges loosely attached, you can begin final alignment. This step determines how smoothly the gate will operate over time.
Check the gap on the latch side of the gate. This gap must match the latch manufacturer’s requirements, typically between 8 and 10 millimeters. An incorrect gap can prevent the latch from functioning properly.
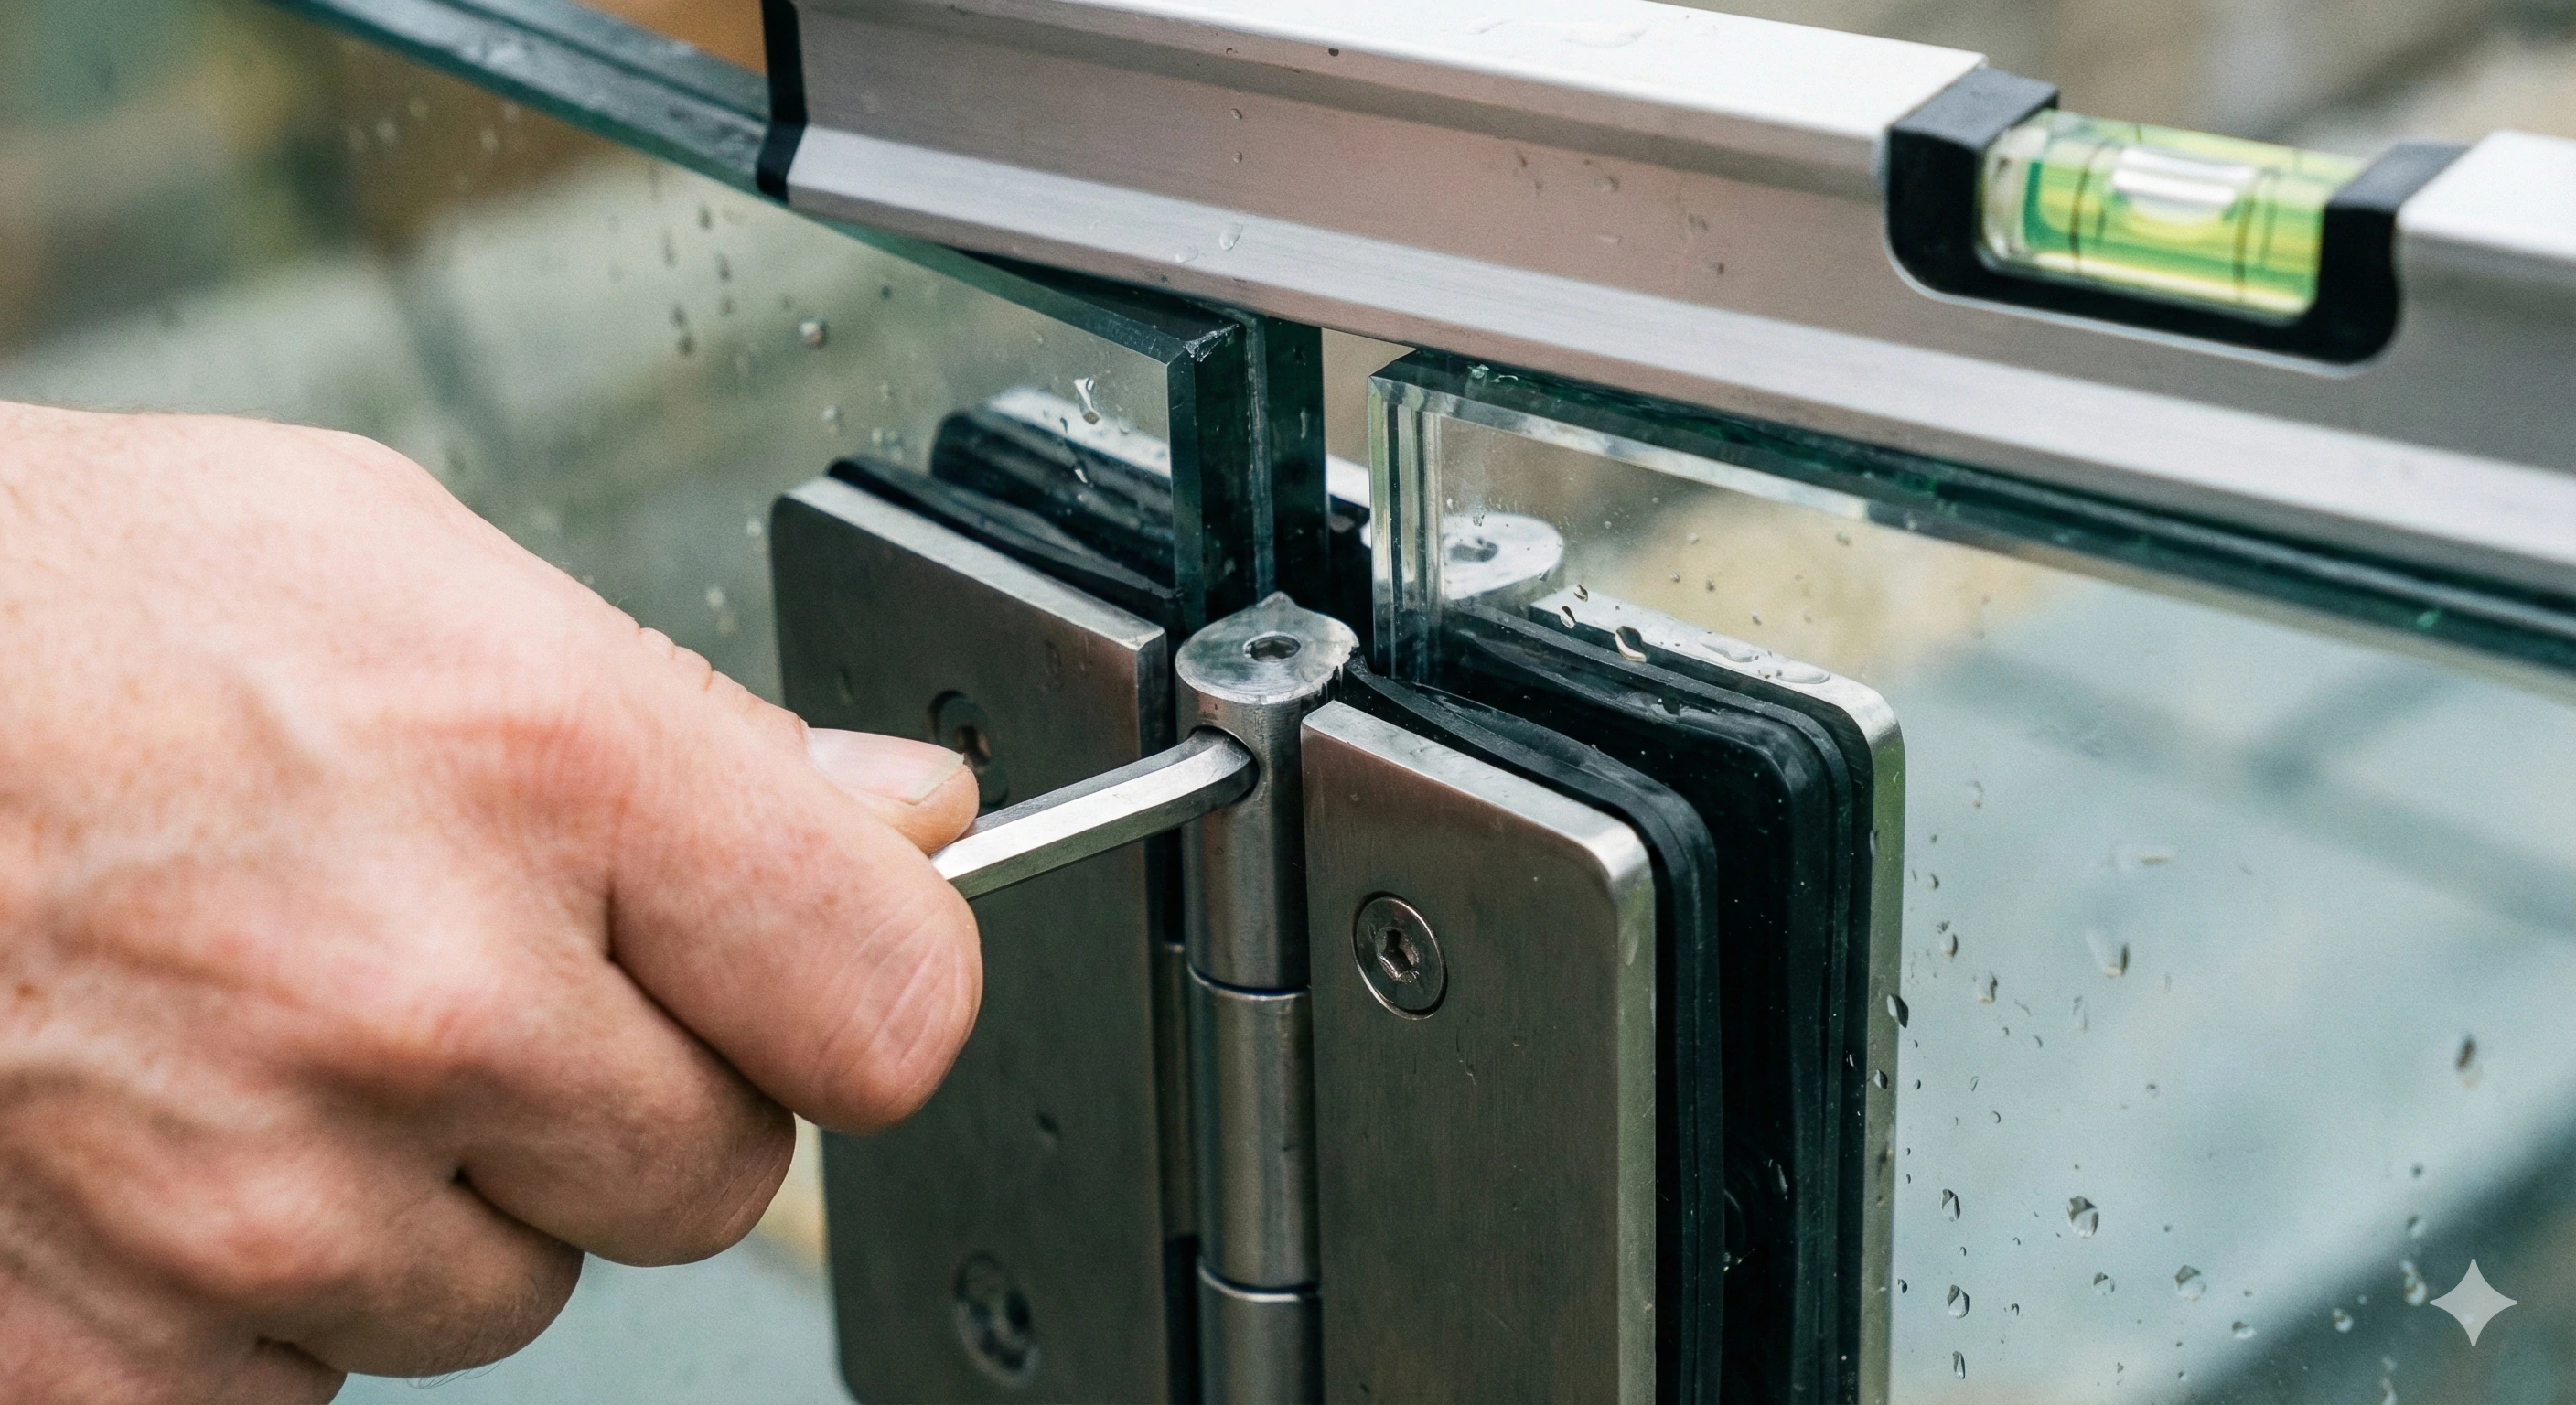
Use a spirit level to ensure the gate is perfectly horizontal. Small adjustments can be made by shifting the gate slightly on the blocks. Also check that the gate is plumb when viewed from the side.
Once alignment is correct, tighten all hinge fasteners gradually. Alternate between screws, tightening each in small increments to ensure even pressure across the gaskets.
The correct torque is firm but controlled. The gaskets should compress enough to create a secure seal, but the metal plates should never bend or deform. Over-tightening creates unnecessary stress in the glass and can lead to failure over time.
Remove the timber blocks and test the gate. It should swing smoothly, without binding, scraping, or changes in gap width.
Troubleshooting: Why Doesn't It Fit?
Holes don’t line up:
First, confirm that the glass panel is oriented correctly—some panels have different hole spacing at the top and bottom. Measure the hole centers and compare them to the hinge specifications. If the holes were drilled incorrectly, the glass must be replaced. Tempered glass cannot be re-drilled under any circumstances.
Hinge slipping or feeling loose:
This usually indicates missing gaskets or incorrect gasket thickness. Gaskets must match the glass thickness exactly. Using thicker gaskets than required will prevent proper clamping and lead to movement.
Gate won’t close or latch properly:
Recheck the latch-side gap. It may have shifted during tightening. Loosen the fixed-side hinge slightly, adjust the gate position, and retighten. If problems persist, verify that posts are plumb and correctly spaced.
Conclusion
Installing glass hinges is a precise process, but it becomes straightforward once the fundamentals are understood. Proper gasket placement protects the glass, blocking supports safe installation, and careful alignment ensures long-term performance.
Take your time and work methodically. Rushing this step can introduce hidden stress that may not appear immediately but can cause failure later. When installed correctly, a frameless glass gate will operate smoothly and reliably for years.
Frequently Asked Questions
Do I put the hinges on the gate or the post first?
It is generally best to attach the hinges to the glass gate first while it is resting on a stable surface. This provides better control and reduces installation risk.
What happens if I forget the plastic gaskets?
Without gaskets, metal contacts the glass directly, creating stress points that can cause tempered glass to shatter immediately or fail later. Gaskets are essential safety components.
How much gap should be between the glass panels?
Both hinge-side and latch-side gaps typically range from 8 to 10 millimeters, depending on hinge and latch specifications. Always follow the hardware manufacturer’s recommendations.