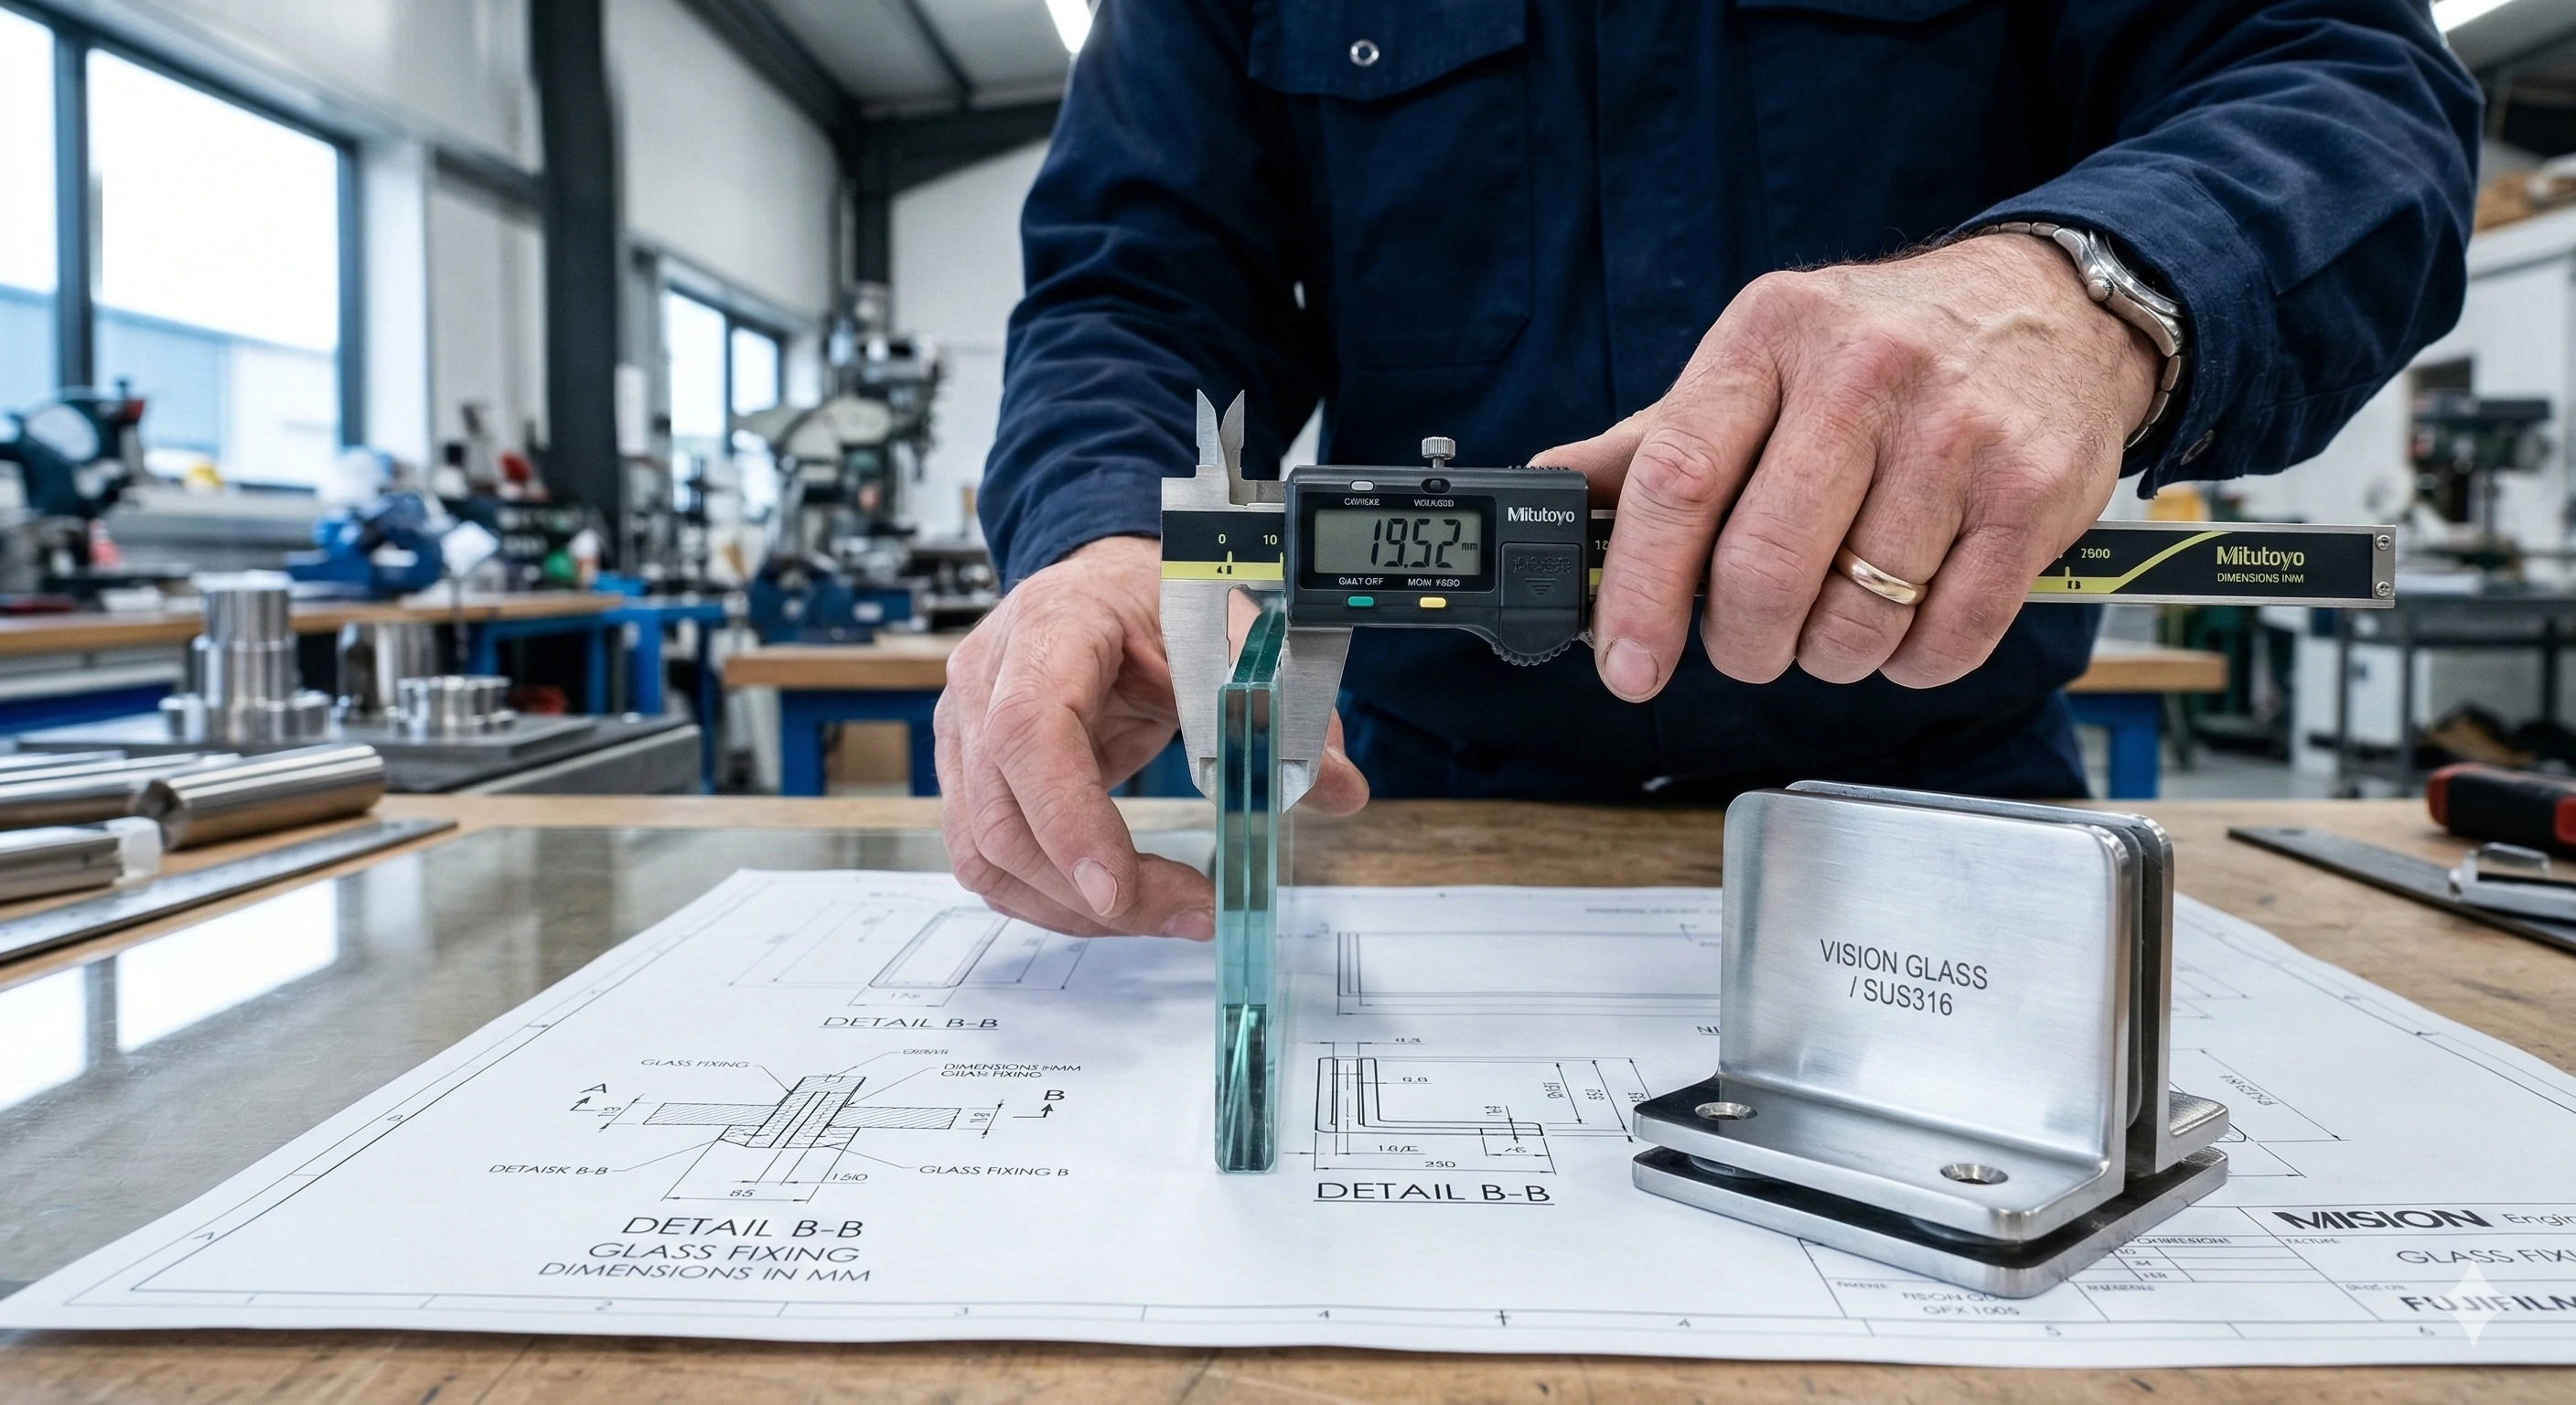
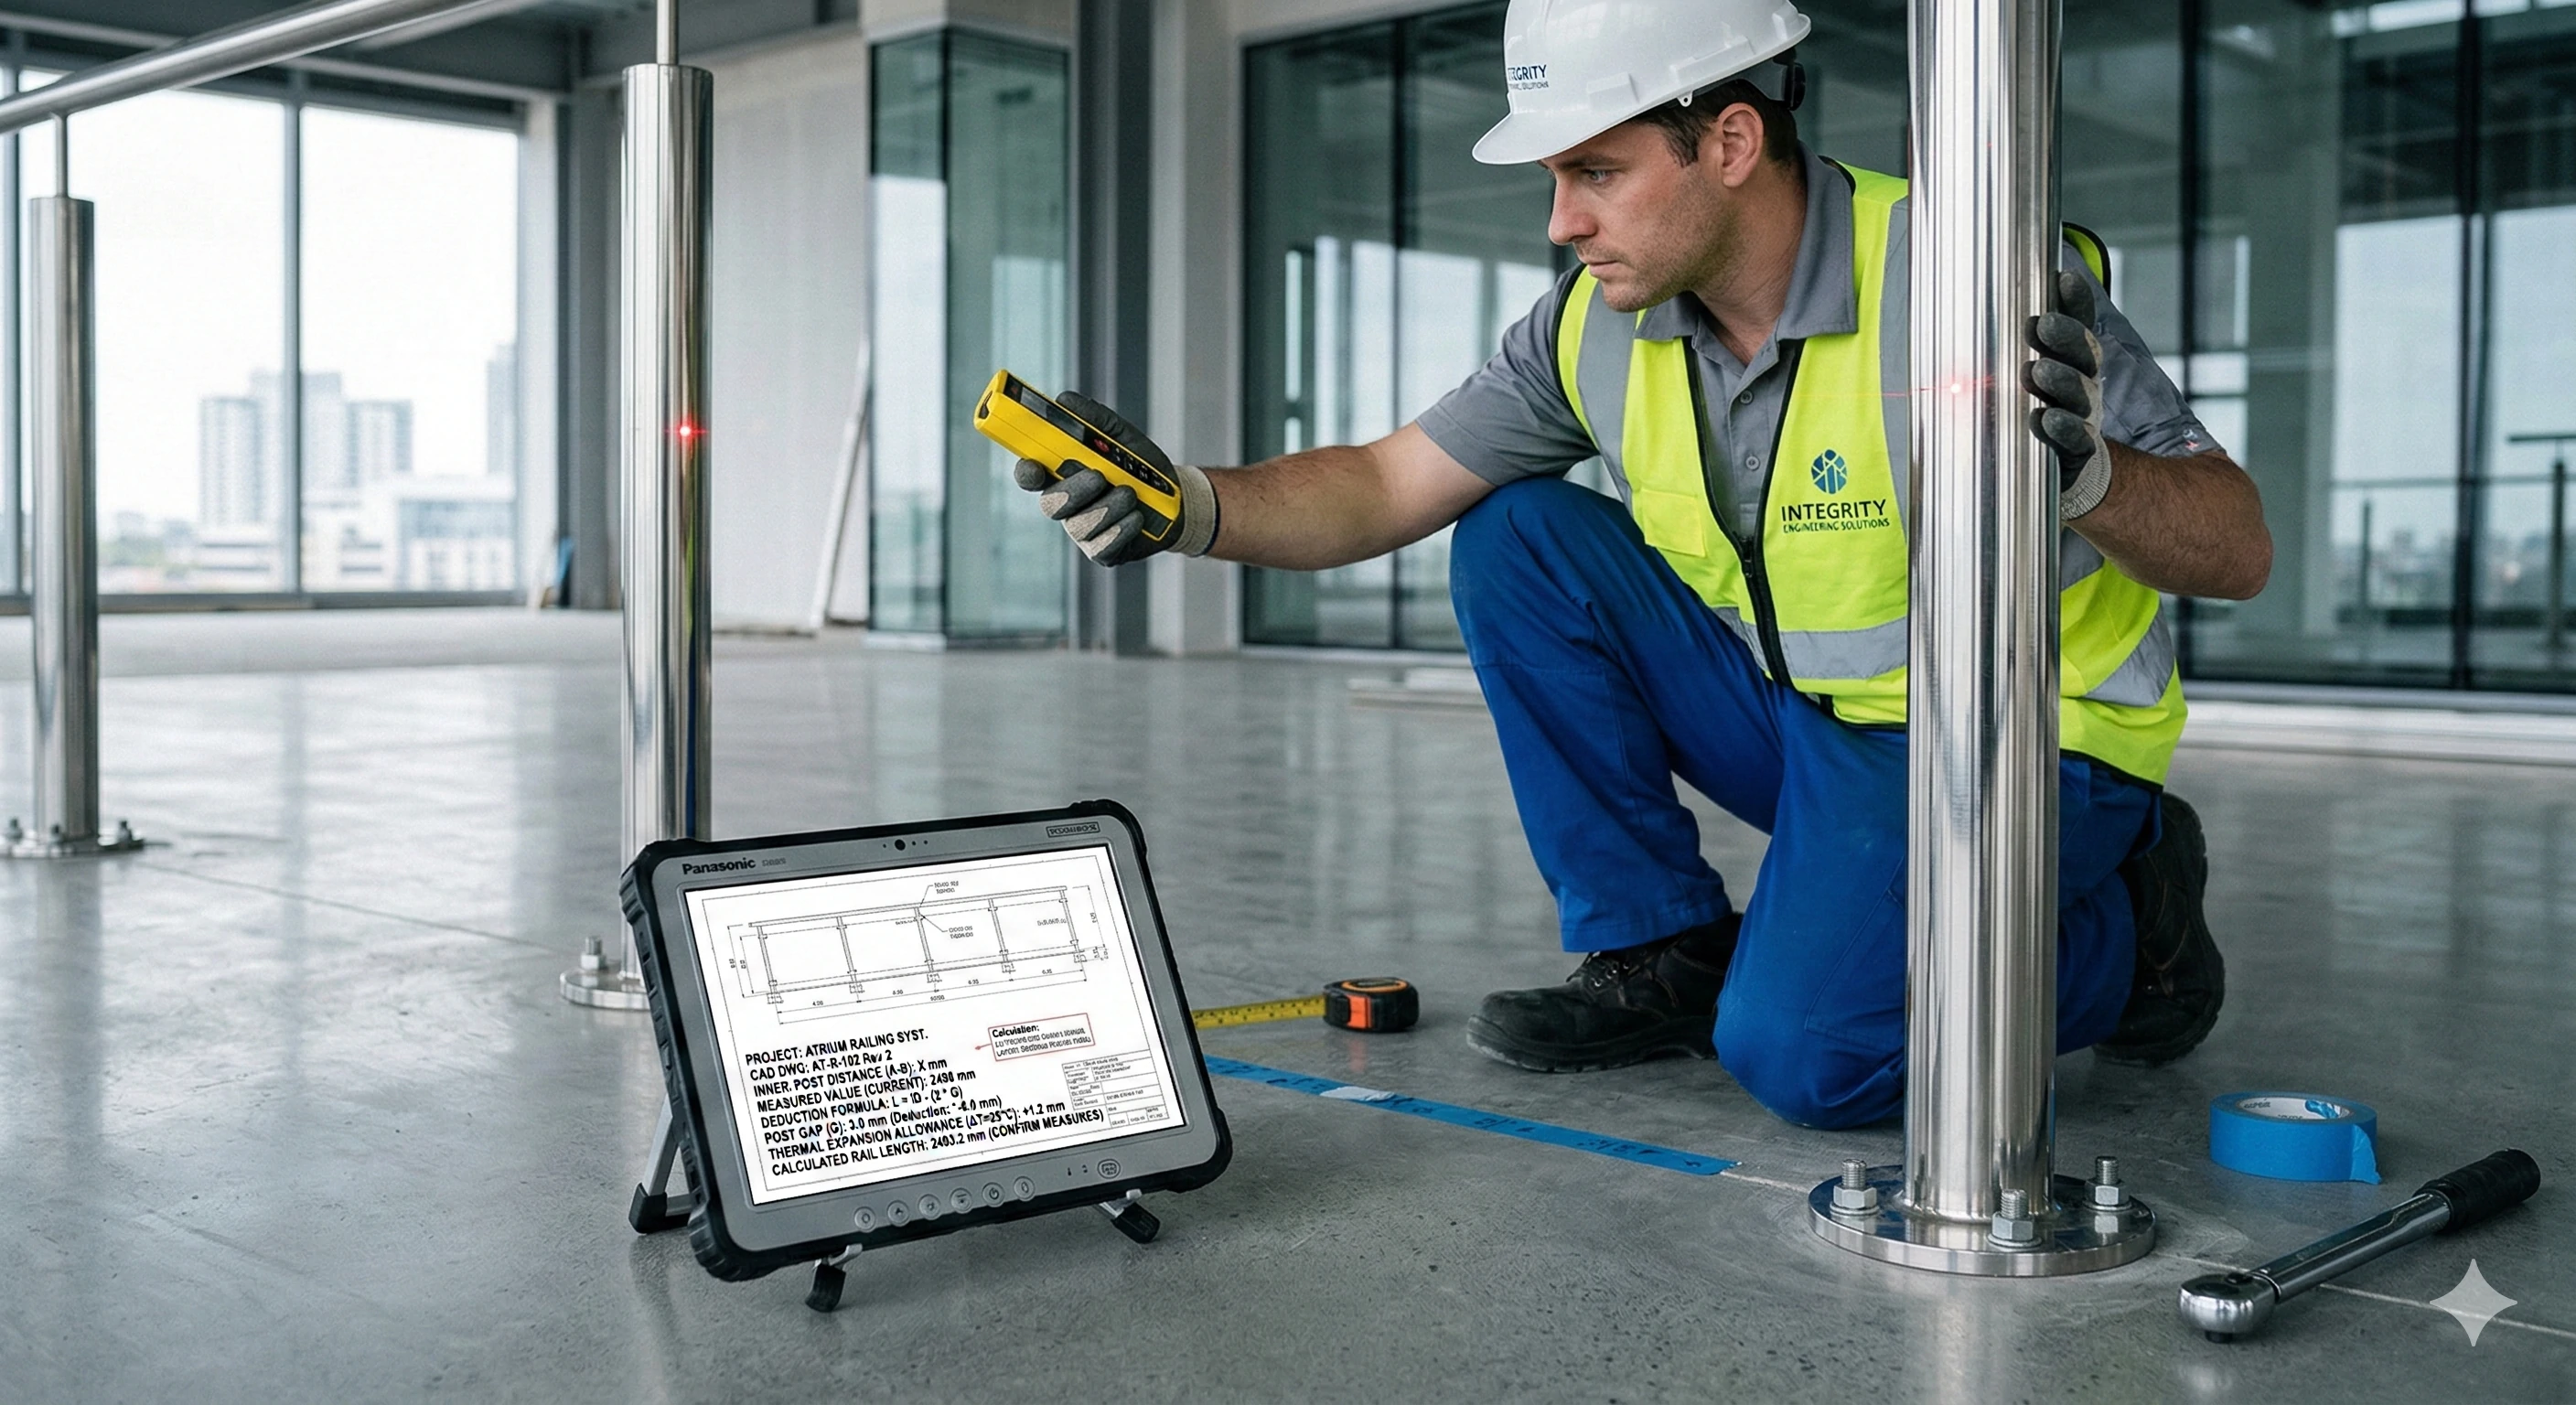
In carpentry, the golden rule is measure twice, cut once. For glass installation, the standard is even stricter: measure thrice, never cut a single time. cannot be cut, drilled, or sanded down once manufactured—an error of just 3 millimeters in your glass holder bracket measurements will render the entire glass panel useless. This guide breaks down the exact formulas and physical checks needed to get your layout perfect, ensuring your tempered glass fits your stainless steel brackets flawlessly on the first try.
Step 1: Determine the Glass Thickness – The Foundation for Gasket Compatibility
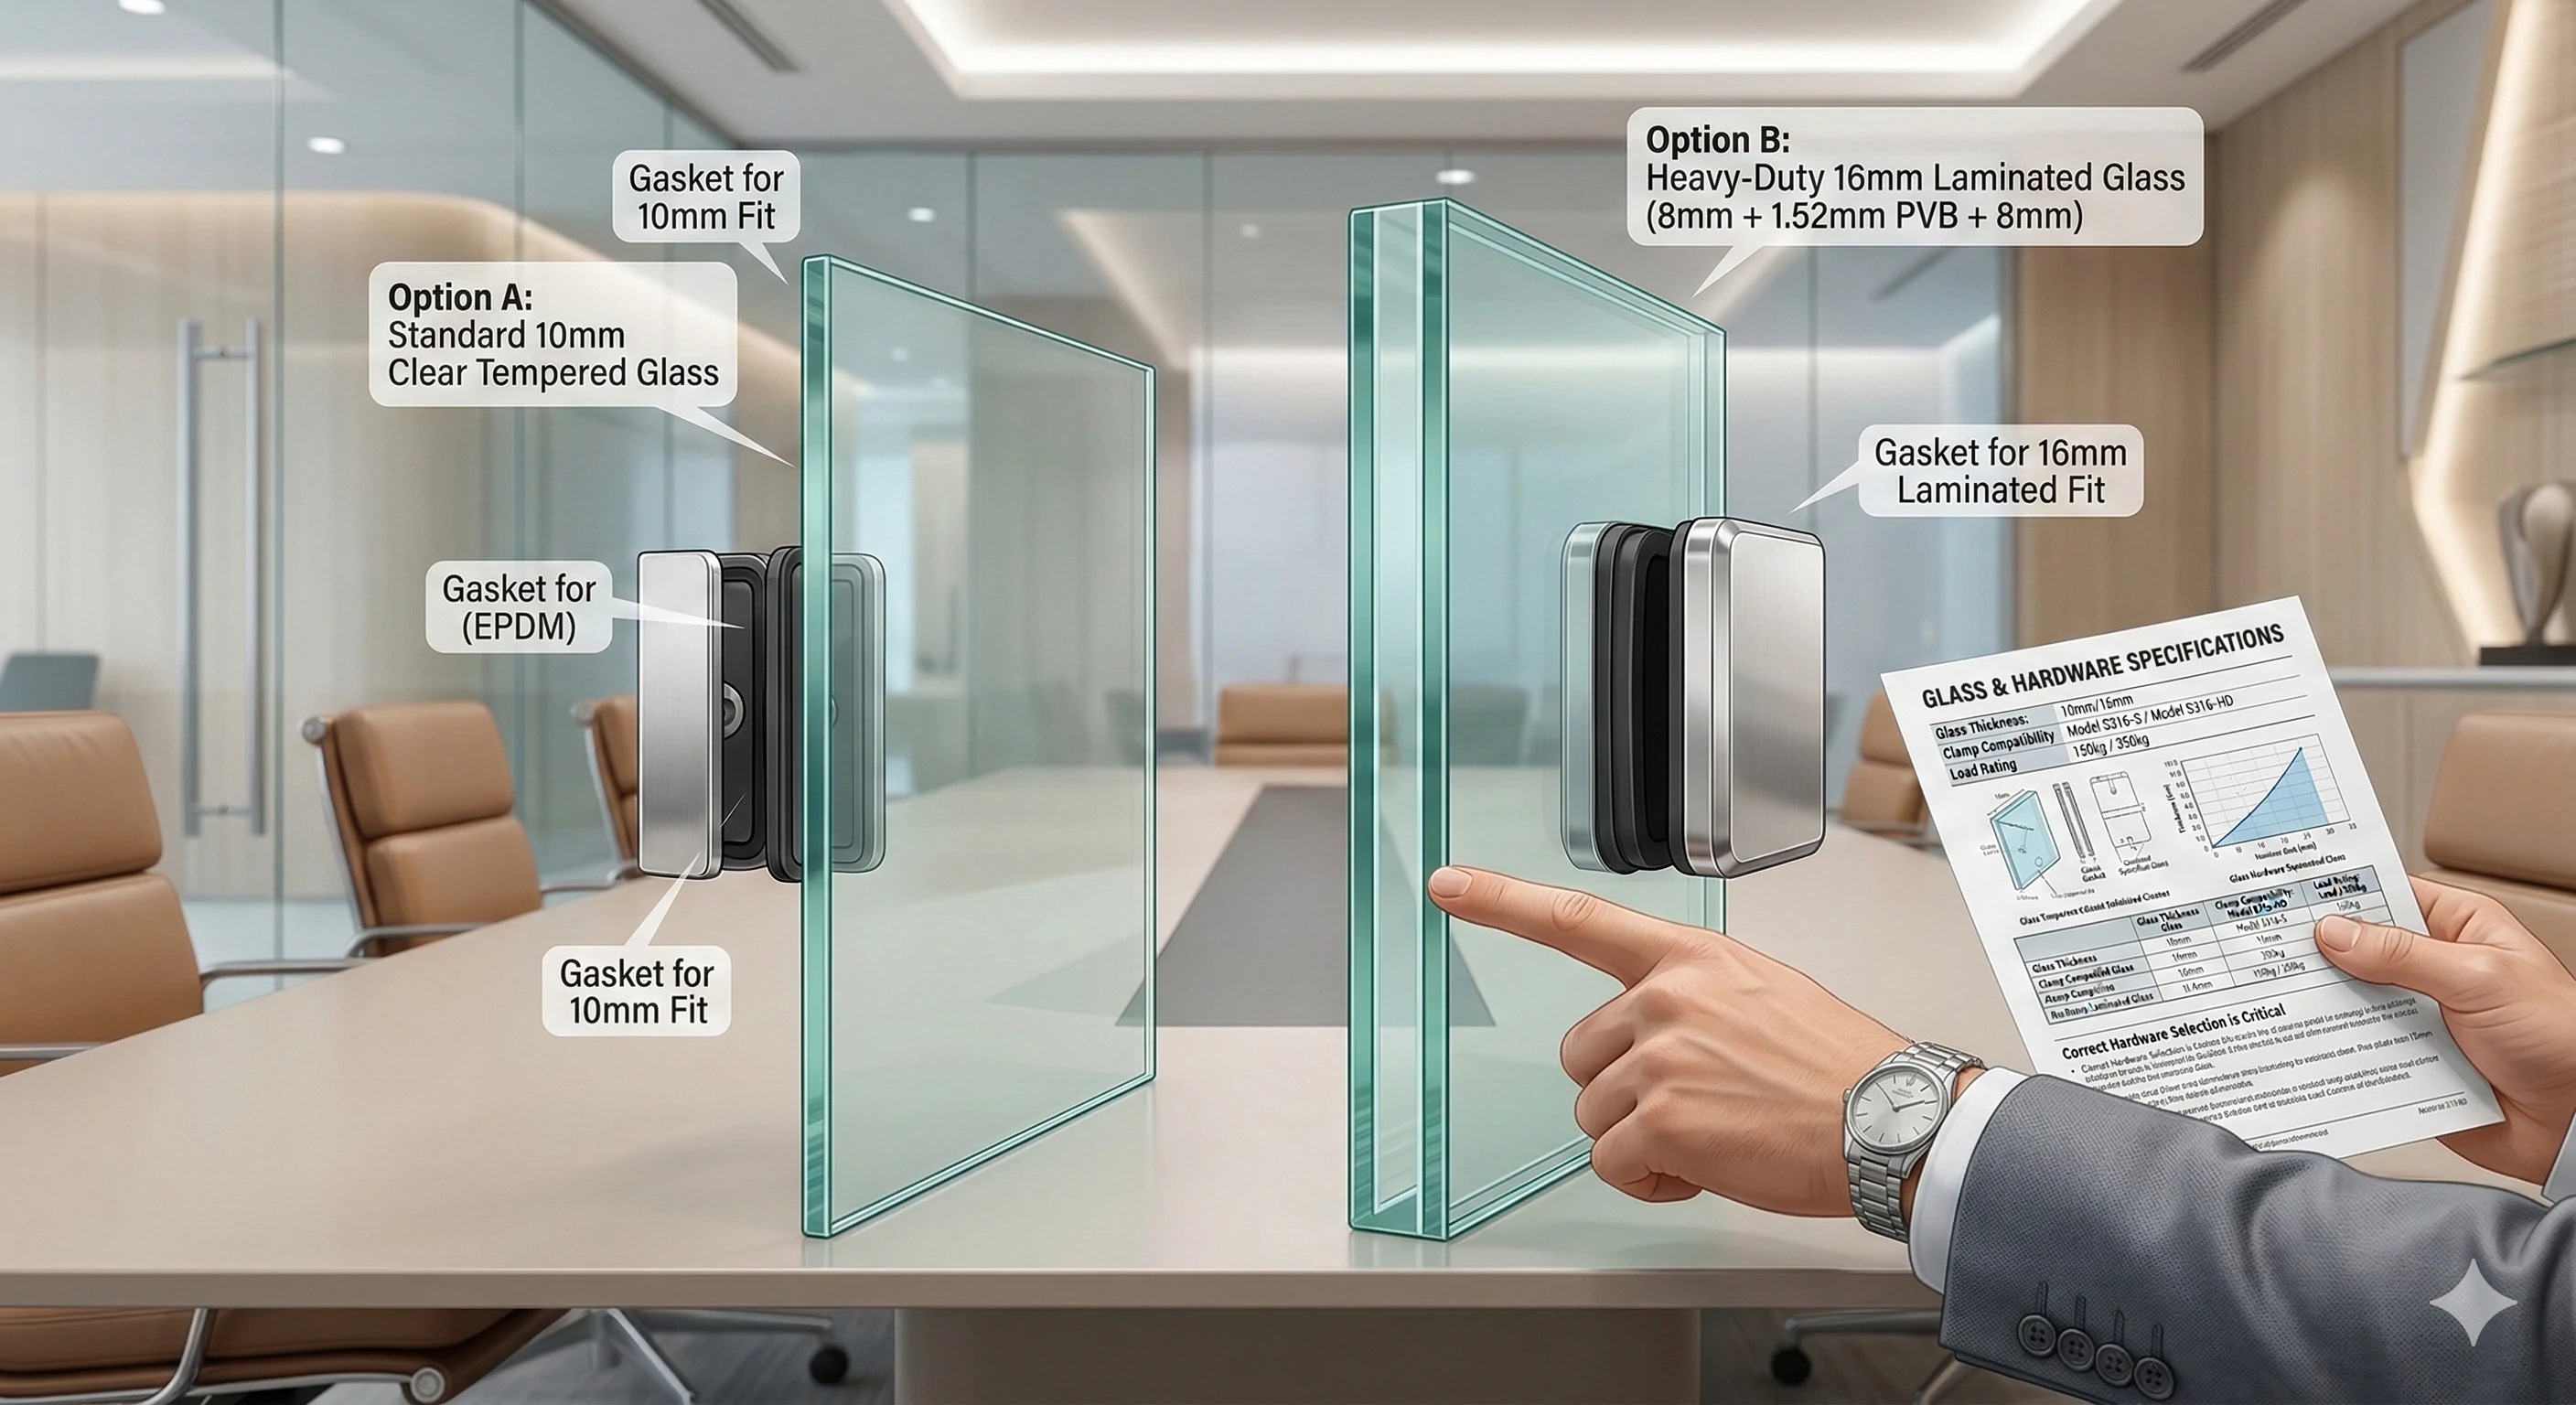
Before measuring the length or height of your glass, you must first confirm its thickness. This is the critical first step in selecting matching brackets and directly determines whether the bracket can clamp the glass securely and safely.
• Standard Thickness Sizes: Residential glass railing systems typically use 10mm (3/8") or 12mm (1/2") single-pane tempered glass. Commercial high-rises require higher safety standards and use thicker , with 17.52mm being the most common specification.
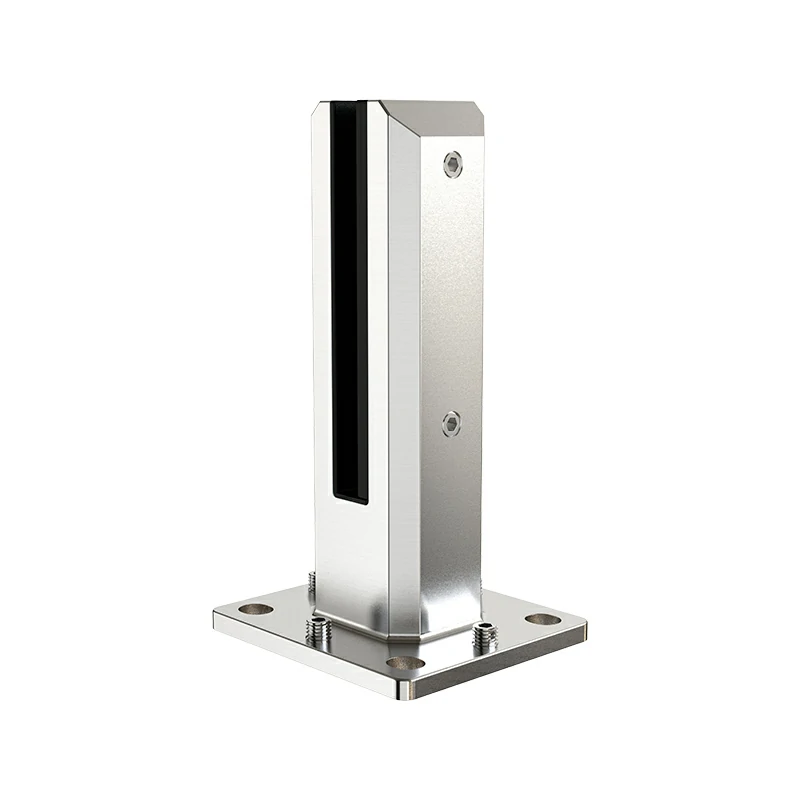
• Hardware Compatibility Rule: Glass holder brackets are not one-size-fits-all. They come with engineered for a specific glass thickness—you must order brackets with the exact gasket size for your glass. A 10mm gasket on a 12mm glass panel will prevent the bracket from closing fully, leading to insufficient clamping force and a serious risk of the glass loosening or falling. Conversely, a gasket sized for thicker glass will cause uneven pressure on the glass edge due to over-compression.
Step 2: Calculate the Glass Width – The Core Deduction Formula (Key to Zero Error)
This is the most critical calculation for side-mount brackets like D-clamps and square clamps. It requires precise computation of the actual glass width by deducting bracket-to-post gaps and leaving a small allowance for .
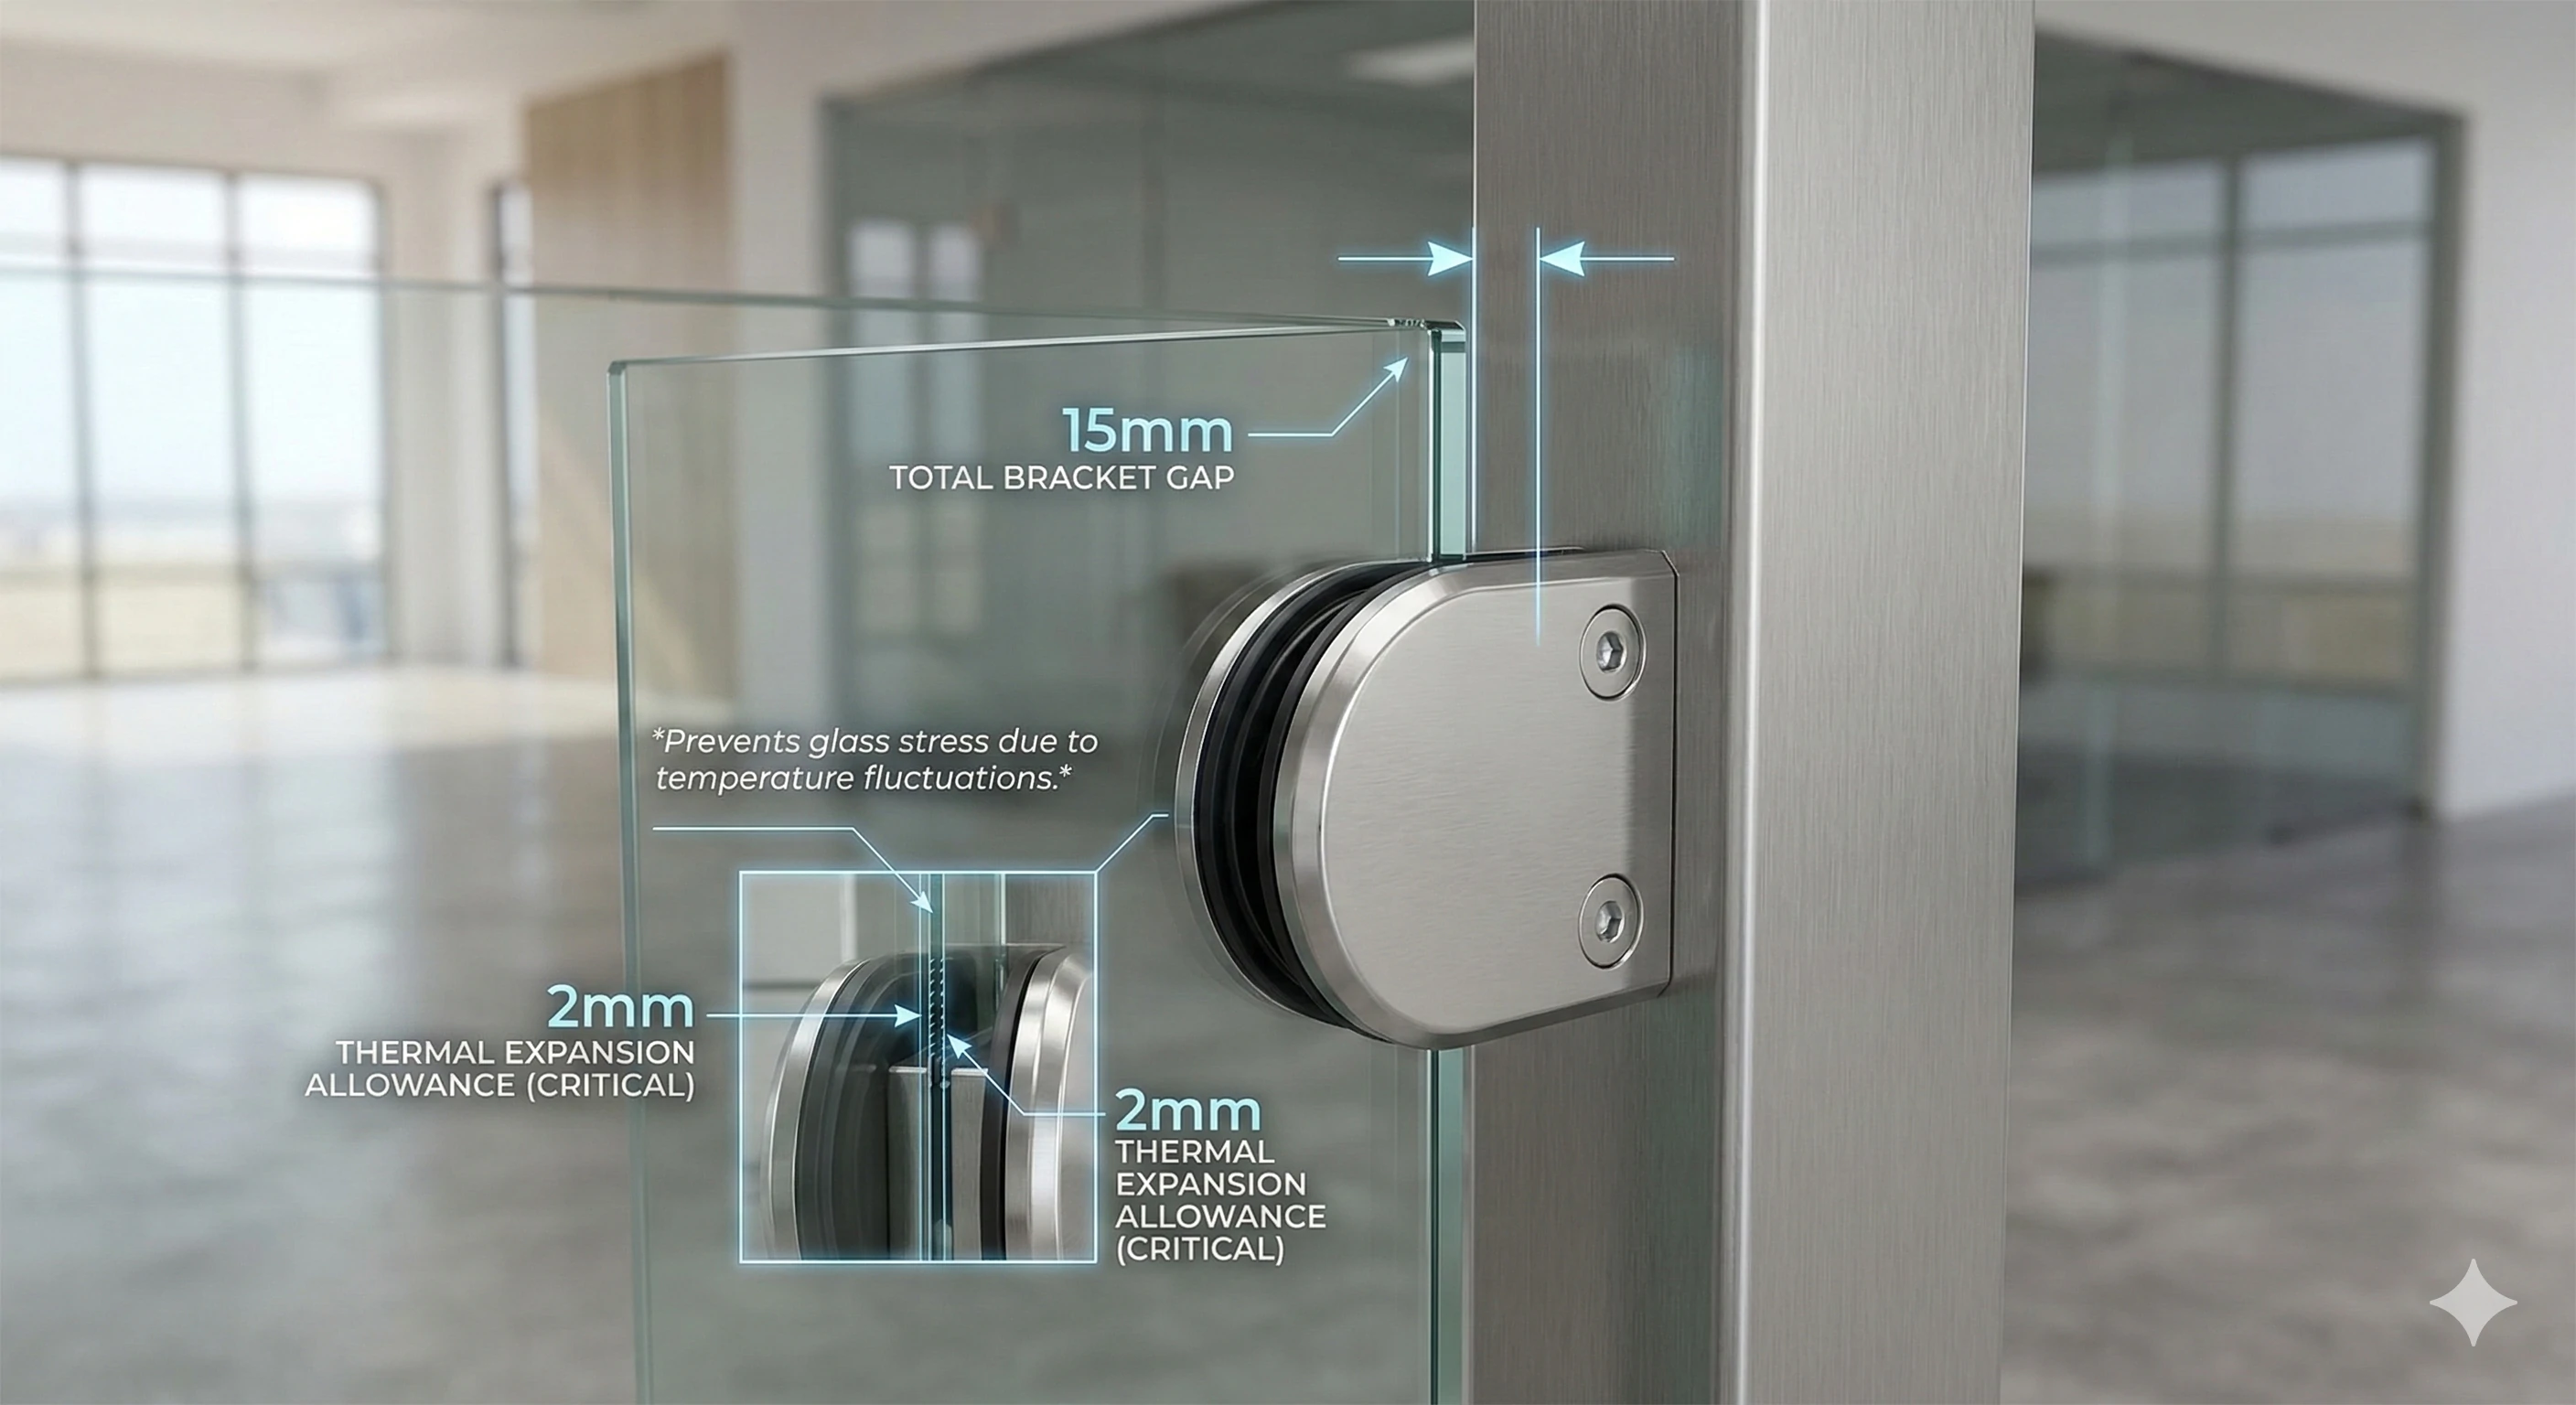
Core Deduction Formula
Total Inner Post-to-Post Distance − Double-Sided Bracket Gap Deduction − Thermal Expansion Allowance = Actual Glass Panel Width
Formula Breakdown & Practical Tips
-
Measure the total inner post-to-post distance: Secure the two vertical stainless steel posts to the floor first, then measure the net inner distance between them—this is your baseline measurement.
-
Determine the bracket gap deduction: When mounted on the inner side of posts, brackets hold the glass a fixed distance away from the post (15mm to 20mm per side is the industry standard). Confirm the exact gap for your chosen brackets, then calculate the double-sided deduction = single-side gap × 2.
-
Example calculation: If the inner post-to-post distance is 1000mm and the single-side bracket gap is 20mm, the double-sided deduction is 40mm, giving a preliminary glass width of 960mm.
-
Add a thermal expansion allowance: Glass expands and contracts slightly with temperature changes. Never measure the glass to touch the metal of the bracket—leave a 2mm expansion gap (included in the total deduction). For the example above, the final actual glass width is 958mm.
Step 3: Measure for Pin-Fit vs. Friction-Fit Brackets – Targeted Sizing for Holes or Outer Dimensions
Glass brackets fall into two main categories: friction-fit and pin-fit, each with entirely different measurement priorities. Pin-fit brackets require drilling and demand the highest level of precision, while friction-fit brackets are more straightforward.
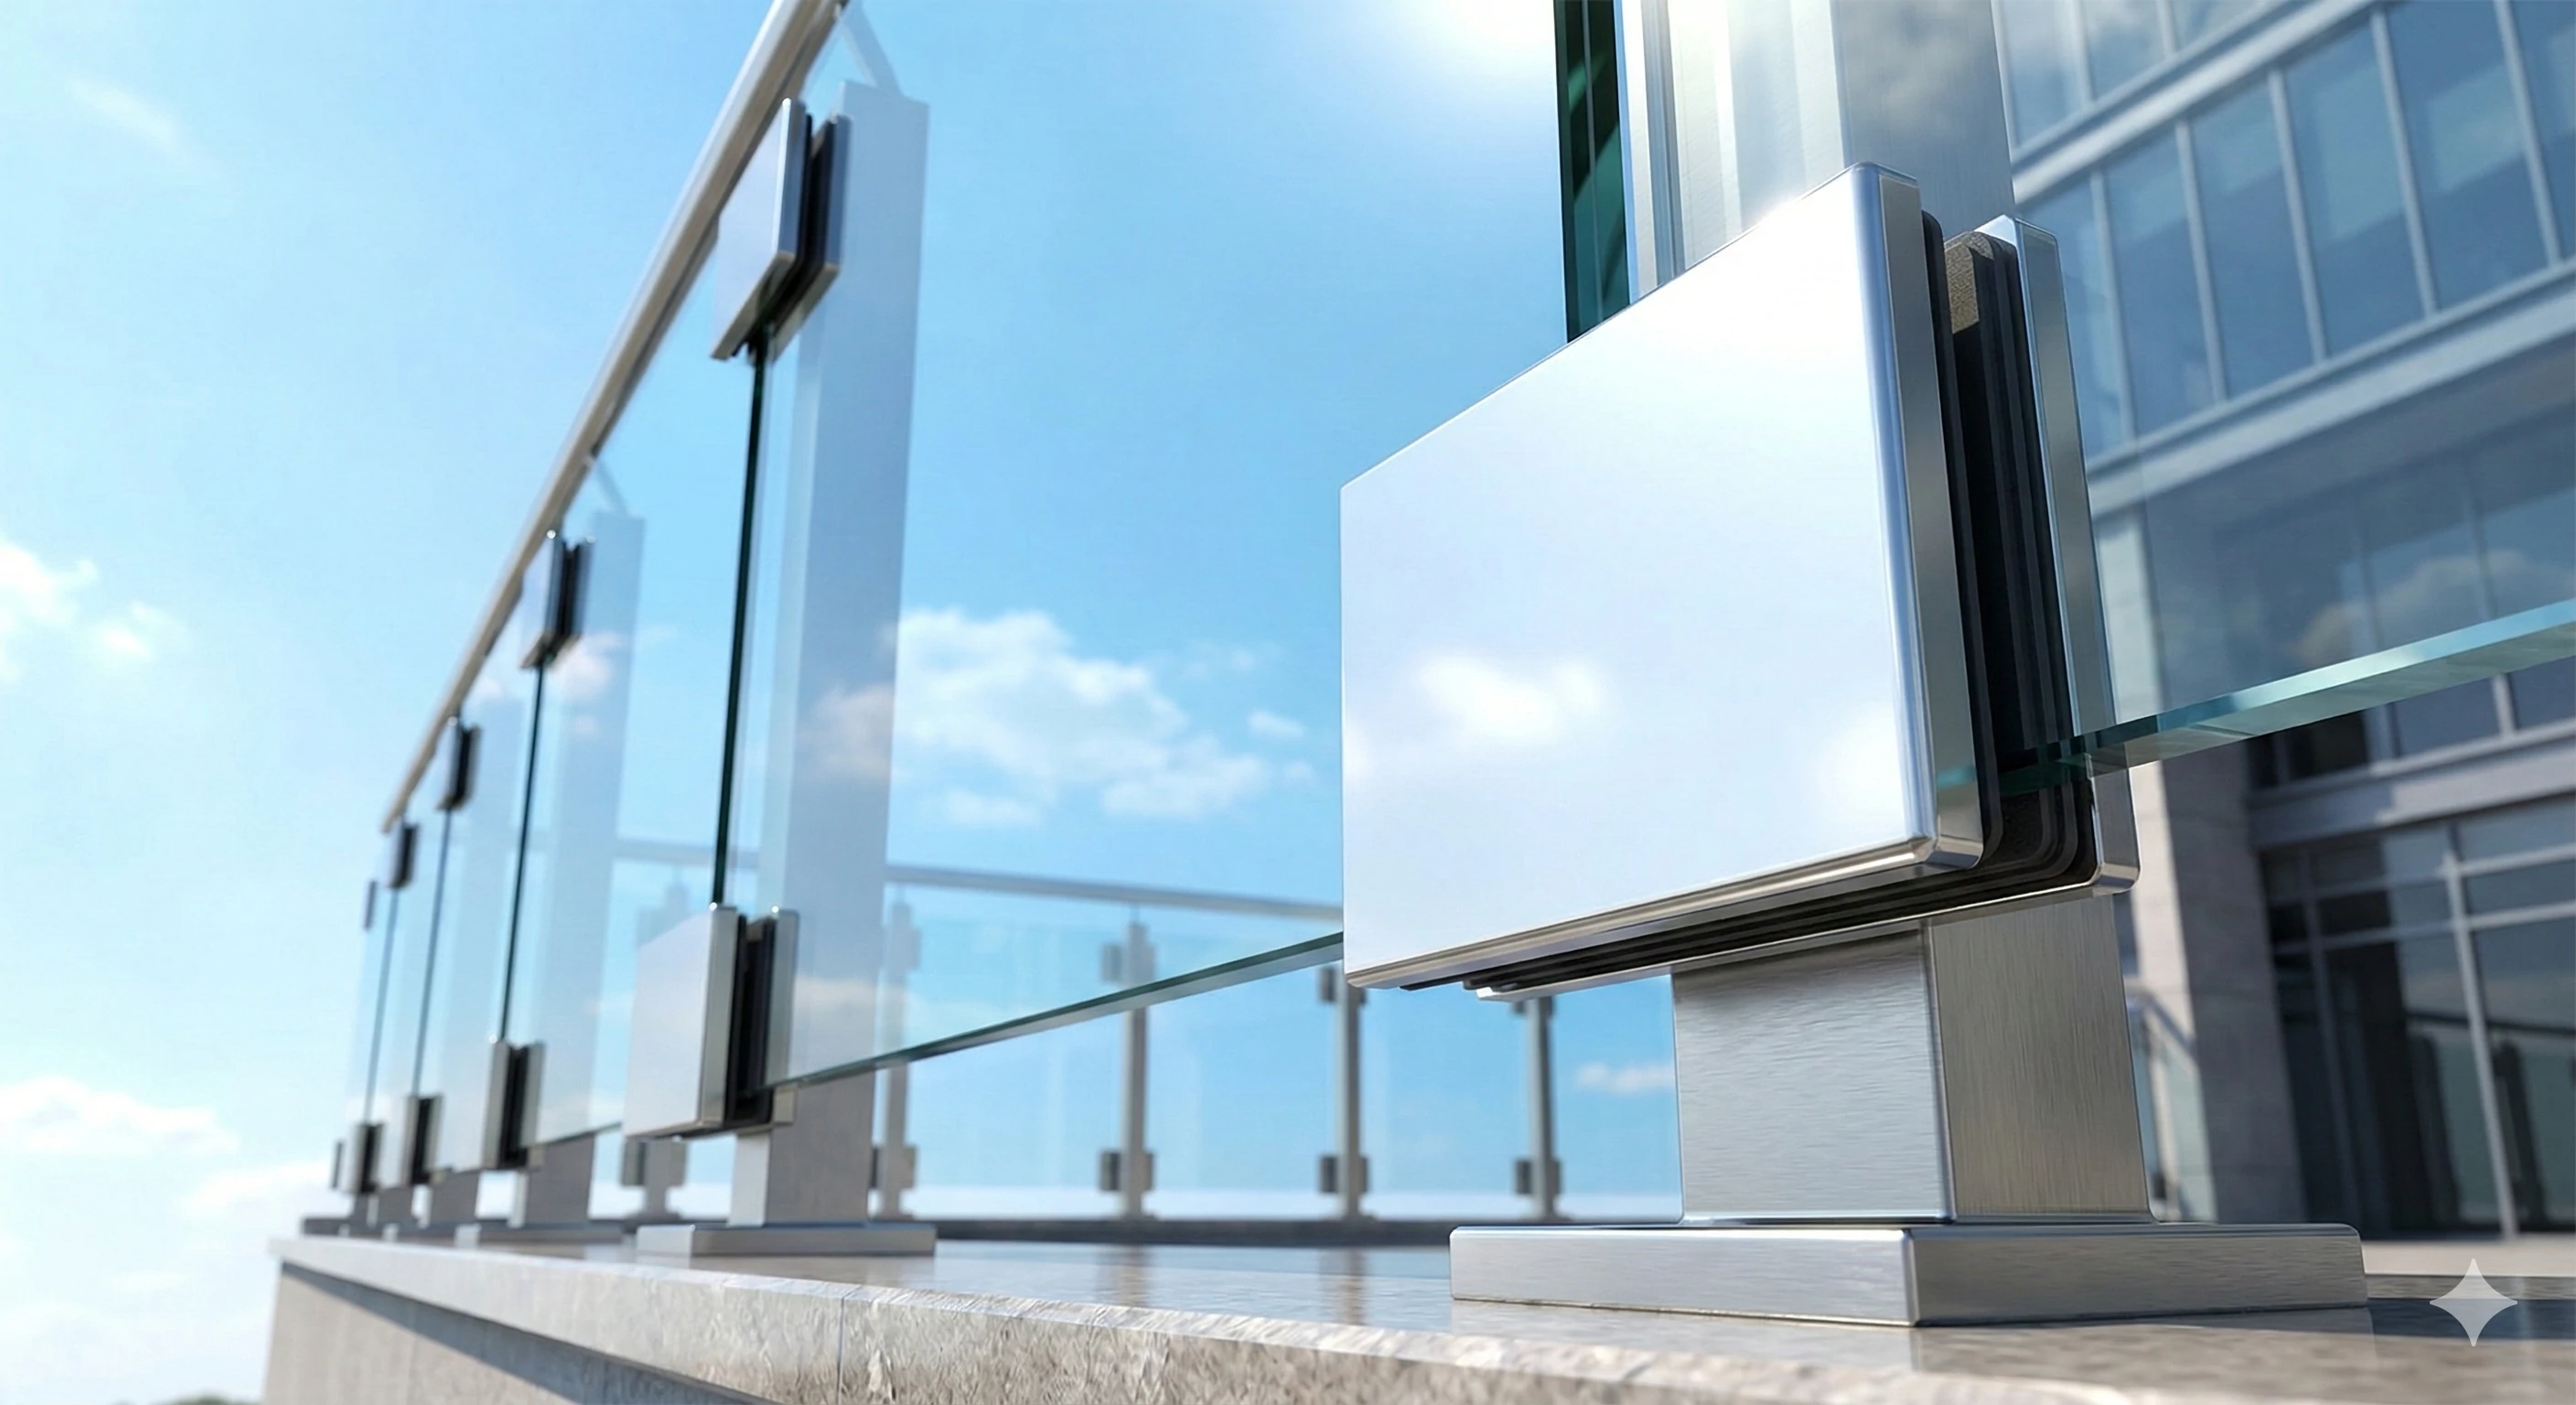
Friction-Fit Clamps: Only Measure Outer Glass Dimensions
These brackets clamp the glass edge directly with their built-in structure and require no drilling in the glass—making them the easiest to measure for. Simply calculate the exact outer width and height of the glass panel using the formula in Step 2, ensuring the dimensions match the clamp’s holding range.
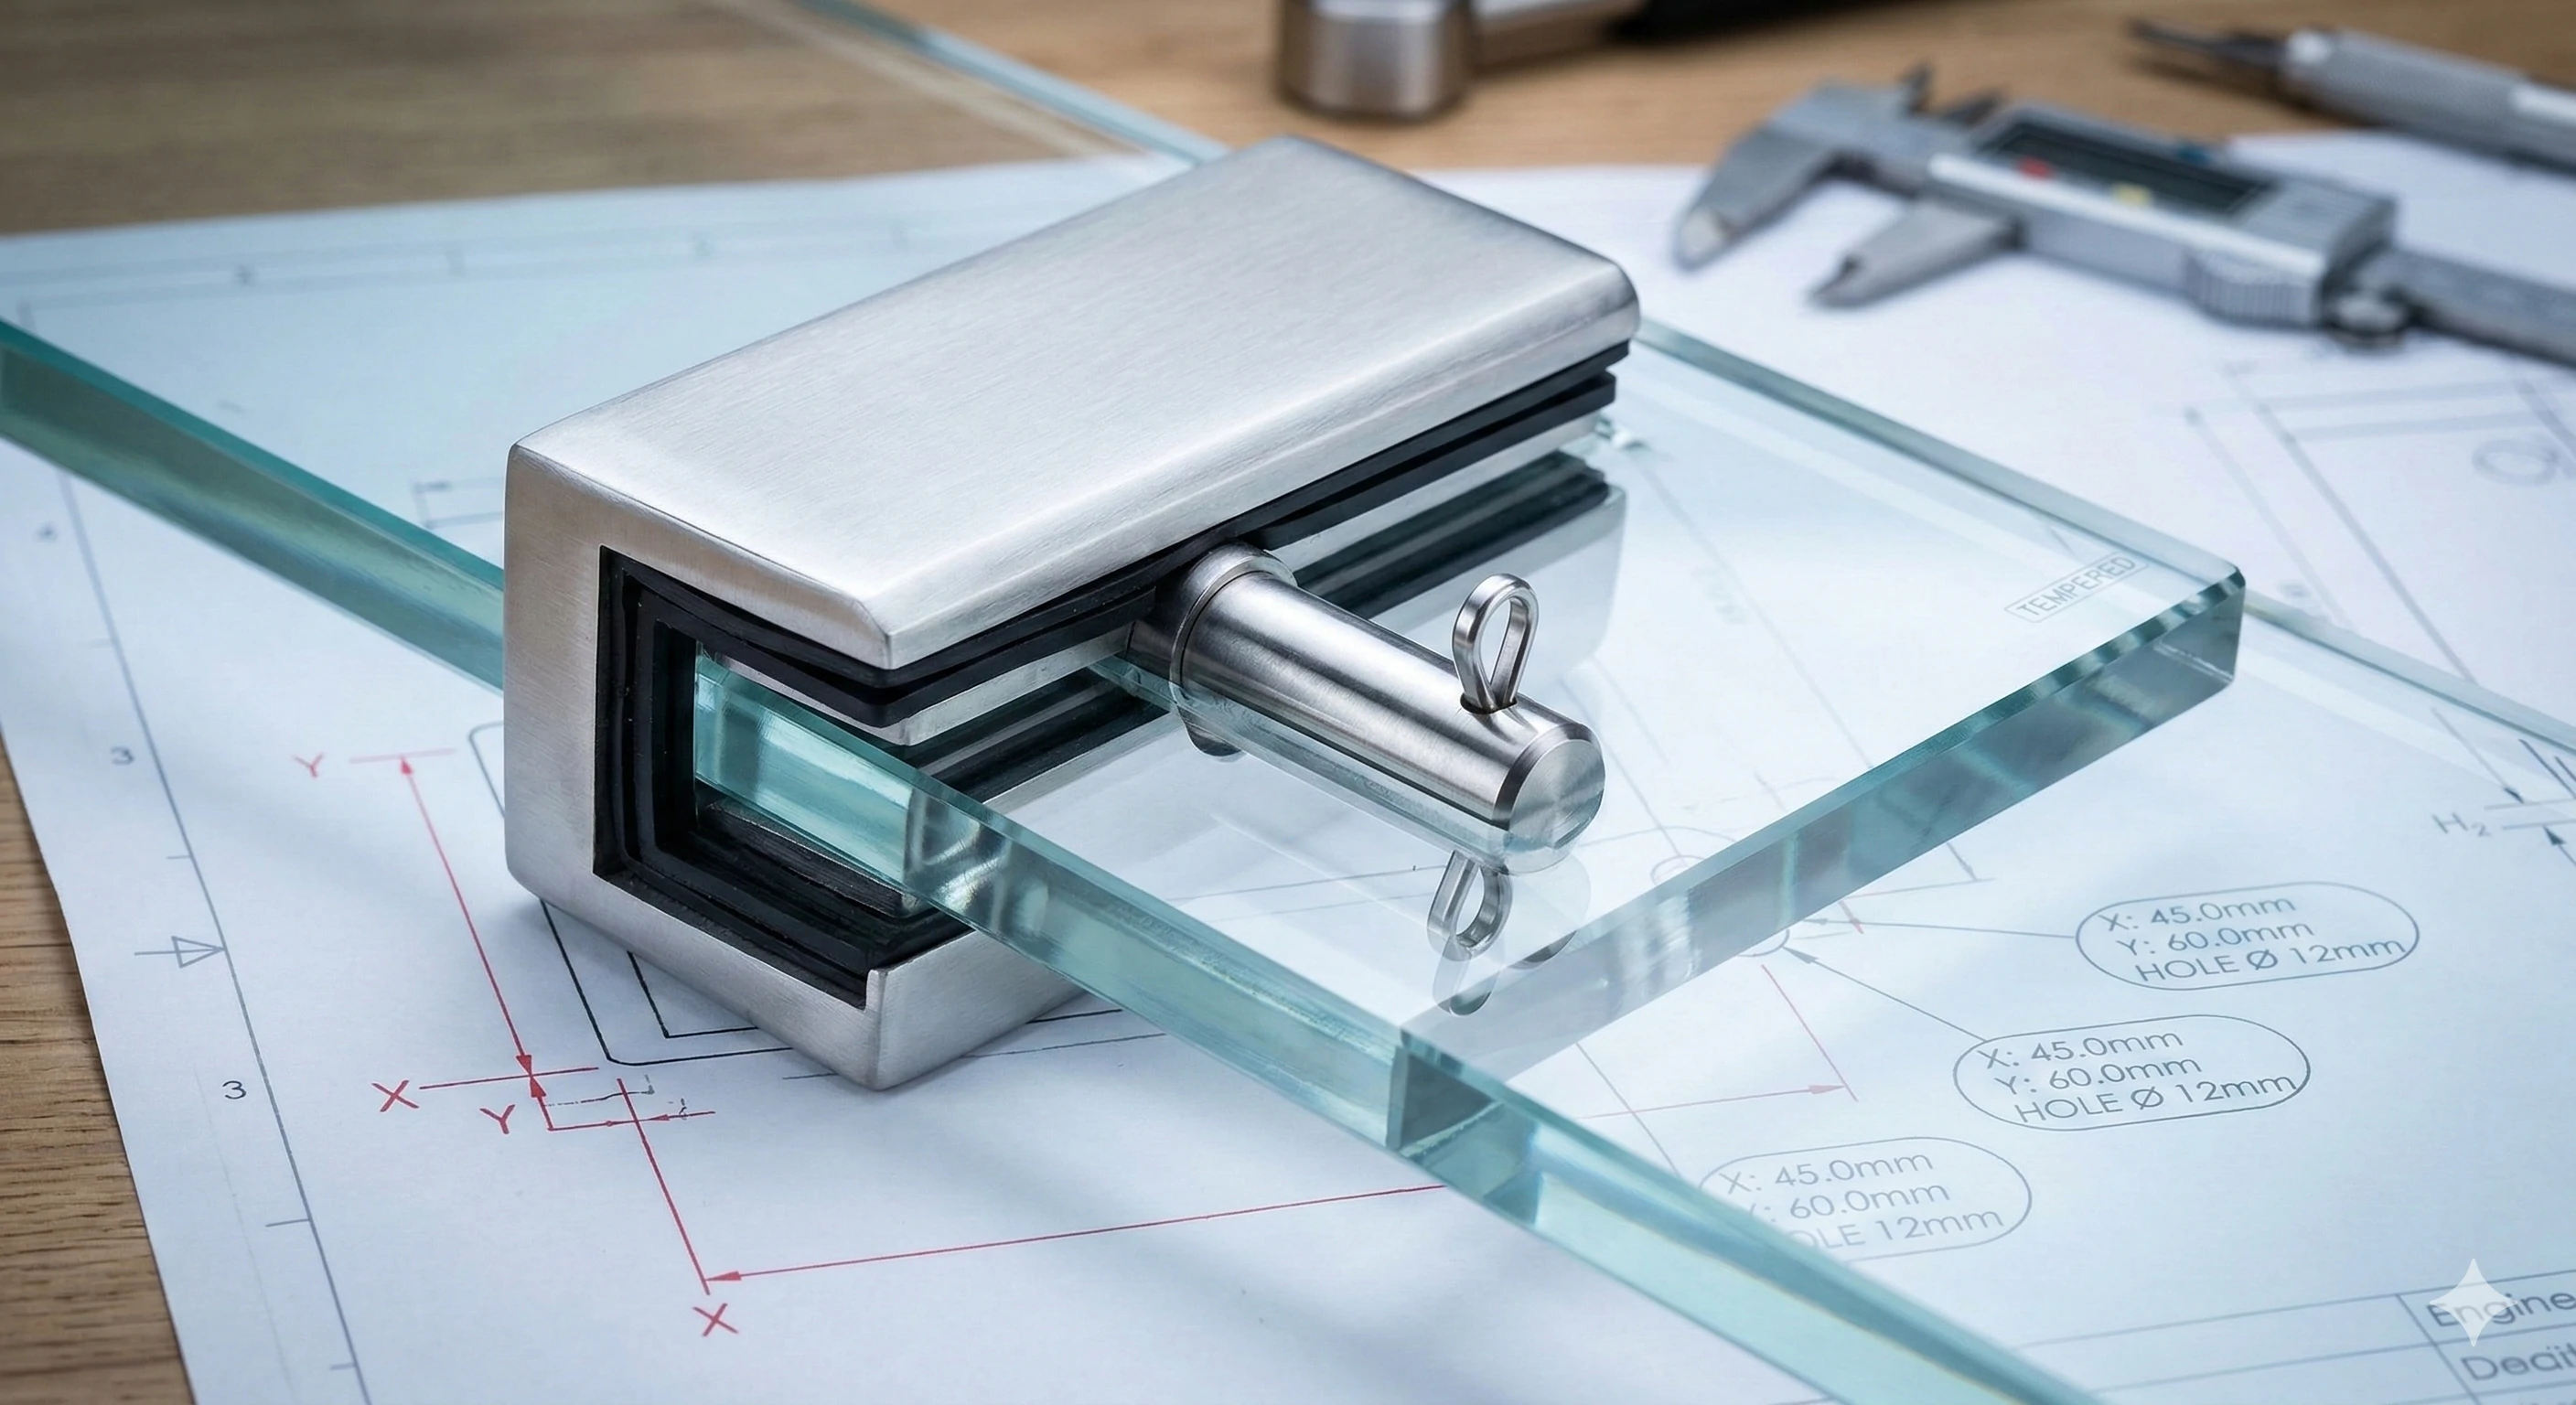
Pin-Fit Clamps & Standoffs: Precisely Measure Hole Center Coordinates
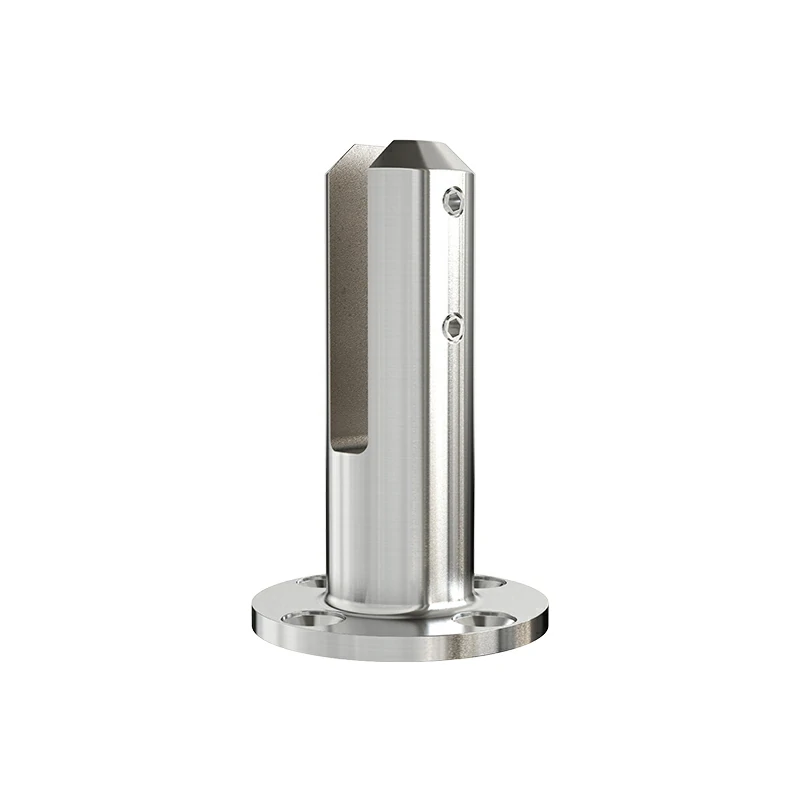
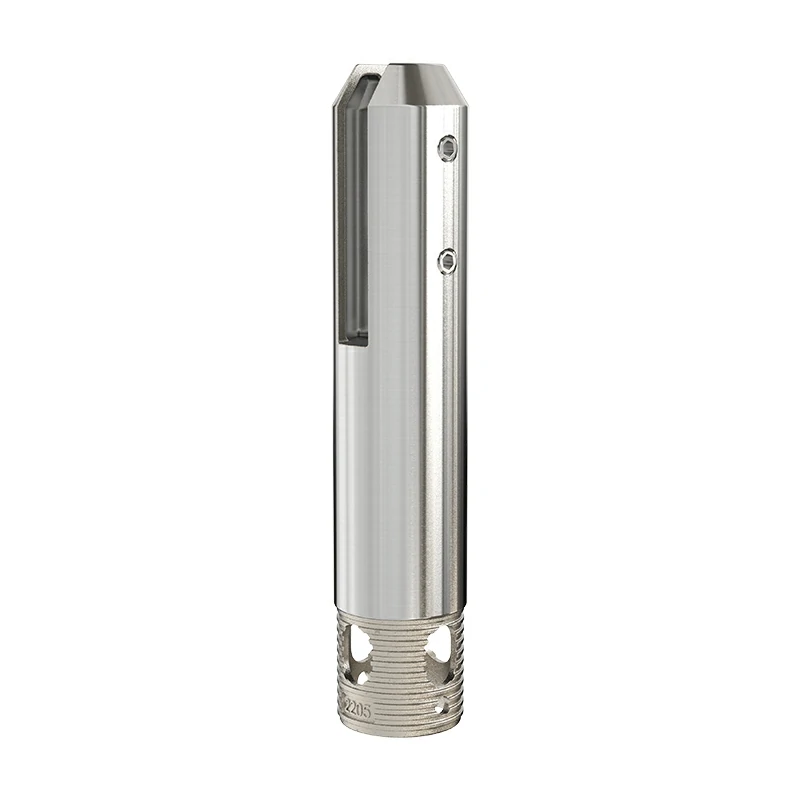
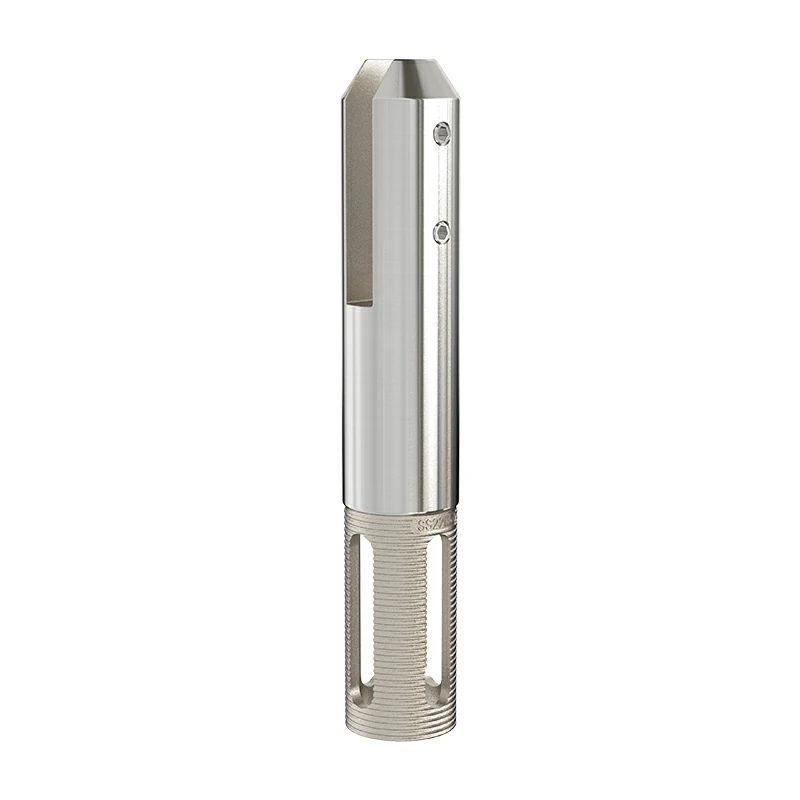
Pin-fit brackets feature a steel safety pin that passes through a pre-drilled hole in the glass for secure fixation, and are commonly used for elevated installations like . The core measurement here is the X and Y coordinates of the drill hole centers:
-
Provide precise coordinates: Supply the glass manufacturer with the exact distance (in millimeters) of each hole center from the glass edges (X and Y axes). The manufacturer will drill the holes to these precise specifications.
-
Drill hole safety rule: To maintain the glass’s , drill holes at least 50mm from the glass edge, or twice the glass thickness (whichever is greater). Drilling too close to the edge causes stress concentration and increases the risk of cracking.
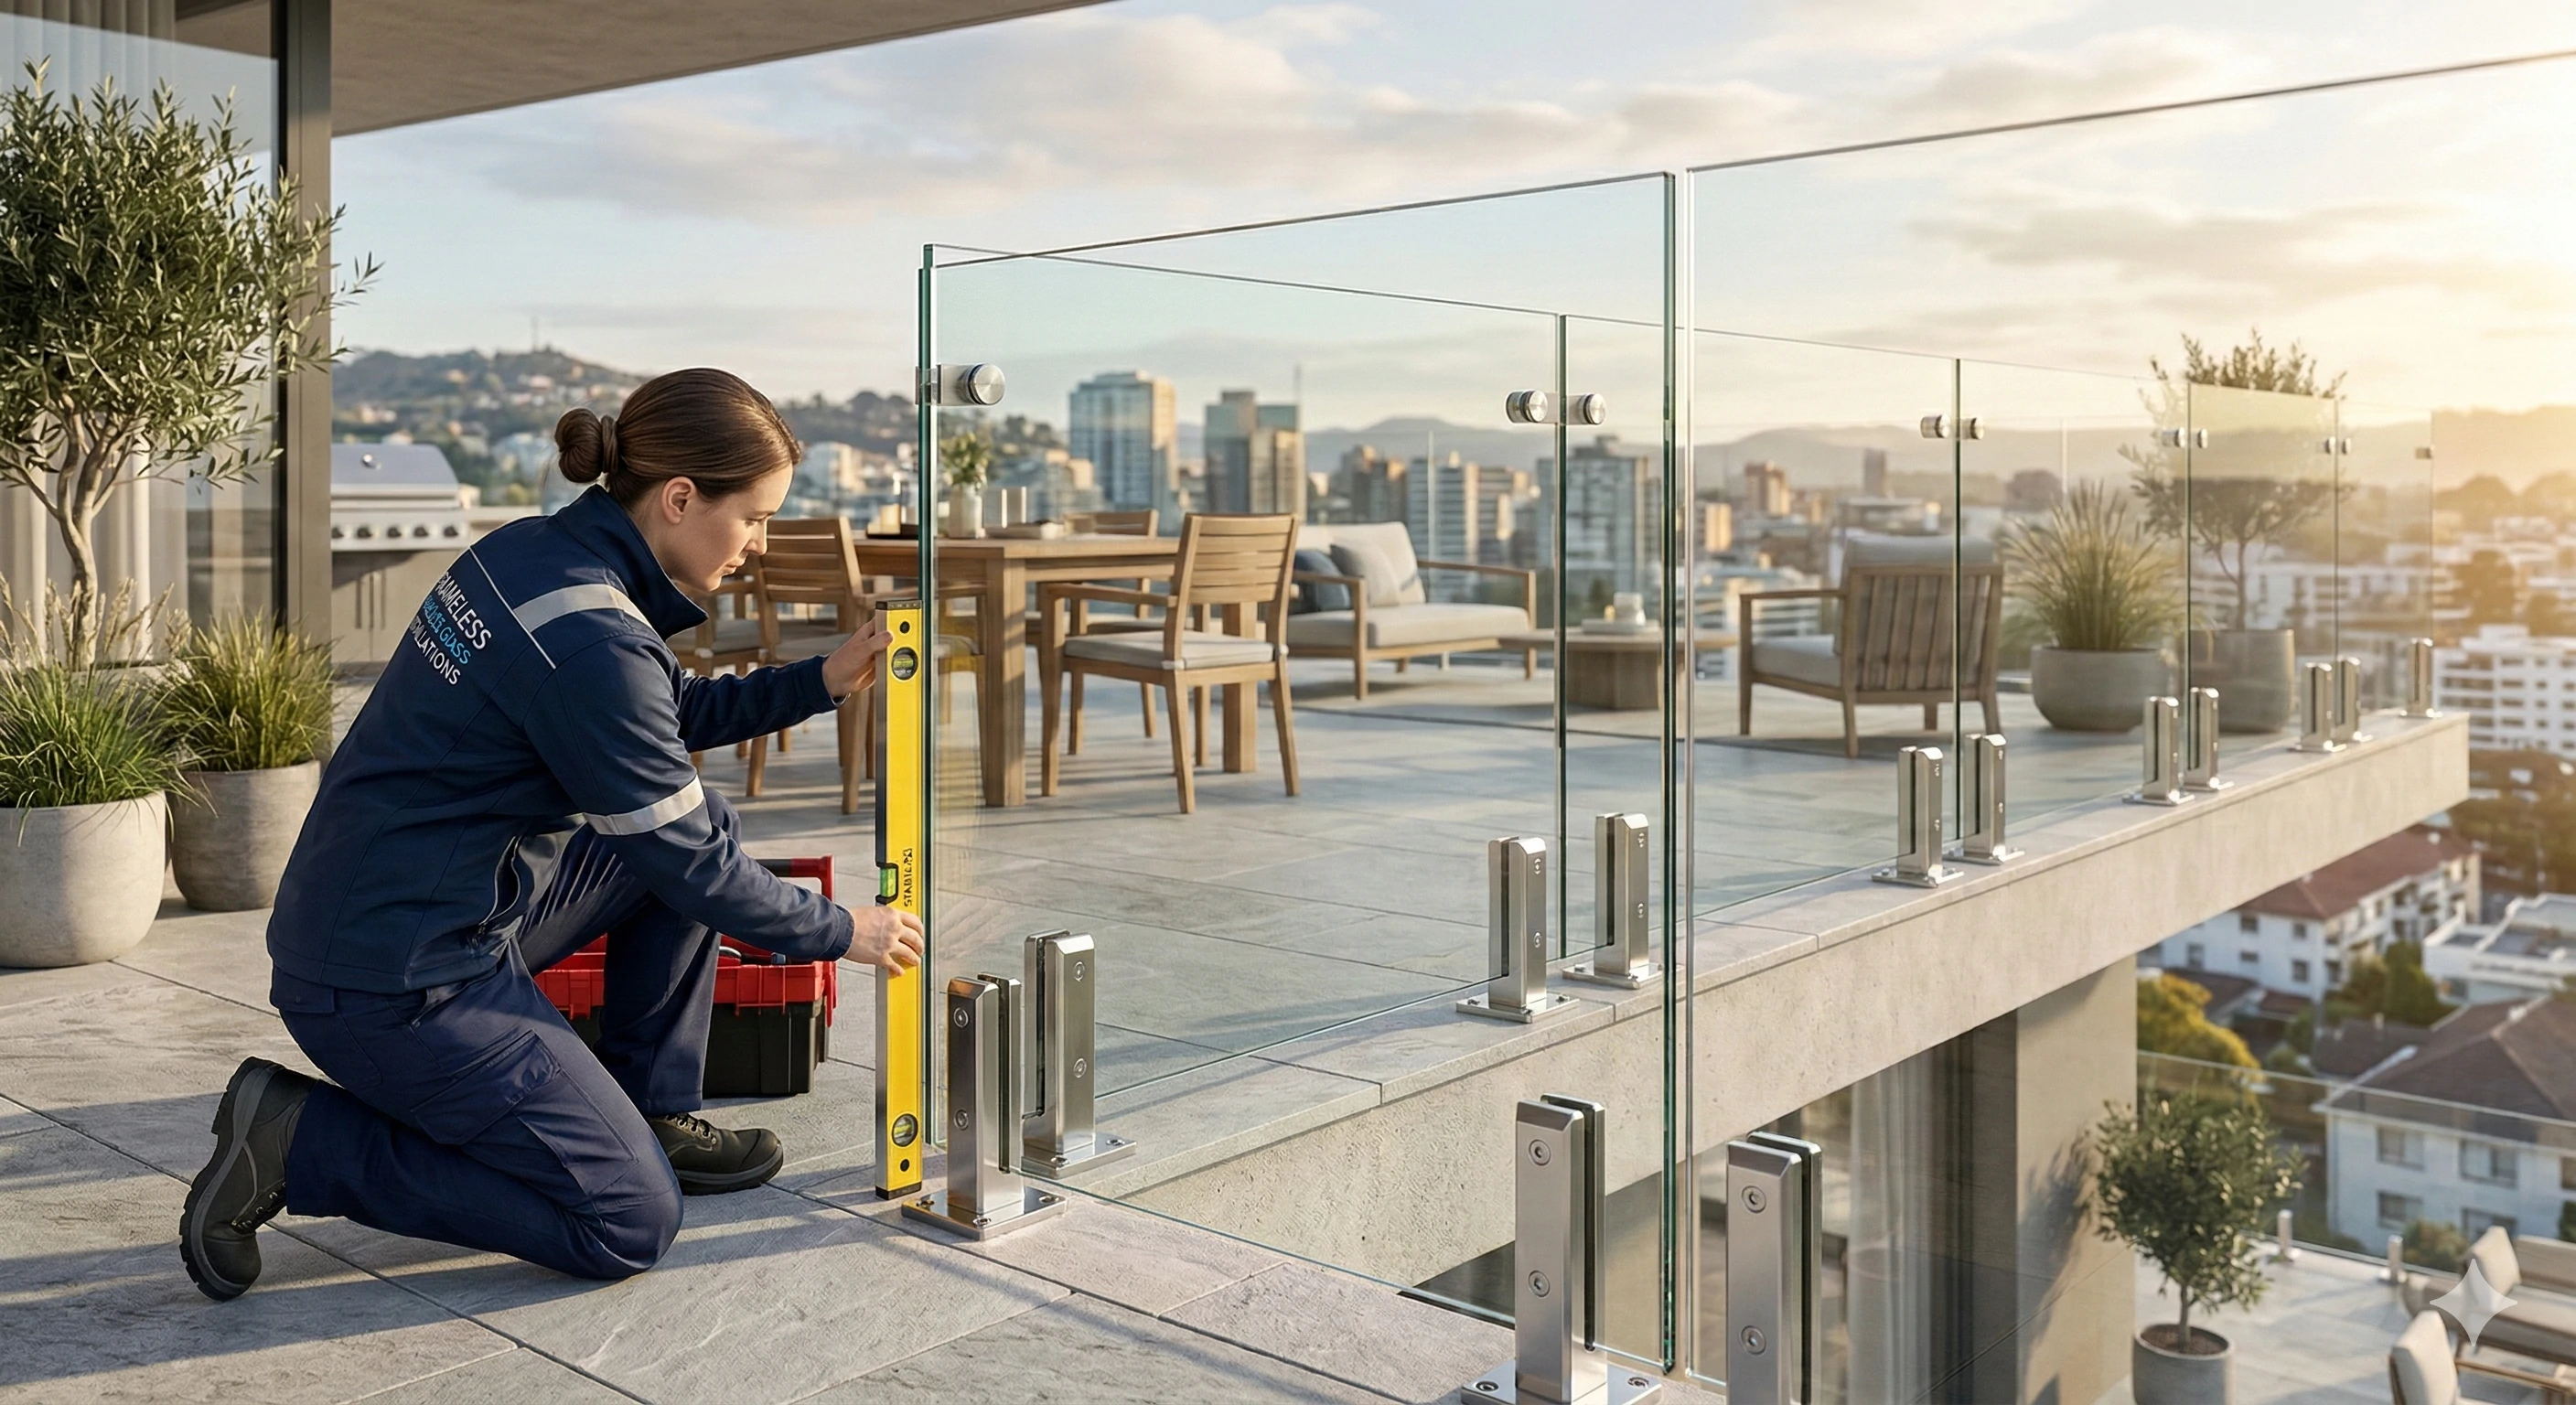
Step 4: Plumb and Level Check for Posts – The Silent Measurement Killer
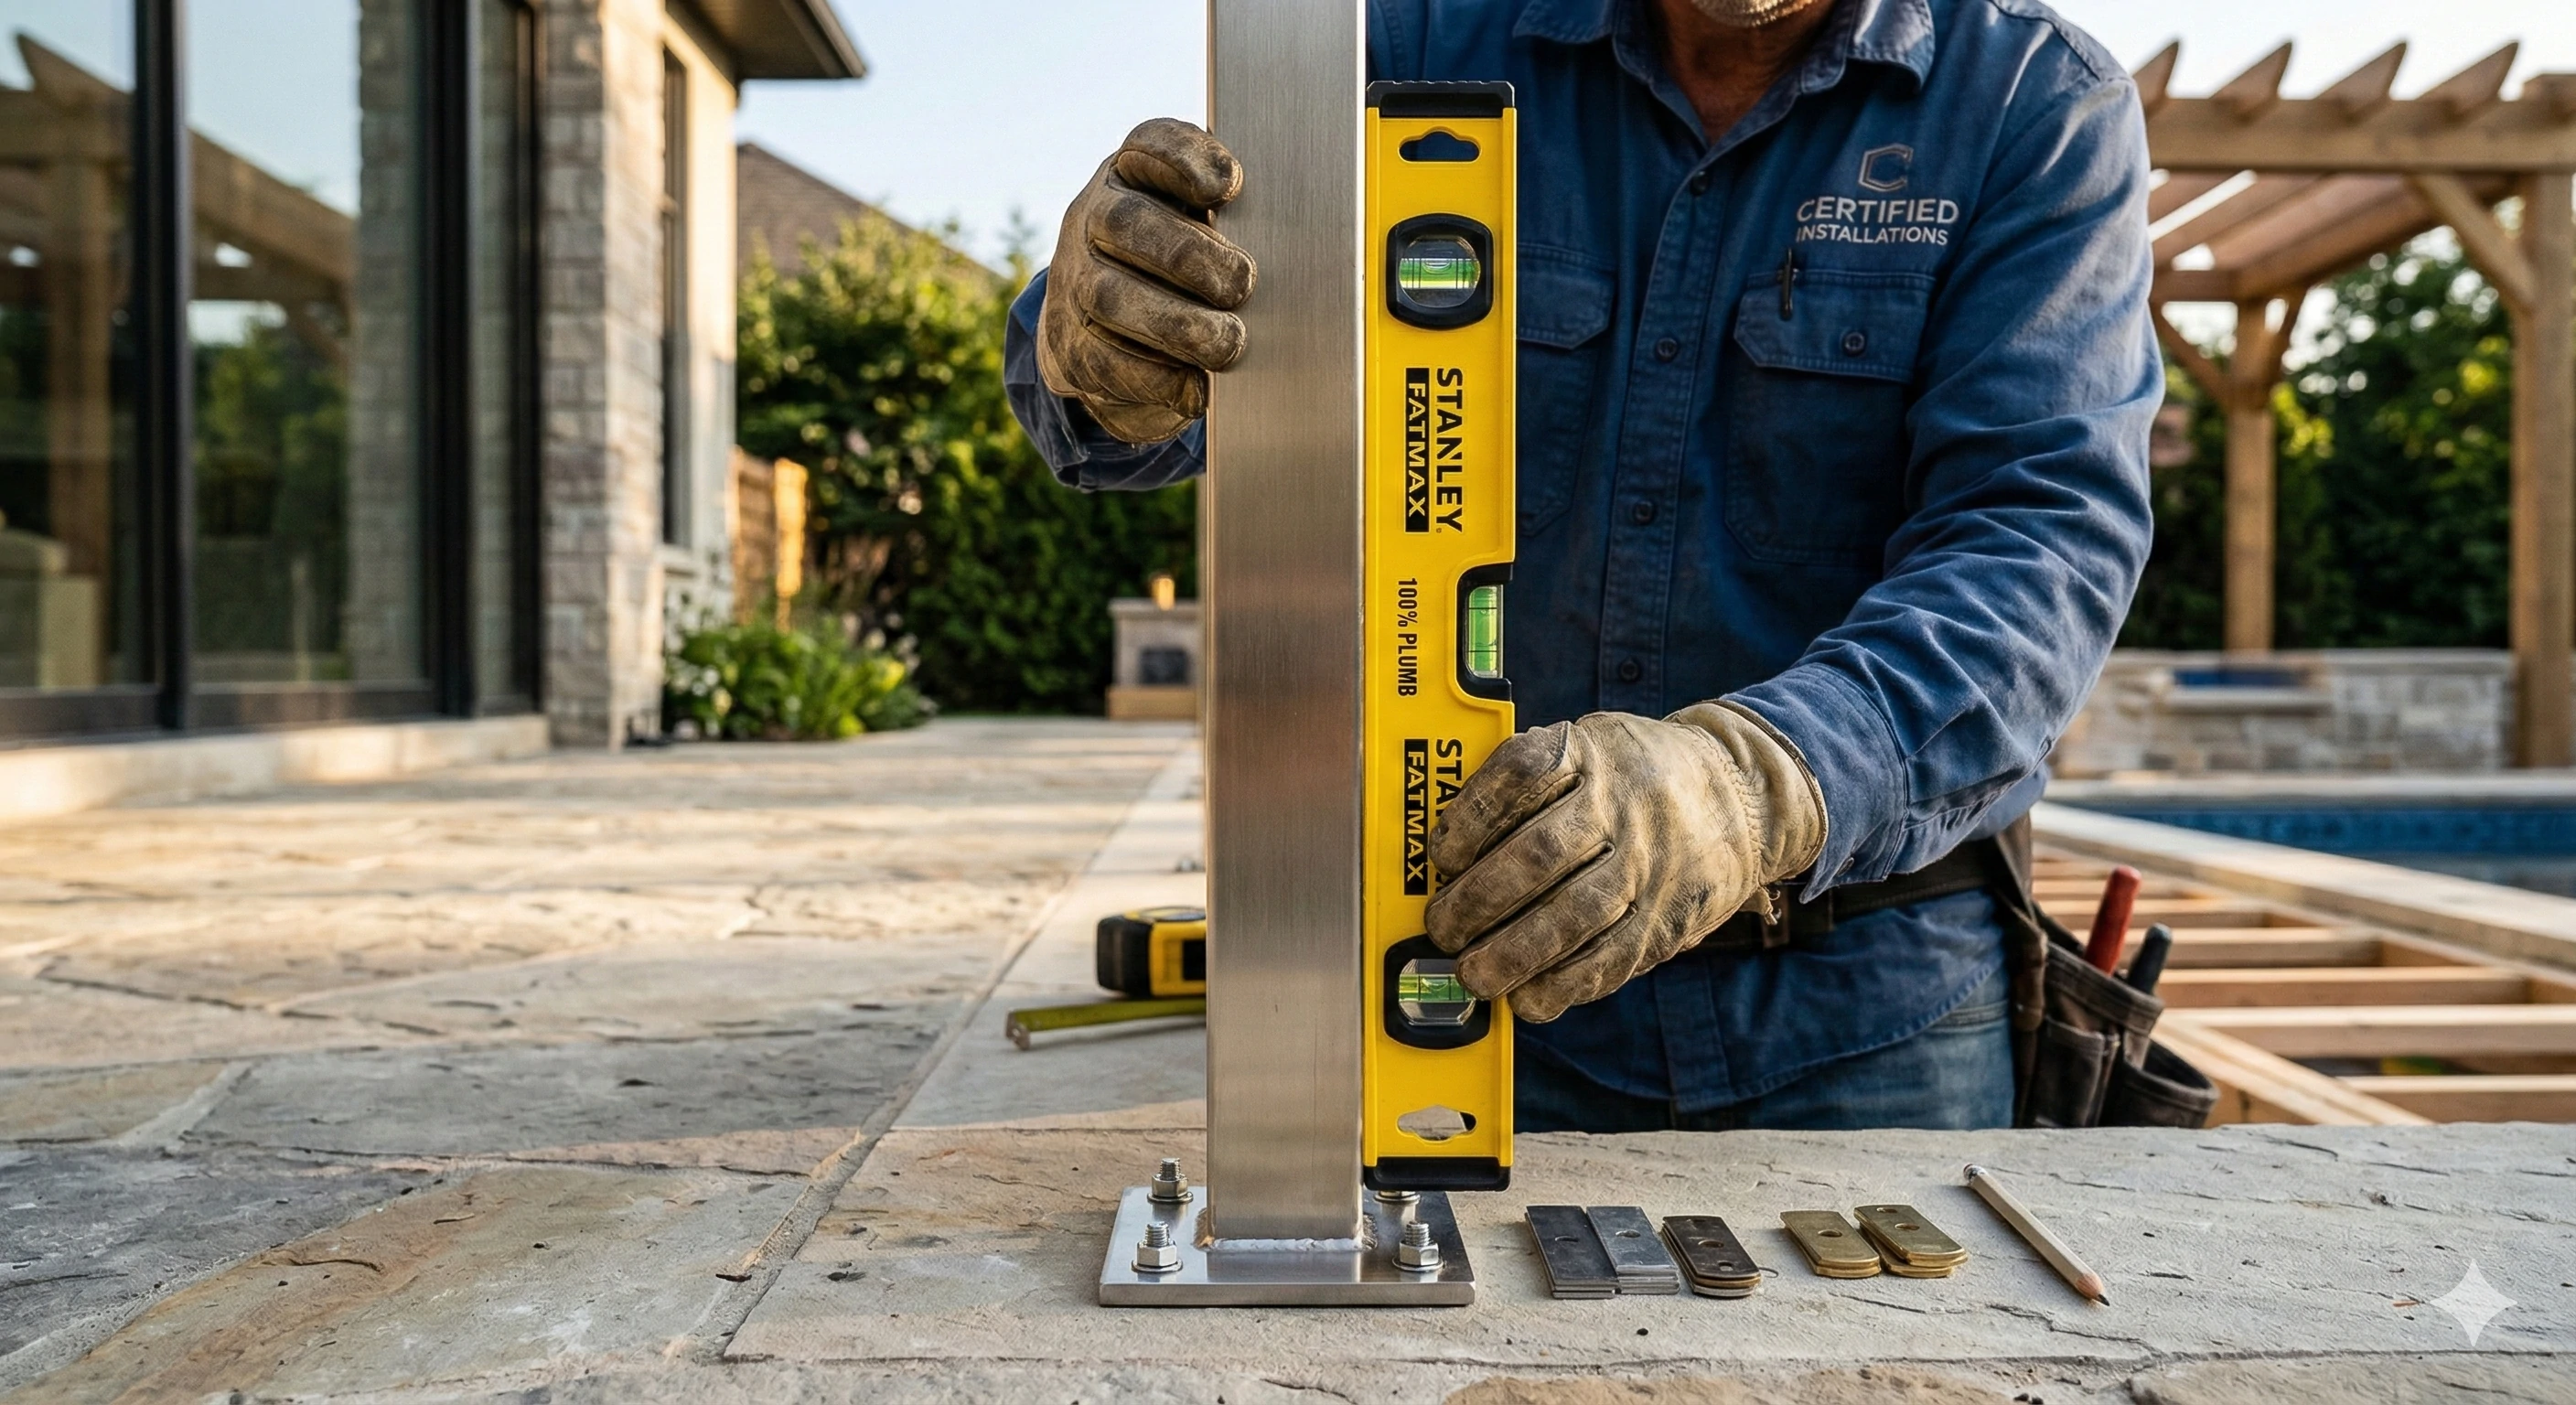
It’s common to have perfect paper calculations, yet still struggle to fit the glass—and the hidden culprit is almost always unplumb stainless steel posts. This is the most overlooked step in glass installation measurement, and it can derail even the most precise calculations.
-
Multi-point measurement check: Measure the inner distance between the two posts at three points: the bottom, middle, and top. If all three measurements are identical, the posts are perfectly plumb (vertically straight). If the top measurement is wider than the bottom (or there are discrepancies at the middle), the posts are tilted.
-
Correct deviations immediately: Never order custom glass if your posts are tilted. Add plastic or under the post base plates to adjust the posts until they are 100% plumb, then re-measure the post-to-post distance and recalculate the glass dimensions. A tilted post will cause a rectangular glass panel to fit too tightly on one side and too loosely on the other—an issue that cannot be fixed after the glass is manufactured.

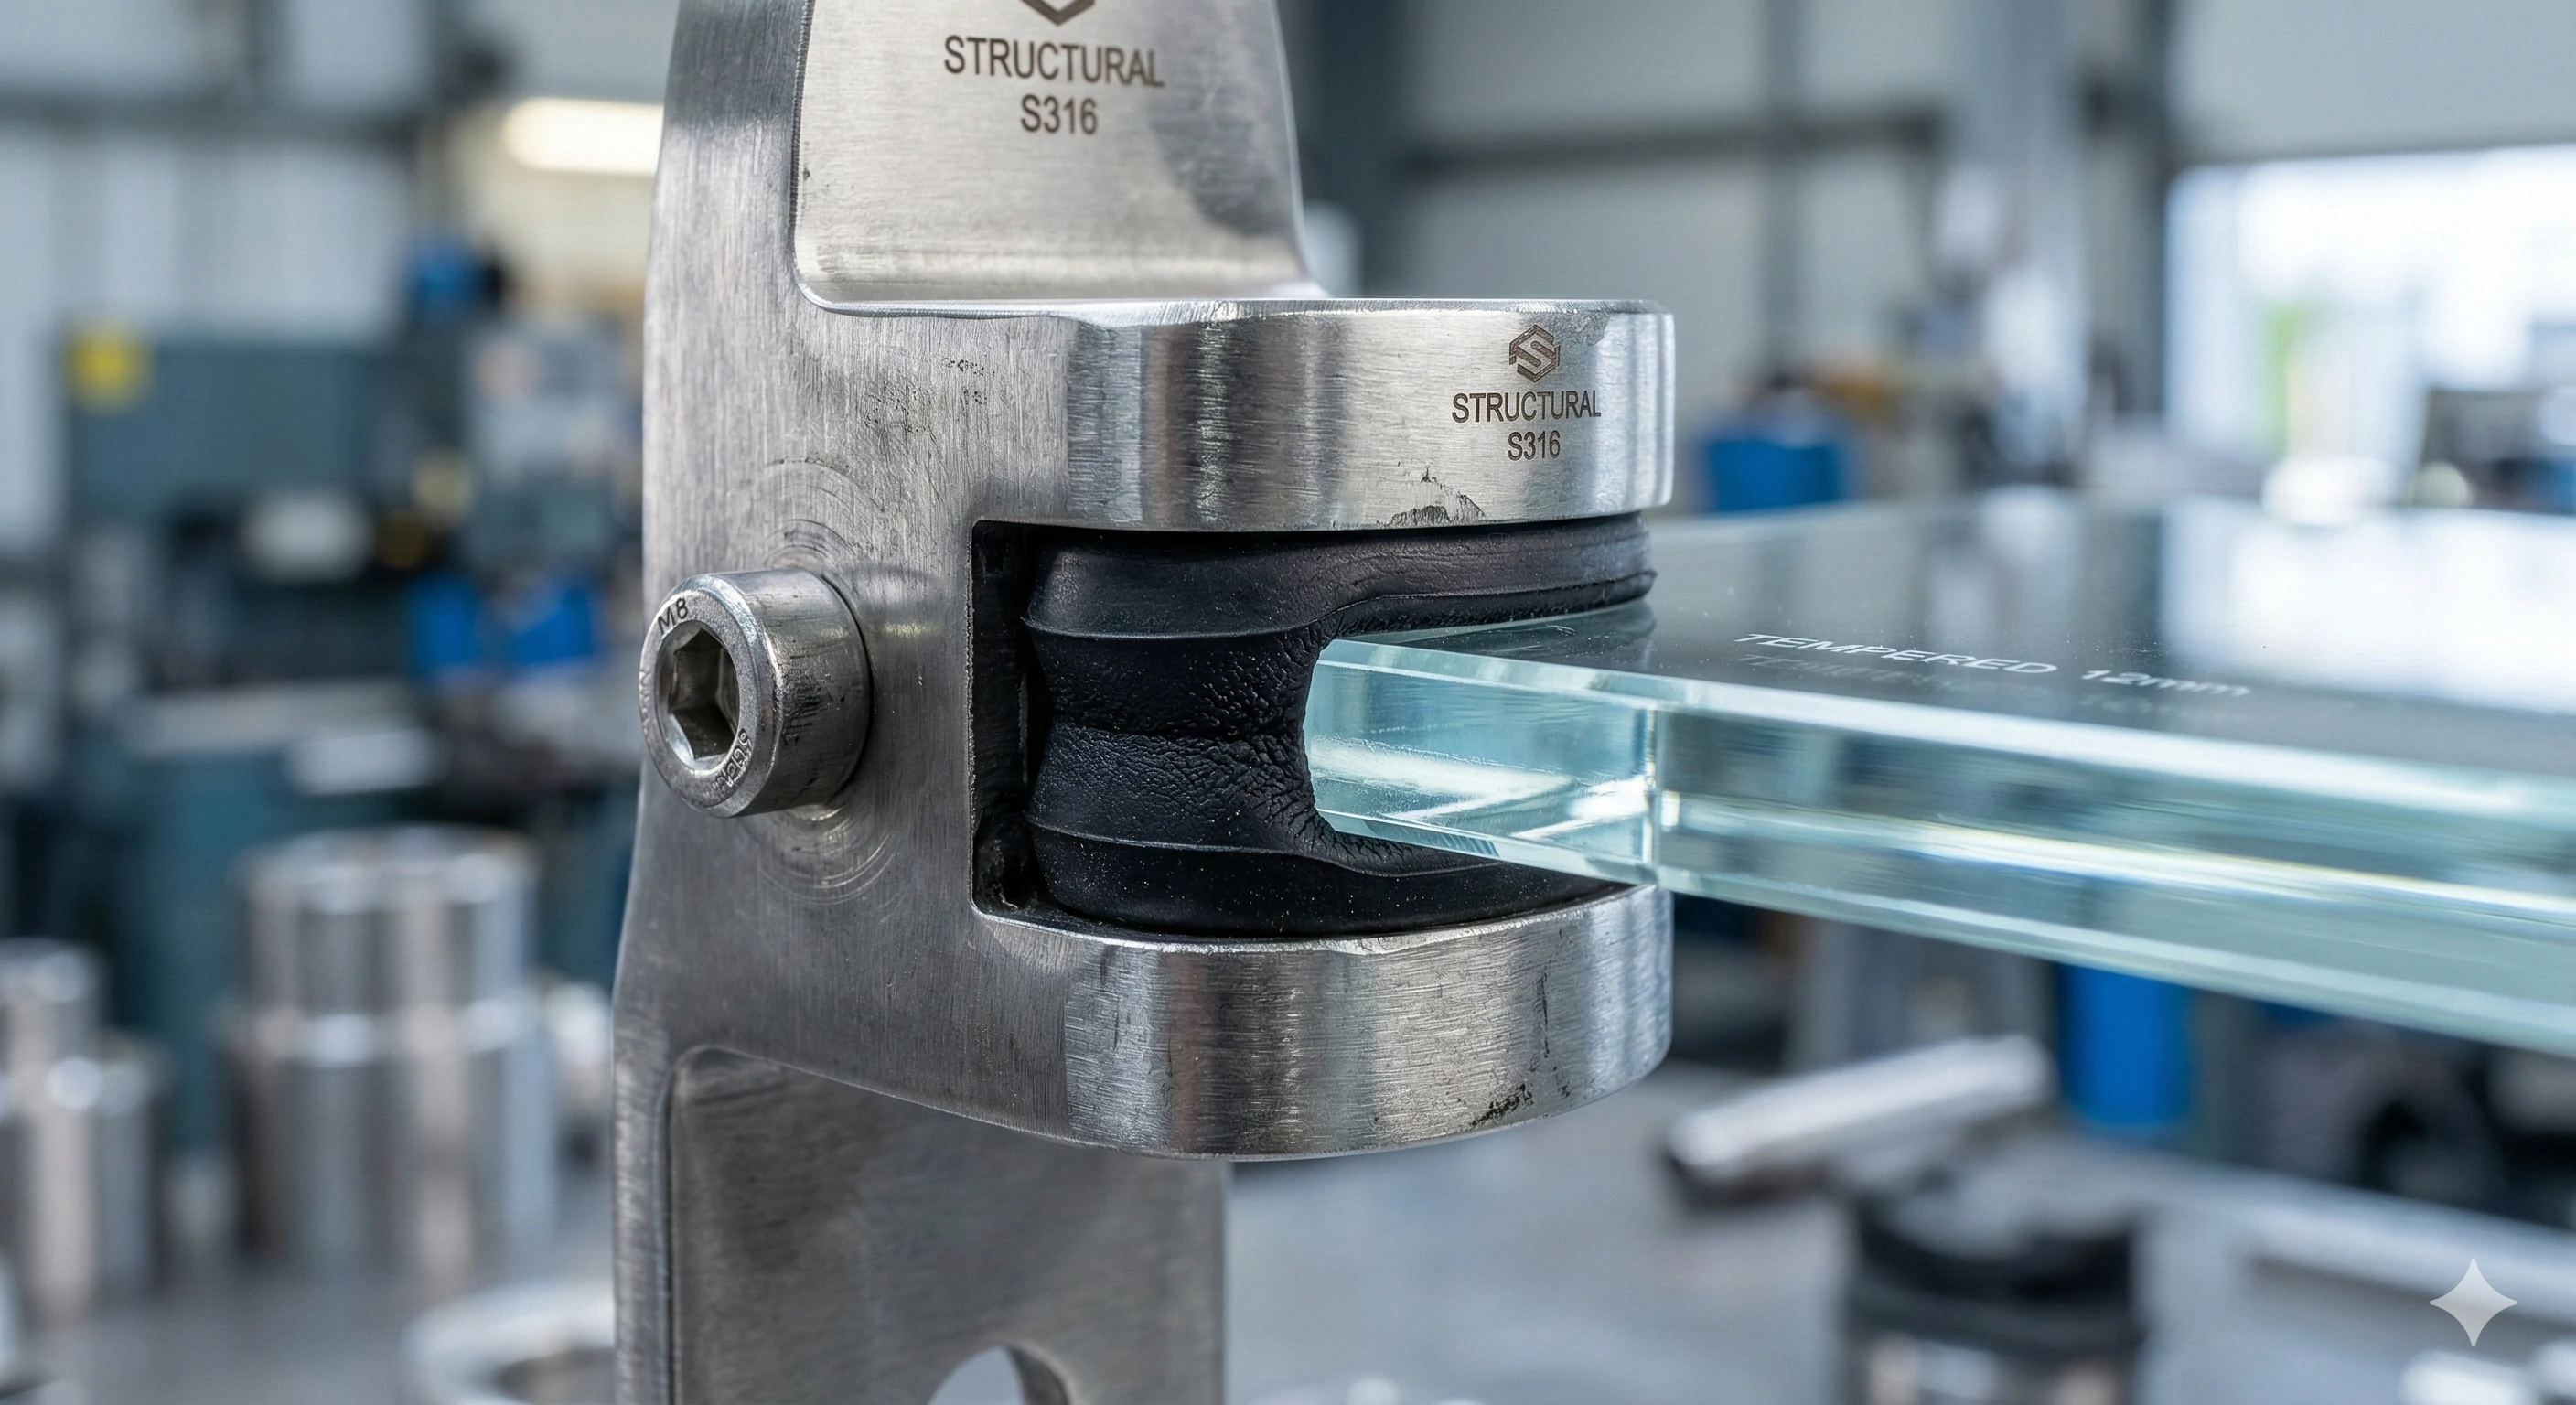
Precision-Cast Brackets: Eliminate Installation Errors at the Source
Accurate glass measurements are essential, but the dimensional precision of the brackets themselves is what ultimately makes zero-error installation possible. Low-quality, poorly cast brackets can render all your careful measurements meaningless.
• The cheap bracket trap: Inferior glass brackets suffer from significant casting variations due to shoddy manufacturing processes. A bracket designed for a 15mm gap might actually have an 18mm gap in practice—and glass cut to the original specification will be too small, leading to loosening or slipping. Conversely, a smaller-than-specified gap will make the glass impossible to fit into the bracket.
• Our precision manufacturing advantage: Our stainless steel glass brackets are produced using an integrated process of investment casting + CNC precision machining. Every step, from the casting blank to the finished product, adheres strictly to the engineering drawing dimensions. This guarantees that every single bracket has identical gap, hole diameter, and clamping dimensions—no deviations whatsoever. With our precision brackets, you can calculate your glass dimensions directly from our technical drawings with complete confidence.
Frequently Asked Questions (FAQ)
1. Should I buy the hardware first or the glass first?
Always buy the hardware first. You must have the physical brackets (or their exact engineering CAD drawings) to confirm the critical measurements—like bracket gap deductions and drill hole specifications—before you can safely order custom-cut tempered glass. This eliminates size mismatches at the source.
2. How many glass brackets do I need per panel?
For a standard glass balustrade panel (approx. 1 meter wide), you typically need 4 brackets (2 on the left post, 2 on the right post), evenly spaced for balanced clamping force. For oversized or extremely heavy glass panels, a will recommend increasing the number of brackets (6 or more) to ensure the glass is supported evenly and securely.
3. What if I measure wrong and the glass is too big?
Tempered glass’s physical properties mean it cannot be altered after manufacturing—you cannot sand the edges down to make it smaller, nor drill new holes to adjust its position. You have only two solutions: reposition the posts to match the glass size (if site conditions allow), or order a brand new custom-cut glass panel.
Conclusion
Measuring for glass holder brackets is not just about taking simple dimensions—it’s a precise calculation of post distances, bracket deductions, and thermal expansion allowances, paired with a strict plumb check for the mounting posts. No step can afford even the smallest error. And choosing precision-engineered, high-quality glass brackets is the ultimate safeguard against installation mistakes, turning your accurate measurements into a flawless, zero-error glass installation.
We manufacture glass clamps and standoffs with —every product matches its technical drawing exactly, and we provide detailed CAD files for all our parts. Download our hardware CAD files today to prepare perfectly for your next glass railing project!
Footnotes
1. Overview of the manufacturing and safety properties of tempered glass.
2. Details on laminated glass used for high-rise architectural safety.
3. Properties of EPDM rubber used for industrial weather sealing.
4. Scientific explanation of material size changes due to temperature.
5. Architectural definition and history of Juliet balconies.
6. Principles of maintaining safe load-bearing capacities in construction.
7. Common uses of shims for leveling and aligning materials.
8. Role of structural engineers in ensuring building safety standards.
9. Guide to the corrosion resistance of marine-grade stainless steel.
10. How computer numerical control ensures precise manufacturing tolerances.