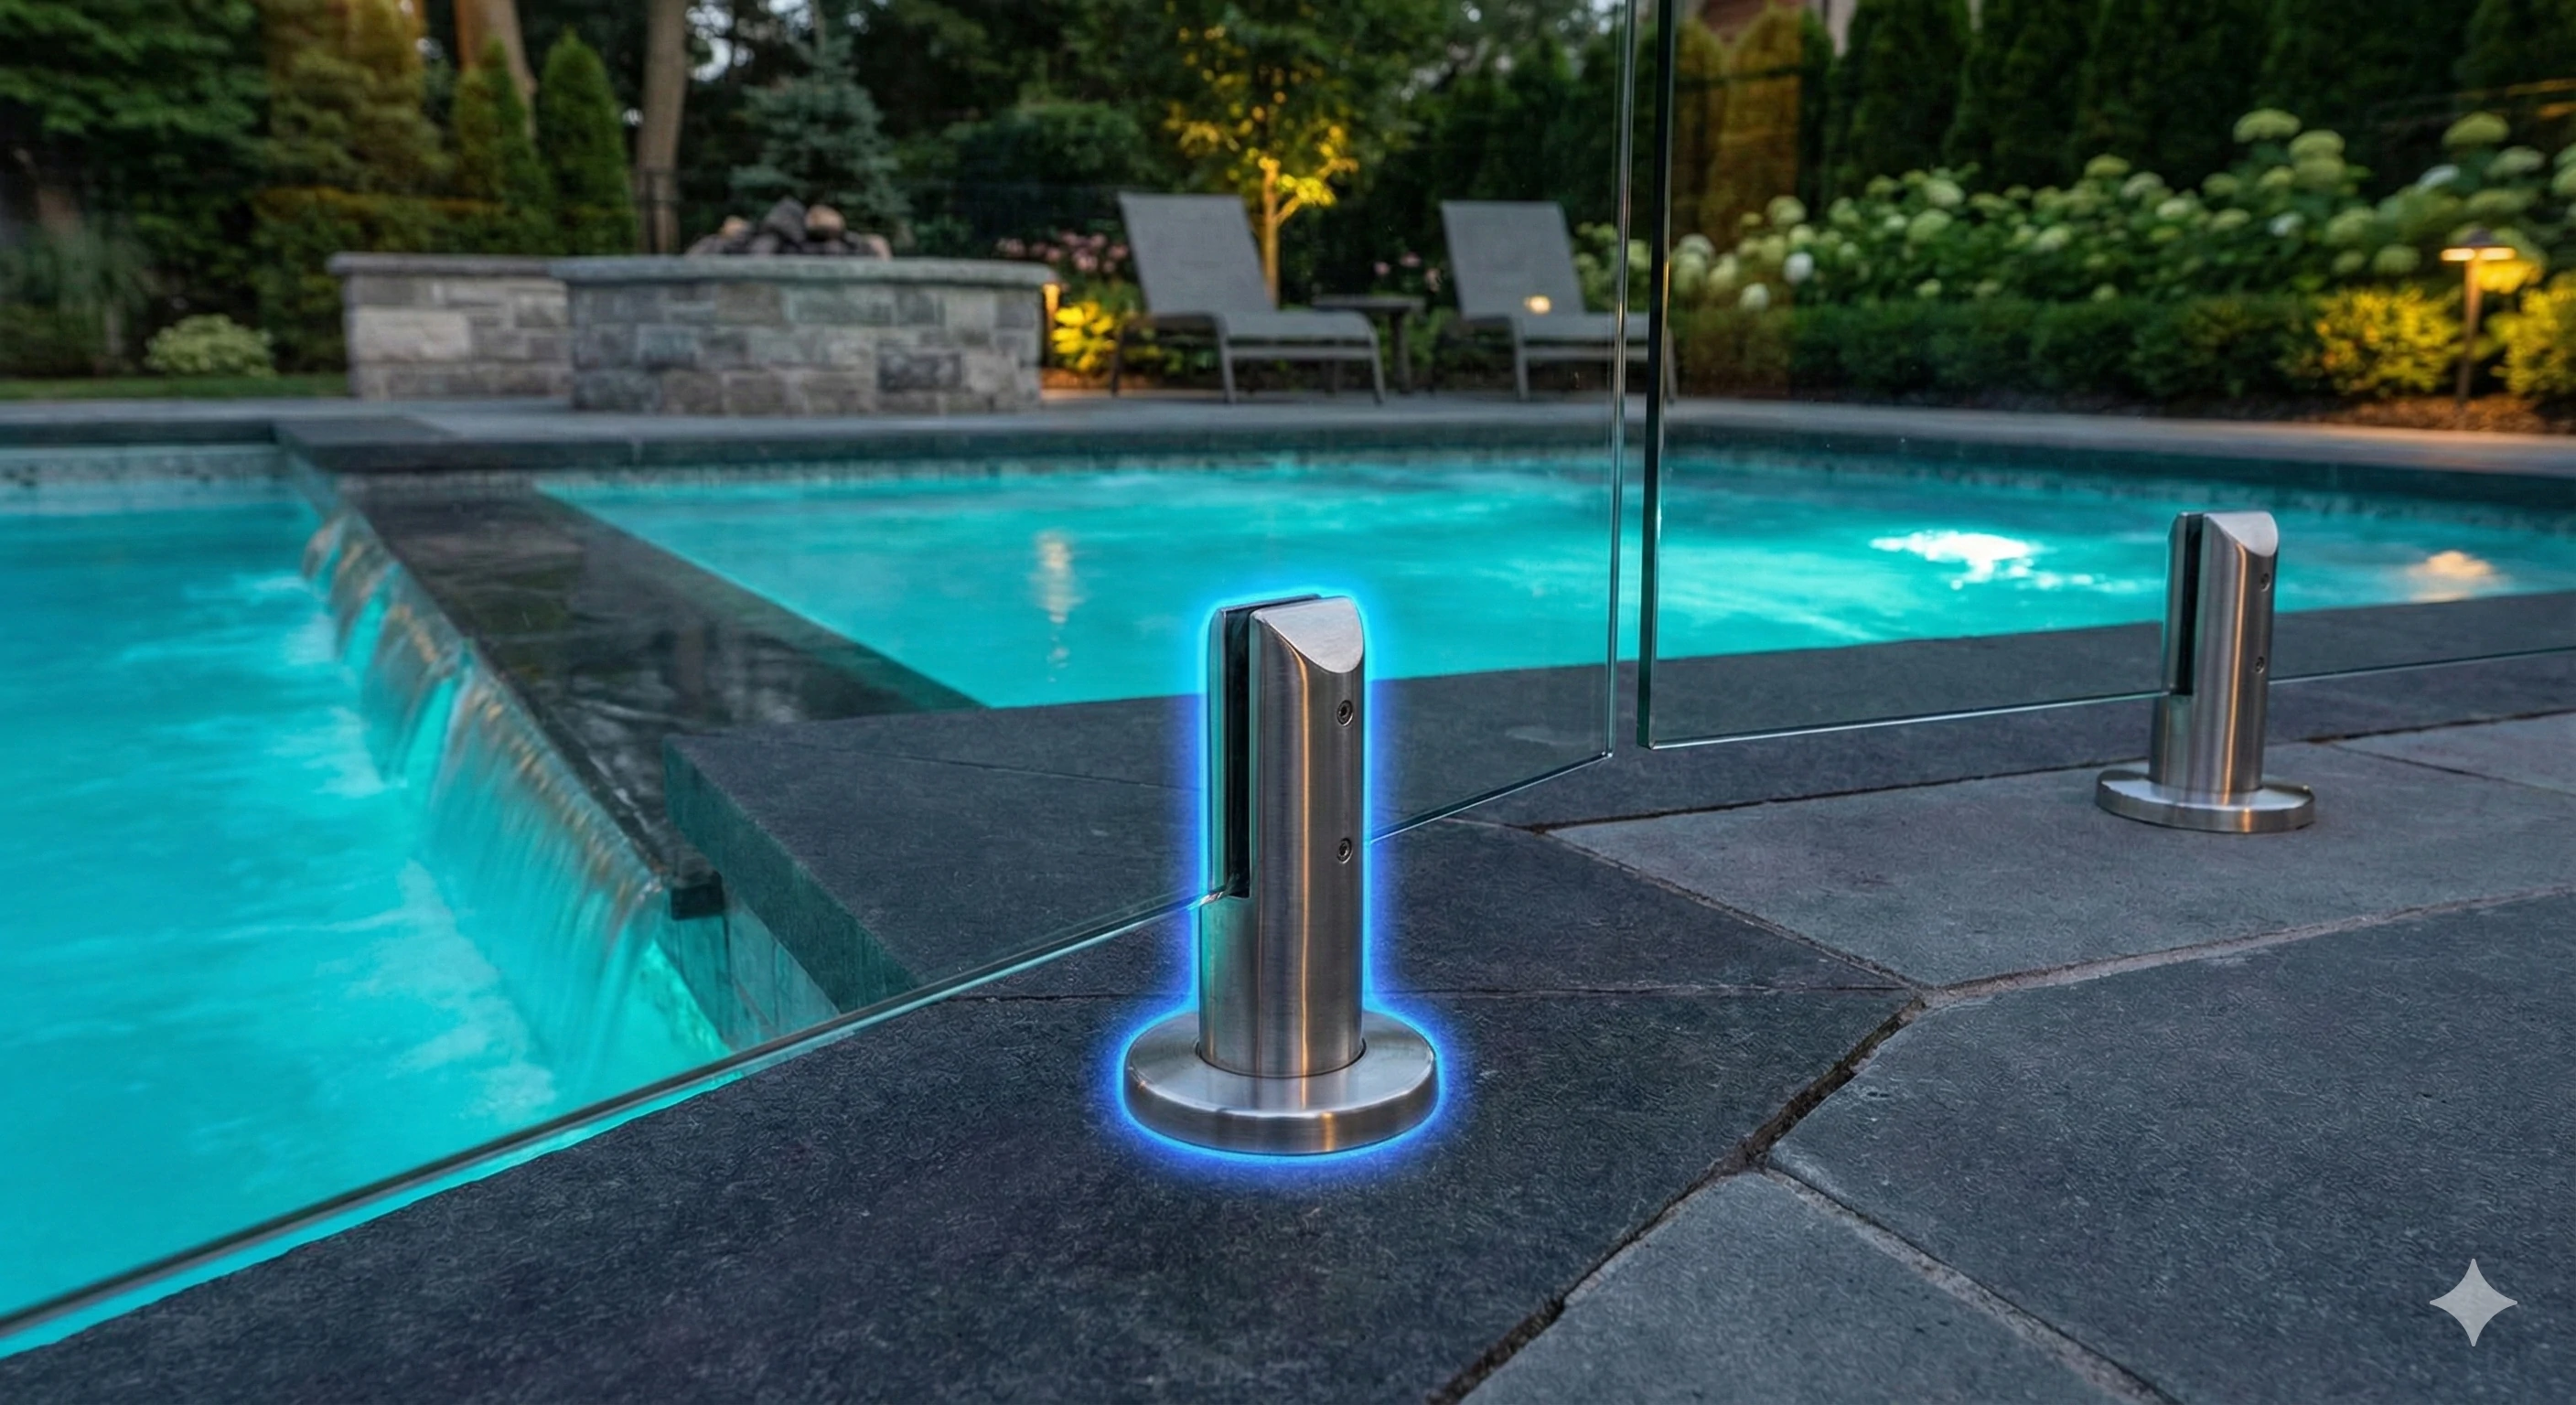
You’ve just finished installing a sleek frameless glass fence around your pool. The view looks perfect, the spigots shine under the sun—and then the electrical inspector arrives. A quick look later, you hear the words no pool owner wants to hear:
“Your spigots aren’t bonded. This can’t pass inspection.”
It’s a frustrating situation, and one that catches thousands of pool owners and contractors off guard every year. Electricity and water are a dangerous combination, which is why electrical codes around swimming pools are especially strict. If stray electrical current enters the pool water and someone touches an unbonded metal spigot, the human body can become the path to ground—leading to a potentially fatal shock.
The terminology doesn’t help either. Many people search for “earthing” or “grounding,” but in US and Canadian electrical codes, the correct technical term is equipotential bonding. The purpose is straightforward: all metal components around the pool are electrically connected so they remain at the same potential, eliminating dangerous voltage differences.
This guide explains when bonding is required, outlines three proven methods to meet code requirements, and highlights common mistakes that often lead to failed inspections.
The “Splash Zone”: When Is Bonding Actually Required?

Before cutting into concrete or calling an electrician, it’s important to confirm whether bonding is actually required for your installation. Knowing this upfront can save both time and money.
Most electrical codes—including NEC 680.26—require that any conductive metal located within 5 feet (1.5 meters) horizontally from the pool’s water edge and up to 12 feet above the water surface be bonded to the pool’s equipotential bonding system. This area is commonly known as the splash zone or bonding perimeter.
Material selection matters. Conductive metals such as stainless steel and aluminum must be bonded. In contrast, non-conductive materials like composite fencing systems, plastic spigots, or installations located completely outside the 5-foot perimeter are often exempt.
That said, local amendments can be stricter than national codes. Some jurisdictions expand the bonding zone to 10 feet, while others apply different rules for commercial pools. Always confirm local requirements with your building department or refer directly to NEC Article 680.
Method 1: The "Hidden Wire" Technique (For New Pours)
If your fence is being installed as part of new construction—before the pool deck concrete is poured—you have an ideal opportunity to create a fully concealed bonding system.
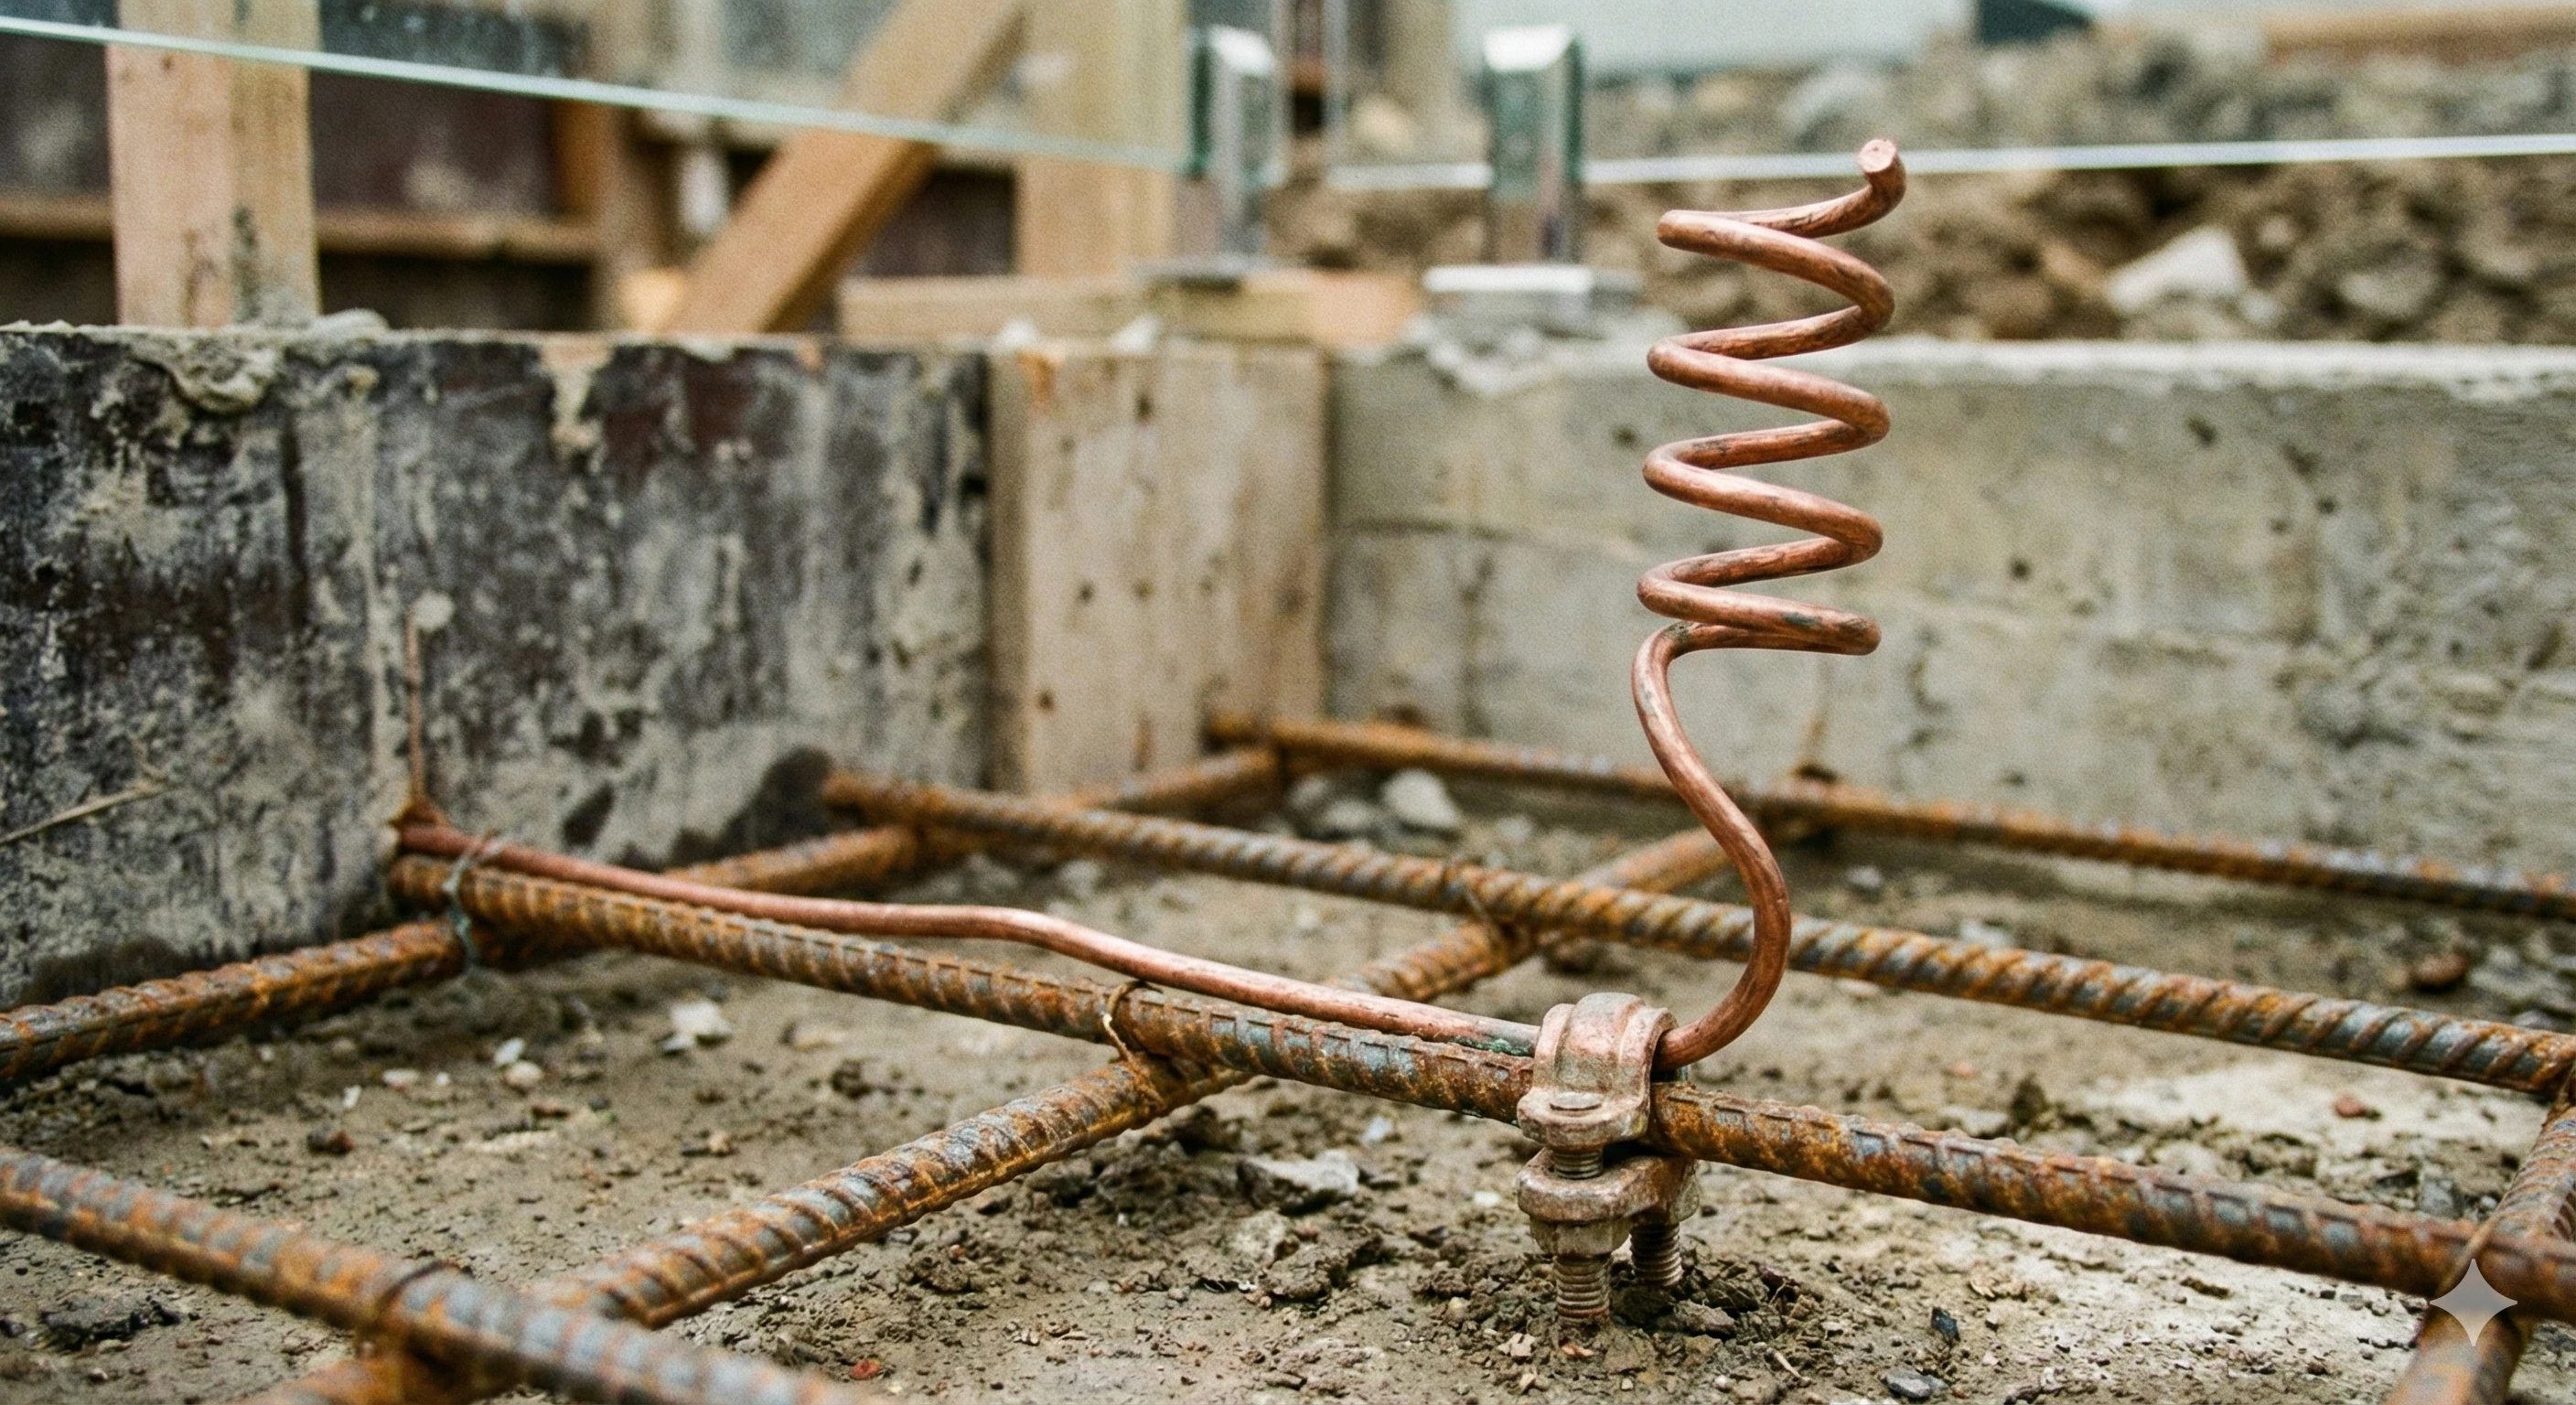
This method uses a continuous bare copper bonding conductor, typically 8 AWG solid copper or larger, routed through the pool deck’s rebar grid prior to the concrete pour. The wire is usually positioned 18–24 inches below the finished surface and follows the planned spigot layout.
The key detail is leaving a bonding pigtail at each spigot location. These are short wire ends (about 6–8 inches) left extending upward so they emerge directly beneath each spigot base. After the concrete has cured and the mounting holes are drilled, the pigtails are connected to the spigot base plate or anchor bolts using approved bonding clamps or compression lugs.
This bonding conductor must then be tied into the pool’s main bonding grid, which typically includes the pump motor, heater, metal ladders or rails, underwater light niches, and reinforcing steel within the pool shell.
The biggest advantage of this method is that it leaves no visible wire, channels, or patches once complete. The main drawback is that it requires careful planning—any changes in spigot layout after the pour are difficult to correct.
Method 2: Retrofitting with Bonding Lugs or Plates (For Existing Decks)
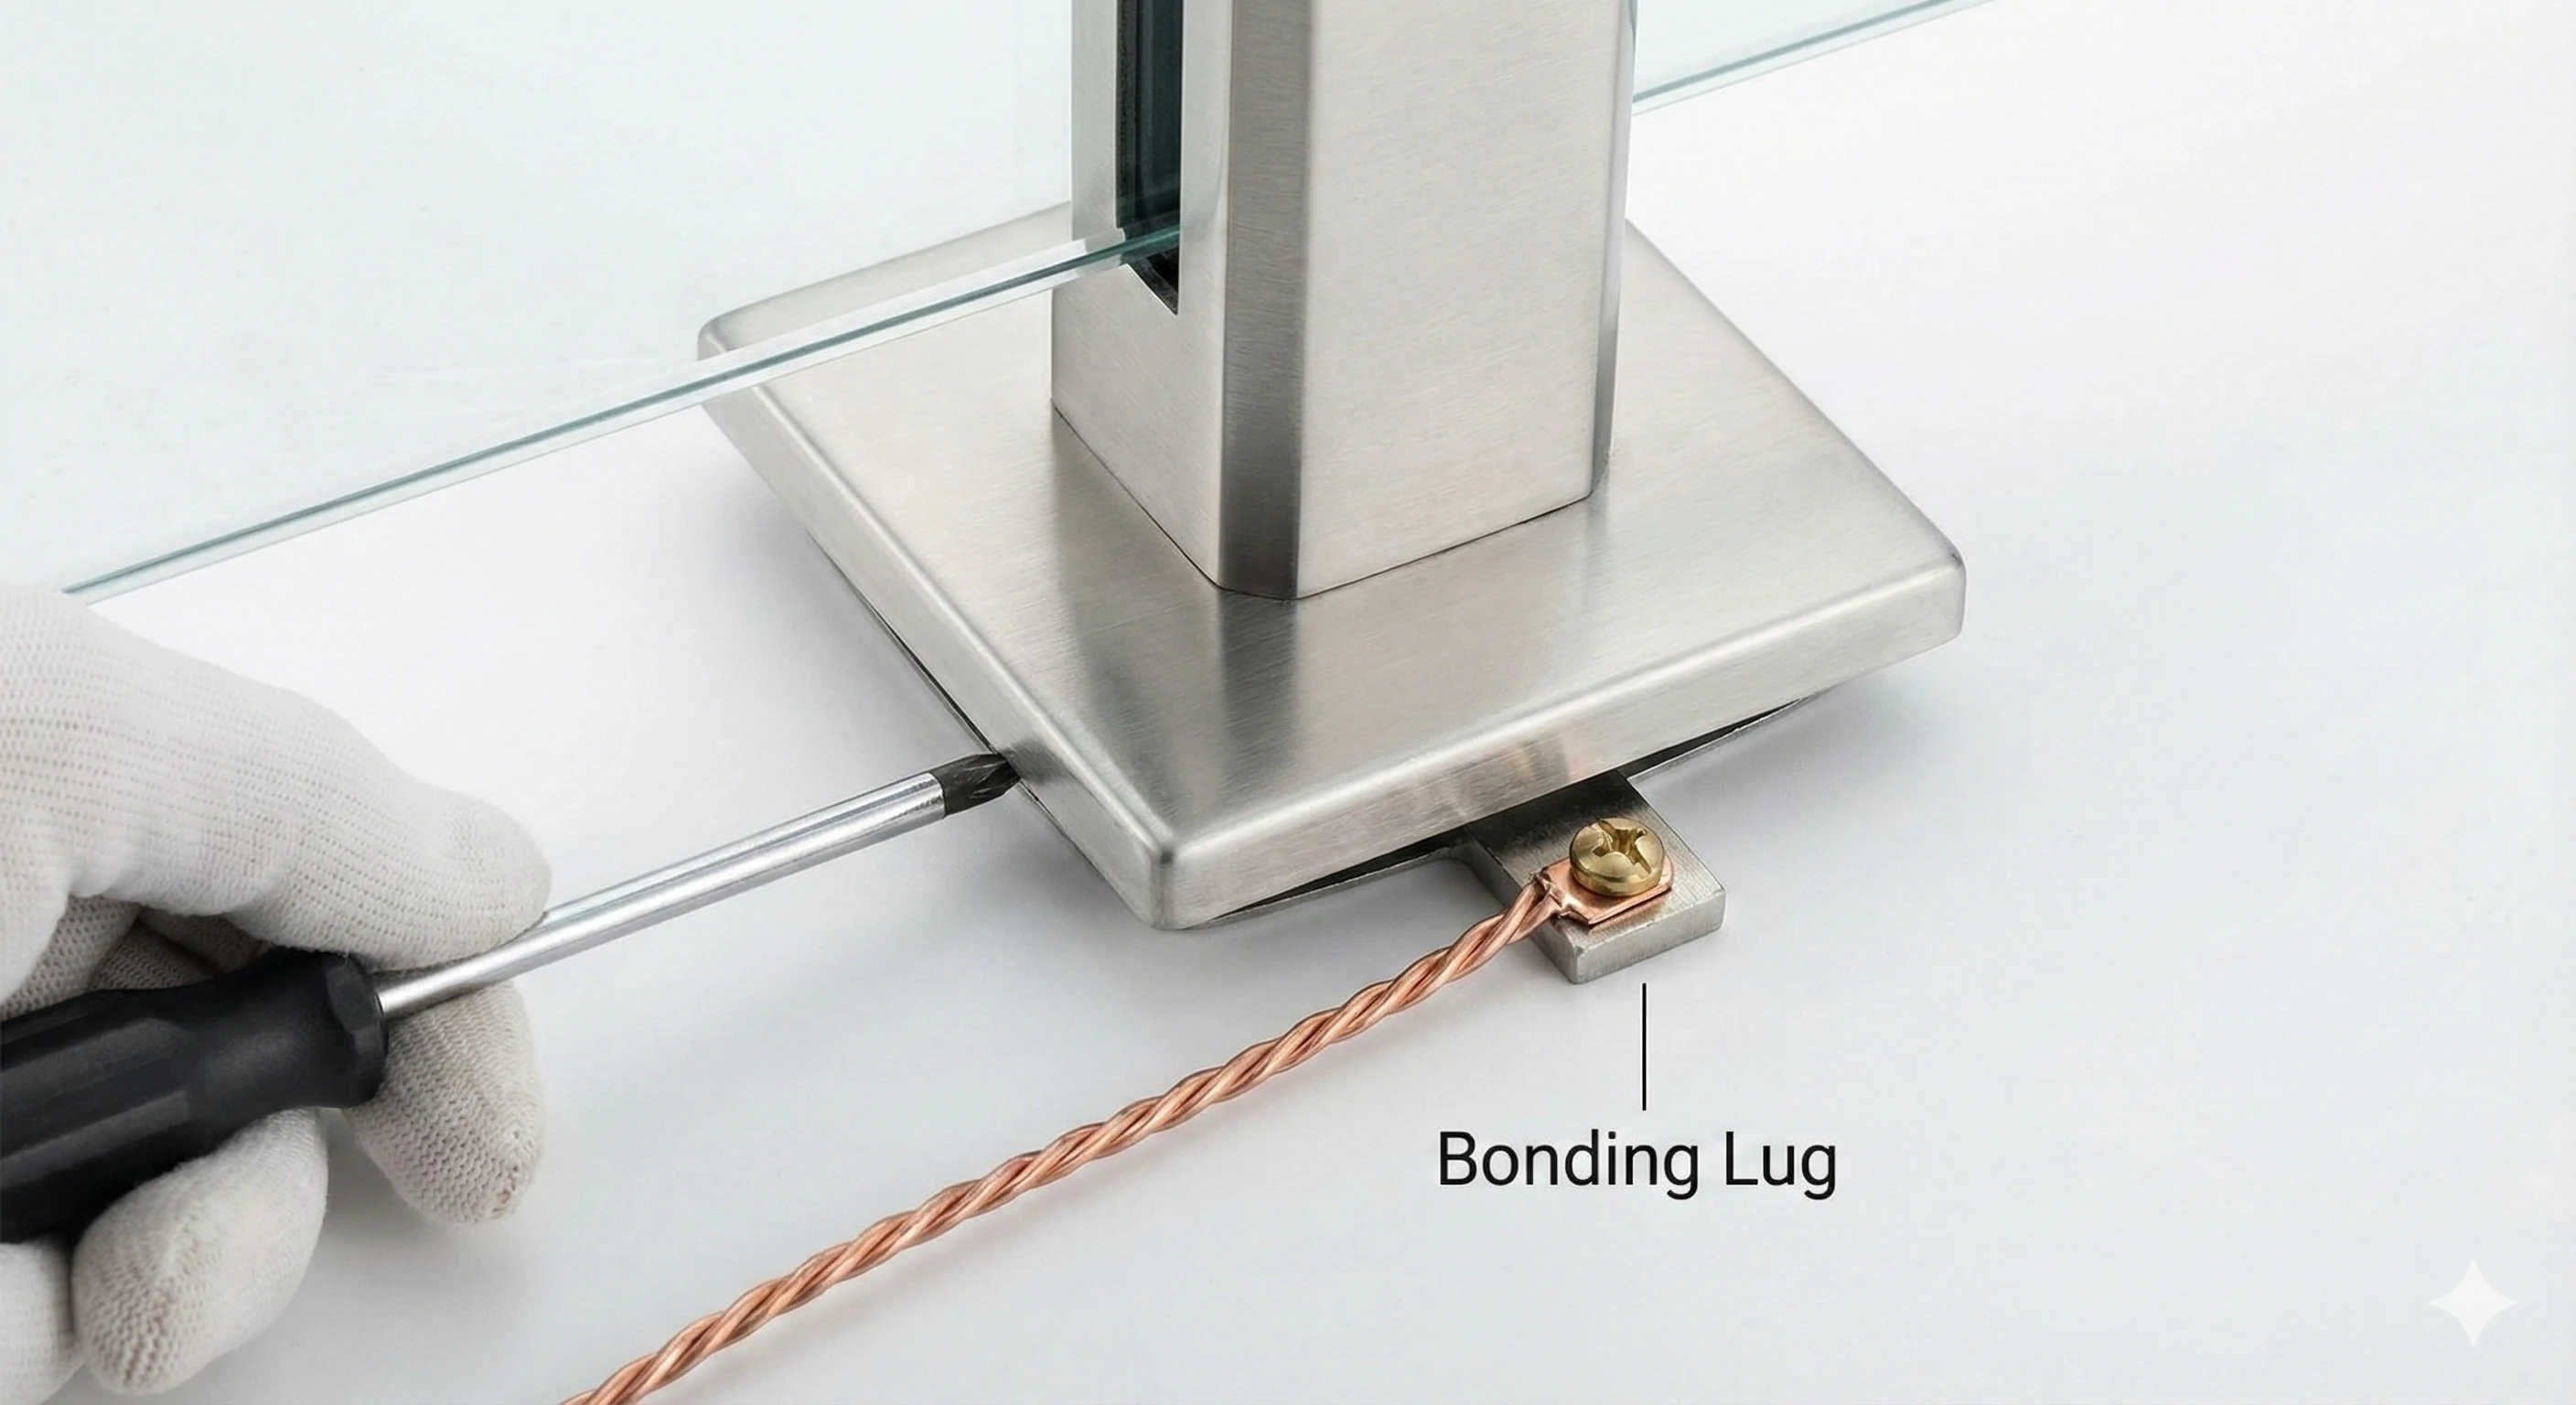
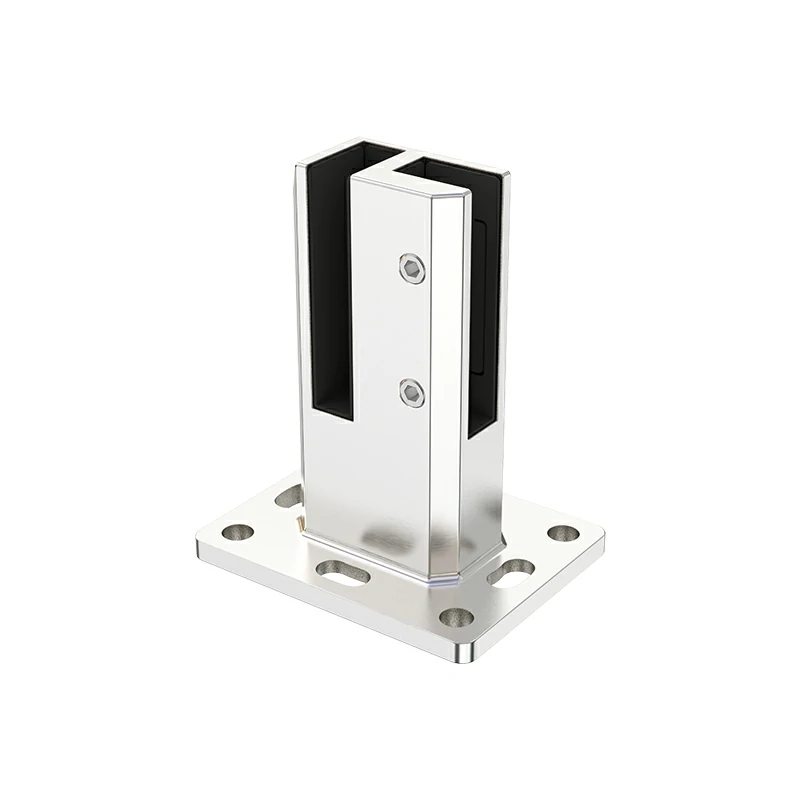
For existing pool decks, retrofitting is the most common—and most challenging—solution. This approach relies on bonding lugs or earthing plates installed beneath each spigot.
Bonding lugs are typically made from marine-grade stainless steel or titanium. They sit directly under the spigot base plate and provide a secure connection point for the bonding conductor while ensuring solid metal-to-metal contact.
Typical retrofit process:
Step 1: Plan the bonding path.
Design a continuous wire route that connects all spigots and ties back into the pool’s existing bonding grid. Most installations run the wire along the fence line, bonding each spigot in sequence.
Step 2: Cut concrete channels.
Use a diamond blade saw or grinder to cut a shallow channel (approximately ½ inch wide and 1–2 inches deep) following the planned path. The channel should pass directly beneath each spigot base.
Step 3: Install bonding lugs.
Place each lug so the wire terminal sits neatly in the channel. In some cases, a small recess is drilled beneath the terminal to ensure the spigot base sits flush.
Step 4: Run and connect the wire.
Lay bare 8 AWG solid copper wire in the channel. Use approved compression lugs or set-screw connectors at each spigot. Avoid simply wrapping wire around bolts—these connections often loosen over time.
Step 5: Install spigots and test continuity.
Secure the spigots firmly, ensuring solid contact with the bonding lug. Use a multimeter to verify continuity between all bonded components. Resistance should typically be below 0.5 ohms.
Step 6: Patch and finish.
Fill the channel using non-conductive grout, epoxy filler, or concrete patch material, smoothing it flush with the deck surface.
This method works reliably for retrofit projects, although the patched channels may remain slightly visible depending on deck finish.
Method 3: The "Insulation" Solution (Avoiding Bonding Entirely)
An increasingly popular alternative is to electrically isolate the spigots, eliminating the need for bonding altogether.
This method uses composite spigots or insulated base plates made from non-conductive materials such as nylon or HDPE. These components prevent any electrical path between the metal spigot and the surrounding concrete.
Installation is straightforward: an insulated plate or gasket is placed beneath the spigot, and mounting fasteners pass through non-conductive sleeves. The spigot remains structurally secure while being electrically isolated.
The advantages are clear—no concrete cutting, no bonding wire, and significantly reduced labor costs. Installations are also cleaner with no visible repairs to the deck.
However, two conditions must be met. First, local inspectors must approve insulated systems—most residential jurisdictions do, but some commercial pools may not. Second, insulation must be complete. Any unintended metal contact defeats the system, so only purpose-designed insulation kits should be used.
Common Mistakes That Fail Inspection
Mistake 1: Relying on concrete anchors alone.
Concrete is not a reliable conductor. Bonding requires direct metal-to-metal contact through an approved connector.
Mistake 2: Loose or improvised connections.
Wrapping wire around bolts or relying on friction contact is not acceptable. Use listed bonding clamps or compression connectors only.
Mistake 3: Forgetting gate hardware.
Gate hinges, latches, and frames within the bonding zone must also be bonded. This is one of the most commonly missed inspection items.
Mistake 4: Ignoring galvanic corrosion.
Connecting copper wire directly to aluminum without proper protection can cause corrosion. Always use bimetallic connectors or anti-oxidant compounds.
Mistake 5: Using undersized wire.
Most residential pool bonding systems require 8 AWG solid copper at minimum. Smaller or stranded wire often fails inspection.
Protect Your Family and Pass Inspection
Equipotential bonding is not a bureaucratic requirement—it’s a proven safety system that has prevented countless accidents. When installed correctly, it ensures that metal components around the pool never present a shock hazard.
While this article provides general guidance, we are hardware manufacturers—not licensed electricians. Always consult local codes and have a qualified electrician complete or verify the final bonding connections.
With proper planning—whether through concealed bonding, retrofit solutions, or insulated spigot systems—you can achieve both compliance and a clean, modern pool fence design.
Need spigots designed for easy bonding? Our S-Series Spigots feature integrated bonding points, and our Insulated Base Plate Kits eliminate bonding requirements in most jurisdictions. Explore our bonding accessories to find the right solution for your project.
Frequently Asked Questions
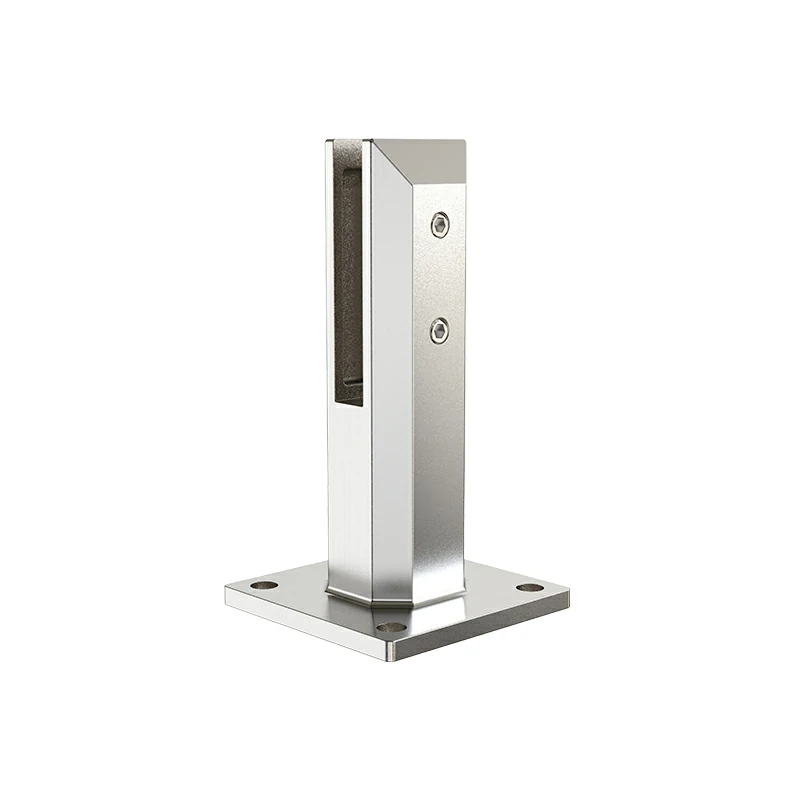
Do stainless steel glass spigots conduct electricity?
Yes, stainless steel conducts electricity. While it's not as conductive as copper or aluminum, 316 marine-grade stainless steel still poses a shock hazard near pools if not properly bonded. The conductivity is sufficient to carry dangerous current from pool water to a person touching the spigot, which is why bonding is required by electrical codes for all metal fence hardware within the pool area.
Can I earth the spigots myself?
You can perform the physical installation work yourself, including drilling holes, cutting channels, laying wire, and bolting spigots in place. However, the final electrical connection to the pool's main bonding grid typically must be made by a licensed electrician. Most building departments require a licensed electrician to test the bonding system, verify proper continuity, and sign off on the permit before your final inspection. This ensures the system meets code requirements and protects you from liability issues.
What happens if I don't earth my pool fence?
From a regulatory standpoint, you will fail your final building inspection, which can delay your pool opening and prevent you from legally using the pool. Some jurisdictions impose fines for non-compliant installations. From a safety perspective, unbonded metal near pools creates a serious electrocution hazard. If electrical current enters the pool water from any source (faulty equipment, nearby lightning strike, damaged wiring), voltage differences between the water and unbonded metal can cause severe shock or electrocution when someone simultaneously touches the water and the metal fence hardware.
How much does it cost to bond pool fence spigots?
Costs vary significantly based on your chosen method. For new construction using the hidden wire technique, expect to add $200-400 in materials and 2-3 hours of labor to coordinate with your concrete pour. Retrofitting existing decks typically costs $800-1,500 including channel cutting, materials, and electrician fees. The insulated spigot method is the most cost-effective for retrofits at $300-600, primarily just the cost of specialized hardware since no electrical work or concrete cutting is required.
Does aluminum fence hardware need to be bonded?
Yes, aluminum is highly conductive and must be bonded when installed within the pool bonding perimeter. In fact, aluminum typically requires more careful bonding attention than stainless steel because it's more susceptible to galvanic corrosion when in contact with dissimilar metals. Always use approved bimetallic connectors or anti-oxidant compound when bonding aluminum components to copper wire.
Disclaimer: This article is for informational and educational purposes only. Electrical codes vary by jurisdiction, and requirements may differ from what is described here. Always consult NEC Article 680, local amendments, and your building department before beginning work. Electrical bonding connections must be performed by or inspected by a qualified licensed electrician to ensure compliance with local codes and safety standards. Improper bonding can result in serious injury or death from electrical shock.