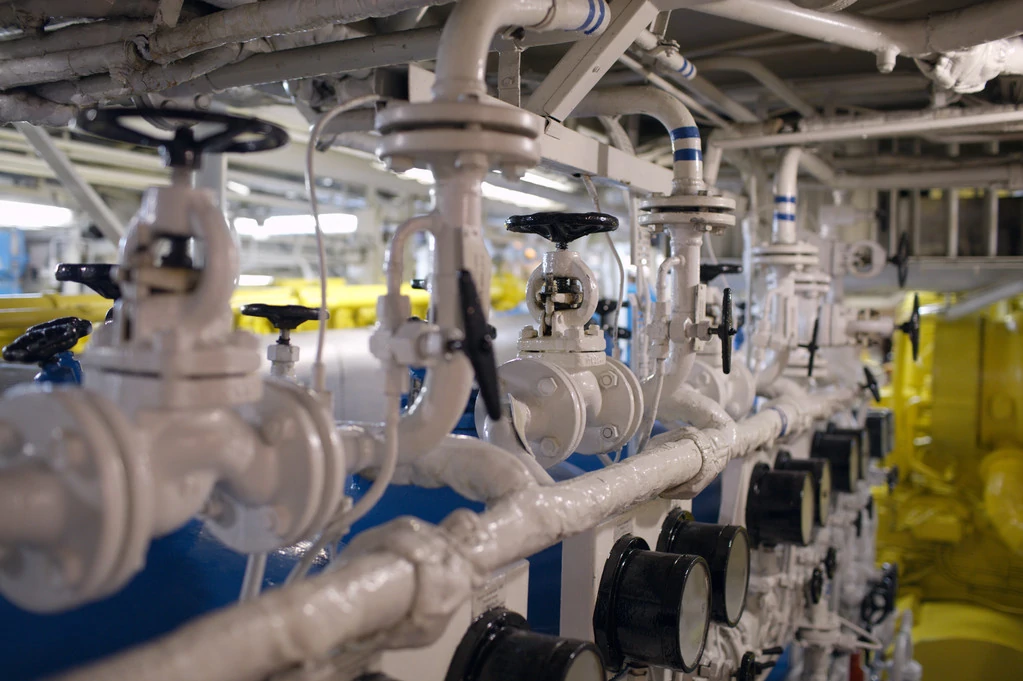
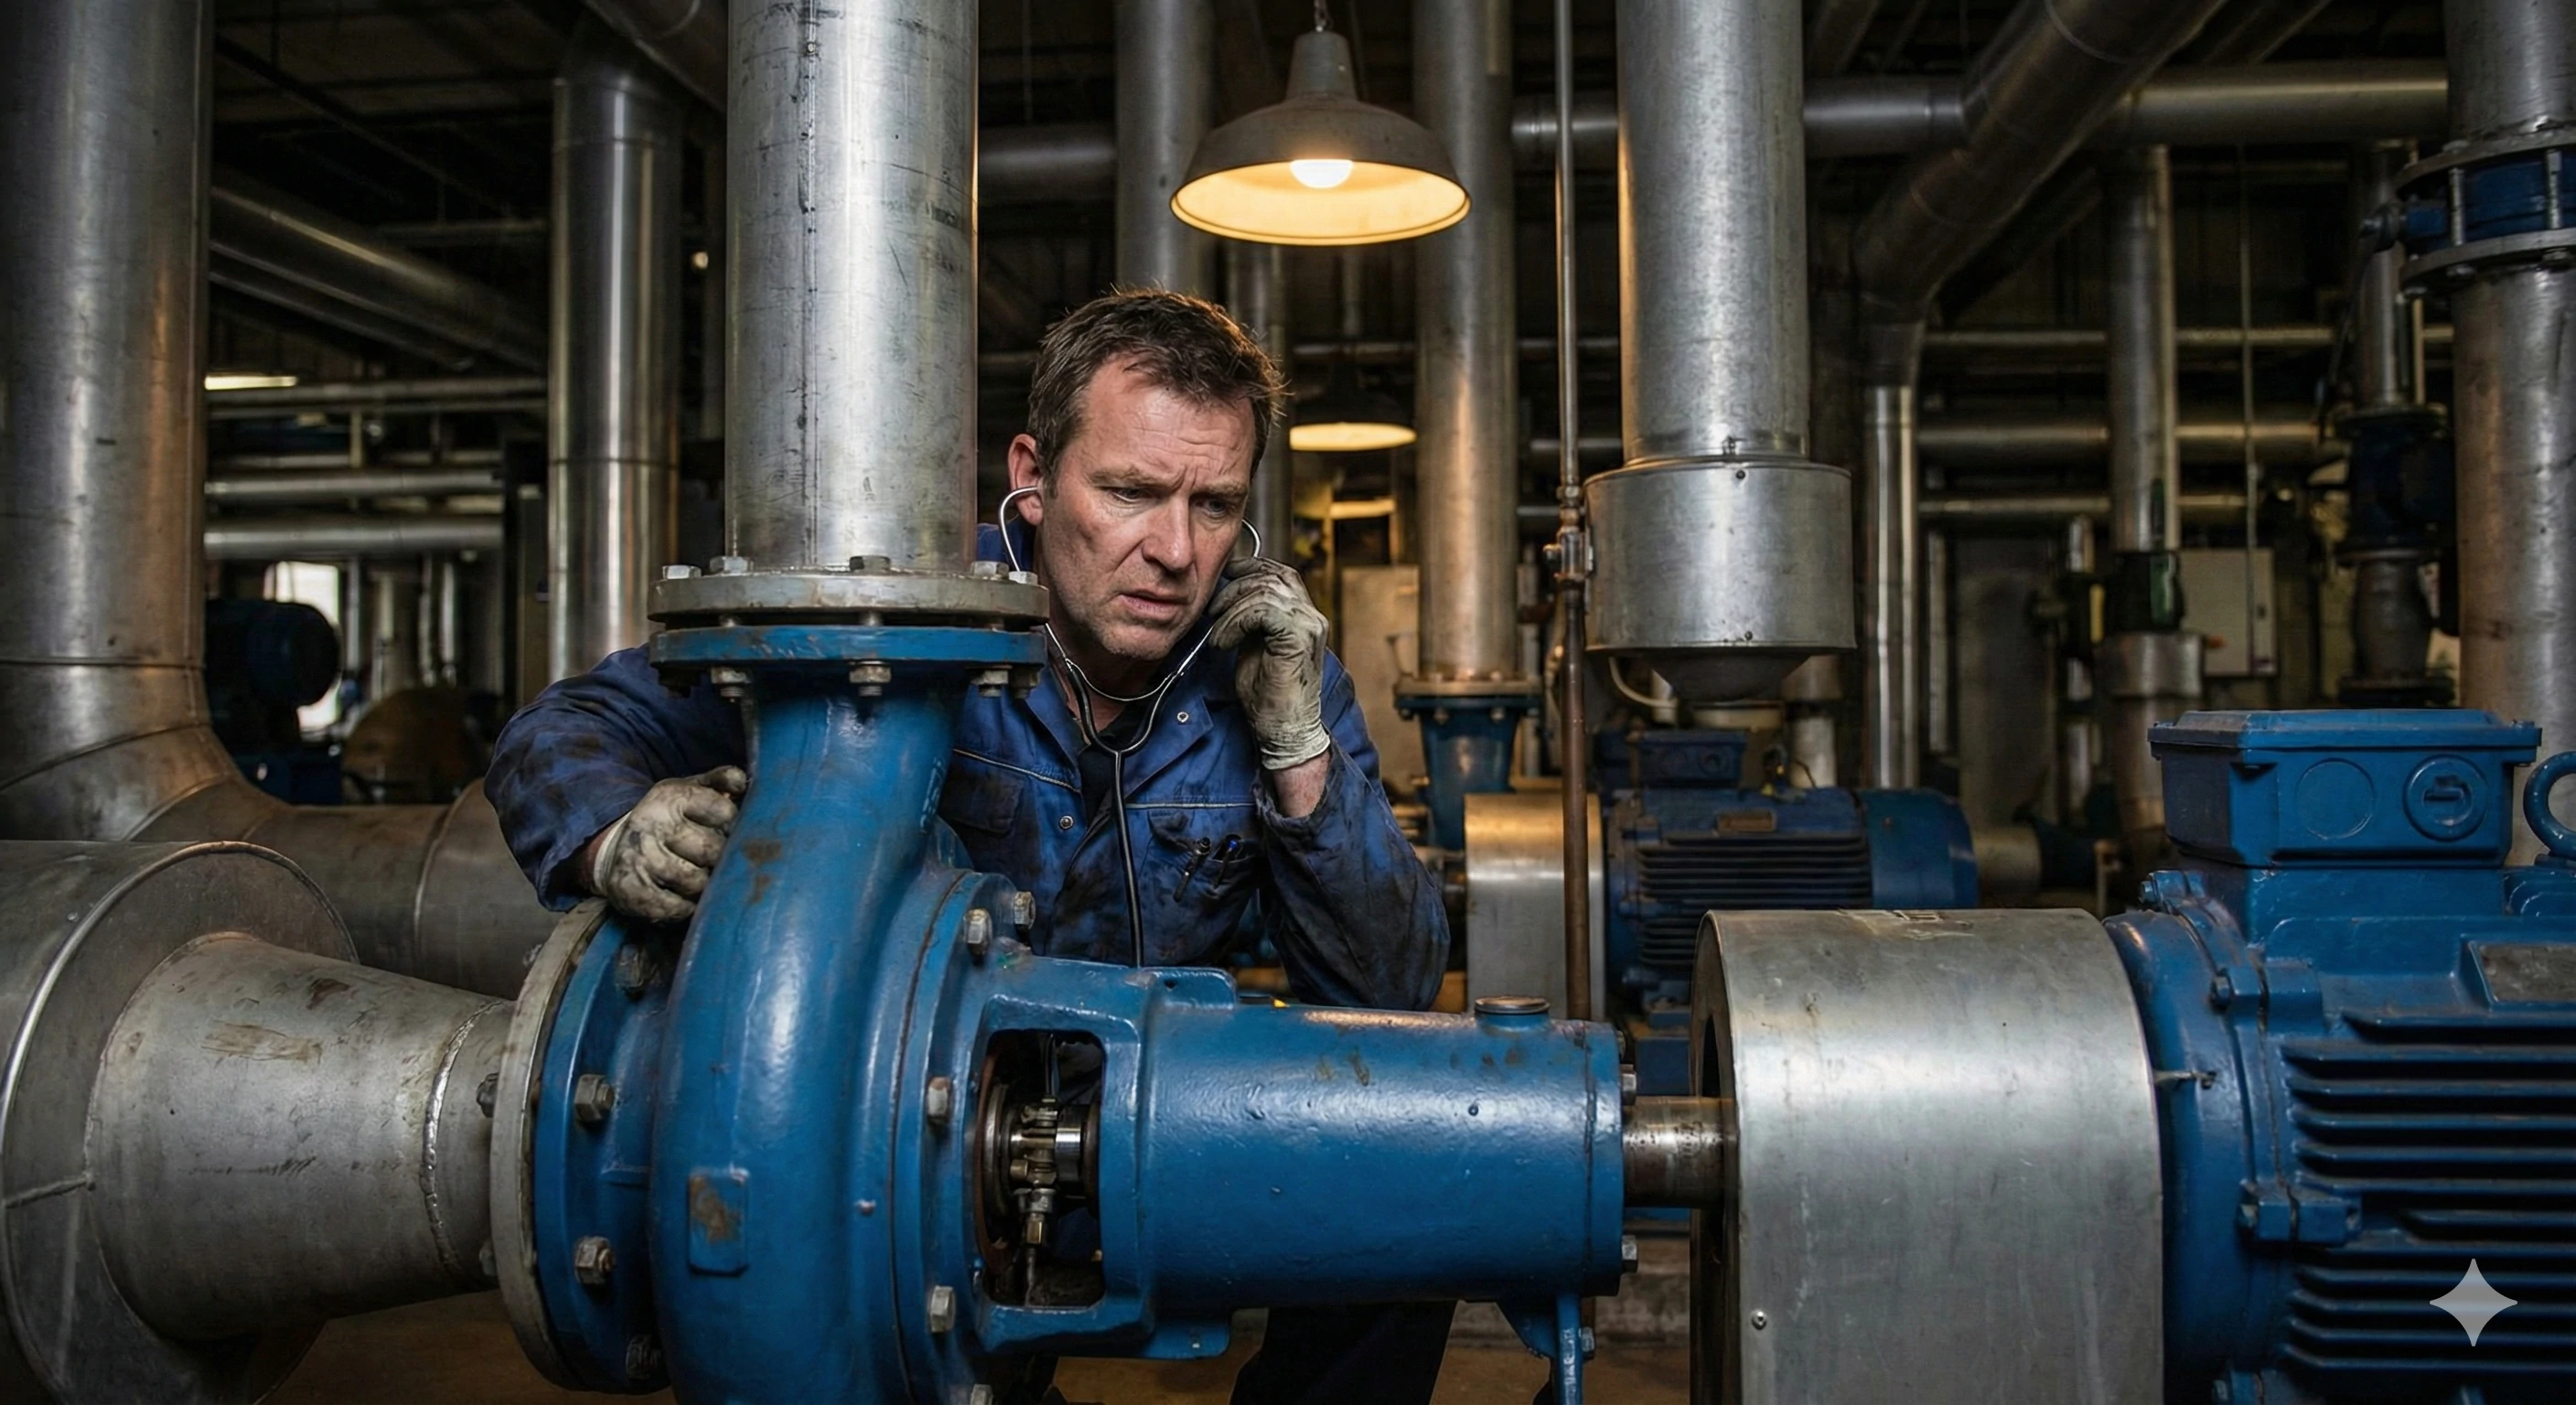
The pump is the heart of your fluid system, and the impeller is the muscle that moves the liquid. When it fails, your entire operation grinds to a halt. At our foundry, we frequently analyze damaged parts sent in by clients for . We often see that operators ignored the early warning signs—strange noises or subtle pressure drops—until catastrophic failure occurred. Catching these issues early can save your expensive motor shafts and prevent costly downtime.
A bad pump impeller is typically identified by a distinct "marbles in a can" noise caused by cavitation, a noticeable drop in discharge pressure, or excessive vibration during operation. Visual inspection often reveals pitting, eroded vane edges, or corrosion, indicating the component is no longer moving fluid efficiently.
If you suspect your system is underperforming, don't wait for a total breakdown. Read on to discover the specific symptoms of failure and how to troubleshoot them effectively.
Symptom 1: The "Marbles in a Can" Noise (Cavitation)?
In our experience casting industrial components, sound is often the first indicator of internal distress. When we test new designs in our fluid dynamics lab, we listen intently for smooth operation. If a client reports a sound like gravel rattling inside the pump housing, we immediately suspect cavitation. This is not just a noise nuisance; it is a violent physical process occurring inside your equipment.
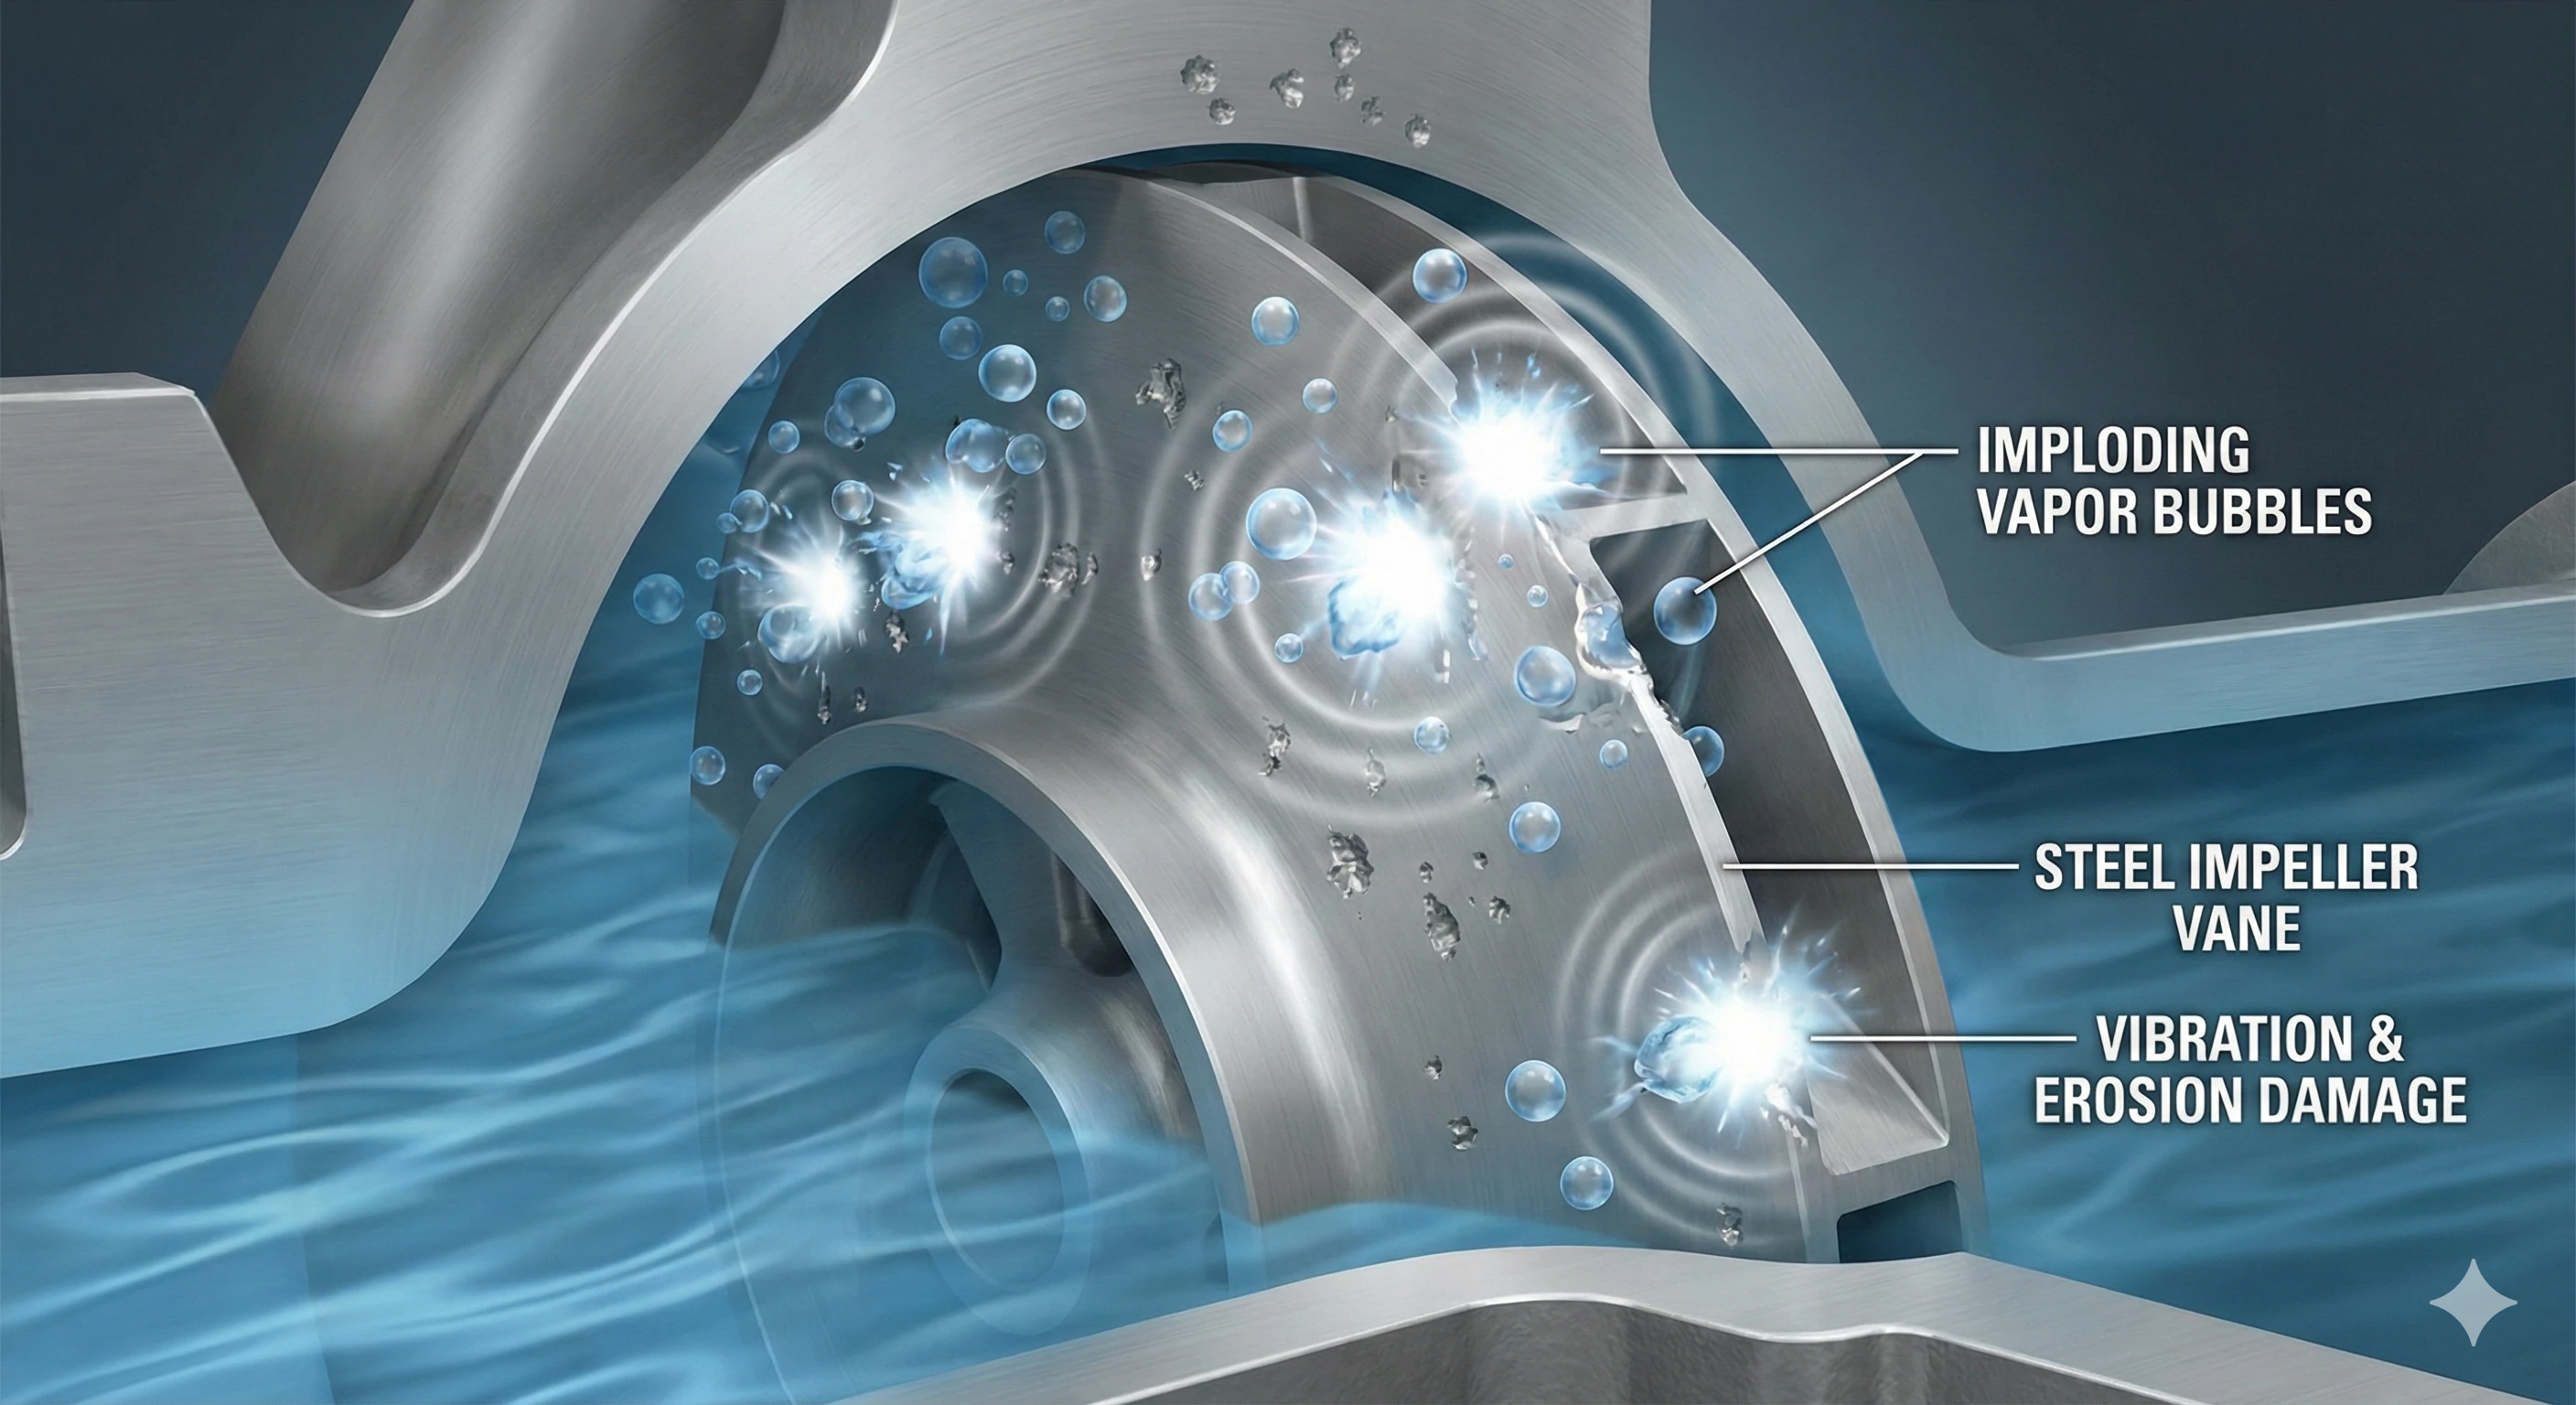
Cavitation occurs when low pressure creates vapor bubbles that violently implode against the metal surface of the impeller. This creates a distinctive grinding noise often described as pumping gravel or marbles. These implosions blast tiny holes into the metal, destroying efficiency and causing structural failure.
Understanding the Physics of Cavitation
Cavitation is the number one killer of pump impellers. To understand why this happens, you have to look at . When the pressure inside the pump drops below the vapor pressure of the liquid, the liquid effectively "boils" at room temperature, forming vapor bubbles. When these bubbles move to a higher-pressure area of the impeller, they collapse or implode.
The force of this collapse is incredibly destructive. It sends shockwaves that blast microscopic chunks of metal off the impeller vanes. Over time, this creates a rough, pitted surface that looks like a sponge or Swiss cheese. This damage ruins the hydraulic balance of the part and drastically reduces flow efficiency.
Identifying the Sound Profile
Different pump problems create different sounds. It is crucial to distinguish cavitation from mechanical issues like bearing failure. Use the table below to help diagnose the noise you are hearing.
Table 1: Pump Noise Diagnosis Guide
| Sound Description | Probable Cause | Action Required |
|---|---|---|
| Grinding / Gravel / Marbles | Cavitation | Check suction pressure, reduce flow, or upgrade impeller material. |
| High-Pitched Whine / Squeal | Bearing Failure | Replace motor bearings immediately. |
| Rhythmic Thumping | Impeller Imbalance | Inspect impeller for broken vanes or debris. |
| Hum but No Flow | Seized Impeller | Check for jams or issues. |
If you confirm the noise is cavitation, simply replacing the impeller with the same material will not fix the root cause. The cavitation will return. You likely need to upgrade to a material that resists pitting, such as Duplex 2205 Stainless Steel, which we frequently use for clients in harsh pumping environments.
Symptom 2: Low Flow or Reduced Pressure?
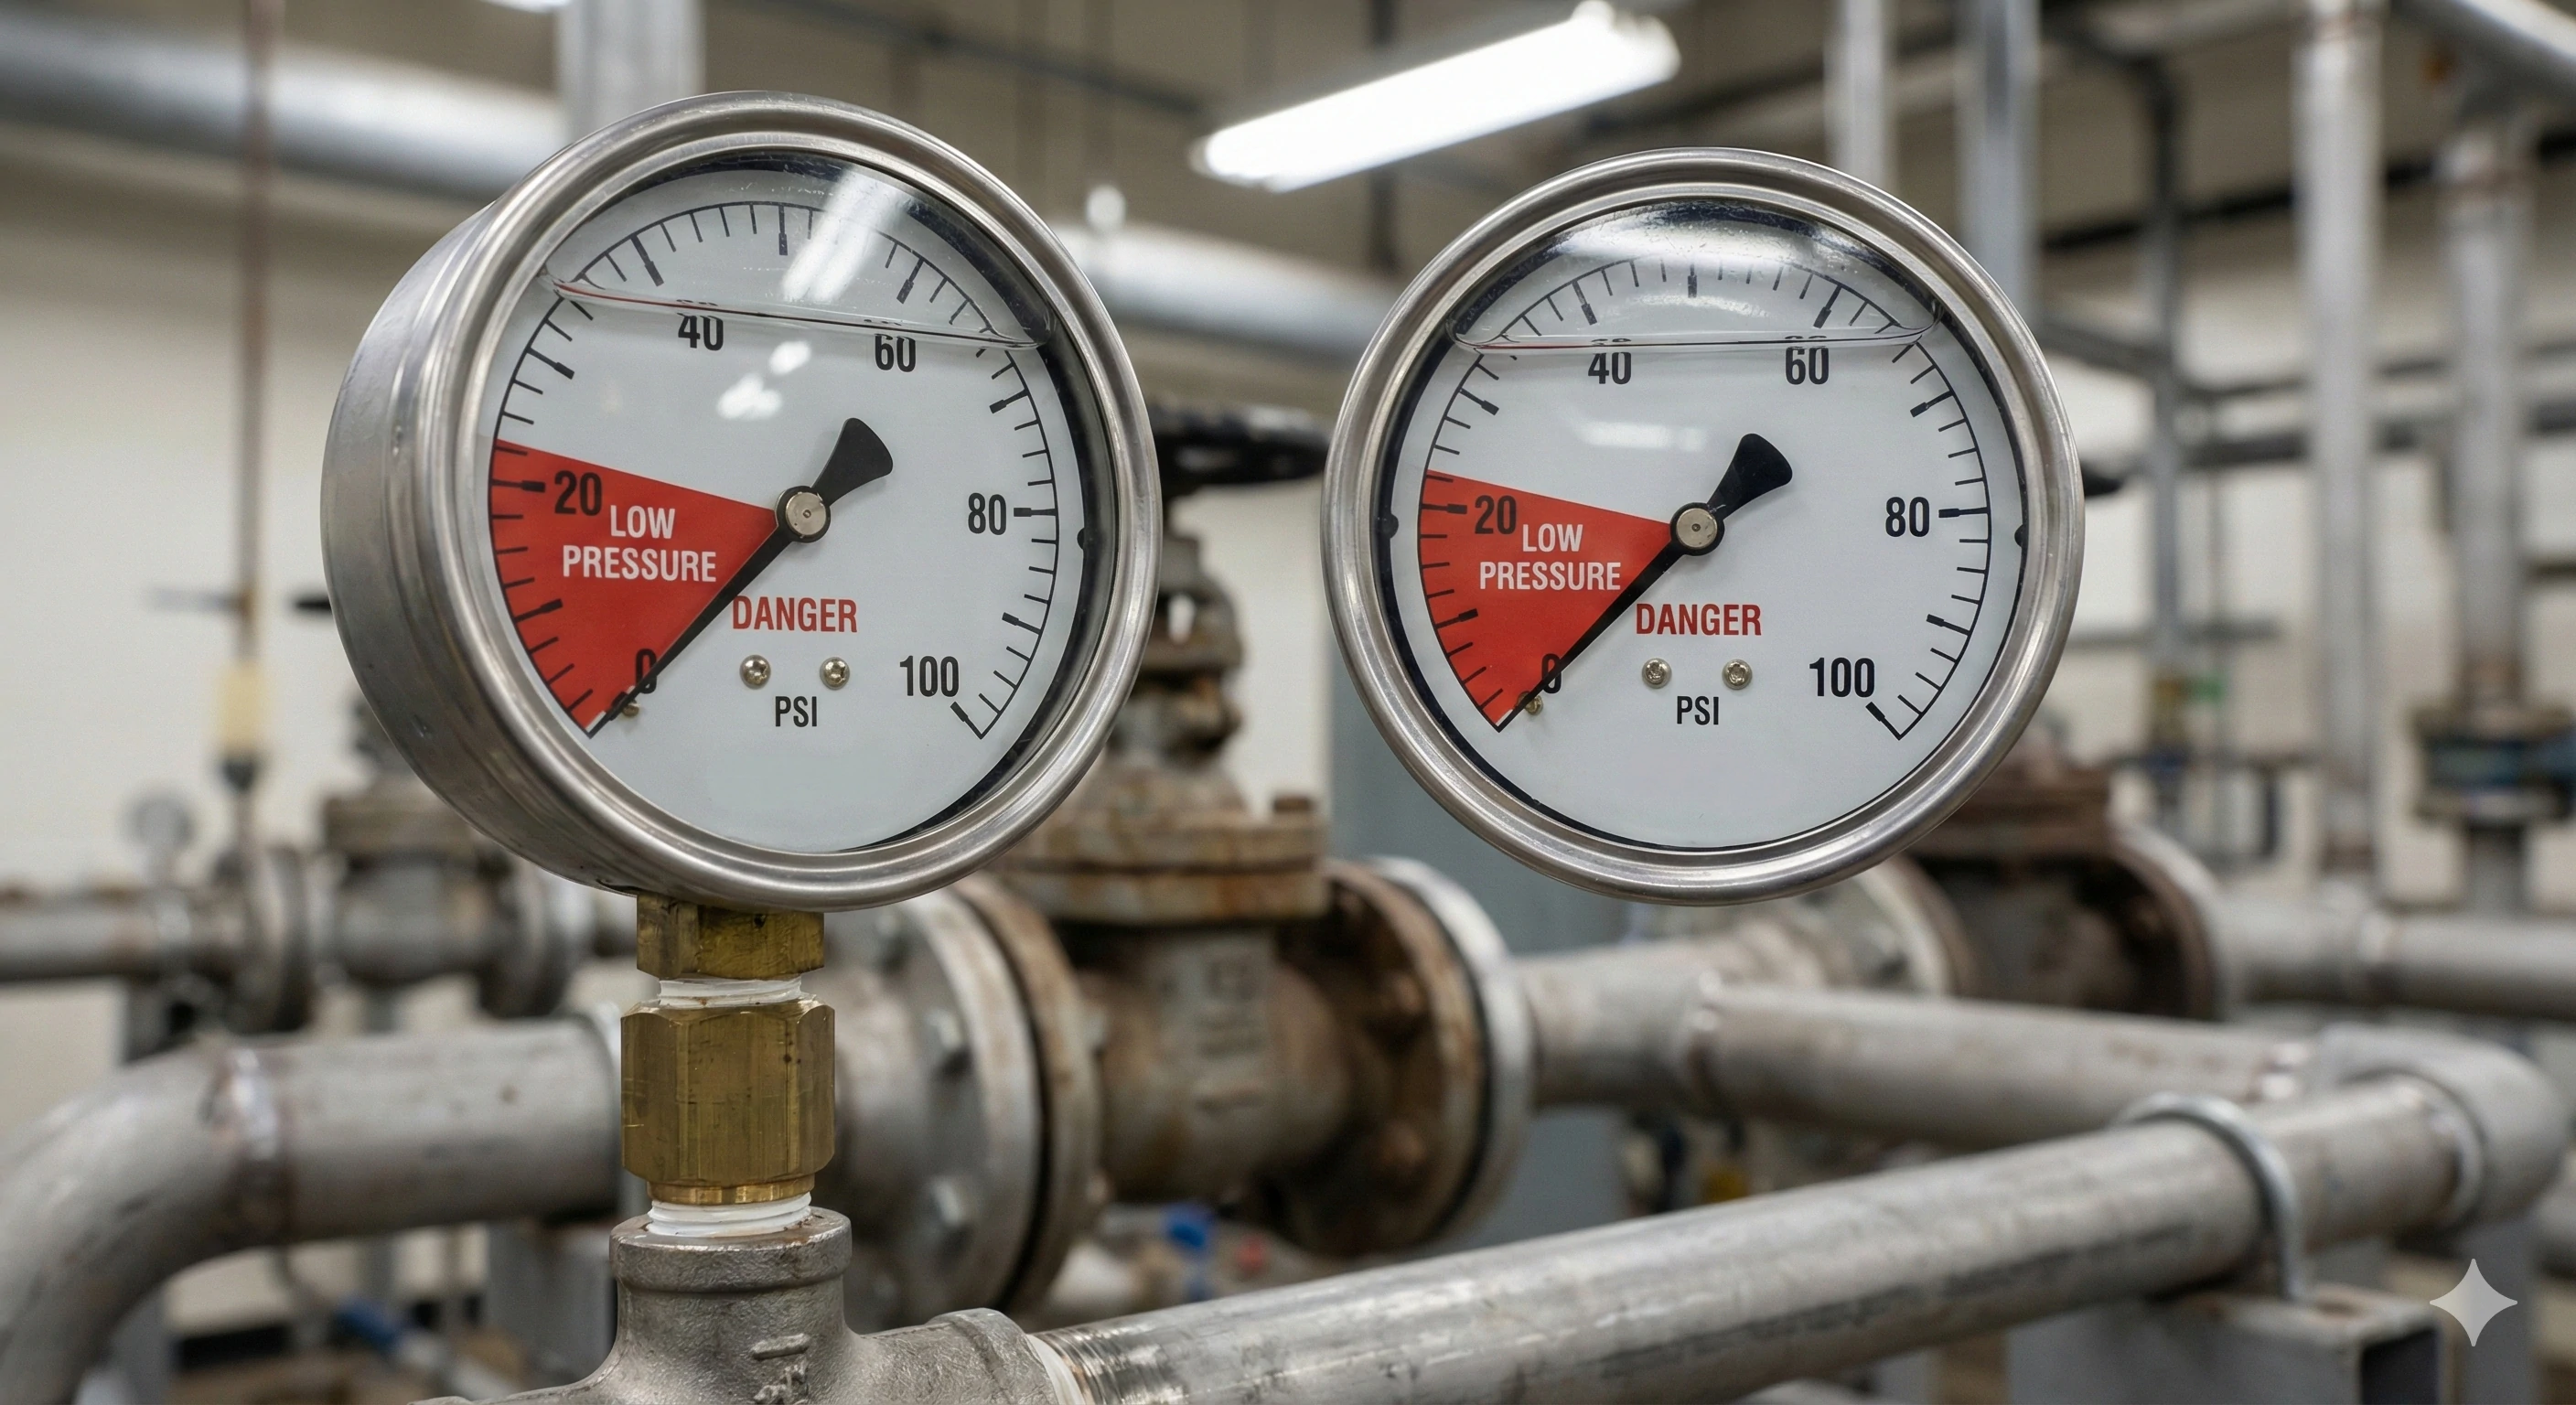
When we calibrate pumps for industrial applications, consistency is key. A motor running at full speed should produce a specific flow rate. If the motor sounds fine but the water flow is weak, our engineers look immediately at the "clearance gap." This is the space between the spinning impeller and the stationary housing. As this gap widens due to wear, performance drops significantly.
Low flow or reduced pressure usually indicates that the leading edges of the impeller vanes have eroded, widening the critical clearance gap. Alternatively, debris may be clogging the vanes, especially in open impeller designs, preventing the fluid from being accelerated effectively through the discharge.
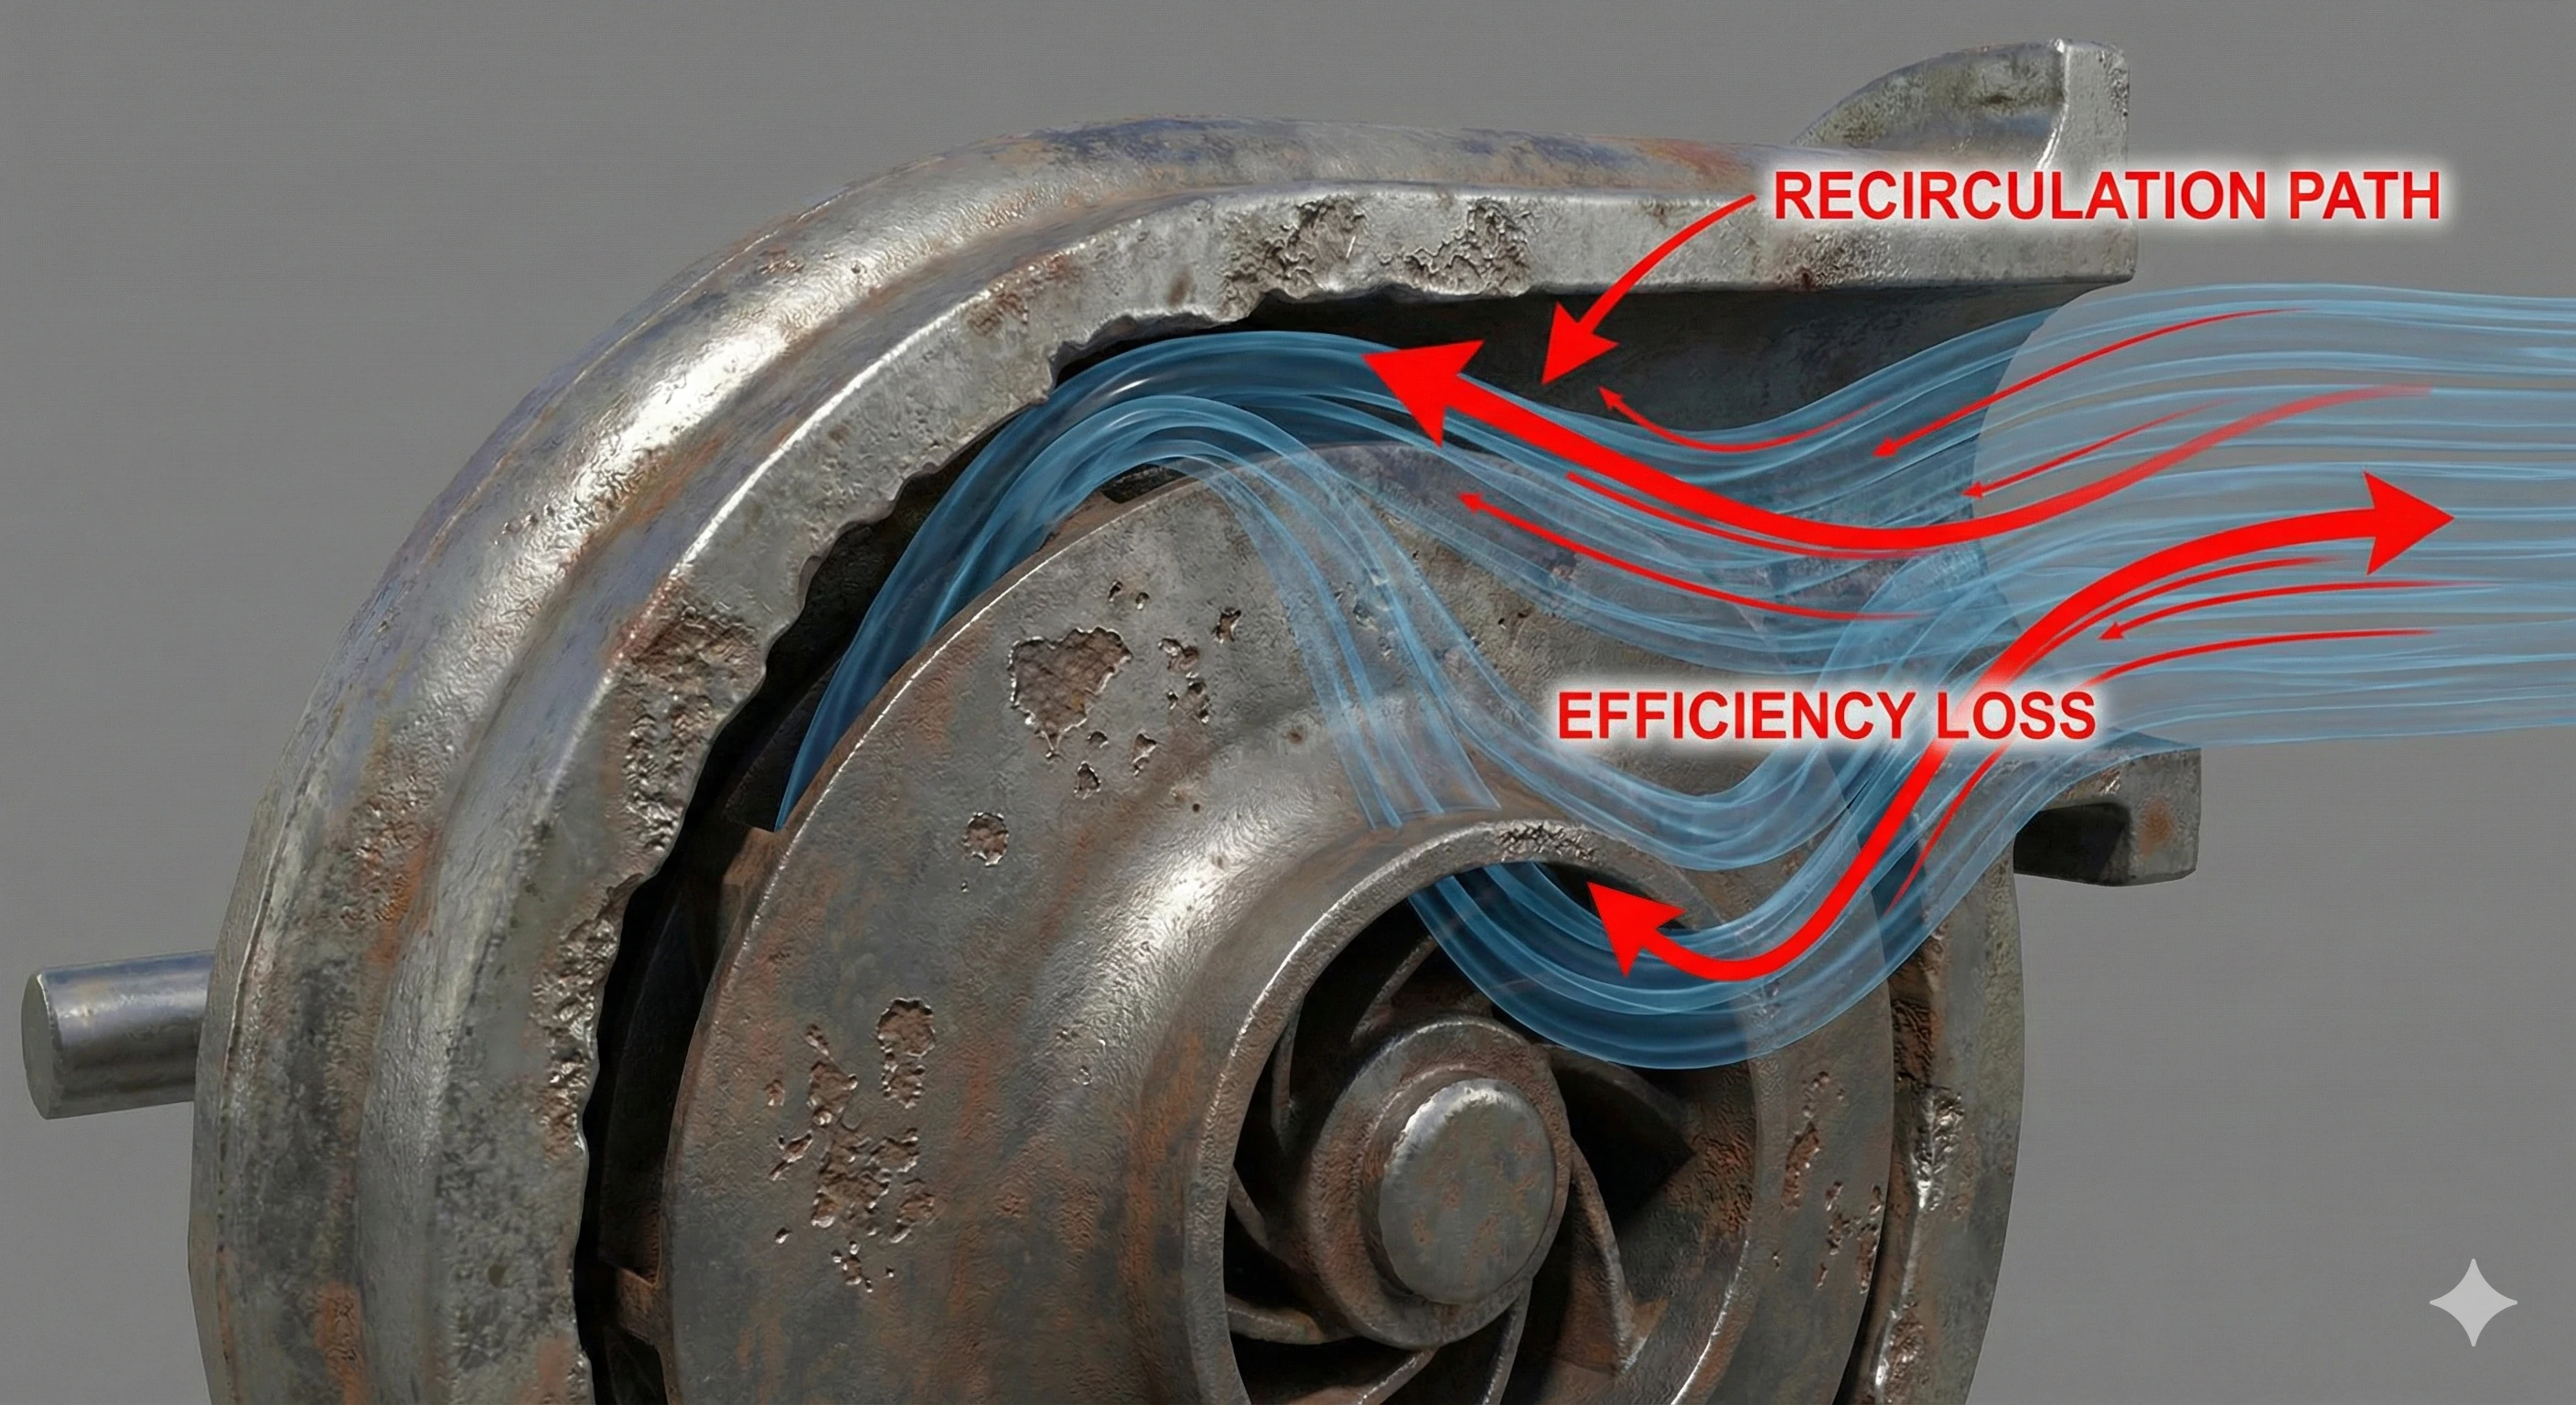
The Mechanics of Clearance Gap Wear
The efficiency of a relies heavily on tight tolerances. As the impeller spins, it imparts energy to the fluid. However, if the vanes are worn down—a condition we call "feathering"—the fluid slips back to the suction side rather than being pushed out the discharge. This internal recirculation causes a massive drop in head pressure.
Common causes for this wear include:
-
Abrasive Fluids: Sand or grit in the water acts like sandpaper on the metal.
-
Chemical Attack: Corrosive fluids eat away at the vane edges.
-
Long-term Usage: Even clean water will eventually wear down softer materials like cast iron or plastic.
Testing for Hydraulic Failure
To confirm if the impeller is the culprit, perform a simple "Shut-Off Head Test" (briefly closing the discharge valve and reading the pressure). If the pressure is significantly lower than the manufacturer's curve, the impeller is worn.
Table 2: Flow Reduction Troubleshooting
| Symptom | Check | Diagnosis |
|---|---|---|
| Low Flow + Normal RPM | Blockage in the suction line limits water intake. | |
| Low Flow + Normal RPM | Impeller Vanes | Eroded vanes or excessive clearance gap. |
| Low Flow + Low RPM | Voltage/Motor | Electrical issue or motor slipping. |
| No Flow | Prime | Pump has lost its prime (airlock). |
In our manufacturing process, we use precision casting to ensure the vanes maintain their thickness and profile for as long as possible. However, once that profile is lost to erosion, the only solution is replacement.
Symptom 3: Excessive Vibration?
Vibration is the enemy of longevity. When we machine impellers at our factory, we them to ensure they spin perfectly true. If a client tells us their pump is "walking" across the floor or shaking the piping, it is almost always due to an imbalance in the rotating assembly. Ignoring this will eventually snap the pump shaft or destroy the mechanical seals.
Excessive vibration is a clear sign that the impeller has become unbalanced, likely because a piece of a vane has broken off due to corrosion or impact. This off-center spinning mass creates centrifugal forces that shake the entire pump unit and damage bearings.
Causes of Impeller Imbalance
Why does an impeller lose its balance? In our analysis of failed parts, we see three main culprits:
-
Foreign Object Damage: A rock or bolt enters the pump and snaps off a vane.
-
Uneven Corrosion: Chemical attack eats away one side of the impeller faster than the other.
-
Clogging: Debris gets stuck in just one vane of an enclosed impeller, acting like a counterweight.
When a pump vibrates, it isn't just annoying; it is self-destructing. The vibration travels up the shaft and destroys the bearings. Once the bearings fail, the shaft creates friction heat, which can melt seals.
Sand Casting vs. Investment Casting
The manufacturing method matters here. Many cheaper impellers are made via , which results in rough surfaces and inherent porosity. These parts are often difficult to balance perfectly.
We utilize the process. This creates a part that is nearly perfectly balanced right out of the mold, with smooth surfaces and uniform density. If you are experiencing chronic vibration issues with a standard cast iron part, switching to a precision investment cast stainless steel impeller can eliminate the wobble and extend the life of your motor bearings.
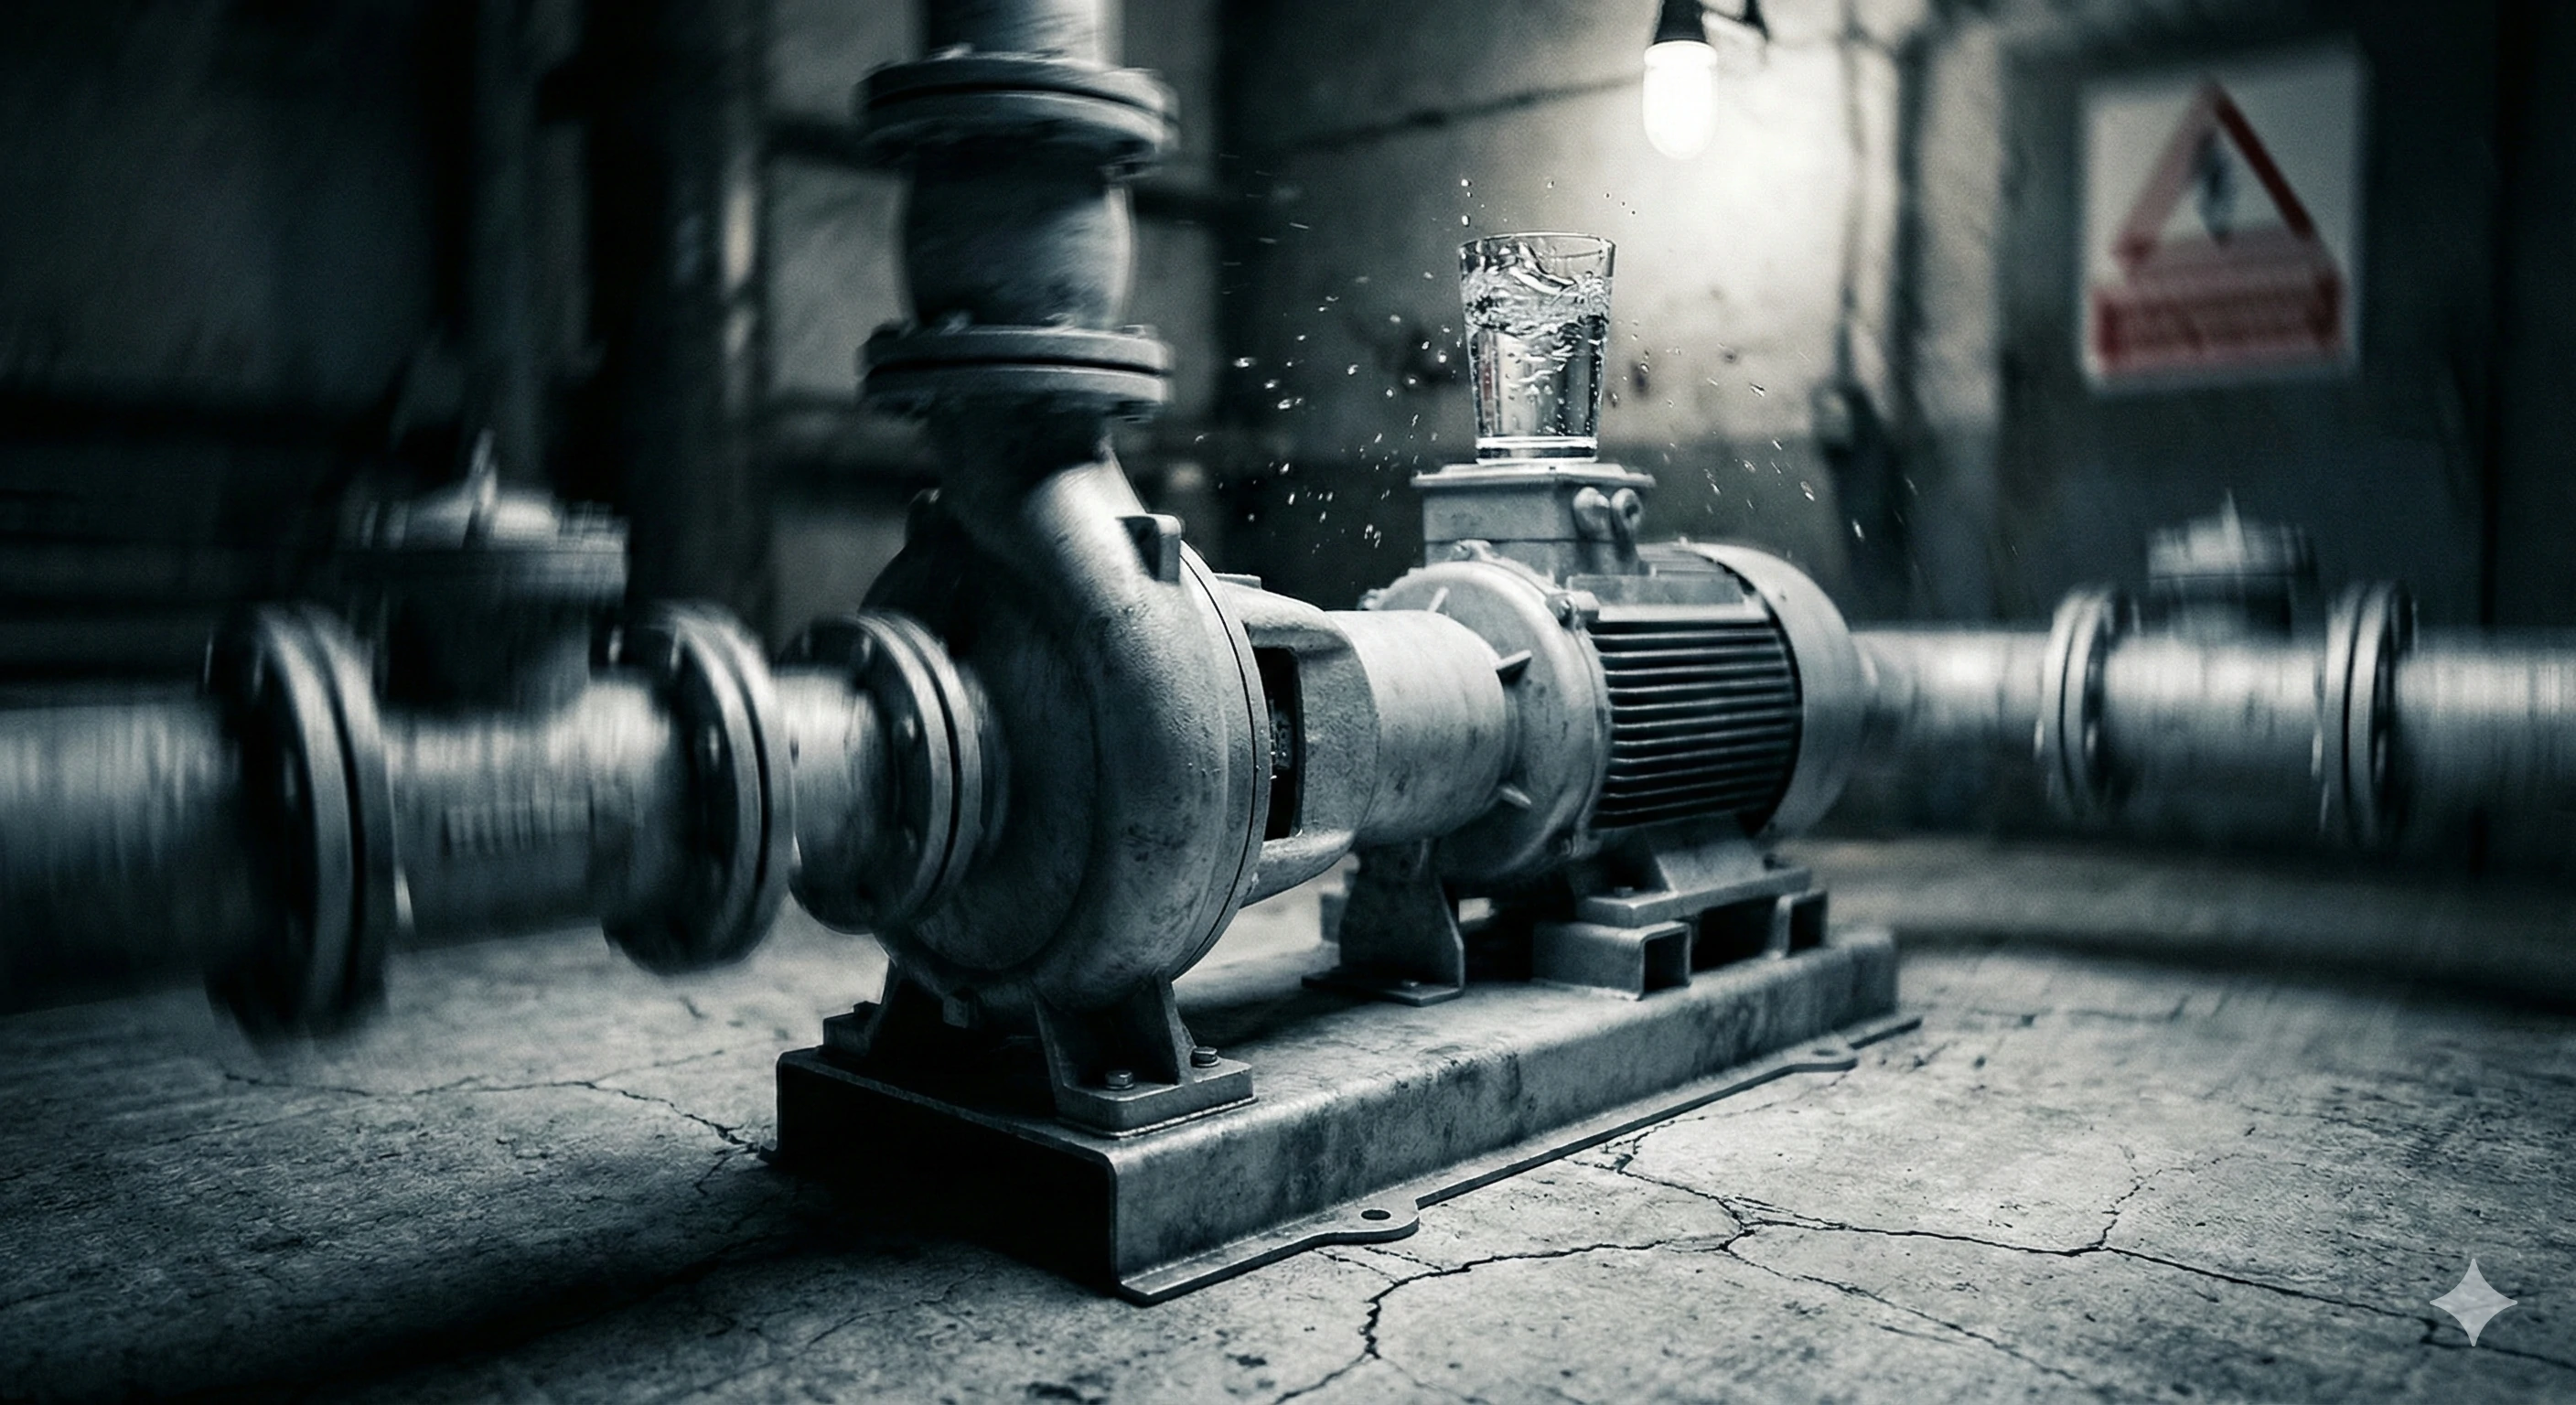
Vibration Severity Guide
-
Smooth: Coin stands on edge on the pump casing. (Ideal condition).
-
Minor Vibration: Ripples in a cup of water placed on the pump. (Monitor closely).
-
Severe Vibration: Visible shaking of pipes; loud rattling. (Shut down immediately).
Symptom 4: Motor Overload (High Amps)?
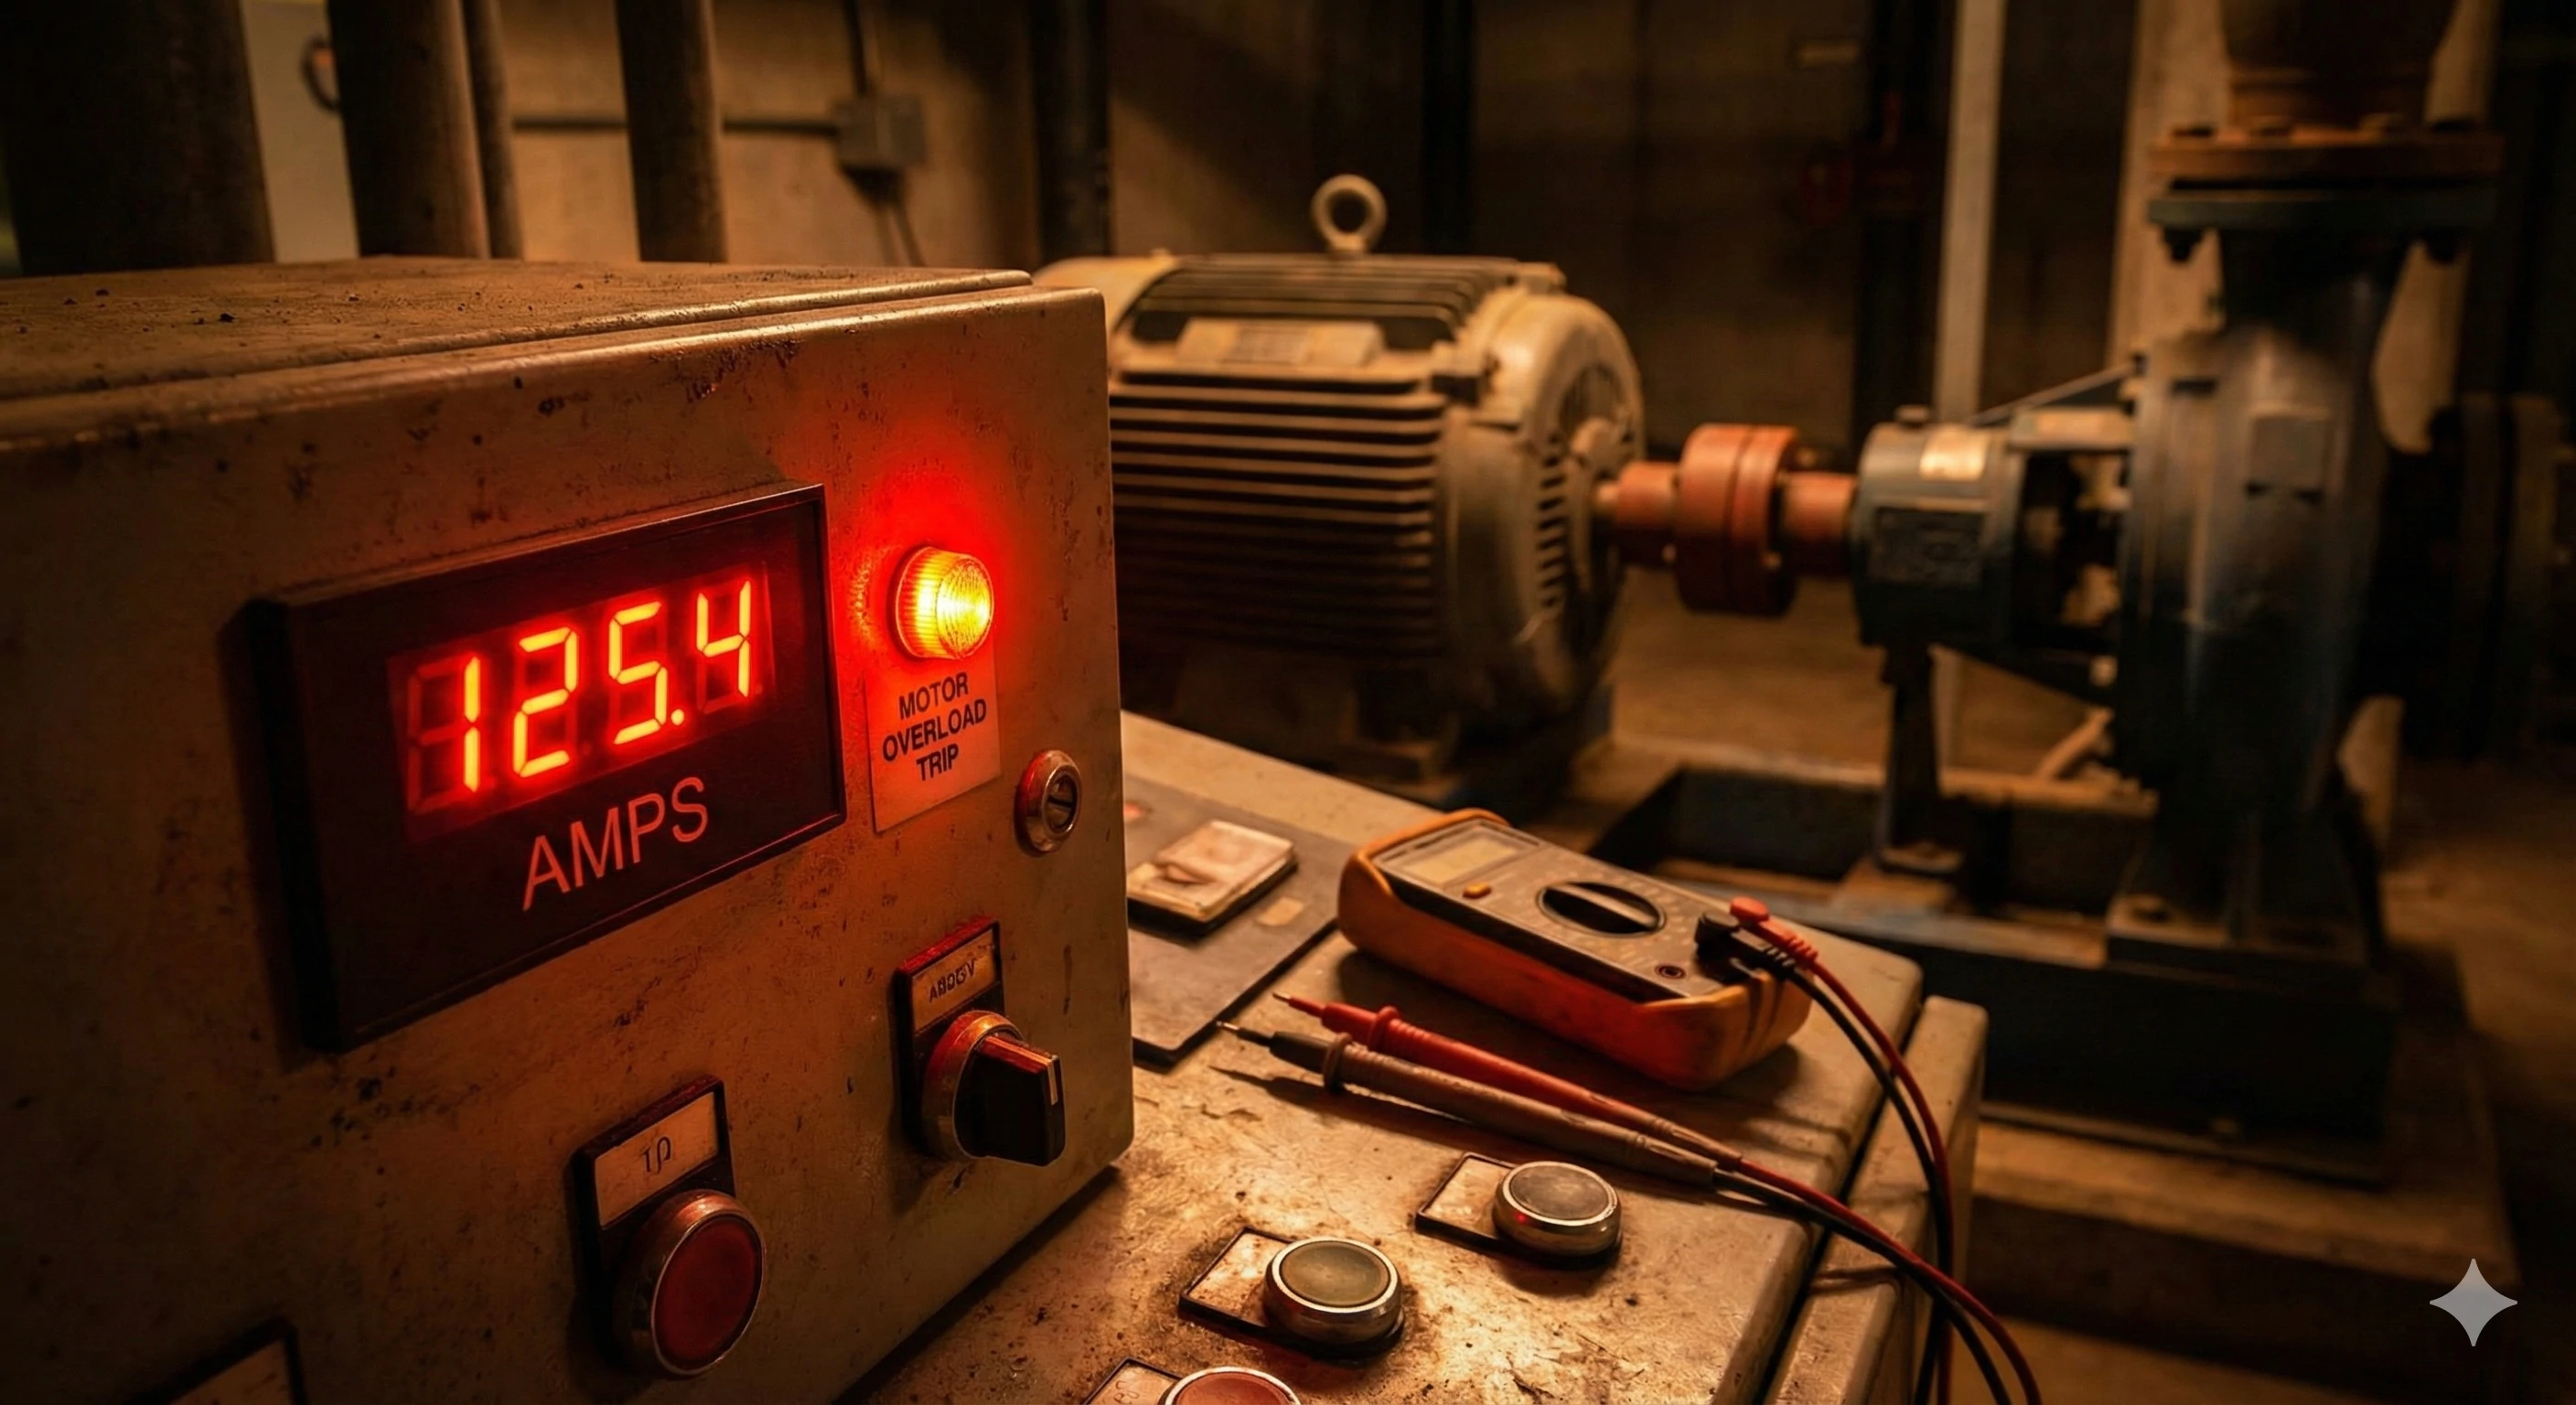
Electrical issues are often mechanical issues in disguise. Our technical support team often receives calls about circuit breakers tripping repeatedly. While electricians check the wiring, we advise looking at the pump end. If the impeller is rubbing against the housing, it acts like a brake. The motor tries to overcome this friction by drawing more current, leading to an overload.
Motor overload often occurs when the impeller rubs against the pump housing due to shaft deflection or bearing failure. This friction creates significant mechanical resistance, forcing the motor to draw high amperage and eventually tripping the circuit breaker.
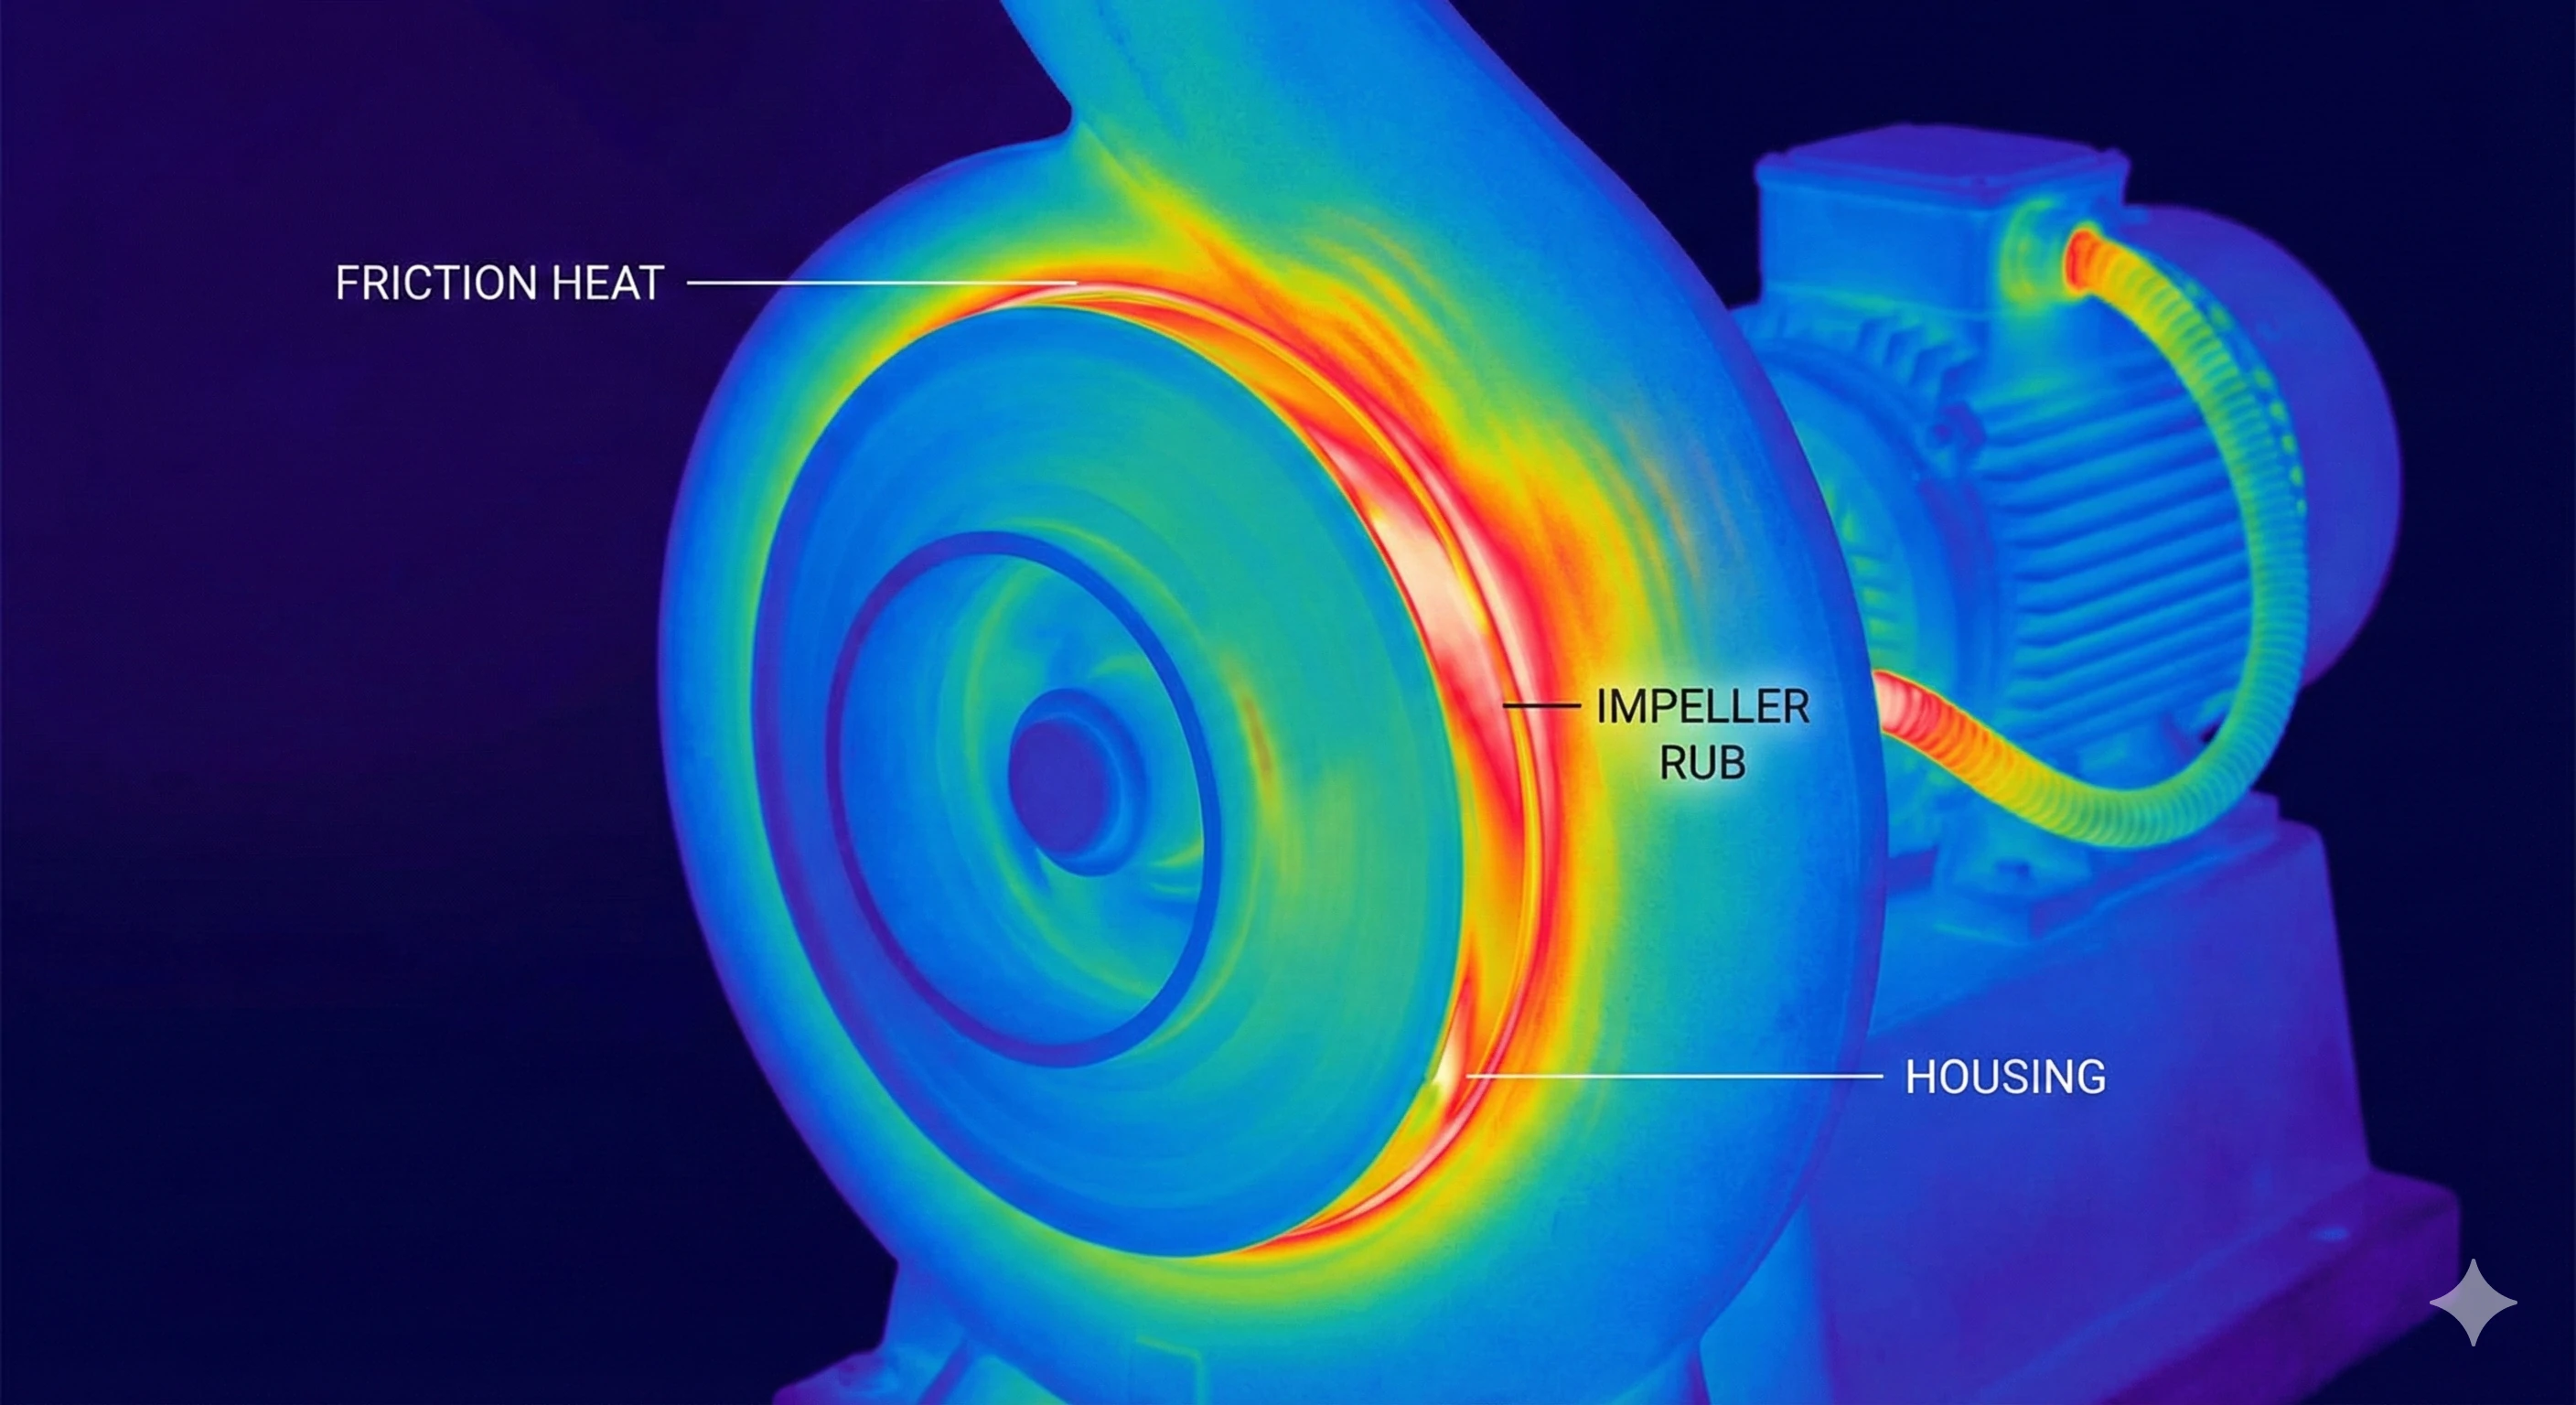
The Friction Factor
An impeller should spin freely within the liquid. It should never touch the stationary housing walls. However, if the bearings are worn, the shaft allows the impeller to wobble and scrape against the volute. This is known as "rubbing."
This friction generates immense heat and resistance. Your motor has to work double-time to maintain speed. You might notice:
-
The motor runs extremely hot to the touch.
-
The thermal overload protection trips after a few minutes of running.
-
A screeching metal-on-metal sound usually accompanies the high amp draw.
Analyzing the Root Cause
It is critical to distinguish between a bad motor and a bad pump end.
-
Disconnect the motor from the pump.
-
Run the motor alone. If the amps return to normal, the motor is fine.
-
Turn the pump shaft by hand. It should turn smoothly. If it is hard to turn or feels "gritty," the impeller is dragging or the bearings are shot.
We often see "melted" impellers in these scenarios. If a plastic or polymer impeller rubs, the friction heat melts the outer diameter, fusing it to the housing. This is why stainless steel is preferred for critical applications—it withstands heat better, though metal-on-metal contact will still cause severe damage.
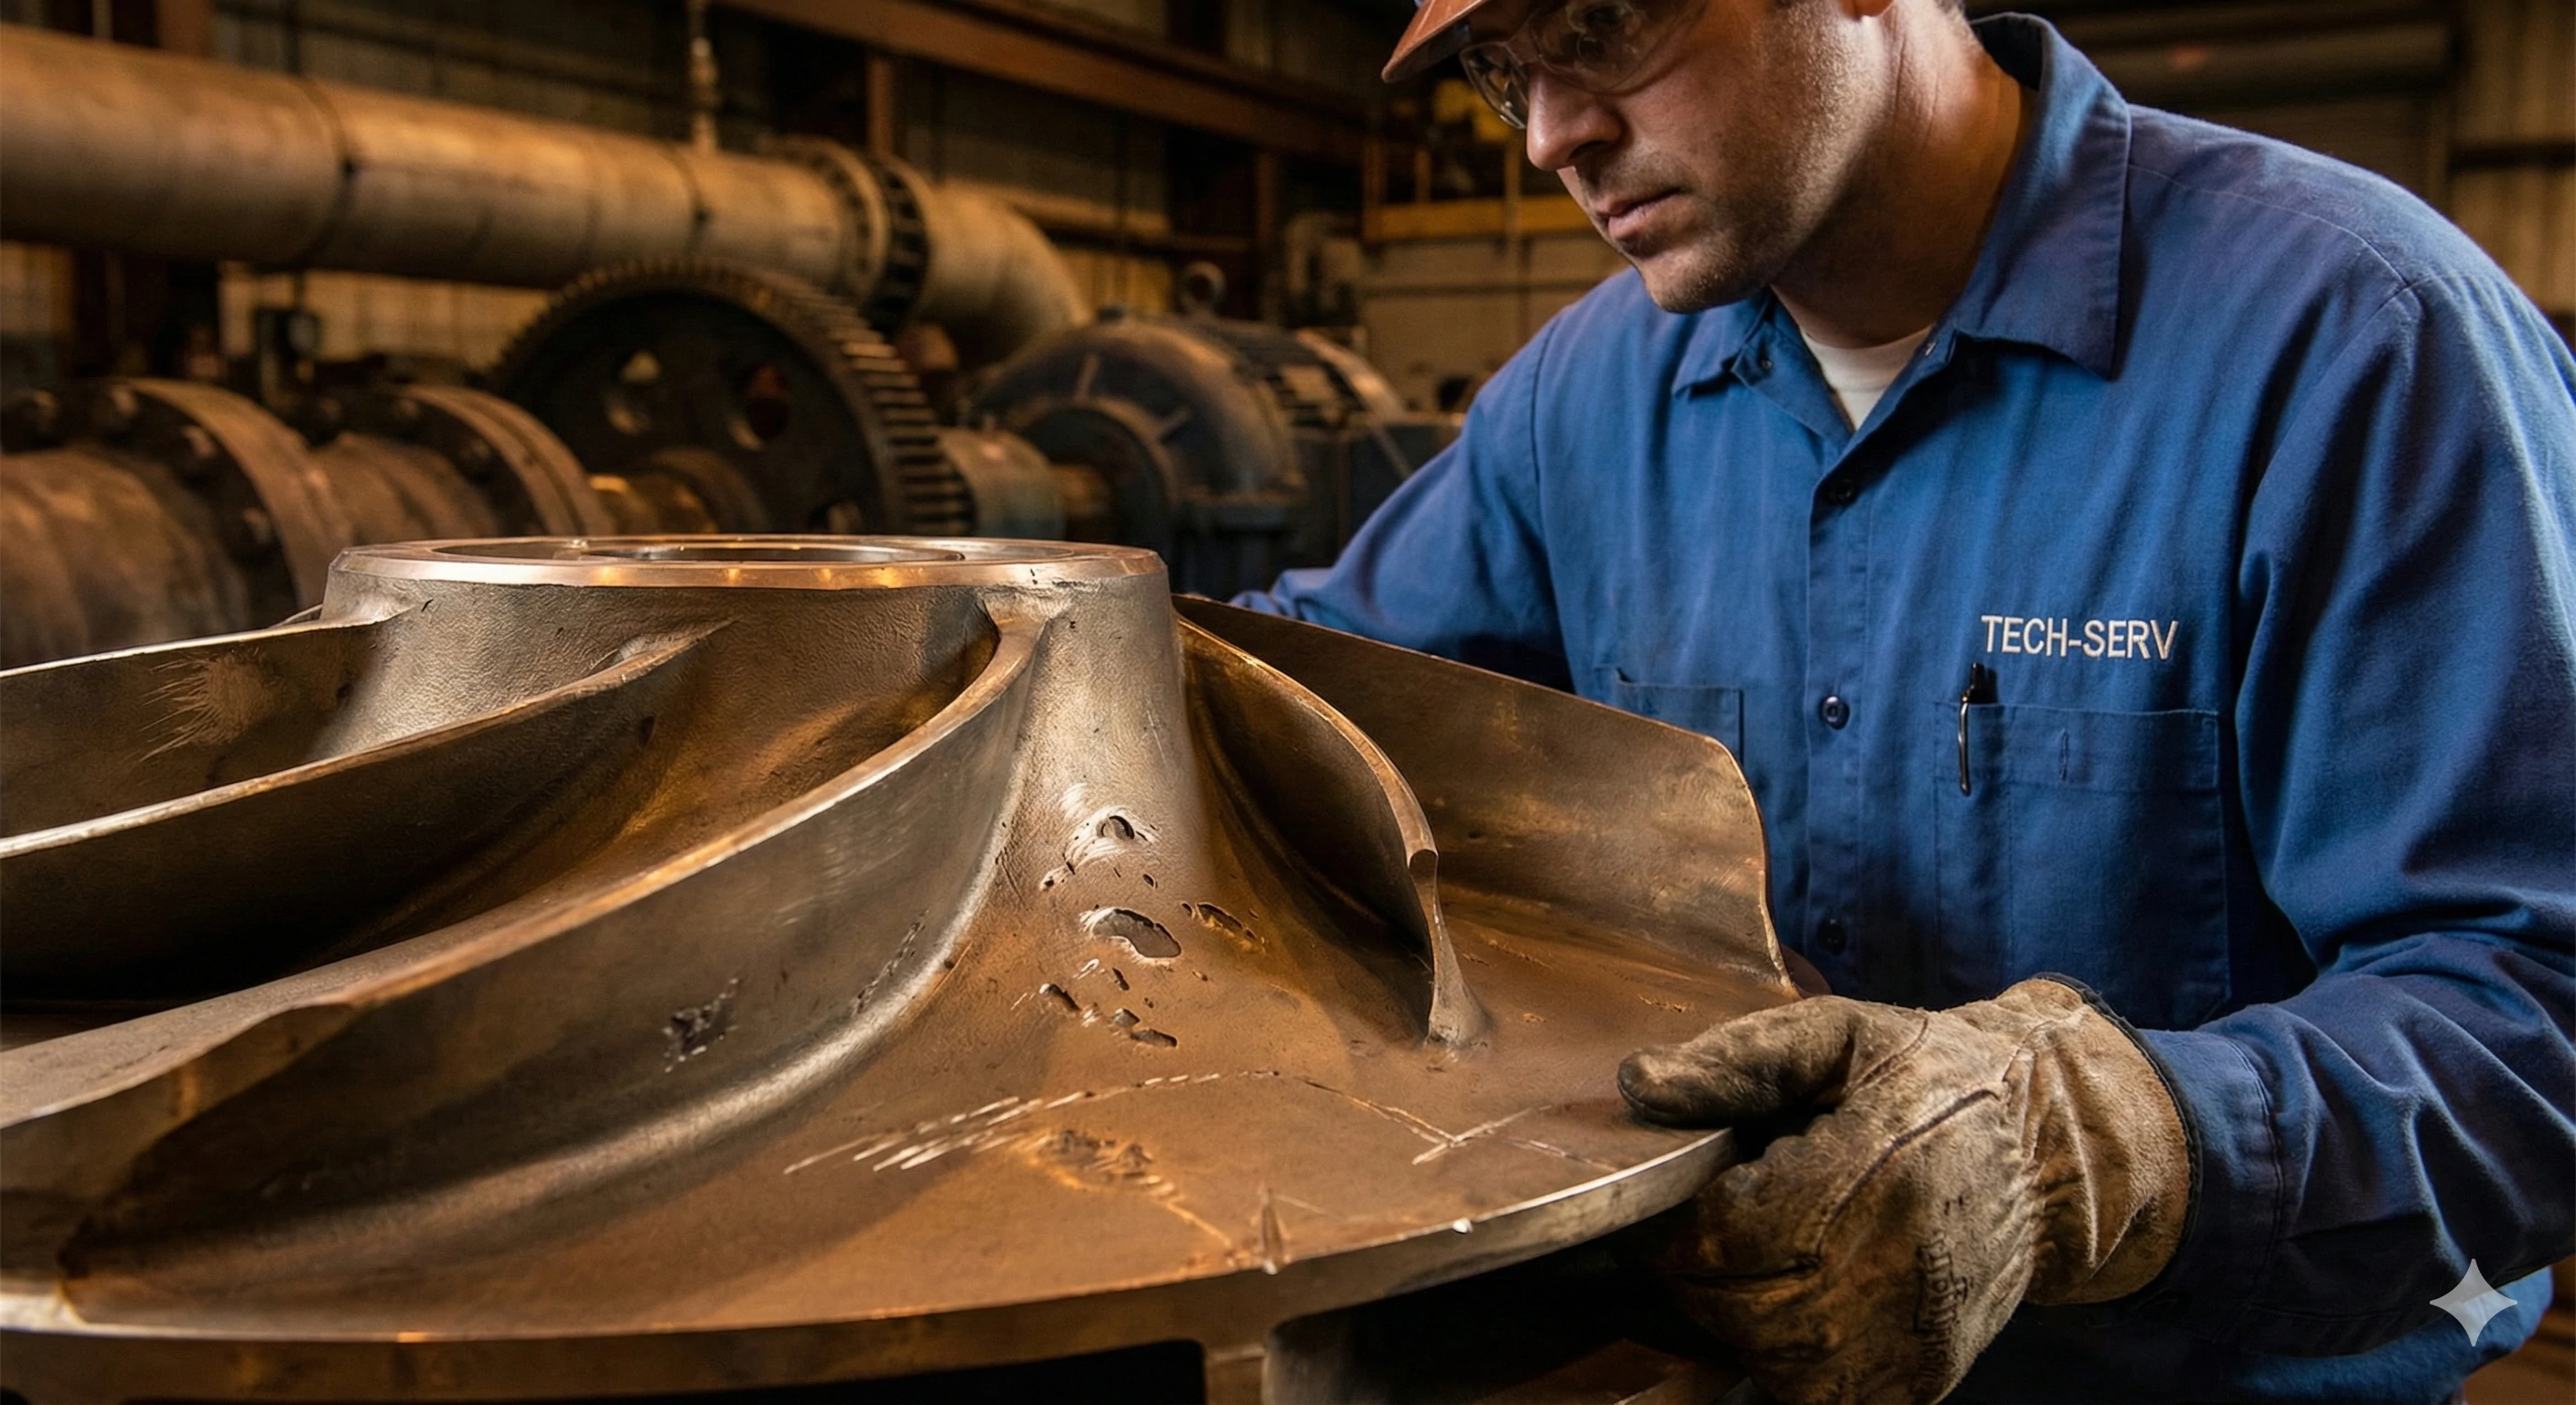
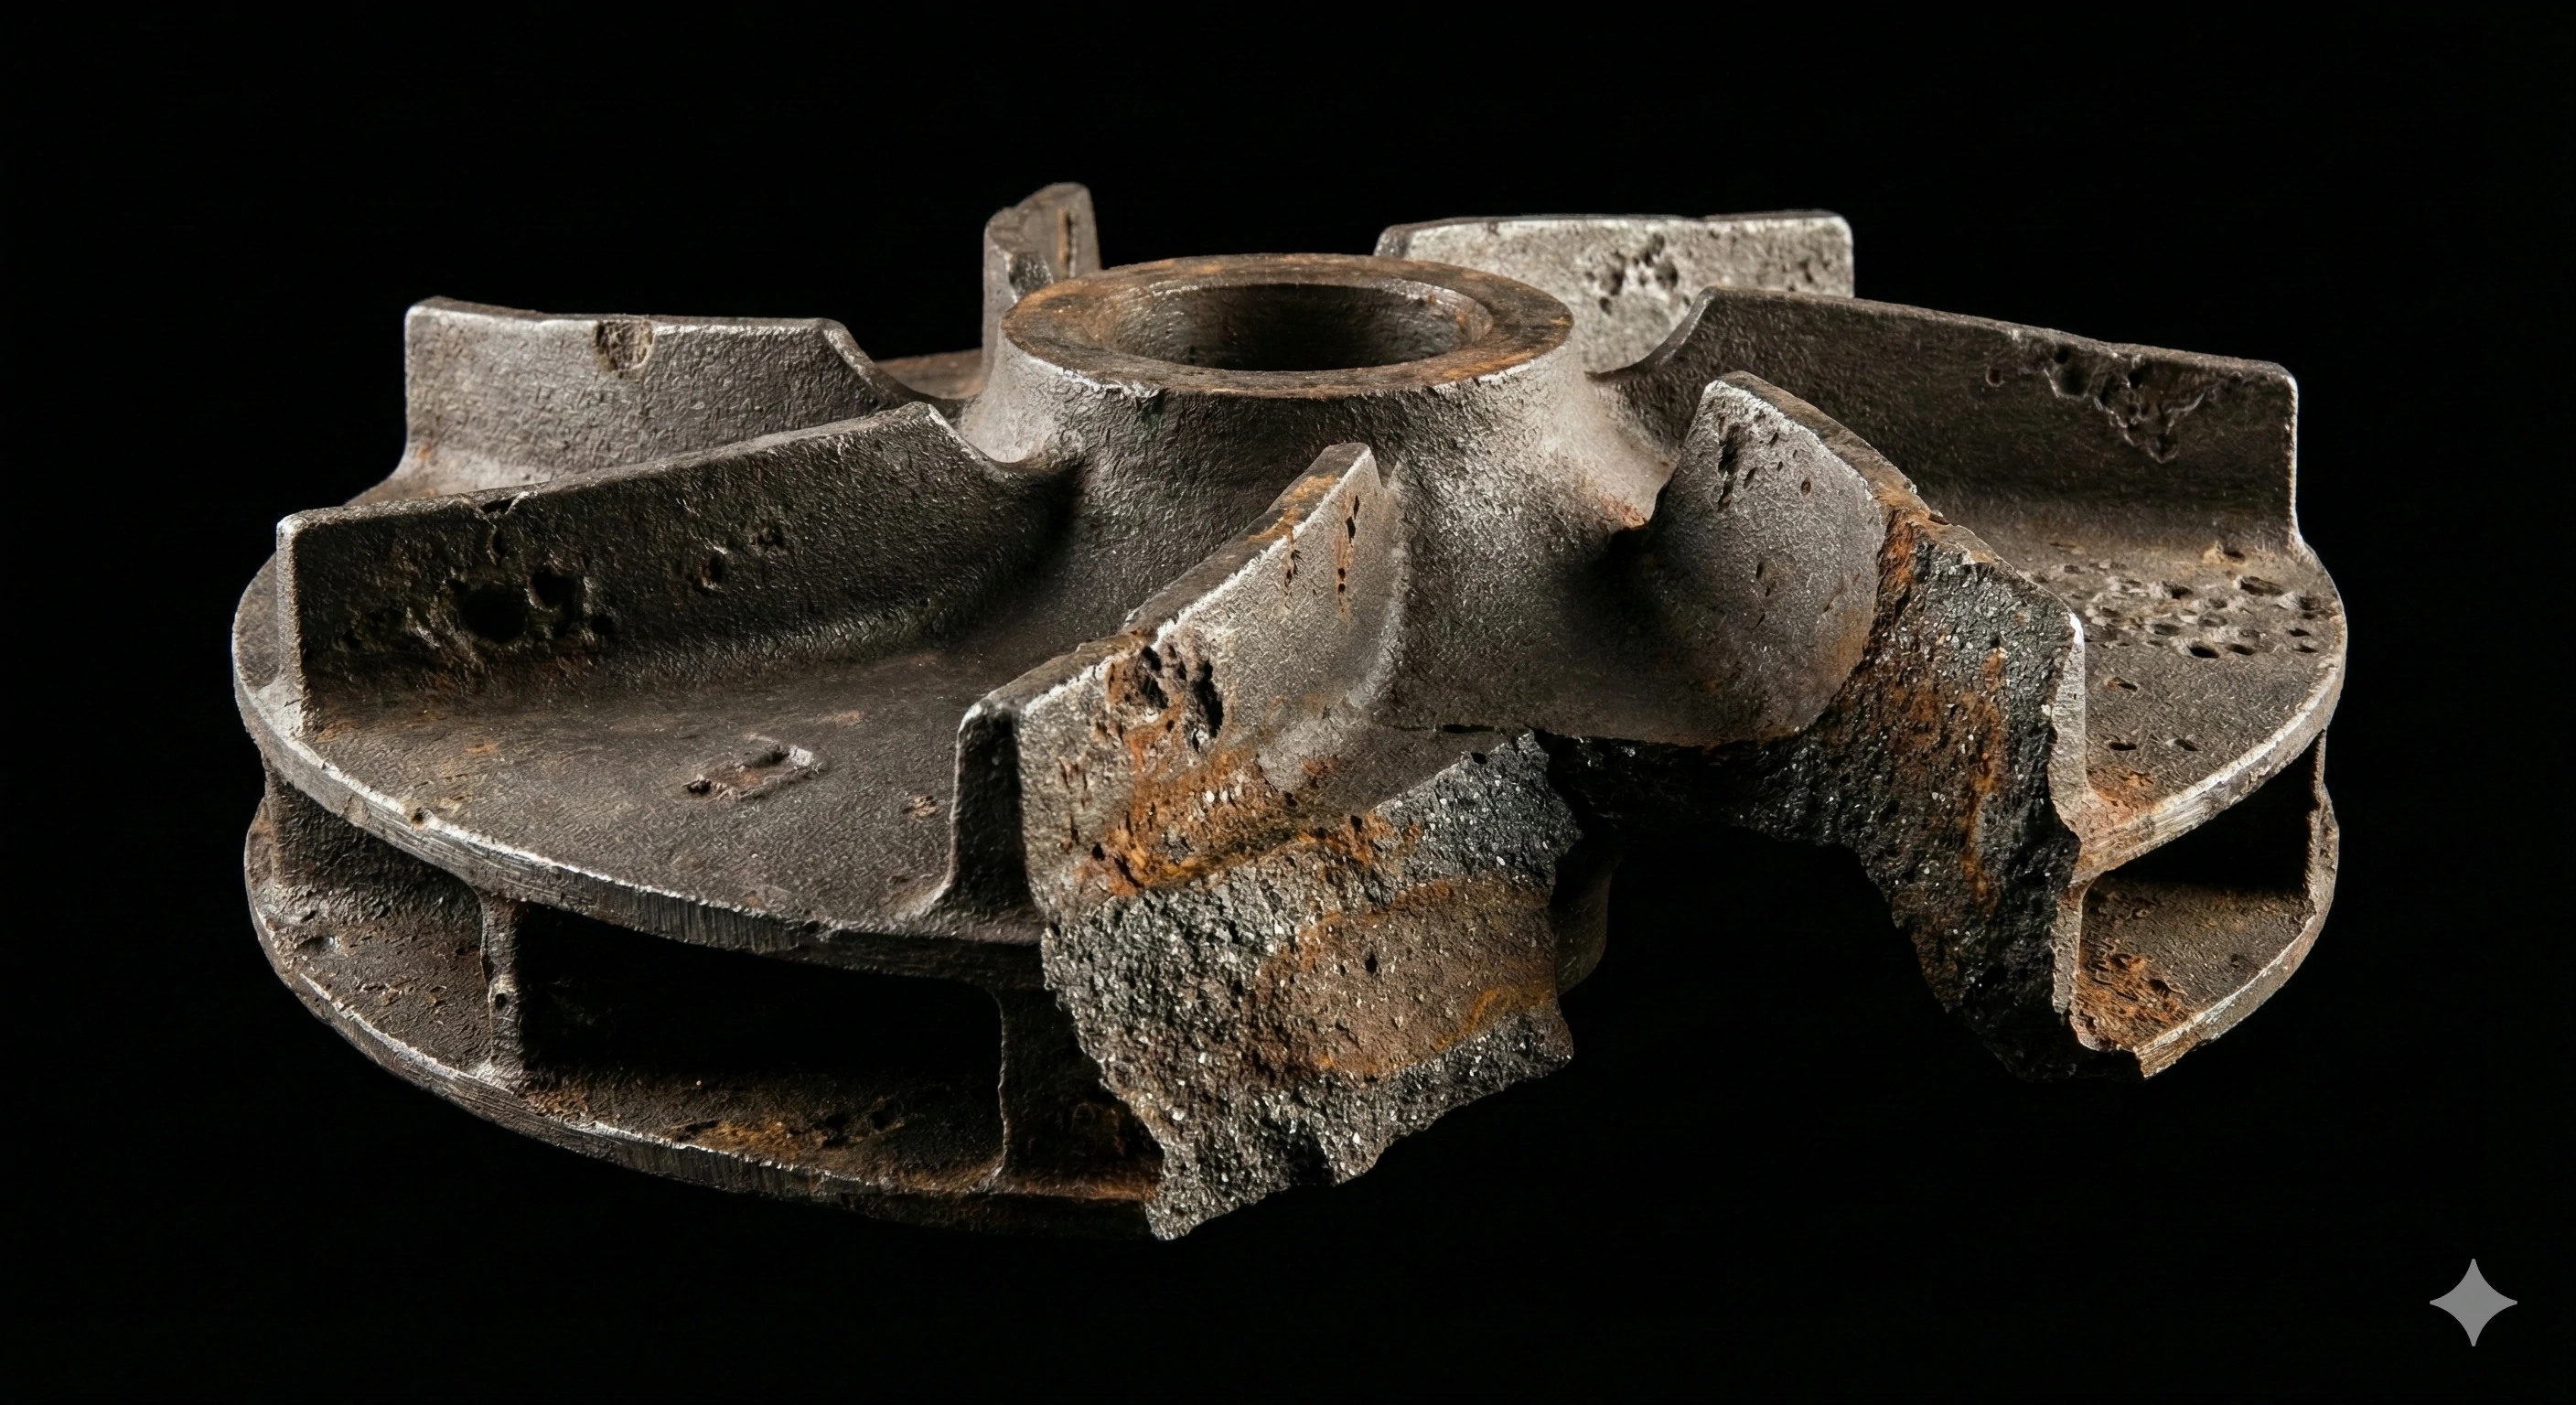
Visual Inspection: What Does a Bad Impeller Look Like?
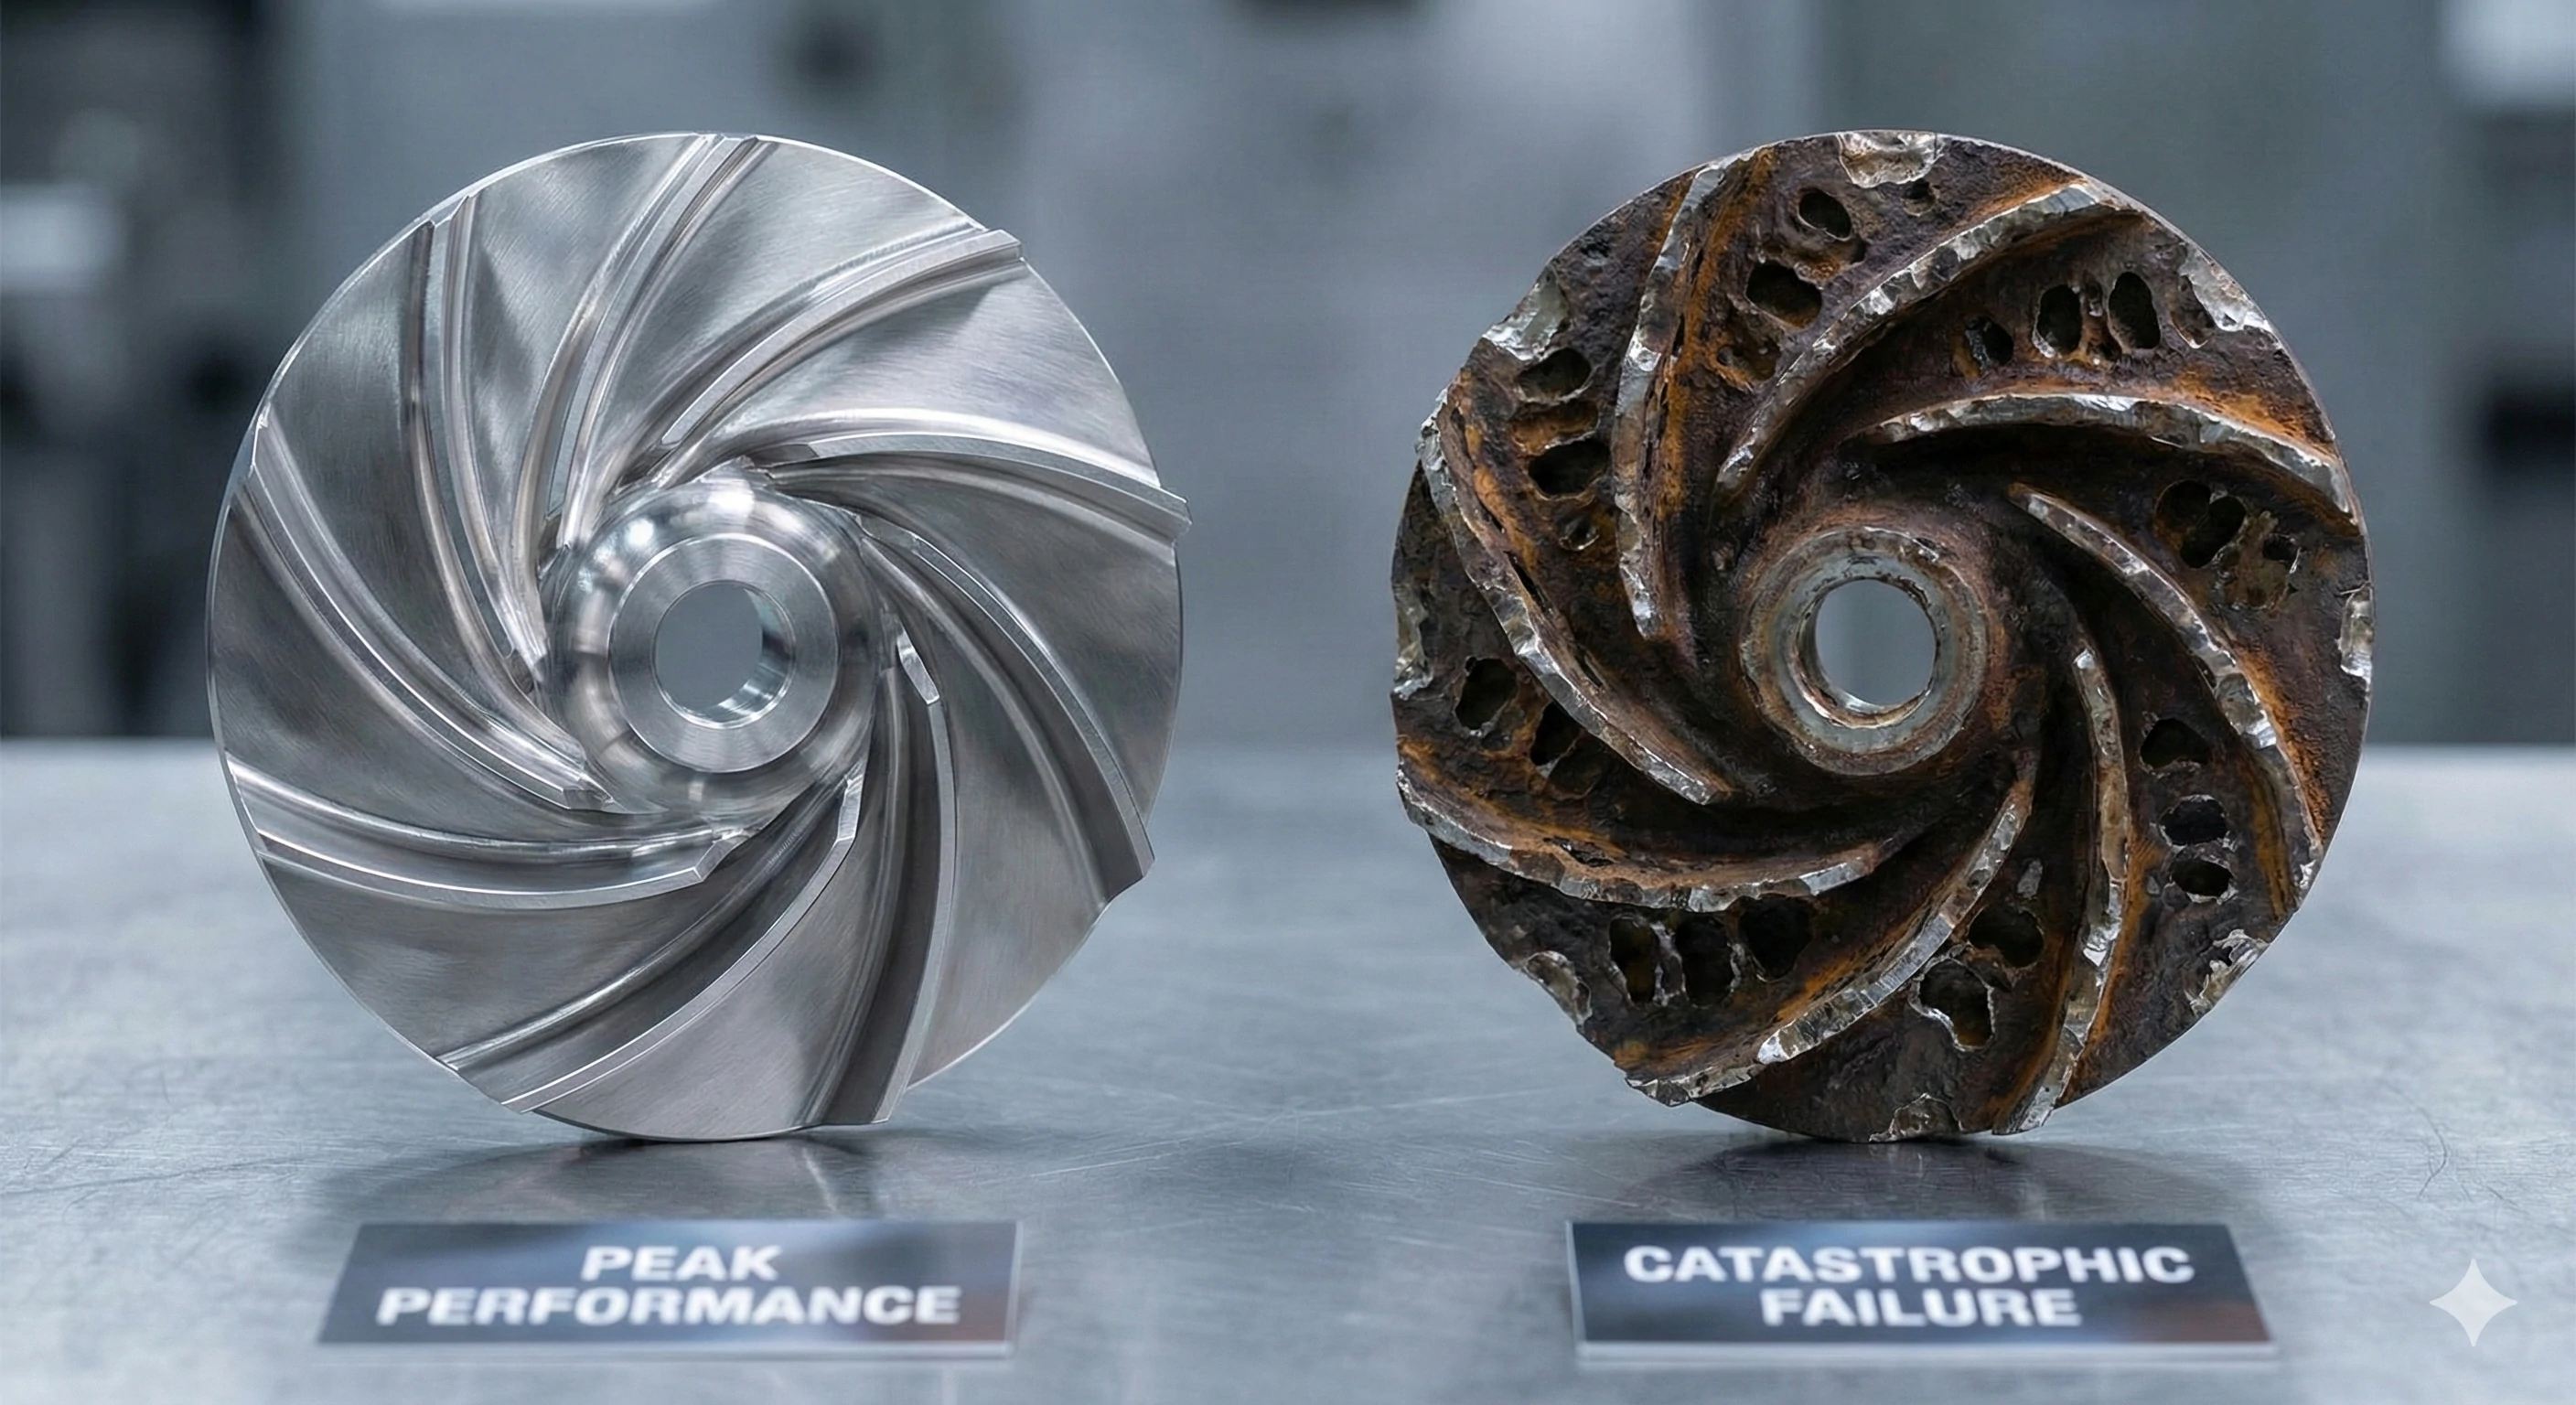
Sometimes, the only way to be 100% sure is to open the patient up. When we receive returns for warranty claims or analysis, we perform a detailed visual inspection. The condition of the metal tells the story of the pump's life. We look for specific wear patterns that indicate exactly what went wrong in the system.
A visual inspection of a bad impeller reveals distinct damage patterns: "Swiss cheese" pitting indicates cavitation, thinned "razor" edges suggest erosion from abrasives, and rust or flaking points to chemical incompatibility. Melted deformation is a sure sign the pump ran dry.
Decoding the Damage
Once you have the pump housing open, use this guide to identify what you are seeing. This "autopsy" is vital for preventing the same failure from happening to the replacement part.
Table 3: Visual Defect Analysis
| Visual Sign | Technical Name | Root Cause |
|---|---|---|
| Pitted / Spongy Surface | Cavitation Damage | Imploding vapor bubbles due to low pressure. |
| Razor-Thin Vanes | Erosion | Sand, grit, or solids wearing down the metal. |
| Rust / Tea Staining | Corrosion | Material not suitable for the fluid (e.g., Cast Iron in seawater). |
| Melted / Warped | Heat Damage | (pump ran without water). |
| Blue / Rainbow Discoloration | Heat Tint | Excessive friction or dry running on . |
The "Swiss Cheese" Danger
If you see pitting that looks like a sponge, you have a system design problem (cavitation). Simply putting a new impeller in will result in the same damage in a few months. You must either fix the system pressure or upgrade the impeller material to something harder.
We strongly recommend Investment Cast Stainless Steel (CD4MCu or 2205 Duplex). Unlike standard cast iron, the molecular structure of investment cast steel is incredibly dense. It resists the blasting force of cavitation much better than softer metals, significantly extending the service interval.
Conclusion
Ignoring the sounds and signs of a failing impeller is a gamble that rarely pays off. Whether it is the grinding noise of cavitation, the frustration of low pressure, or the danger of excessive vibration, your pump is telling you it needs help.
As a manufacturer, we know that the right material makes all the difference. Don't just replace a failed part with the same cheap component. If your diagnosis points to cavitation or corrosion, consider upgrading to a Heavy-Duty Stainless Steel Replacement Impeller. Investment casting technology allows us to create parts that are smoother, more balanced, and far more durable than standard options.
Is your pump failing due to cavitation or corrosion? Don't settle for downtime. Contact us today to discuss manufacturing a custom, high-performance solution that keeps your system running smoothly.
Footnotes
1. Definition and methodology of reverse engineering in manufacturing.
2. Comprehensive overview of fluid dynamics physics.
3. Explanation of mains electricity and supply characteristics.
4. Principles and applications of centrifugal pumps.
5. Function and types of suction strainers in pumping.
6. Process and importance of dynamic balancing machinery.
7. Detailed explanation of the sand casting manufacturing process.
8. Steps and advantages of the investment casting process.
9. Causes and consequences of dry running in pumps.