There’s a distinct appeal to the floating glass look. Glass standoffs create a clean, modern railing system that feels open and lightweight, almost as if the glass is suspended in midair. The hardware stays subtle, sightlines remain clear, and the overall result is far more refined than most floor-mounted systems. Whether for staircases or balcony edges, fascia-mounted glass standoffs are often the preferred choice when design matters.
That said, this type of installation comes with higher demands. When glass panels are mounted to the side of a structure instead of sitting on top of it, gravity becomes a constant factor. The entire weight of the glass is supported horizontally, which means your anchors, measurements, and alignment have to be spot on. Even a small positioning error can lead to serious installation problems—or worse, a wasted glass panel.
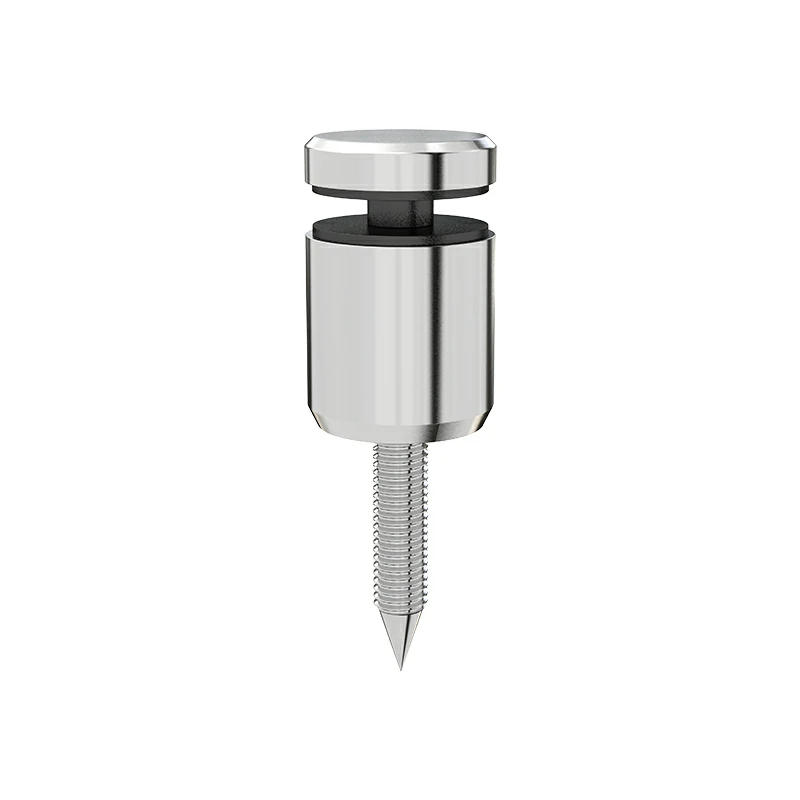
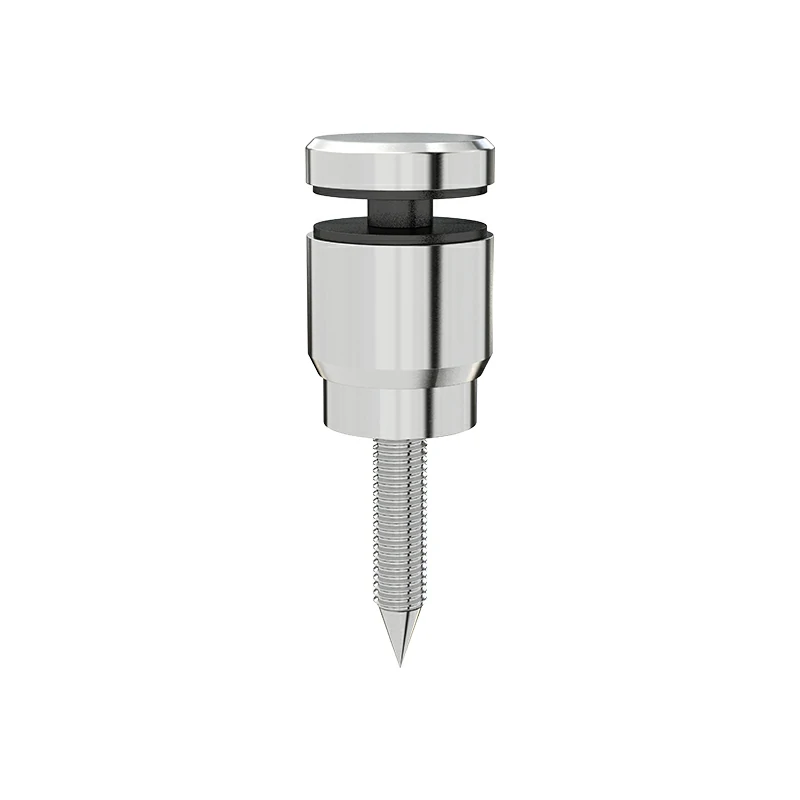
This guide walks through the installation of 50 mm (2-inch) glass standoffs for fascia mounting on both timber and concrete substrates. From early planning and drilling preparation to final alignment, the goal is to help you achieve a result that is both structurally secure and visually precise.
Critical Step Zero: The Glass Must Be Pre-Drilled
Before any installation begins, one rule must be absolutely clear: tempered glass cannot be drilled on site. Once glass has been heat-treated, drilling attempts will cause it to shatter instantly.
All holes must be drilled during fabrication, before the tempering process. This requires careful planning well ahead of installation day. Your standoff layout must be finalized early, and exact measurements must be sent to the glass supplier with no ambiguity.
This step is where many projects go wrong. Glass holes must align precisely with the installed standoffs, and there is virtually no tolerance for error. Measure carefully, verify against the actual structure, and create a detailed drilling layout that clearly shows every hole position. Check it once, check it again, and only then send it to fabrication.
Tools & Materials Checklist
Using proper tools is not optional with fascia-mounted glass systems. Here’s what you’ll need:
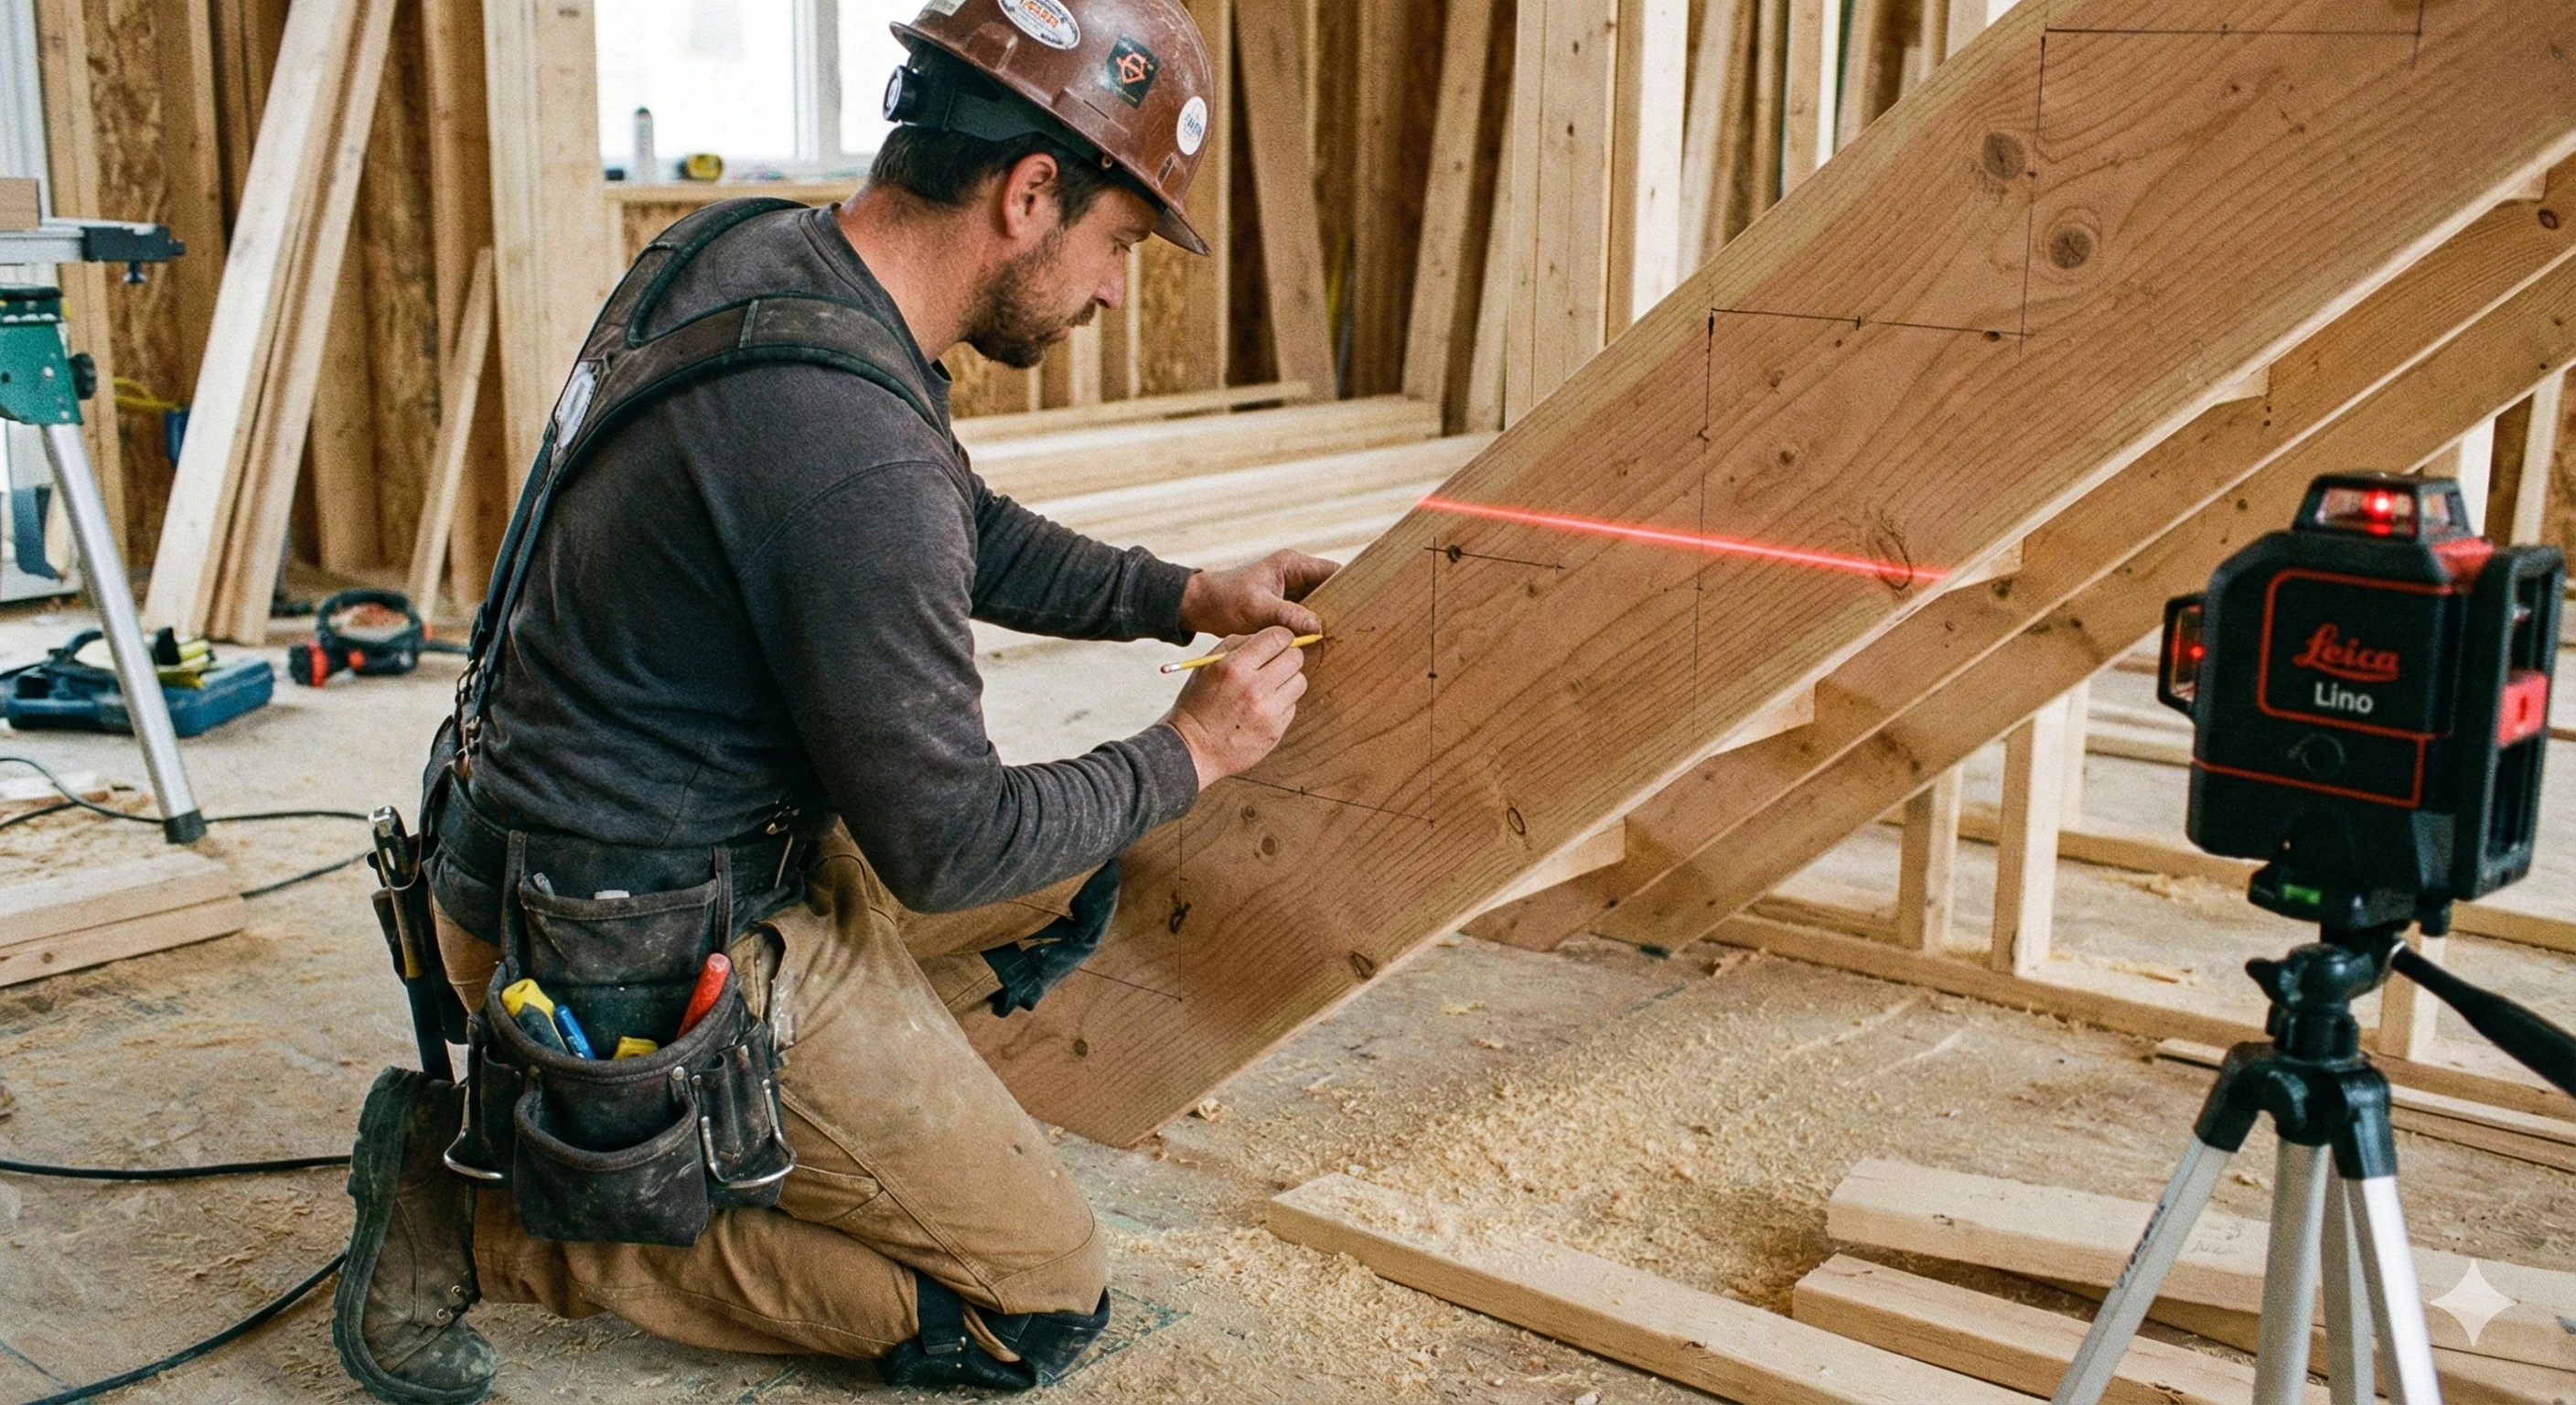
Laser Level
Essential for maintaining consistent horizontal and vertical alignment over long runs. Small deviations add up quickly and become very visible once glass is installed.
Lag Bolts or Hanger Bolts
Required for timber installations. M10 or M12 fasteners are standard for 50 mm standoffs.
Threaded Rods and Chemical Anchor Epoxy
Necessary for concrete and masonry. Chemical anchors provide far better load resistance than expansion anchors in this application.
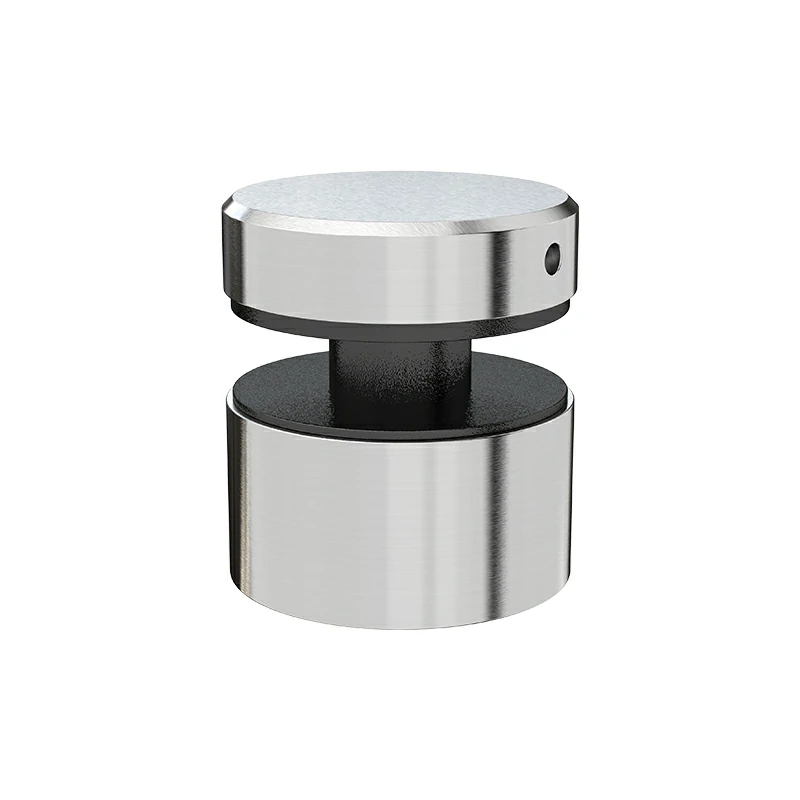
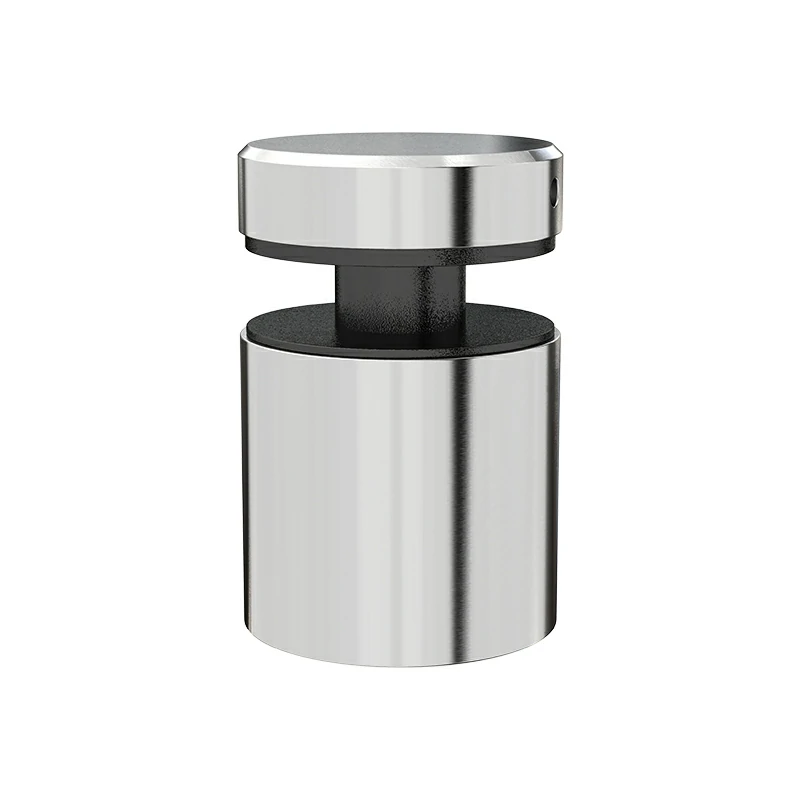
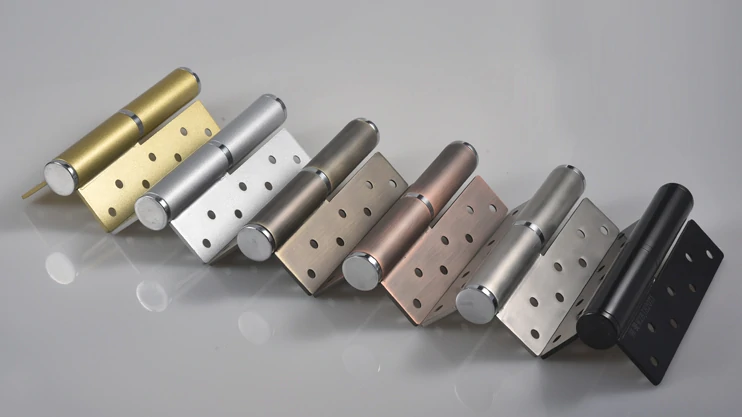
Standoff Wrench
Prevents damage to polished stainless steel caps during final tightening.
Scaffolding or Stable Ladders
Safe access is critical when working along stair edges or elevated balconies.
Drill and Appropriate Bits
High-quality bits matched to wood or concrete, along with a drill capable of handling masonry work.
Measuring Tools
Tape measure, marking pencil, and the laser level mentioned above.
Step 1: Layout and Marking (The Chalk Line)
Most professional installations follow a two-row standoff layout: one row near the top of the glass panel and one near the bottom. This configuration prevents rotation and distributes load more evenly across the glass.
Typical guidelines include a vertical spacing of 100–200 mm between the two rows and a maximum horizontal spacing of around 1200 mm between standoff columns. For staircases, standoffs are often aligned with each tread to follow the geometry of the stairs.
Begin by projecting a level reference line for the bottom row using a laser level. Mark each standoff center point according to your spacing plan. Then repeat the process for the top row. Check measurements diagonally between upper and lower points to confirm everything is square before moving on.
Step 2: Drilling and Installing the Body
Installation methods differ depending on the substrate.
For Wood (Timber Stringers)
Drill pilot holes at each marked location. This prevents splitting and ensures the lag bolt enters the wood straight. The pilot hole should be slightly smaller than the screw’s root diameter. For M12 hardware, an 8 mm pilot hole is commonly used, but confirm based on the specific fastener and timber type.
Insert the lag screw through the standoff body and tighten it carefully with a socket wrench. Make sure the standoff sits flush against the surface and is perfectly square. Even a small angle will create problems later when mounting the glass.
For Concrete
Concrete installations require precision and patience. Drill holes using a hammer drill and the correct masonry bit size. Thoroughly clean each hole to remove dust, as residue can weaken the epoxy bond.
Inject the chemical anchor epoxy according to the manufacturer’s instructions, then insert the threaded rod. Allow the epoxy to fully cure—this step should never be rushed. Once cured, thread the standoff body onto the rod and align it carefully.
Step 3: Protecting the Glass (Bushings & Washers)

Glass must never come into direct contact with metal hardware. Even slight metal-to-glass contact can introduce stress points that may cause tempered glass to fail without warning.
Plastic bushings are installed inside the glass holes to isolate the bolt from the glass edge. Plastic washers are placed on both sides of the panel to distribute pressure evenly. These components are not optional—they are essential to the safety and longevity of the installation.
Skipping or substituting these parts is a costly mistake that can result in spontaneous glass breakage long after installation appears complete.
Step 4: Hanging the Glass Panels
Installing glass panels on stairs or balconies is physically demanding. A typical 12 mm tempered glass panel of this size can weigh well over 50 kg. This is not a one-person task.
Work with at least two other people, plan your movements, and lift carefully. Align the glass holes with the mounted standoff bodies, keeping the panel supported at all times. Once aligned, insert bushings if they are not already in place.
Thread the decorative caps by hand first, leaving them slightly loose. After all caps are in position, tighten them gradually using a standoff wrench, checking plumb and level as you go. Make small adjustments until the panel sits correctly.
Step 5: Adjusting for Alignment
In real-world construction, surfaces are rarely perfect. Wood may not be straight, and concrete may not be completely flat. Even with careful planning, minor misalignments can occur.
Adjustable standoffs provide an effective solution. Their eccentric core allows several millimeters of movement in multiple directions, making fine-tuning possible after installation.
If non-adjustable standoffs are used, shimming behind the standoff body can help correct small discrepancies. Shims should be rigid and limited in number to maintain structural strength. For major alignment issues, re-drilling may be unavoidable, which underscores the importance of accurate layout from the beginning.
Conclusion
Fascia-mounted glass standoffs require more planning and precision than floor-mounted alternatives, but the visual payoff is significant. The floating glass effect creates a clean, modern appearance while maintaining safety and structural performance.
Successful installation depends on accurate pre-drilled glass, secure anchoring into solid substrates, and proper use of protective bushings and washers. Take the time to measure carefully, avoid shortcuts, and enlist help when handling heavy glass panels.
If precise alignment is a concern, adjustable standoff systems are worth considering. The added flexibility can save time, reduce risk, and prevent costly errors—especially on complex installations.
Frequently Asked Questions
How much weight can a glass standoff hold?
Load capacity depends largely on the substrate and installation quality. A typical 50 mm stainless steel standoff with M12 fasteners can handle substantial shear loads, often in the 200–400 kg range per standoff. In practice, the limiting factor is usually the substrate rather than the hardware itself.
Timber must be structural-grade lumber with adequate thickness, while concrete installations rely on proper embedment and chemical anchoring. Always follow local building codes for railing load requirements.
What size hole do I need in the glass for standoffs?
For 50 mm standoffs using M12 bolts, glass holes are typically 18–20 mm in diameter. This allows room for the protective bushing and minor alignment adjustments.
Always confirm the exact hole size with the standoff manufacturer before ordering glass. Incorrect hole sizing cannot be corrected after tempering.
Can I install standoffs on drywall?
No. Drywall does not have the strength to support glass railing systems. Standoffs must be anchored into solid structural elements such as studs, blocking, beams, or concrete.
If drywall covers the mounting area, it must be removed locally or reinforced with proper structural backing. Installing standoffs directly into drywall creates a serious safety risk and should never be attempted.