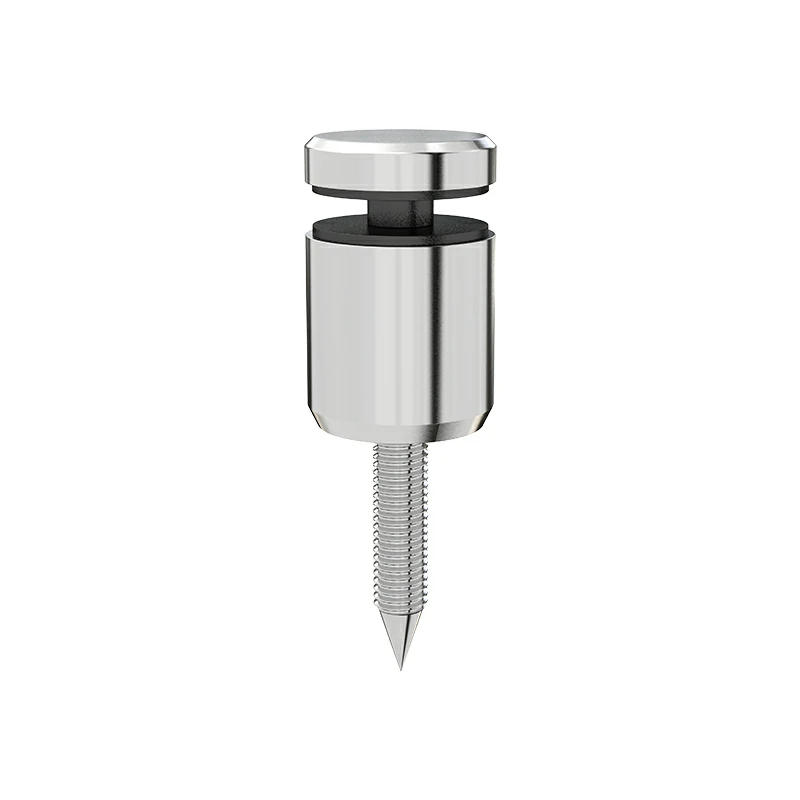
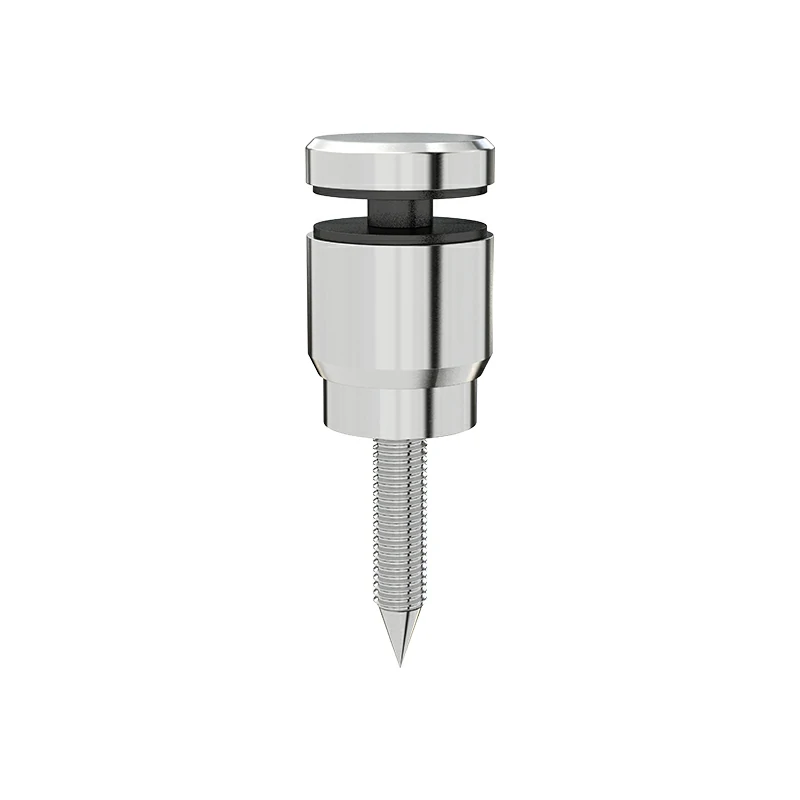
Standoff mounts, often referred to as pin fixings, are a popular choice for creating a clean, modern “floating” glass railing appearance. Unlike base-mounted spigot systems, standoff pins are fixed to the side of a deck fascia or balcony edge, keeping the sightline open and the hardware visually minimal.
That design advantage also comes with a challenge. Because standoffs are anchored horizontally rather than vertically, they are constantly working against gravity and leverage. On elevated decks in particular, the glass panels apply significant outward force. If a standoff system is poorly installed, the result can be glass deflection, cracked panels, or, in the worst case, complete system failure.
This guide explains the full installation process for a standoff-mounted glass railing system, with particular focus on substrate preparation and waterproofing. These two details are often overlooked, yet they largely determine whether a railing performs reliably for decades or begins to fail after only a few years.
Step 1: Substrate Preparation (Wood vs. Concrete)
The strength of a standoff-mounted railing depends entirely on what it is fixed to. This is not an installation where you can drill into a visible surface and assume it will be sufficient.
Installing Standoff Pins on Timber (Wood Decks)
One of the most common mistakes in wood installations is attaching standoffs to thin fascia boards or decorative rim covers. A typical 1-inch fascia board is not designed to resist the leverage created by tall glass panels.
Blocking requirement:
You need a minimum of 3–4 inches of solid structural wood behind the mounting surface. In most cases, this means double or even triple joists installed as backing. When retrofitting an existing deck, additional joists may need to be sistered to the rim joist to provide proper support.
A simple test can confirm whether the backing is adequate. Drill a pilot hole to full depth and pay attention to resistance. The drill bit should meet consistent, solid resistance for the entire length of the hole. If resistance suddenly drops or you encounter hollow space, additional blocking is required before proceeding.
Installing Standoff Railing on Concrete
Concrete provides excellent holding strength, but it introduces a different risk: edge blowout. Drilling too close to the edge of a slab can cause cracking or spalling, either during drilling or when anchors are tightened.
Critical edge distance:
Maintain a minimum distance of 70–80 mm (approximately 3 inches) from the slab edge to the center of each drilled hole. This spacing significantly reduces the risk of edge failure while keeping the standoff close enough to properly support the glass.
Before drilling, inspect the slab edge carefully. Existing cracks, chipped concrete, or exposed aggregate may require repair or a slight adjustment to the mounting location.
Step 2: The Waterproofing Layer (Crucial for Exteriors)
Many installation guides fail to address one critical issue: every hole drilled through a deck edge or balcony facade compromises the waterproofing system. For exterior applications, neglecting this step almost guarantees long-term water damage.
The Water Entry Problem
Most decks and balconies rely on membranes or coatings to keep moisture out of the structure. Drilling for standoff mounts creates direct pathways for water to bypass these barriers. Over time, water follows the fastener threads into the framing or concrete, leading to rot, corrosion, and hidden structural damage.
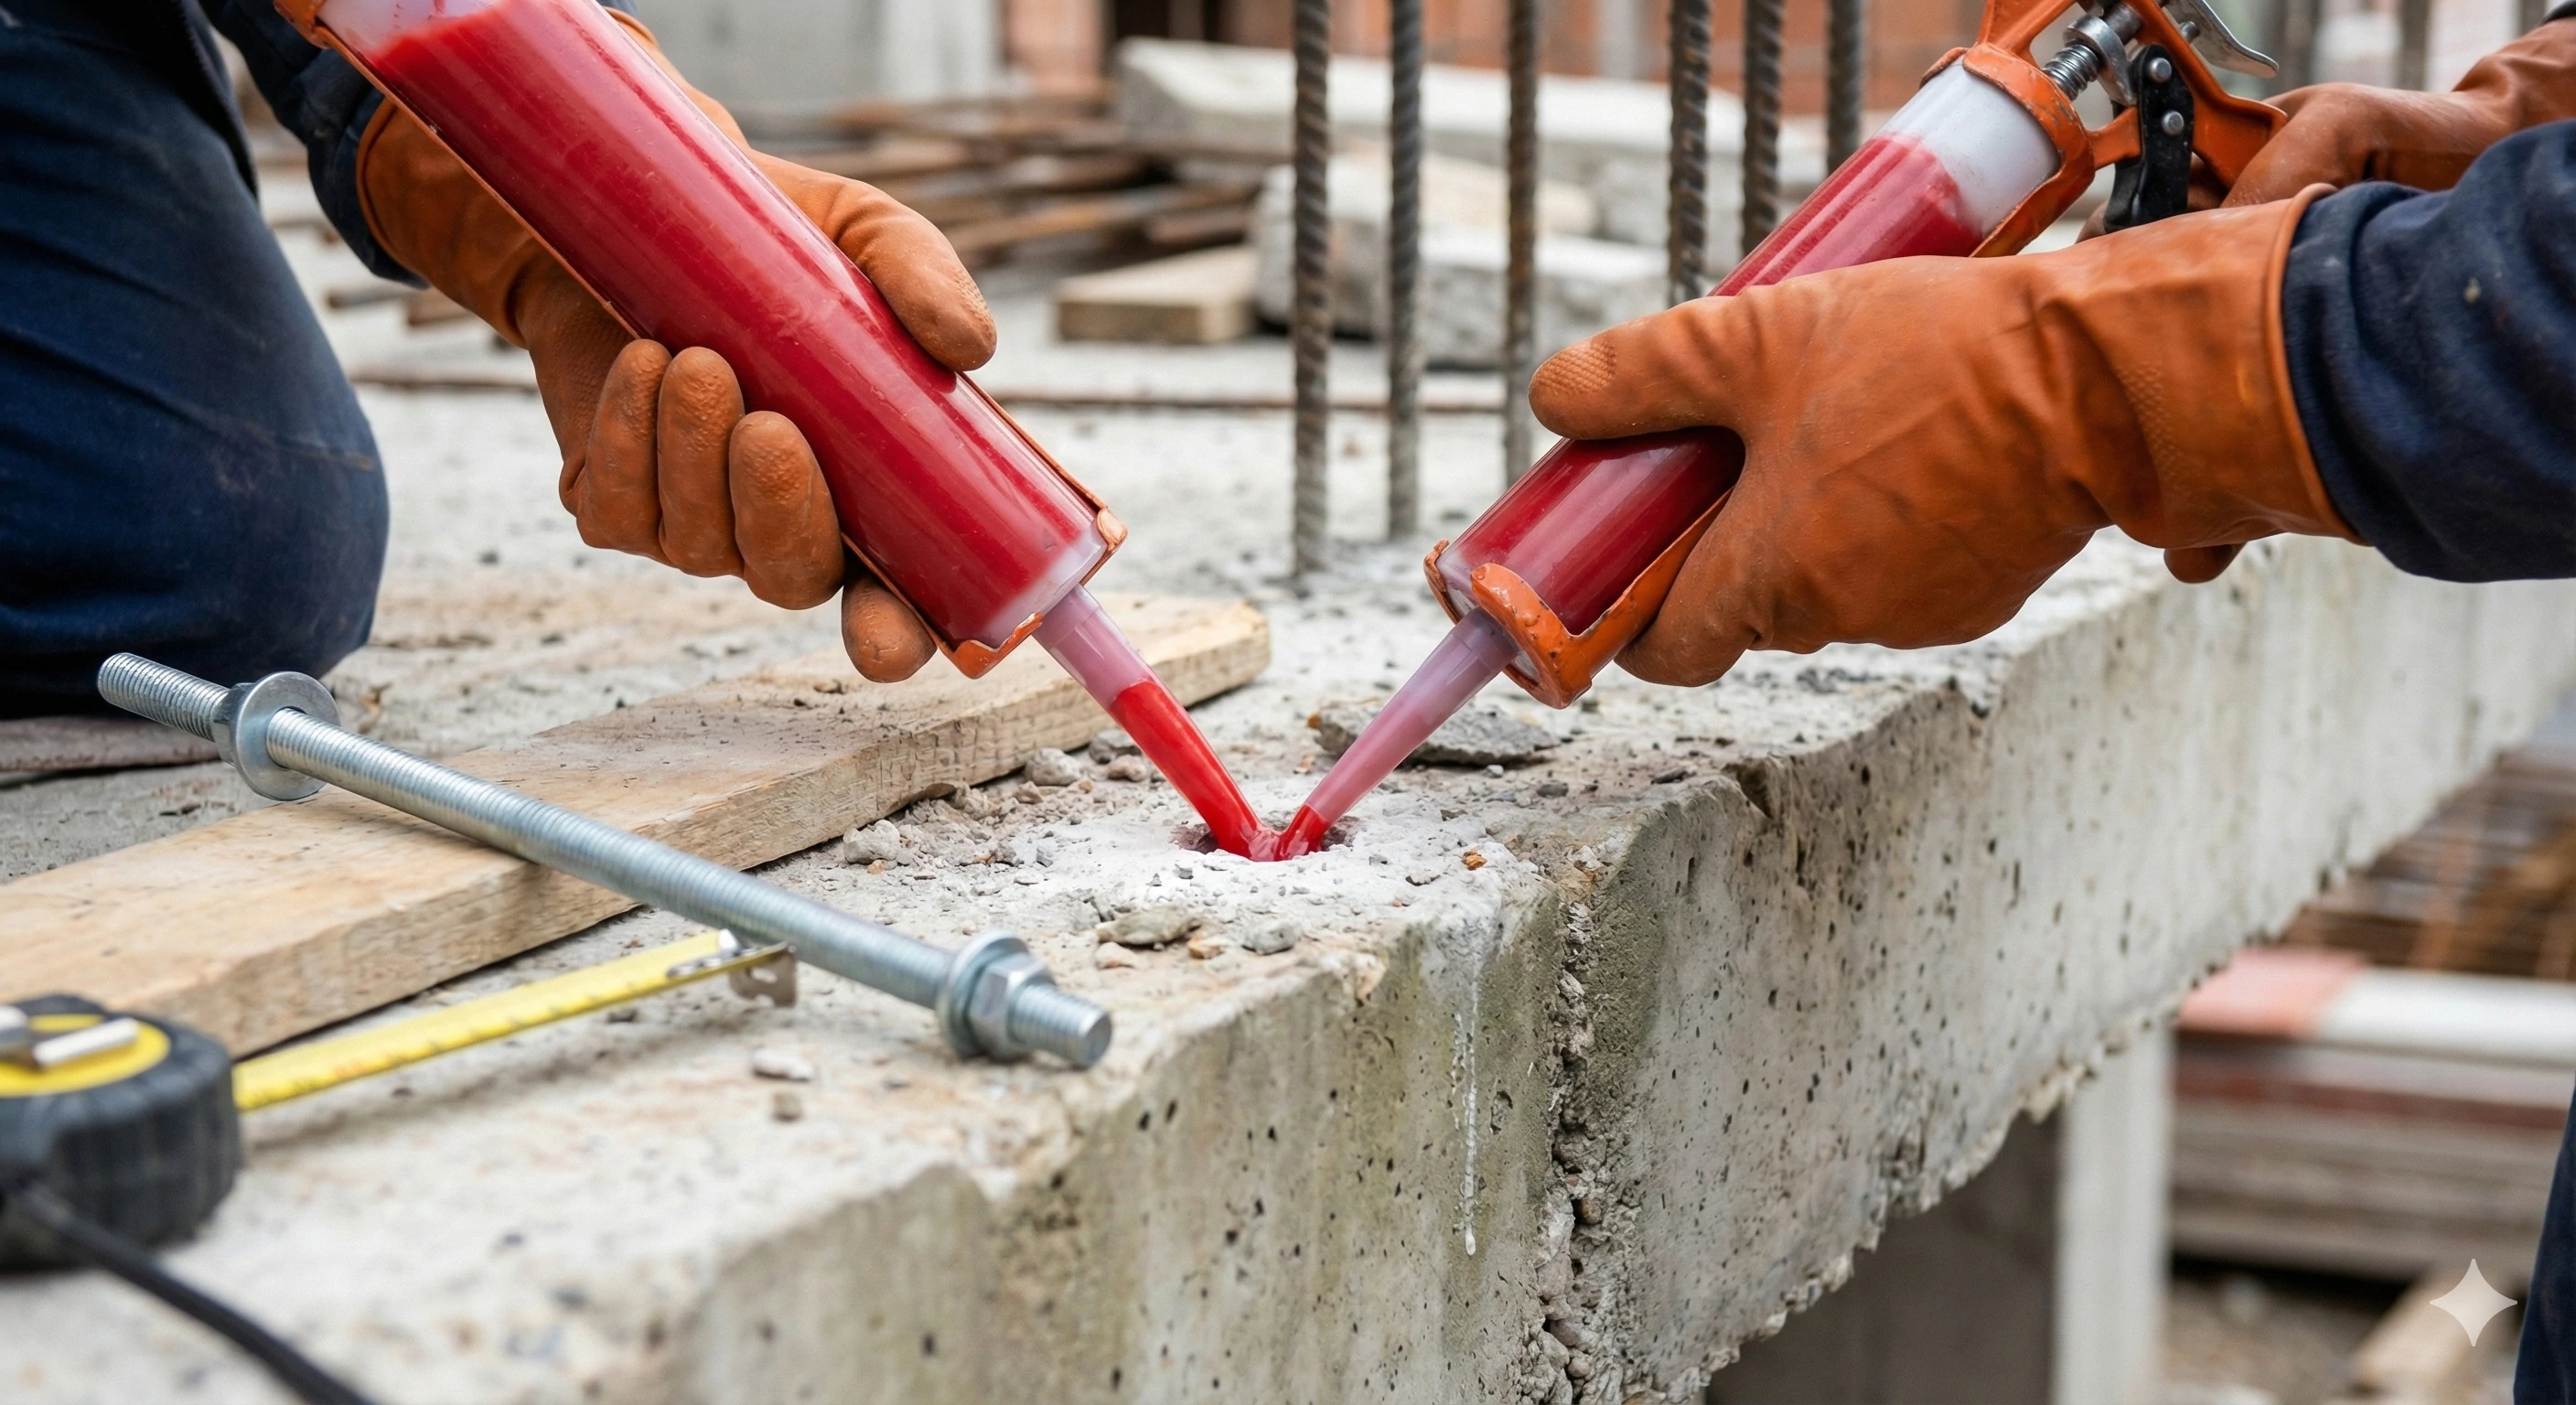
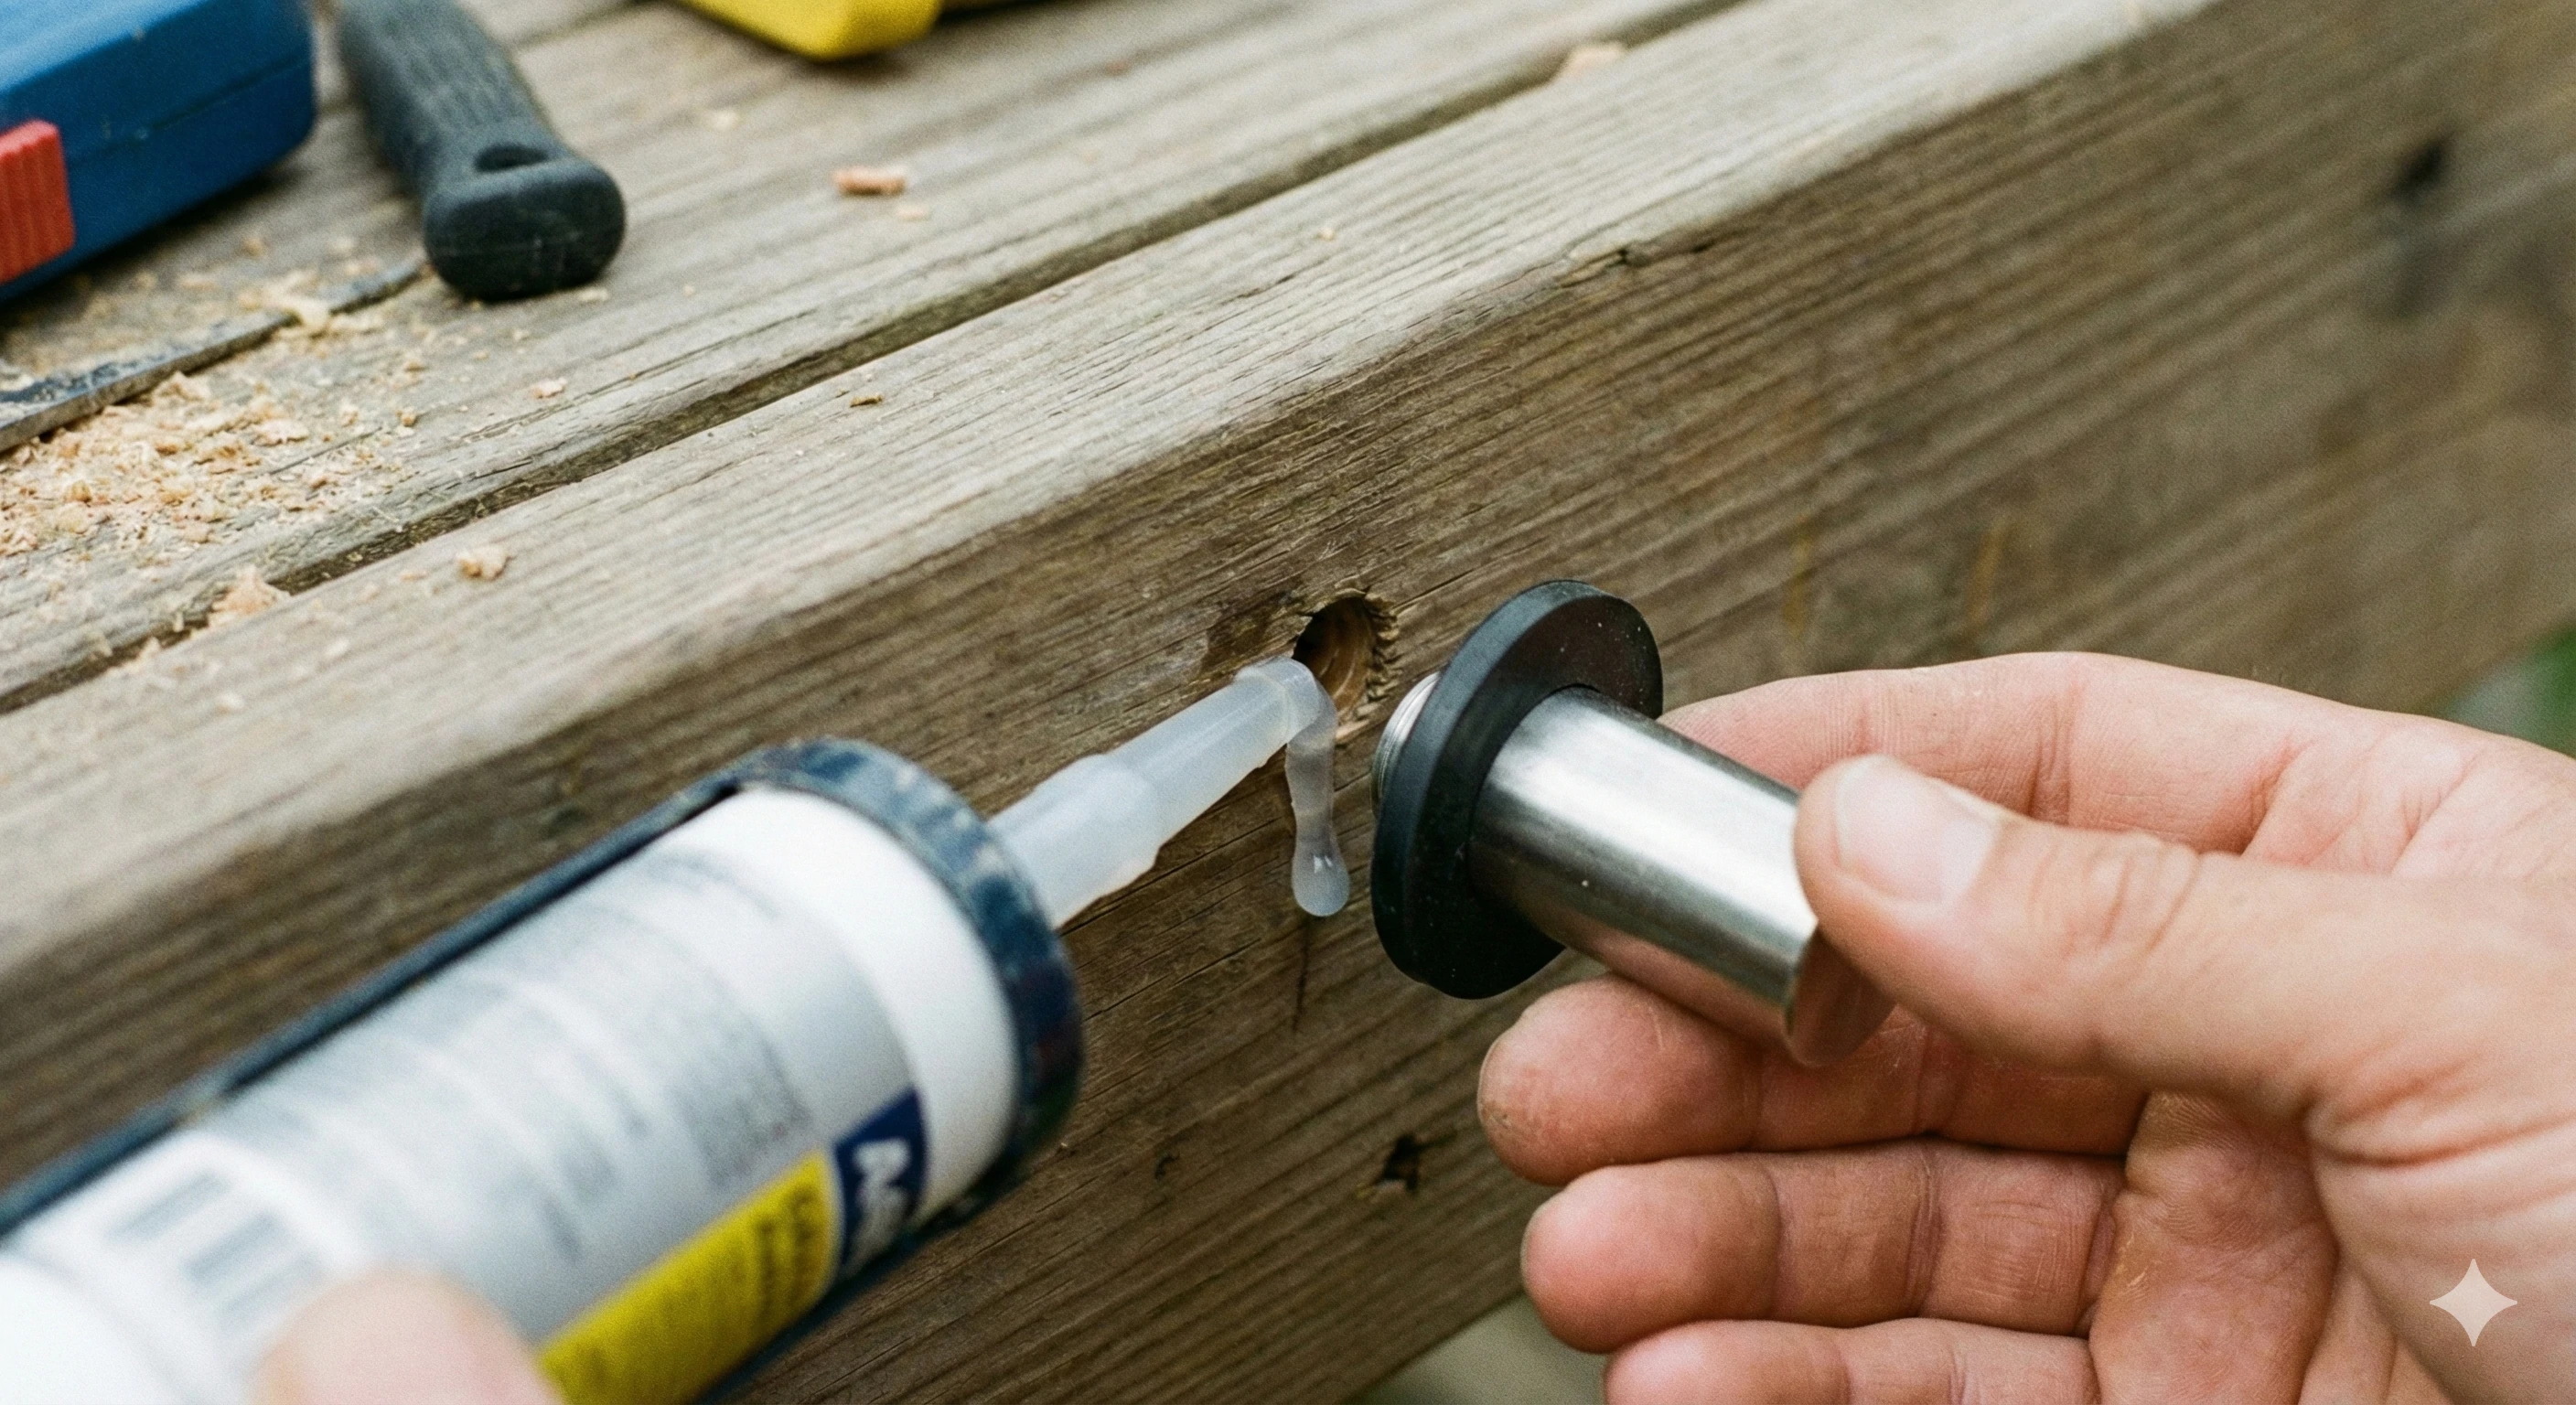
The Waterproofing Solution
Before installing any fastener:
Inject a high-quality, marine-grade silicone sealant deep into the pilot hole using a narrow applicator
Fill approximately 75% of the hole to allow space for displacement
Insert the fastener while the sealant is still wet
At the mounting surface:
Place a rubber washer or EPDM gasket between the standoff body and the wall surface
This gasket compresses as the standoff is tightened, forming a watertight seal
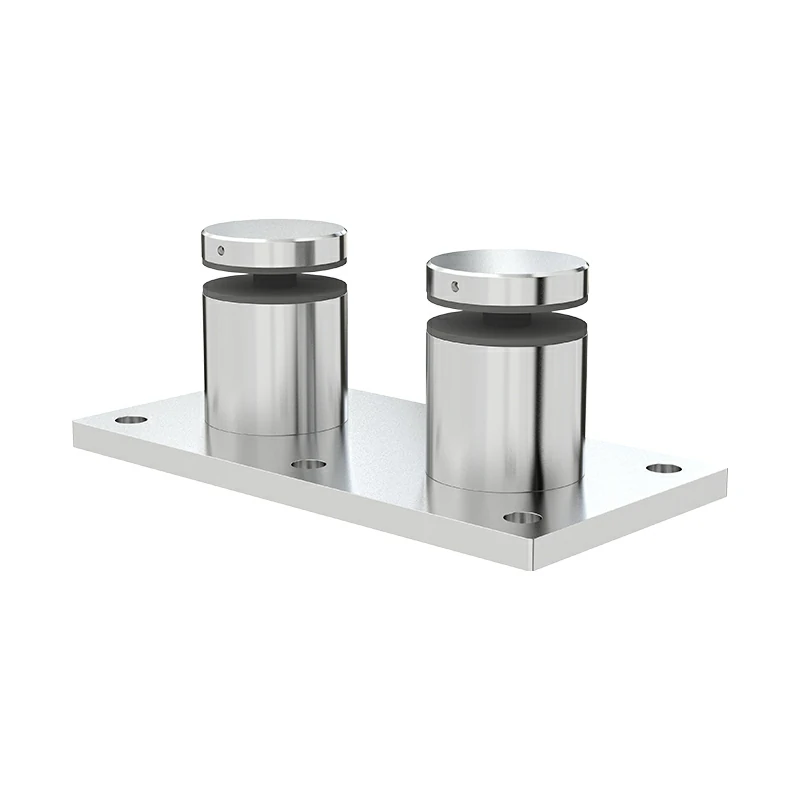
Premium systems often include a dedicated backing plate designed for this purpose
After installation:
Apply a continuous bead of exterior-grade silicone around the perimeter where the standoff meets the wall
Tool the sealant smooth to prevent standing water from collecting
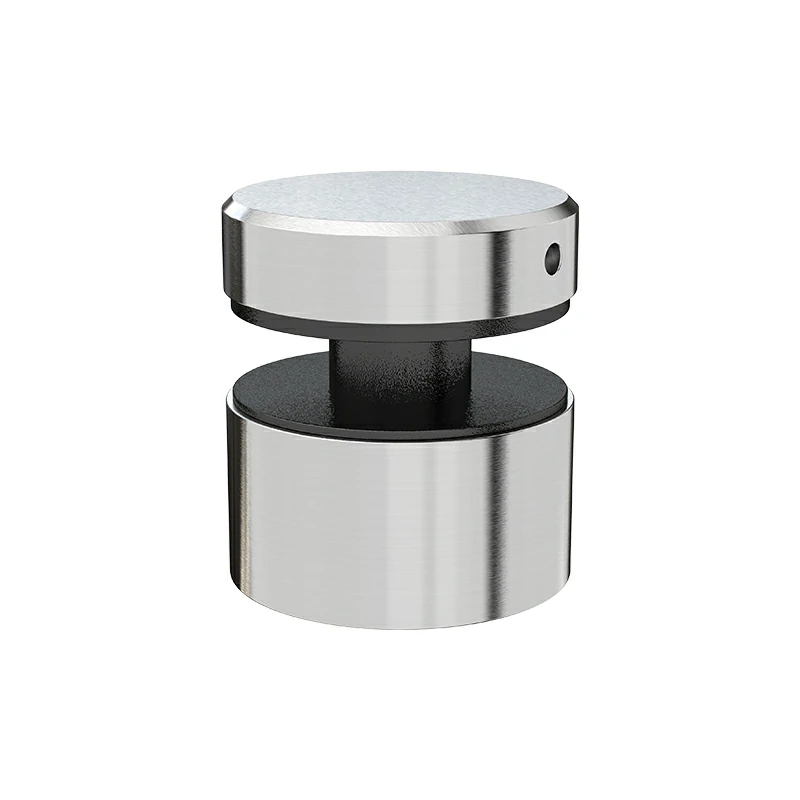
Step 3: Installing the Standoff Body (The Anchor)
The standoff body carries the full load of the glass panel, so the anchoring method must match the substrate.
Hardware for Wood Installations
For timber decks, use M12 × 100 mm stainless steel lag screws (also known as coach screws). Grade 304 stainless steel is suitable for most environments, while coastal or marine installations should use Grade 316 stainless to resist corrosion.
Installation steps:
Drill pilot holes at approximately 70% of the lag screw diameter
Apply waterproofing sealant as described above
Drive the lag screw using a socket wrench until the standoff body is firmly seated
Do not overtighten, as crushing wood fibers reduces holding strength
Hardware for Concrete Installations
Concrete installations should use M12 threaded rod with chemical injection mortar (epoxy anchors).
Mechanical expansion anchors are not recommended near slab edges. They exert outward pressure that increases the risk of cracking. Chemical anchors bond to the concrete without expansion, making them far safer for edge-mounted standoffs.
Installation steps:
Drill to the anchor manufacturer’s specified depth (typically 4–5 inches)
Clean the hole thoroughly with a wire brush and compressed air
Inject the epoxy mortar according to instructions
Insert the threaded rod before the epoxy sets
Allow full curing time (usually 24 hours at around 70°F) before loading
Leveling the Standoff Bodies
Before installing any glass, establish a reference line using a long straightedge or a string line across all mounting points. Each standoff must project the same distance from the wall.
Even a 2–3 mm difference between standoffs can introduce stress into the glass and cause cracking during tightening. Where necessary, use stainless steel washers as shims behind the standoff body to achieve perfect alignment.
Step 4: Mounting the Glass Panels
Tempered glass panels are heavy and unforgiving if stressed incorrectly. Careful handling is essential.
The Team Approach
Glass panels typically weigh between 50 and 100 pounds. Always use at least two people and vacuum suction cup lifters to maintain control and keep the panel level during installation.
The Bushing Layer
Plastic bushings or sleeves must be installed between the metal standoff pin and the glass hole. These bushings:
Prevent direct metal-to-glass contact
Allow for minor movement caused by thermal expansion
Skipping this step almost always leads to glass failure over time.
The Tightening Sequence
To avoid uneven stress:
Finger-tighten all standoff caps on one panel
Tighten the top row first, working consistently from one side to the other
Tighten the bottom row using the same sequence
Use a torque wrench if specified (typically 8–10 Nm)
Checking for Plumb
Once tightened, check each panel with a spirit level. If a panel is not plumb, loosen all caps, adjust the panel position, and retighten. A leaning panel usually indicates uneven standoff alignment or debris in the bushings.
Step 5: Installing the Cap Rail (Top Handrail)

Most US and Canadian building codes require a top rail when the fall height exceeds 30 inches. Beyond compliance, a cap rail adds significant structural benefit to standoff systems.
Why Standoff Railings Need Top Rails
Pin-fixed glass panels have more lateral flexibility than base-mounted systems. A continuous cap rail ties all panels together, transforming them into a unified structure capable of meeting guardrail load requirements.
Cap Rail Installation Process
Install a continuous rubber gasket along the top edge of the glass
Position the slotted stainless steel or aluminum cap rail over the gasket
Press firmly along the full length to seat the glass
Secure joints using the manufacturer’s hardware
Anchoring to the Structure
For maximum rigidity, secure the ends of the cap rail to adjacent walls or posts using wall flanges. Place flanges within 6 inches of each end and at corners or direction changes.
Troubleshooting: What if the Wall Isn't Flat?
Perfectly flat surfaces are rare in real-world construction. Warped fascia boards and uneven concrete edges are common challenges.
The Shimming Technique
For variations up to 5 mm, stainless steel washers can be used as shims behind the standoff body. Stack as needed until alignment matches the reference line.
Avoid non-metal shims that may compress or degrade over time.
Adjustable Standoff Systems
Where surface variation is more significant, adjustable standoff mounts offer a more efficient solution. These systems allow fine adjustment without shimming, dramatically reducing installation time on uneven substrates.
Conclusion
A standoff-mounted glass railing system requires more preparation than base-mounted alternatives, particularly in terms of structural backing and waterproofing. The payoff is a clean, uninterrupted view with minimal visible hardware.
Successful installations consistently follow these principles:
3–4 inches of solid structural backing
Proper concrete edge spacing (70–80 mm minimum)
Thorough waterproofing at every penetration
Precise standoff alignment before installing glass
Correct tightening sequence to protect the glass
When installed correctly, a standoff railing system delivers long-term safety, durability, and a premium architectural appearance.
Frequently Asked Questions
How far apart should standoff mounts be spaced?
Horizontal spacing should not exceed 4 feet (1200 mm). Vertical spacing typically ranges from 4 to 6 inches, depending on glass height and wind load. Always follow your glass supplier’s engineering recommendations.
Can I install standoff mounts on vinyl siding?
Yes, but the fasteners must pass through the siding into solid structural framing. Use compression sleeves or spacers to prevent deforming the vinyl surface.
Do I need a handrail for standoff glass railing?
Most jurisdictions require a top rail when the fall height exceeds 30 inches. Even when not required, a cap rail improves safety, protects the glass edge, and increases overall system rigidity.