Nothing takes away from the look of a premium backyard faster than a glass pool fence covered in water spots and smudges. Salt residue, chlorine marks, and fingerprints can quickly make an otherwise clean outdoor space feel poorly maintained. The good news is that glass pool fencing is actually easier to clean than most people expect—as long as you use the right approach.
In this guide, you’ll learn the same techniques professional window cleaners use to achieve clear, streak-free glass in less time. We’ll also cover how to properly care for stainless steel spigots and hardware, helping you avoid corrosion and keep your frameless glass fence looking sharp all year round.
The "Golden Rules" of Glass Maintenance
Before you start cleaning, keeping these three basic principles in mind will save you time and prevent common mistakes.
Rule 1: Frequency Matters
Don’t wait until stains become obvious. A simple rinse with clean water every two weeks helps prevent salt, chlorine, and dirt from building up and bonding to the glass. Just like routine maintenance on any outdoor feature, frequent light cleaning is far easier than tackling heavy buildup later.
Rule 2: Cool Surfaces Only
Avoid cleaning glass when it’s exposed to direct sunlight. Hot glass causes water and soap to dry too quickly, which almost guarantees streaks. Early morning, late afternoon, or a cloudy day is ideal. If you must clean during the day, work panel by panel in shaded areas.
Rule 3: Avoid Harsh Chemicals
You don’t need aggressive cleaners for regular maintenance. Warm water with a mild, pH-neutral dish soap is usually enough. Strong chemicals can damage protective finishes on stainless steel hardware and often do more harm than good. Reserve specialty cleaners for specific, stubborn stains only.
What You Need (The Pro Tool Kit)
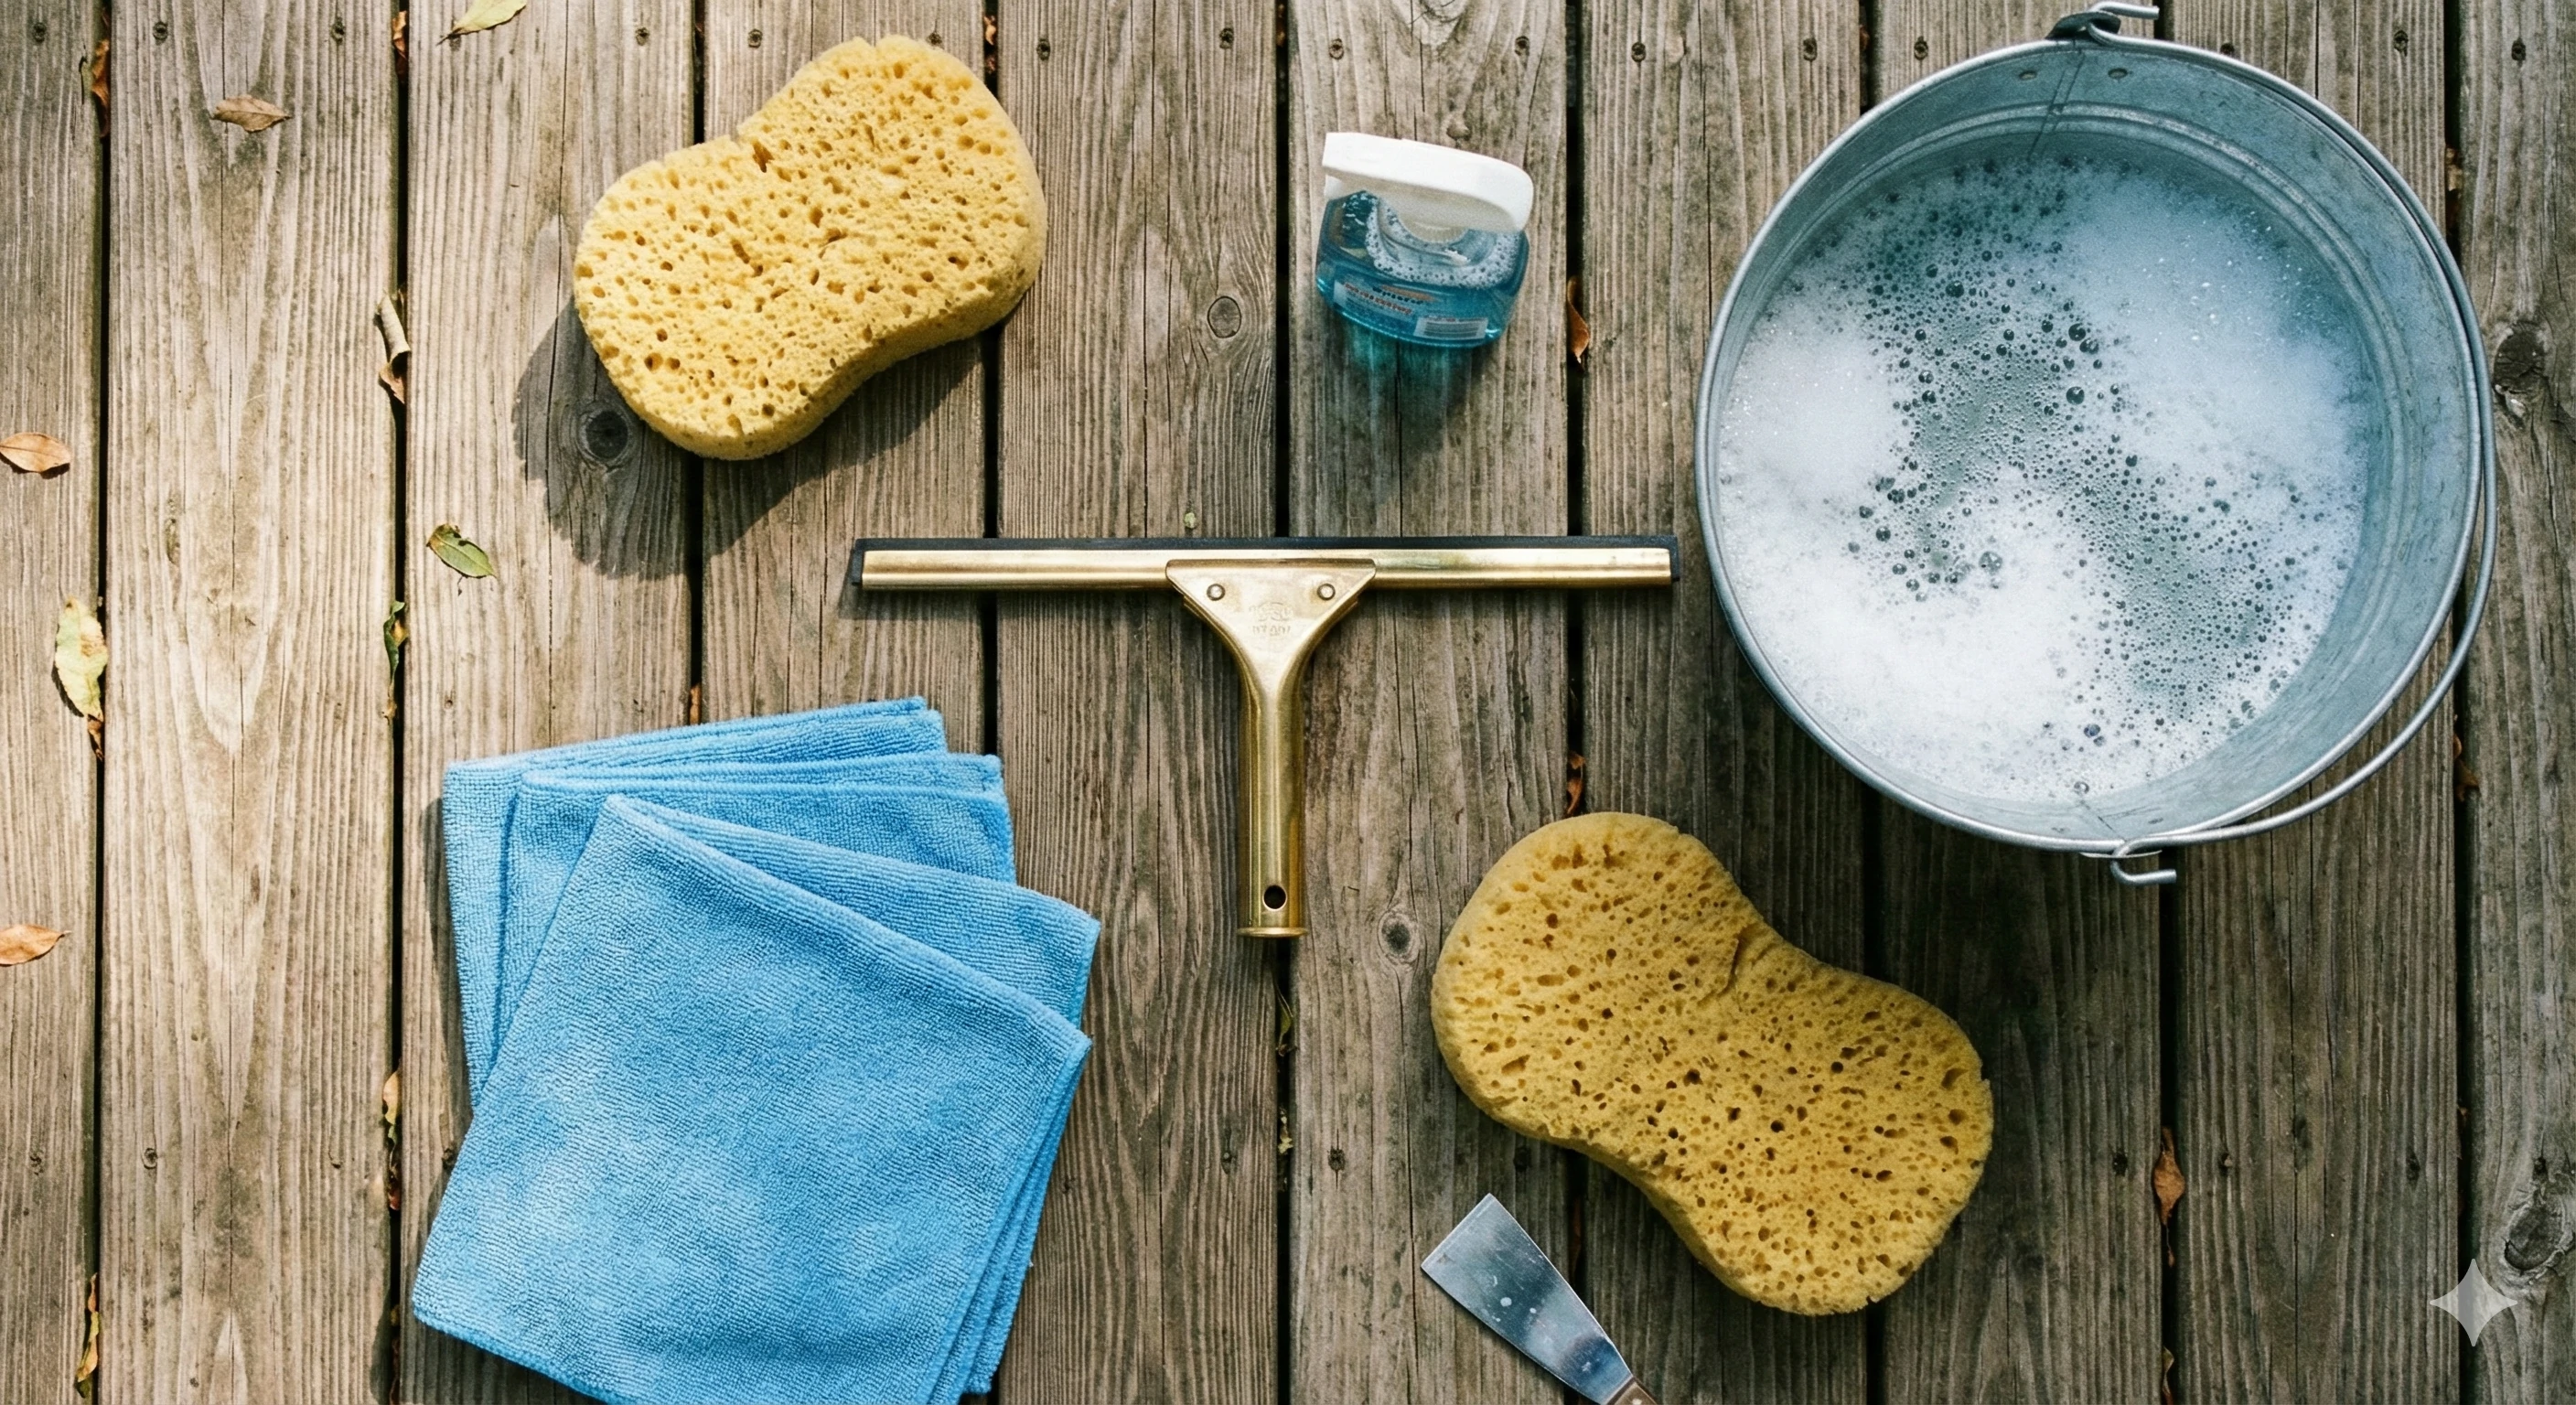
Professional results come from using the right tools, not stronger chemicals.
The Essentials:
High-Quality Squeegee
This is the most important tool. A worn or low-quality blade will leave streaks behind. Choose a professional squeegee with a smooth, replaceable rubber edge.
Microfiber Cloths
Ideal for wiping edges, corners, and drying any remaining droplets. They don’t leave lint behind and can be reused many times.
Lambswool Applicator or Soft Sponge
Gentle on glass but effective at holding soapy water and loosening dirt without scratching.
Bucket of Warm Water with Dish Soap
Only a few drops of mild dish soap are needed—too much soap makes streaking more likely.
What to AVOID:
Steel wool or abrasive pads – These permanently scratch glass surfaces.
Ammonia-based cleaners – Can discolor or damage stainless steel finishes.
Paper towels – Leave lint and are far less effective than microfiber cloths.
Step-by-Step: Cleaning the Glass Panels
Follow this sequence for consistent, streak-free results.
Step 1: Rinse First
Thoroughly hose down the glass panels before washing. This removes loose sand, grit, and dust that could scratch the surface during cleaning. Skipping this step is one of the most common causes of fine scratches.
Step 2: Soak and Scrub
Dip your applicator or sponge into the soapy water and wash the glass generously. Pay extra attention to bird droppings, plant residue, or sticky marks. Work from top to bottom to ensure even coverage and effective cleaning.
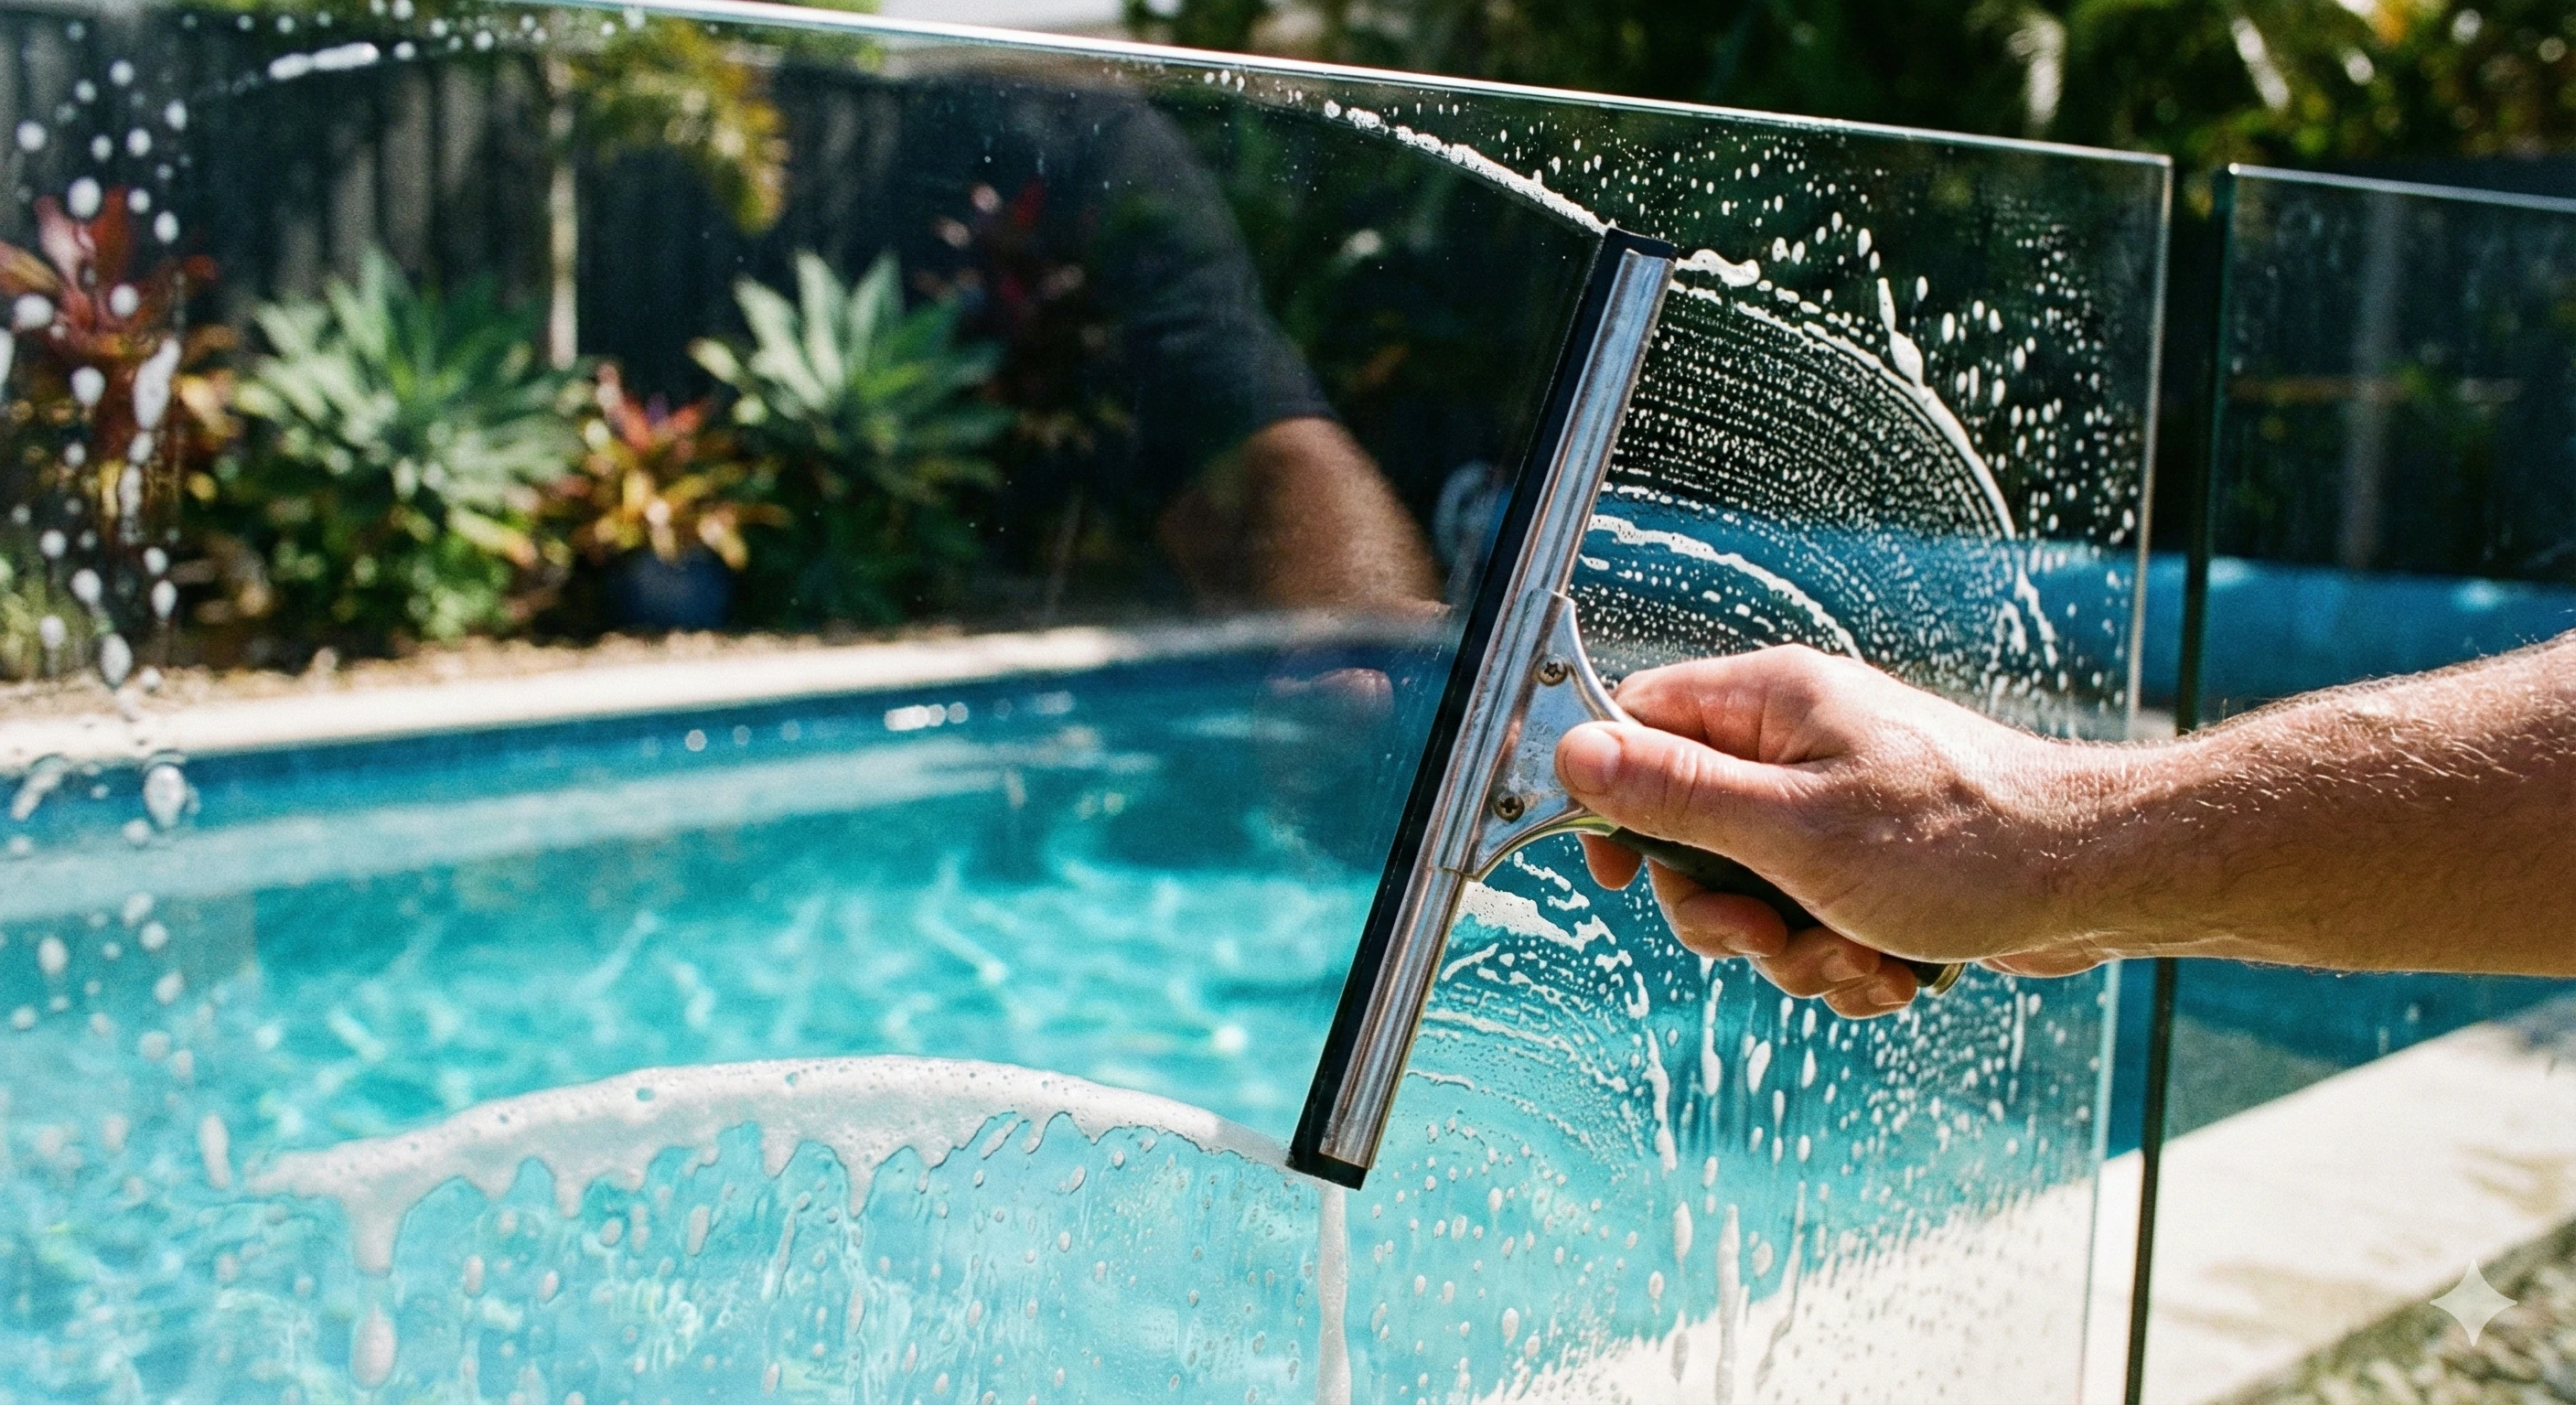
Step 3: The Squeegee Technique
This is where proper technique matters most. There are two reliable methods:
The S-Motion (Advanced)
Pull the squeegee across the glass in a smooth S-shaped pattern, slightly overlapping each stroke. This method is faster once you get comfortable with it.
The Top-to-Bottom Method (Beginner-Friendly)
Start at the top of the panel and pull straight down. Move across the glass in overlapping passes.
After every pass, wipe the squeegee blade with a clean, damp cloth. This prevents dirty water from being dragged back across the glass.
Step 4: Detail the Edges
Use a dry microfiber cloth to wipe edges, corners, and the bottom of each panel. This final step prevents water spots and gives the glass a clean, professional finish.
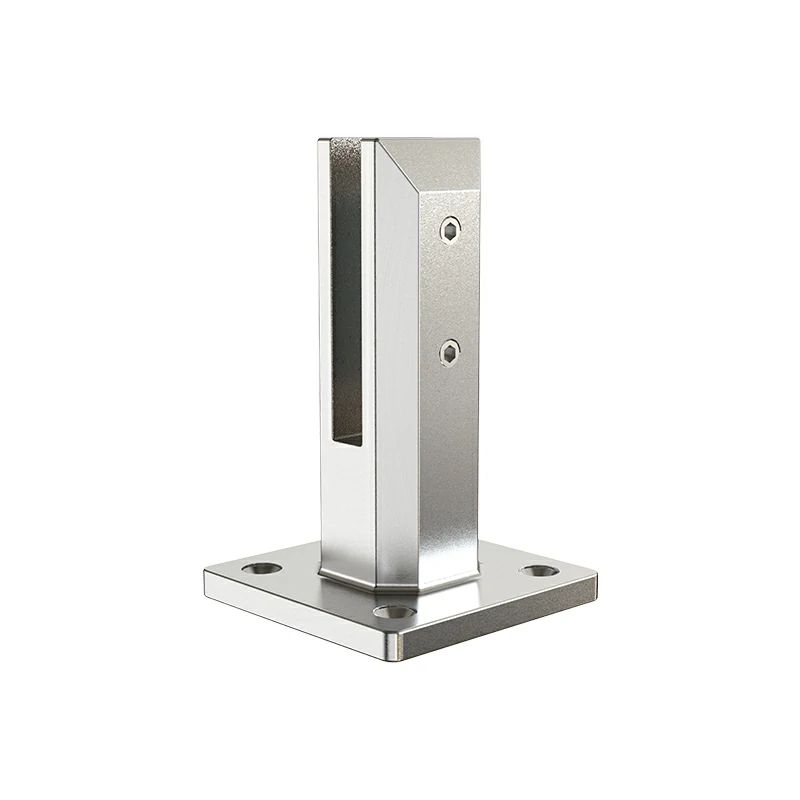
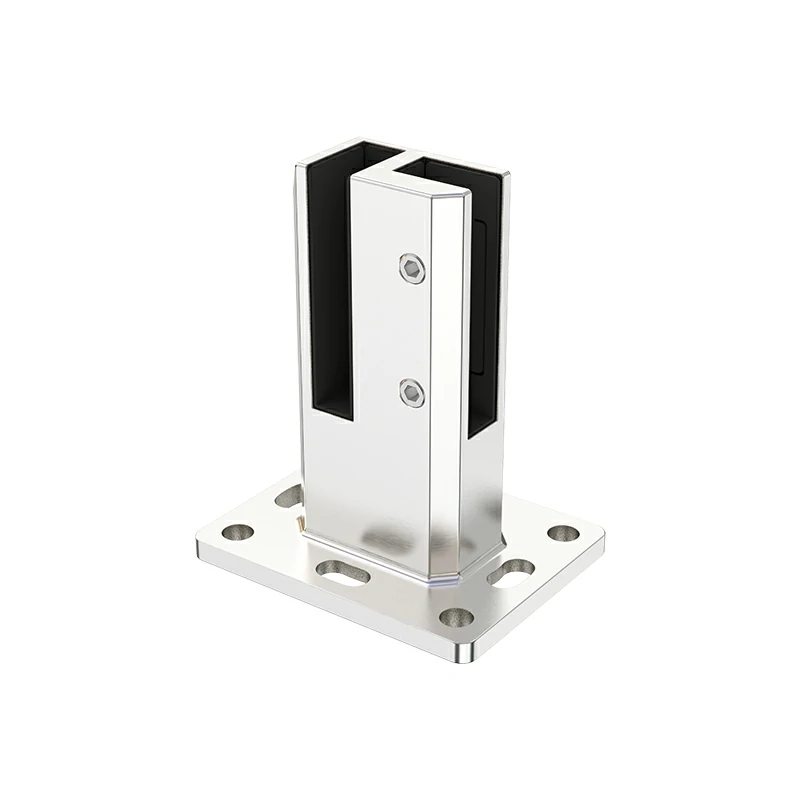
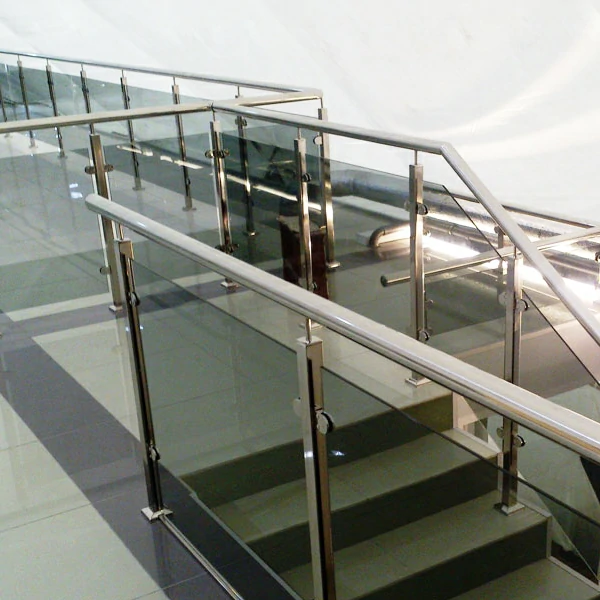
Don't Forget the Hardware: Cleaning Stainless Steel Spigots
Even perfectly clean glass can look unfinished if the hardware is neglected. Regular care also extends the life of your spigots.
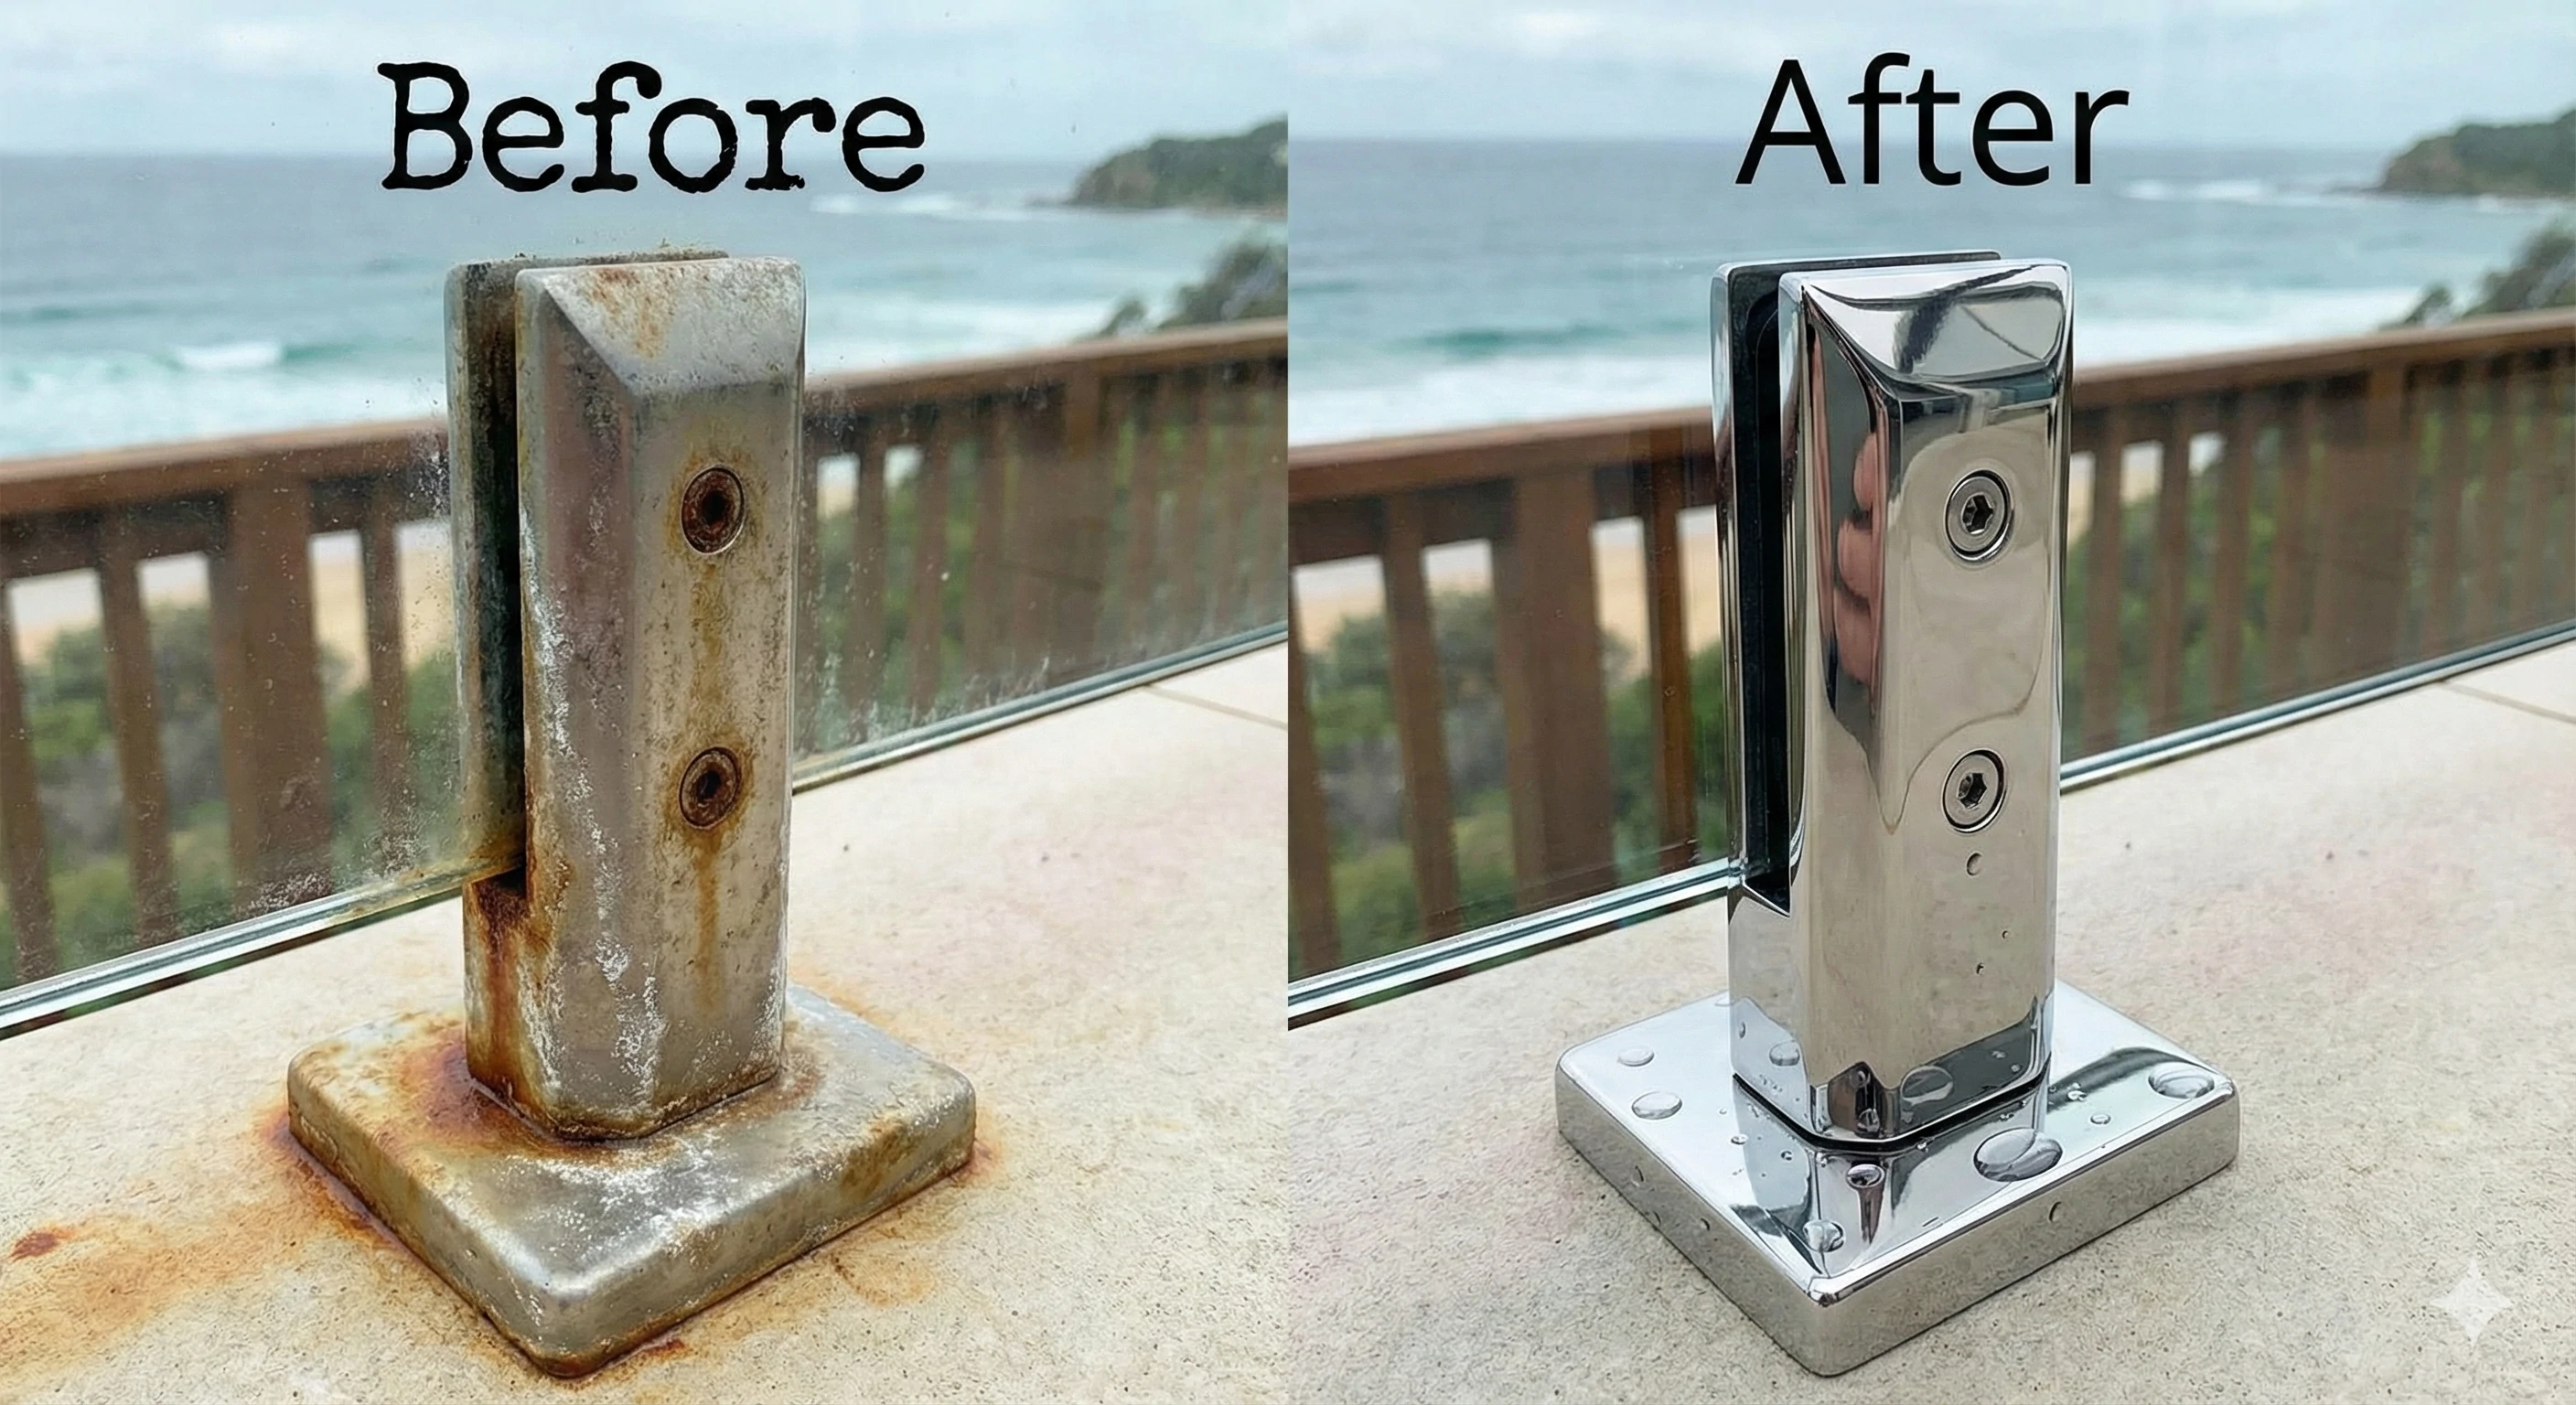
Understanding the "Tea Staining" Issue
Stainless steel—even higher grades like SS316—can develop a brownish surface discoloration in salt or chlorine-rich environments. This is known as tea staining. While it doesn’t affect structural strength, it does impact appearance. Duplex 2205 stainless steel offers better resistance compared to standard 304 or 316 grades.
How to Clean Spigots
Clean spigots using the same warm, soapy water as the glass. Use a soft cloth to reach around the base, where salt and debris tend to collect. Rinse thoroughly and dry completely with a microfiber cloth.
Removing Surface Rust or Staining
For light staining or surface rust, use a dedicated stainless steel cleaner with a soft nylon brush. Always scrub gently and follow the grain of the metal. Never use steel wool or abrasive pads, as they damage the surface and increase future corrosion.
Long-Term Protection
Applying a thin layer of marine-grade car wax or stainless steel protectant every six months creates a barrier against moisture and salt. This simple step significantly reduces tea staining. Always follow the hardware manufacturer’s recommendations before applying coatings.
Dealing with Stubborn Stains (Hard Water and Calcium Deposits)
White haze or cloudy spots are usually caused by mineral deposits from hard water.
The Problem
As water evaporates, it leaves behind calcium and magnesium deposits. Pool water with high mineral content accelerates this buildup, making standard cleaning ineffective over time.
The DIY Fix
Mix equal parts white vinegar and water. Spray the solution onto the affected areas and let it sit for about five minutes. The mild acid helps dissolve mineral deposits. Scrub gently, then rinse thoroughly. Heavier buildup may require a second application.
The Professional Fix
For severe staining, glass polishing compounds such as cerium oxide can be used. These products physically remove mineral deposits and restore clarity. Follow product instructions carefully and rinse completely after use.
The Secret Weapon: Nano-Coatings for Self-Cleaning Glass
If you want to dramatically reduce ongoing maintenance, protective coatings are worth considering.
How Nano-Coatings Work
Nano-coatings create a water-repellent surface at a molecular level. Water beads up and runs off instead of drying on the glass, reducing mineral deposits and making dirt easier to remove.
Application Options
Some glass panels are factory-treated with long-lasting coatings. If you’re installing a new fence, ask about this option. Existing fences can be treated with professional or DIY coating kits. While there’s an upfront cost, many owners find the time savings worthwhile.
Maintenance with Coatings
Even with coatings, occasional cleaning is still needed, but it usually involves nothing more than a quick rinse rather than a full scrub.
Keeping Your Investment Looking New
A clean glass pool fence isn’t just about appearance. Regular maintenance improves safety by maintaining clear visibility, protects hardware from corrosion, and helps preserve property value. With the right tools and a simple routine, keeping your glass fencing in top condition doesn’t have to be time-consuming.
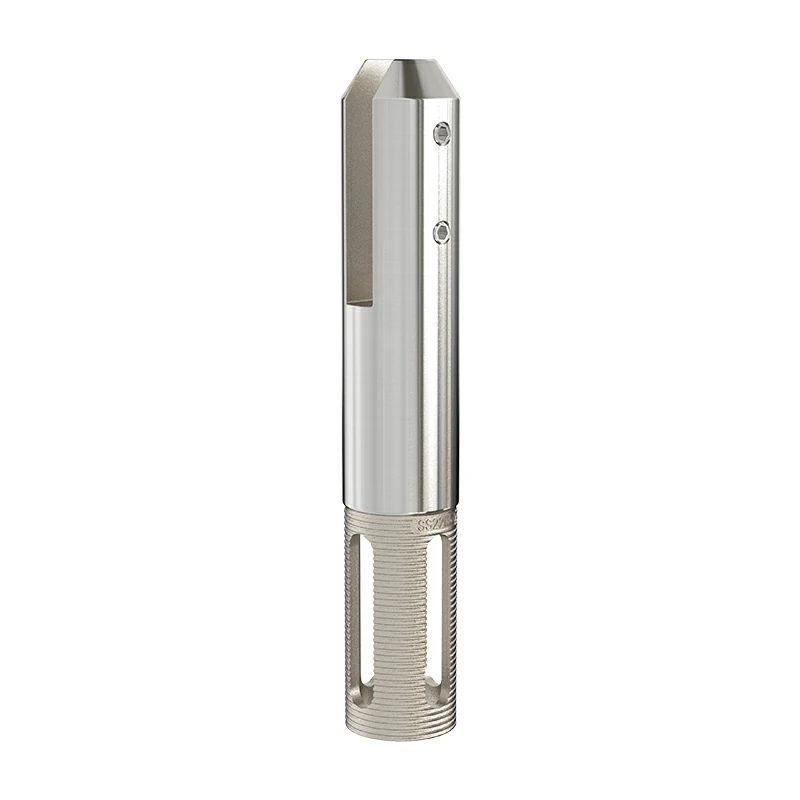
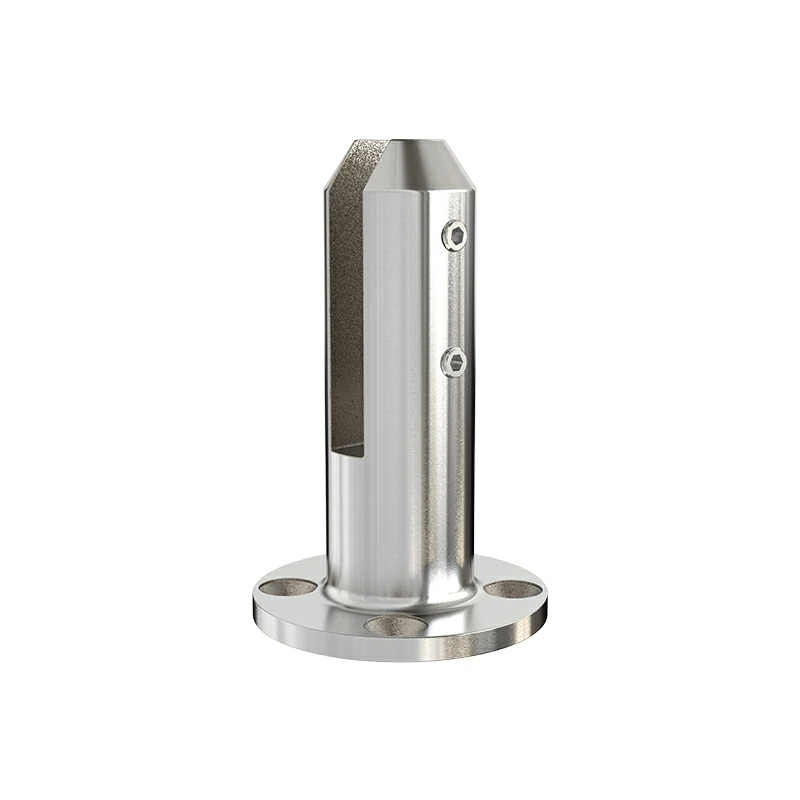
Looking for low-maintenance hardware that resists corrosion better than standard options? Our mirror-polished Duplex 2205 spigots offer long-term durability with a finish that stays cleaner for longer.
Frequently Asked Questions
Can I use a pressure washer on my glass pool fence?
Yes, but only on a low-pressure setting (1500 PSI or less) with a wide fan nozzle. Keep at least 12 inches away from the glass and avoid spraying directly at spigot gaskets.
Does Windex work on pool fencing?
It’s fine for small touch-ups, but for full panels it’s less cost-effective and more prone to streaking. Mild soapy water works better for larger areas.
How often should I clean my stainless steel spigots?
In coastal areas, clean every three months. Inland locations typically need cleaning every six months. After heavy chlorine use or severe weather, a quick wipe-down is recommended.