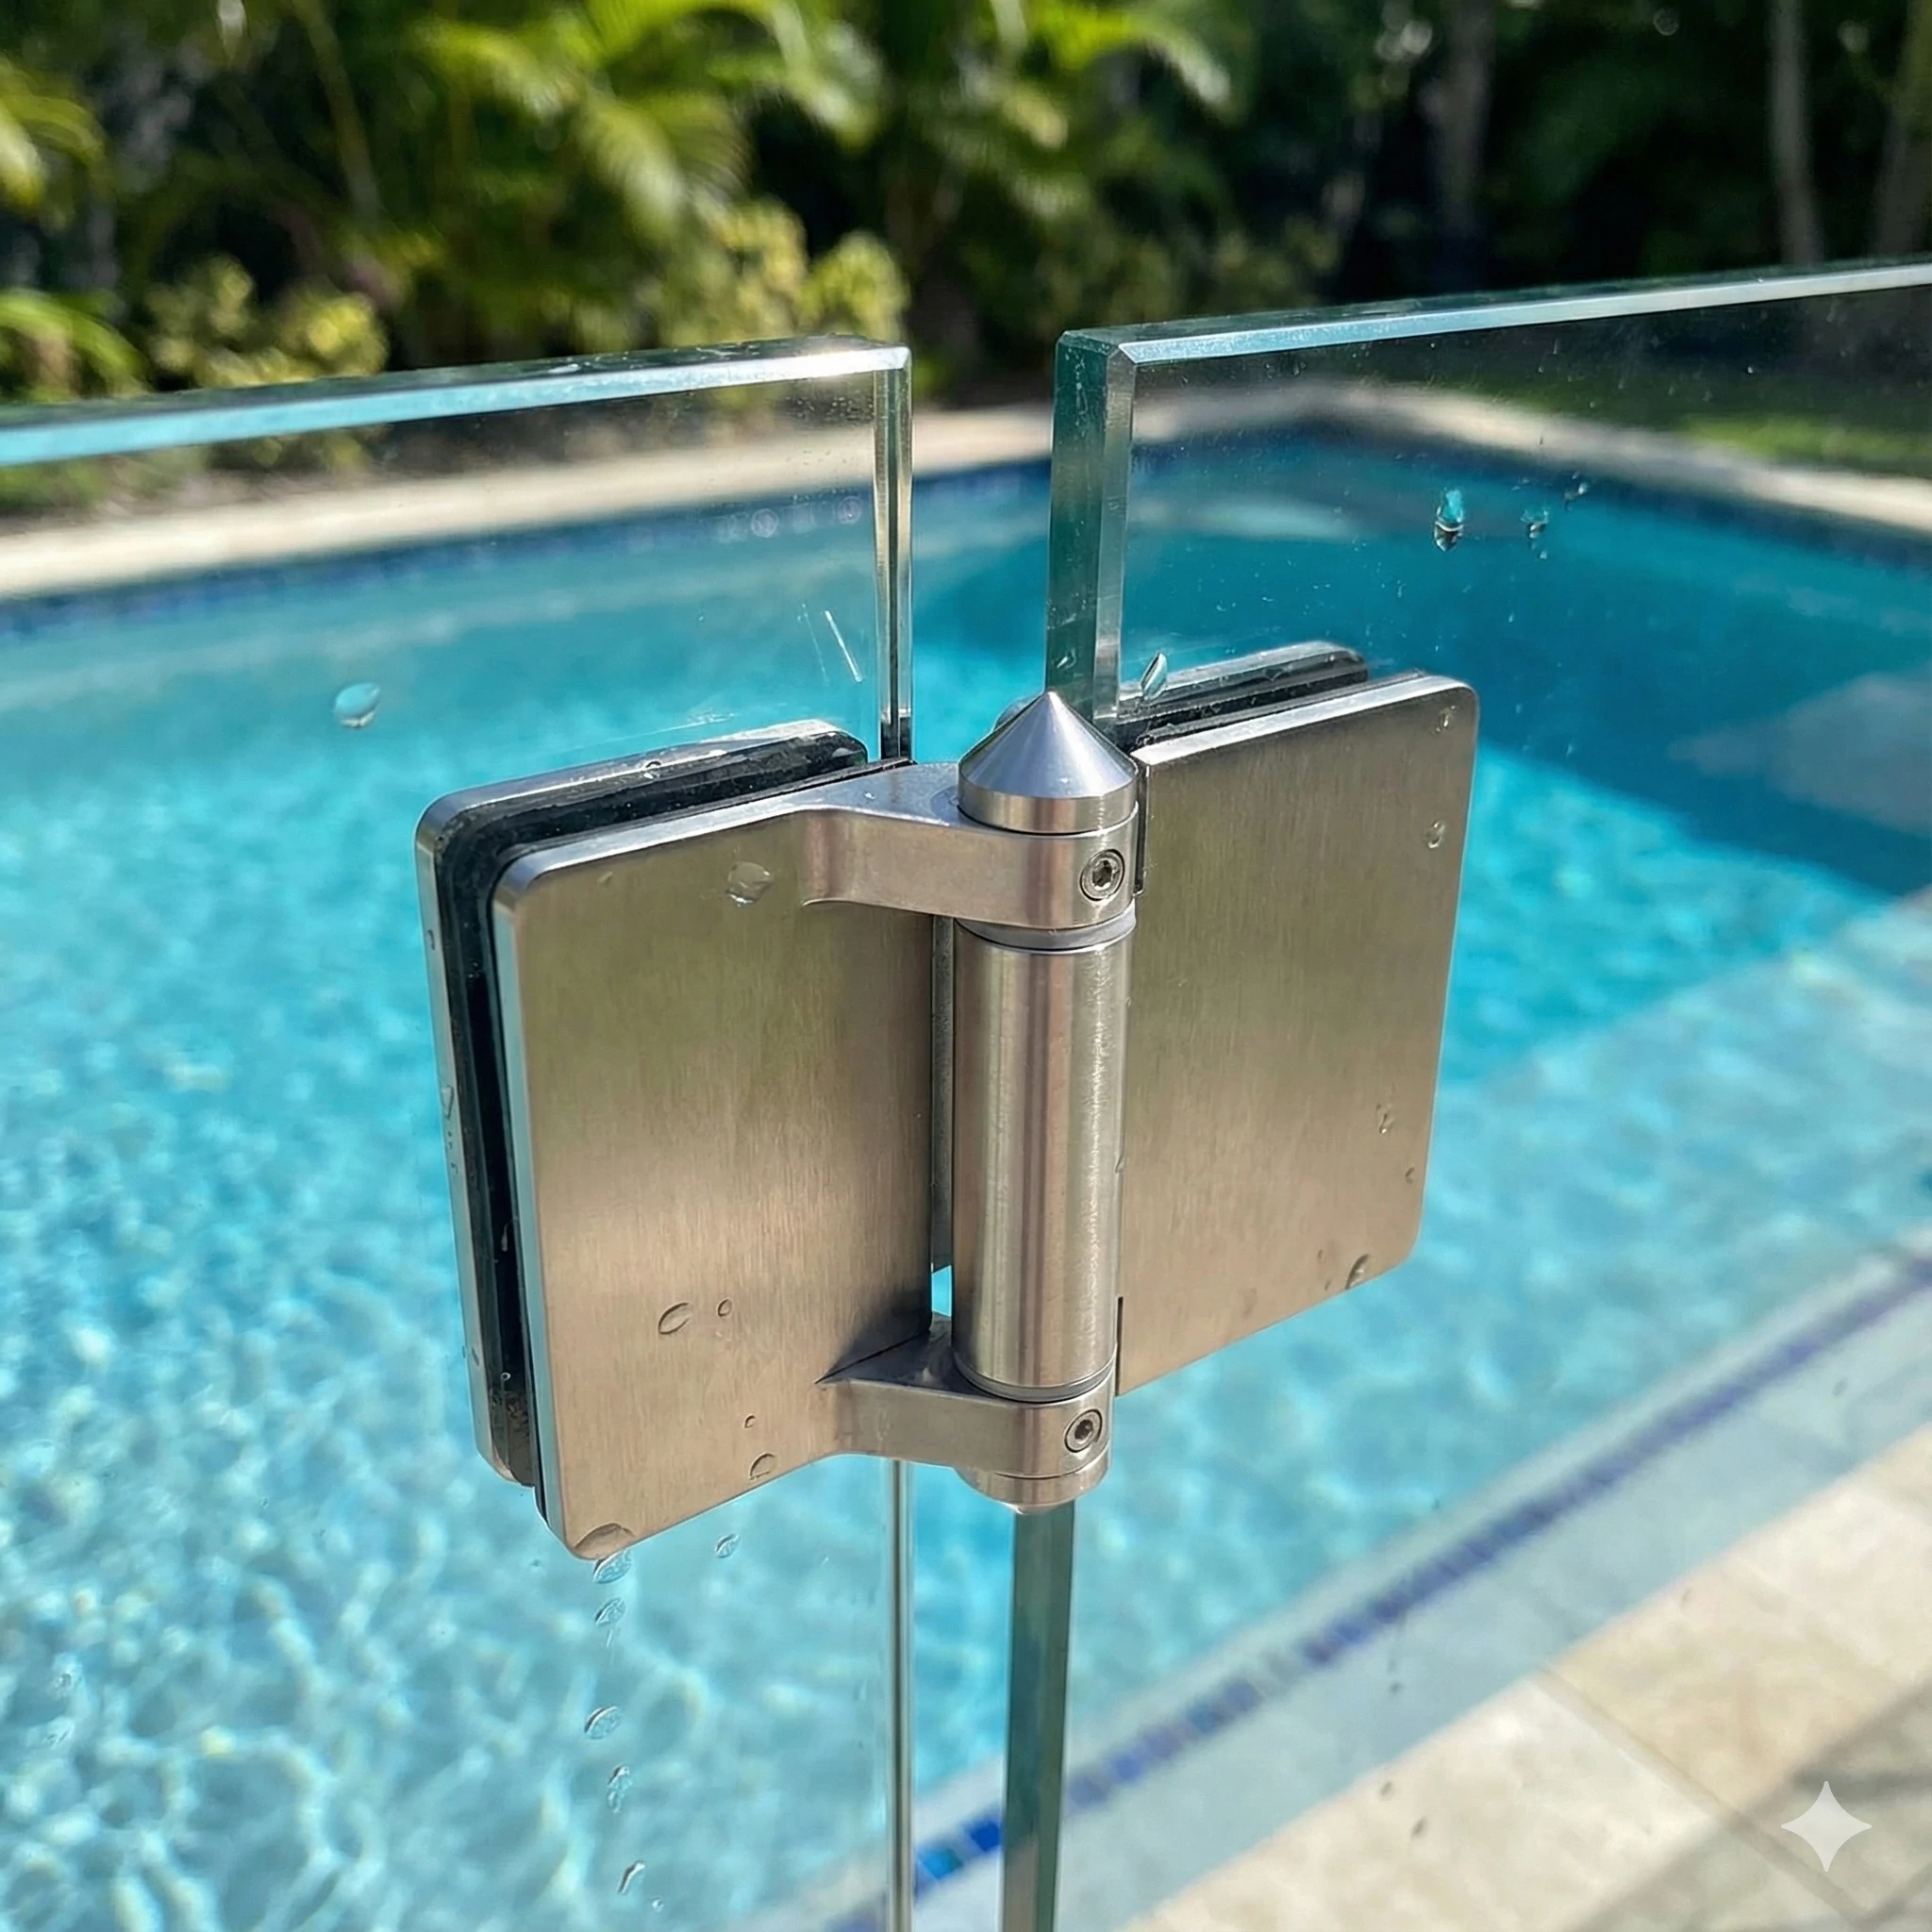
A pool gate that doesn’t close or latch by itself isn’t just inconvenient—it’s a real safety concern. In both the United States and Australia, pool safety regulations clearly require gates to self-close and self-latch to prevent children from accessing the pool area unsupervised.
Over time, spring-loaded hinges naturally lose tension. When that happens, the gate may swing slowly and fail to latch. On the other hand, if the tension was set too tight during installation, the gate can slam shut violently, increasing the risk of cracked glass or finger injuries. The good news is that this is usually a simple fix.
In this guide, we’ll show you how to adjust the tension on a glass pool gate spring hinge using the basic tools that typically come with the hinge. In most cases, the entire process takes less than five minutes and doesn’t require any professional skills.
Signs Your Hinges Need Adjustment
Before making any adjustments, it’s important to understand which issue you’re dealing with. Spring-loaded hinges usually show problems in one of two ways.
Scenario A: The "Lazy" Gate (Needs More Tension)
If your gate opens normally but doesn’t swing closed with enough force to engage the latch, the spring tension is too weak. You may notice the gate drifting toward the closed position but stopping just short of clicking shut.
This is a very common issue, especially with older hinges. Over months or years of use, the internal spring gradually loses elasticity, reducing its closing power.
Scenario B: The "Slamming" Gate (Needs Less Tension)
If the gate shuts with a loud bang, the spring tension is likely set too high. This isn’t just noisy—it can be dangerous. Repeated hard impacts may cause micro-fractures in tempered glass, increasing the risk of sudden failure over time.
An over-tensioned gate also creates a pinch hazard, which is especially risky for children around pool areas.
Understanding Code Requirements
Most pool safety codes in the U.S. and Australia require gates to self-close and self-latch from any open position. That means the gate must latch reliably when released from a fully open position (around 90 degrees) and also when opened just slightly—about 10–15 degrees.
If your gate fails either of these tests, it’s considered non-compliant and should be adjusted as soon as possible.
Tools You Will Need
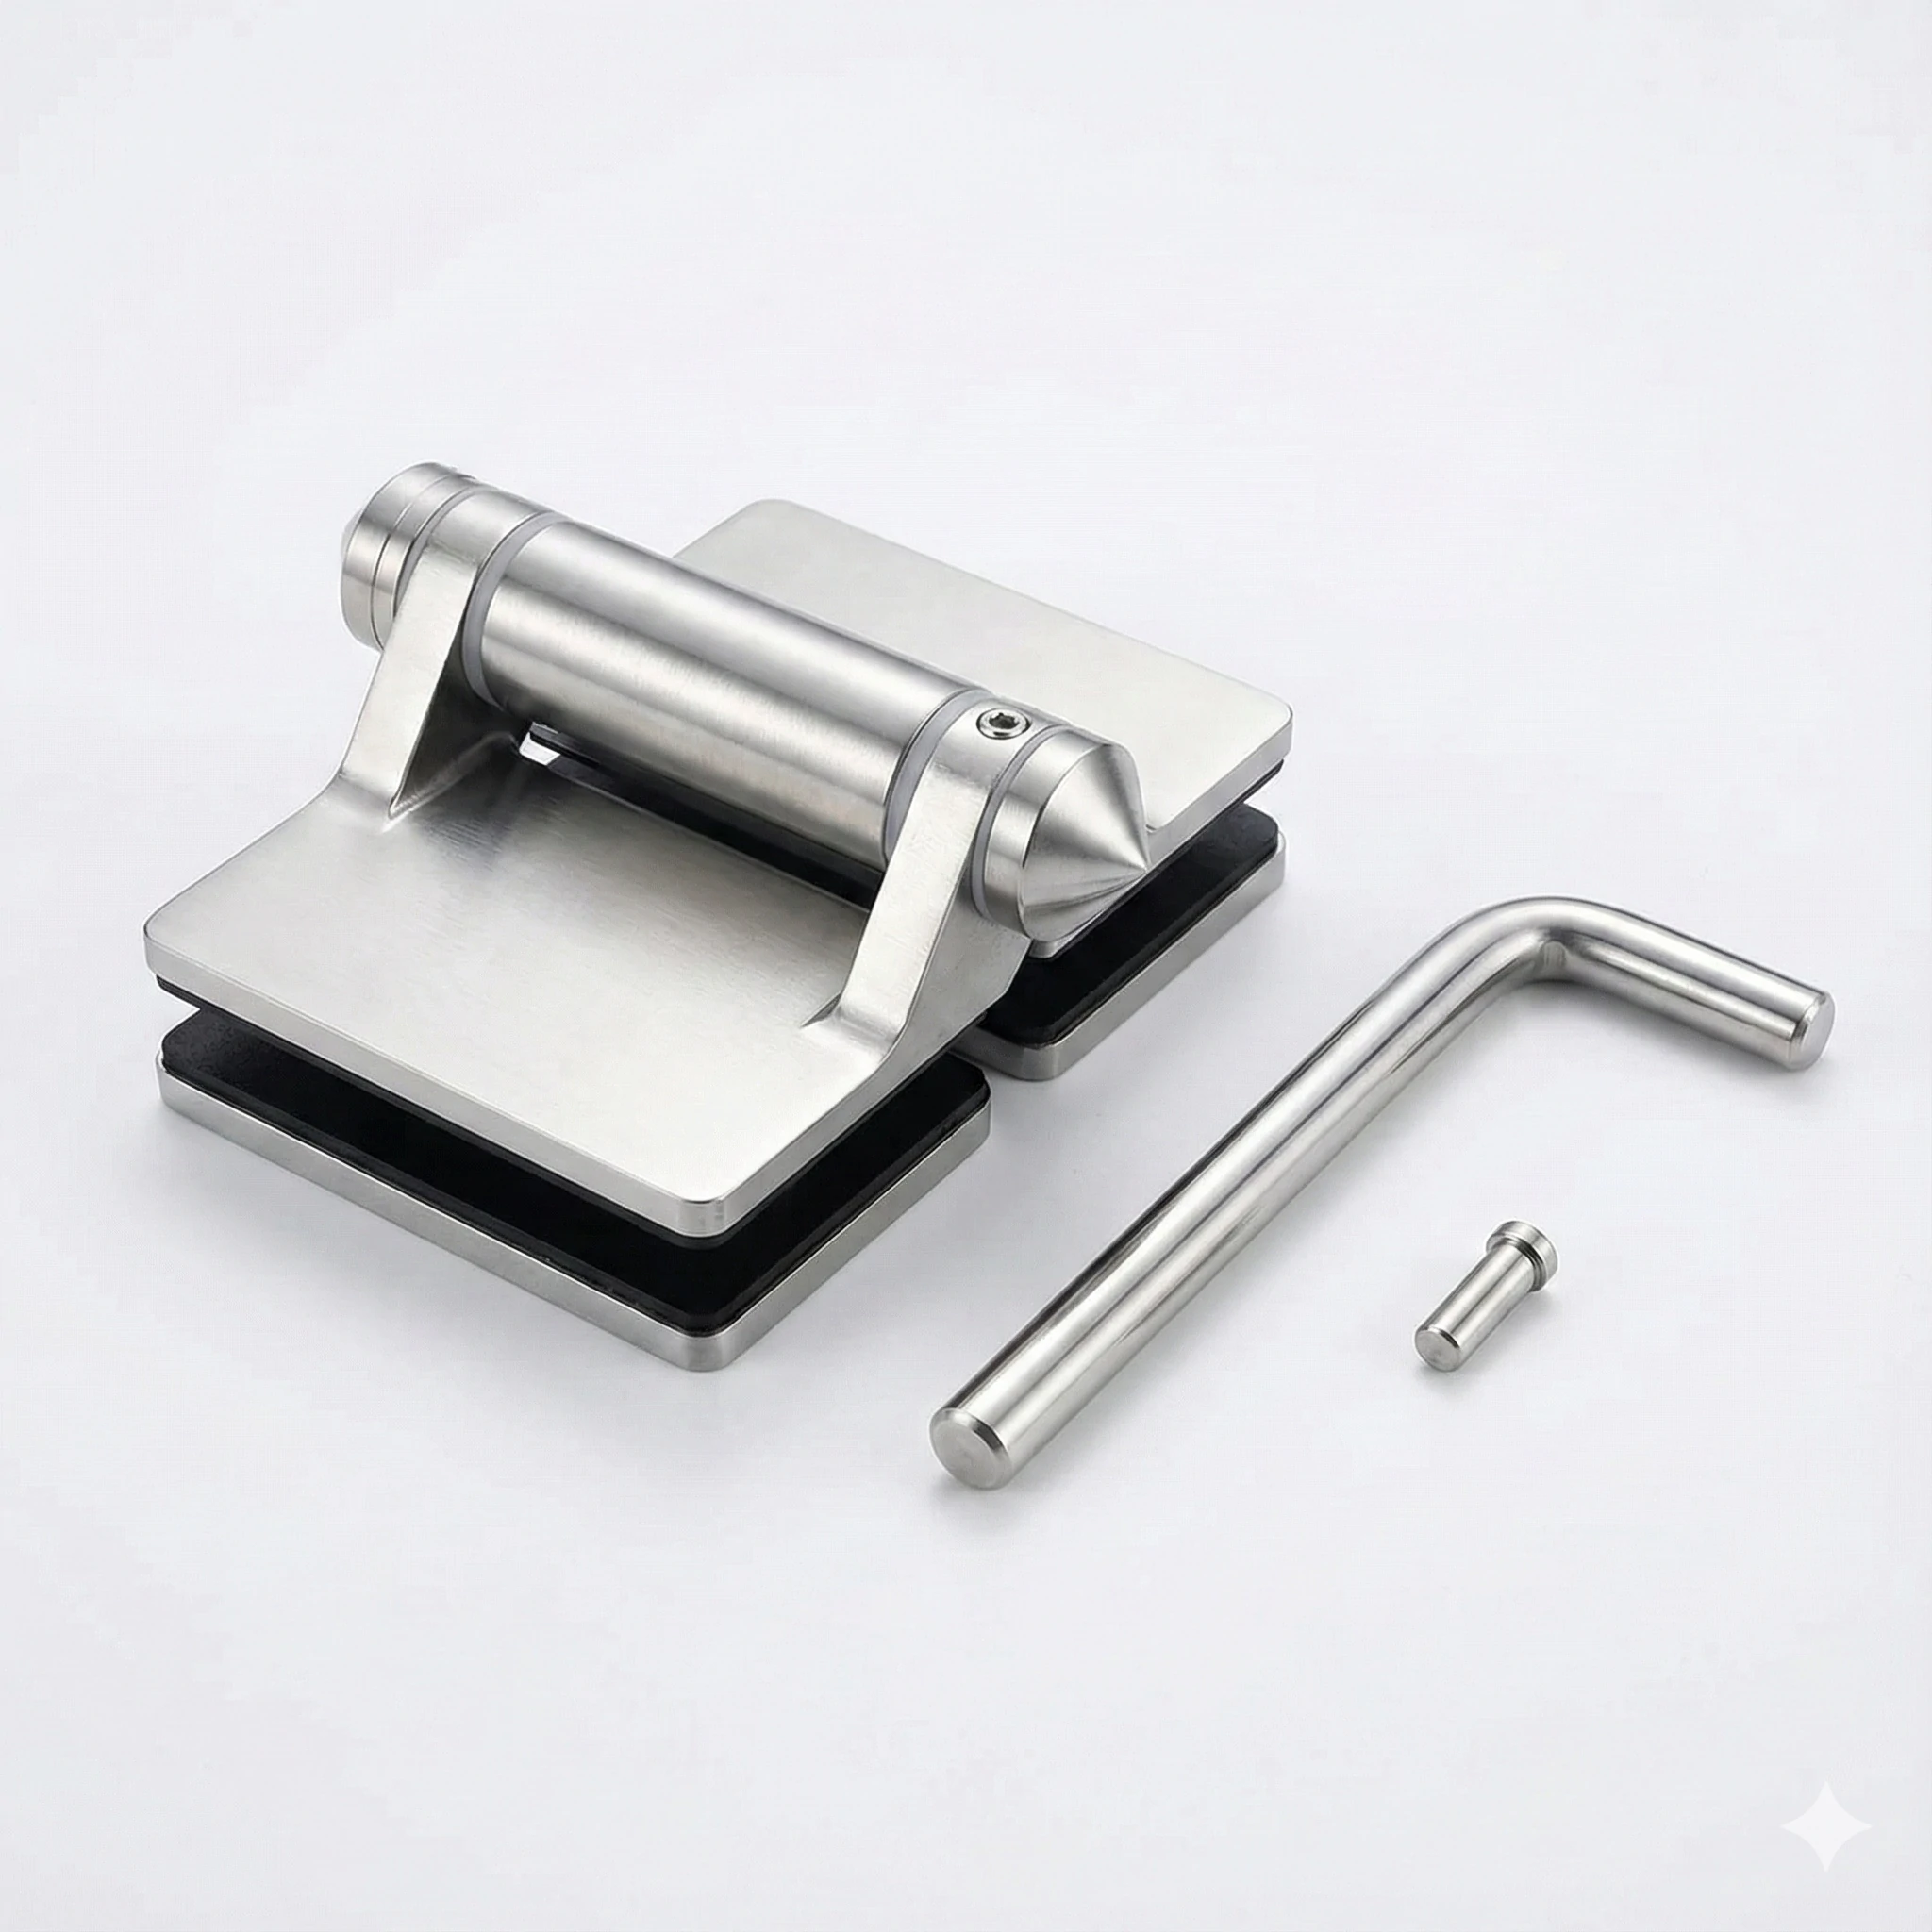
Before starting, gather the following items:
Tension Tool / Tension Rod
Usually a small metal rod supplied with the hinge. It fits into the holes on the tension collar. If you’ve lost it, contact the hinge manufacturer—using makeshift tools can damage the hinge or cause injury.
Stop Pin
A small pin or set screw that locks the spring tension in place once adjusted.
Allen Key Set
Some hinges have decorative caps covering the adjustment mechanism, which may need to be removed with an Allen key.
Safety Glasses
This is essential. The spring is under significant pressure, and if the tool slips, it can eject suddenly. Always protect your eyes when making adjustments.
Step-by-Step Adjustment Guide for Standard Spring Hinges
Now that you’ve identified the issue and gathered your tools, follow the steps below carefully.
Step 1: Locate the Tension Mechanism
Check the top or bottom of the hinge barrel. You should see a circular collar with several small holes spaced evenly around it—typically six to eight. This collar controls the spring tension.
If you don’t see the holes right away, your hinge may have a decorative cap. Look for a small screw at the end of the hinge barrel and remove the cover using an Allen key to expose the adjustment collar.
Step 2: Insert the Tension Tool
Insert the tension rod into one of the holes in the collar. It should fit securely. Gently try rotating the collar—you should feel strong resistance from the spring inside.
Safety reminder: Once the tool is engaged, keep a firm grip at all times. Losing control of the tool can cause it to snap out suddenly with considerable force.
Step 3: Adjusting the Tension
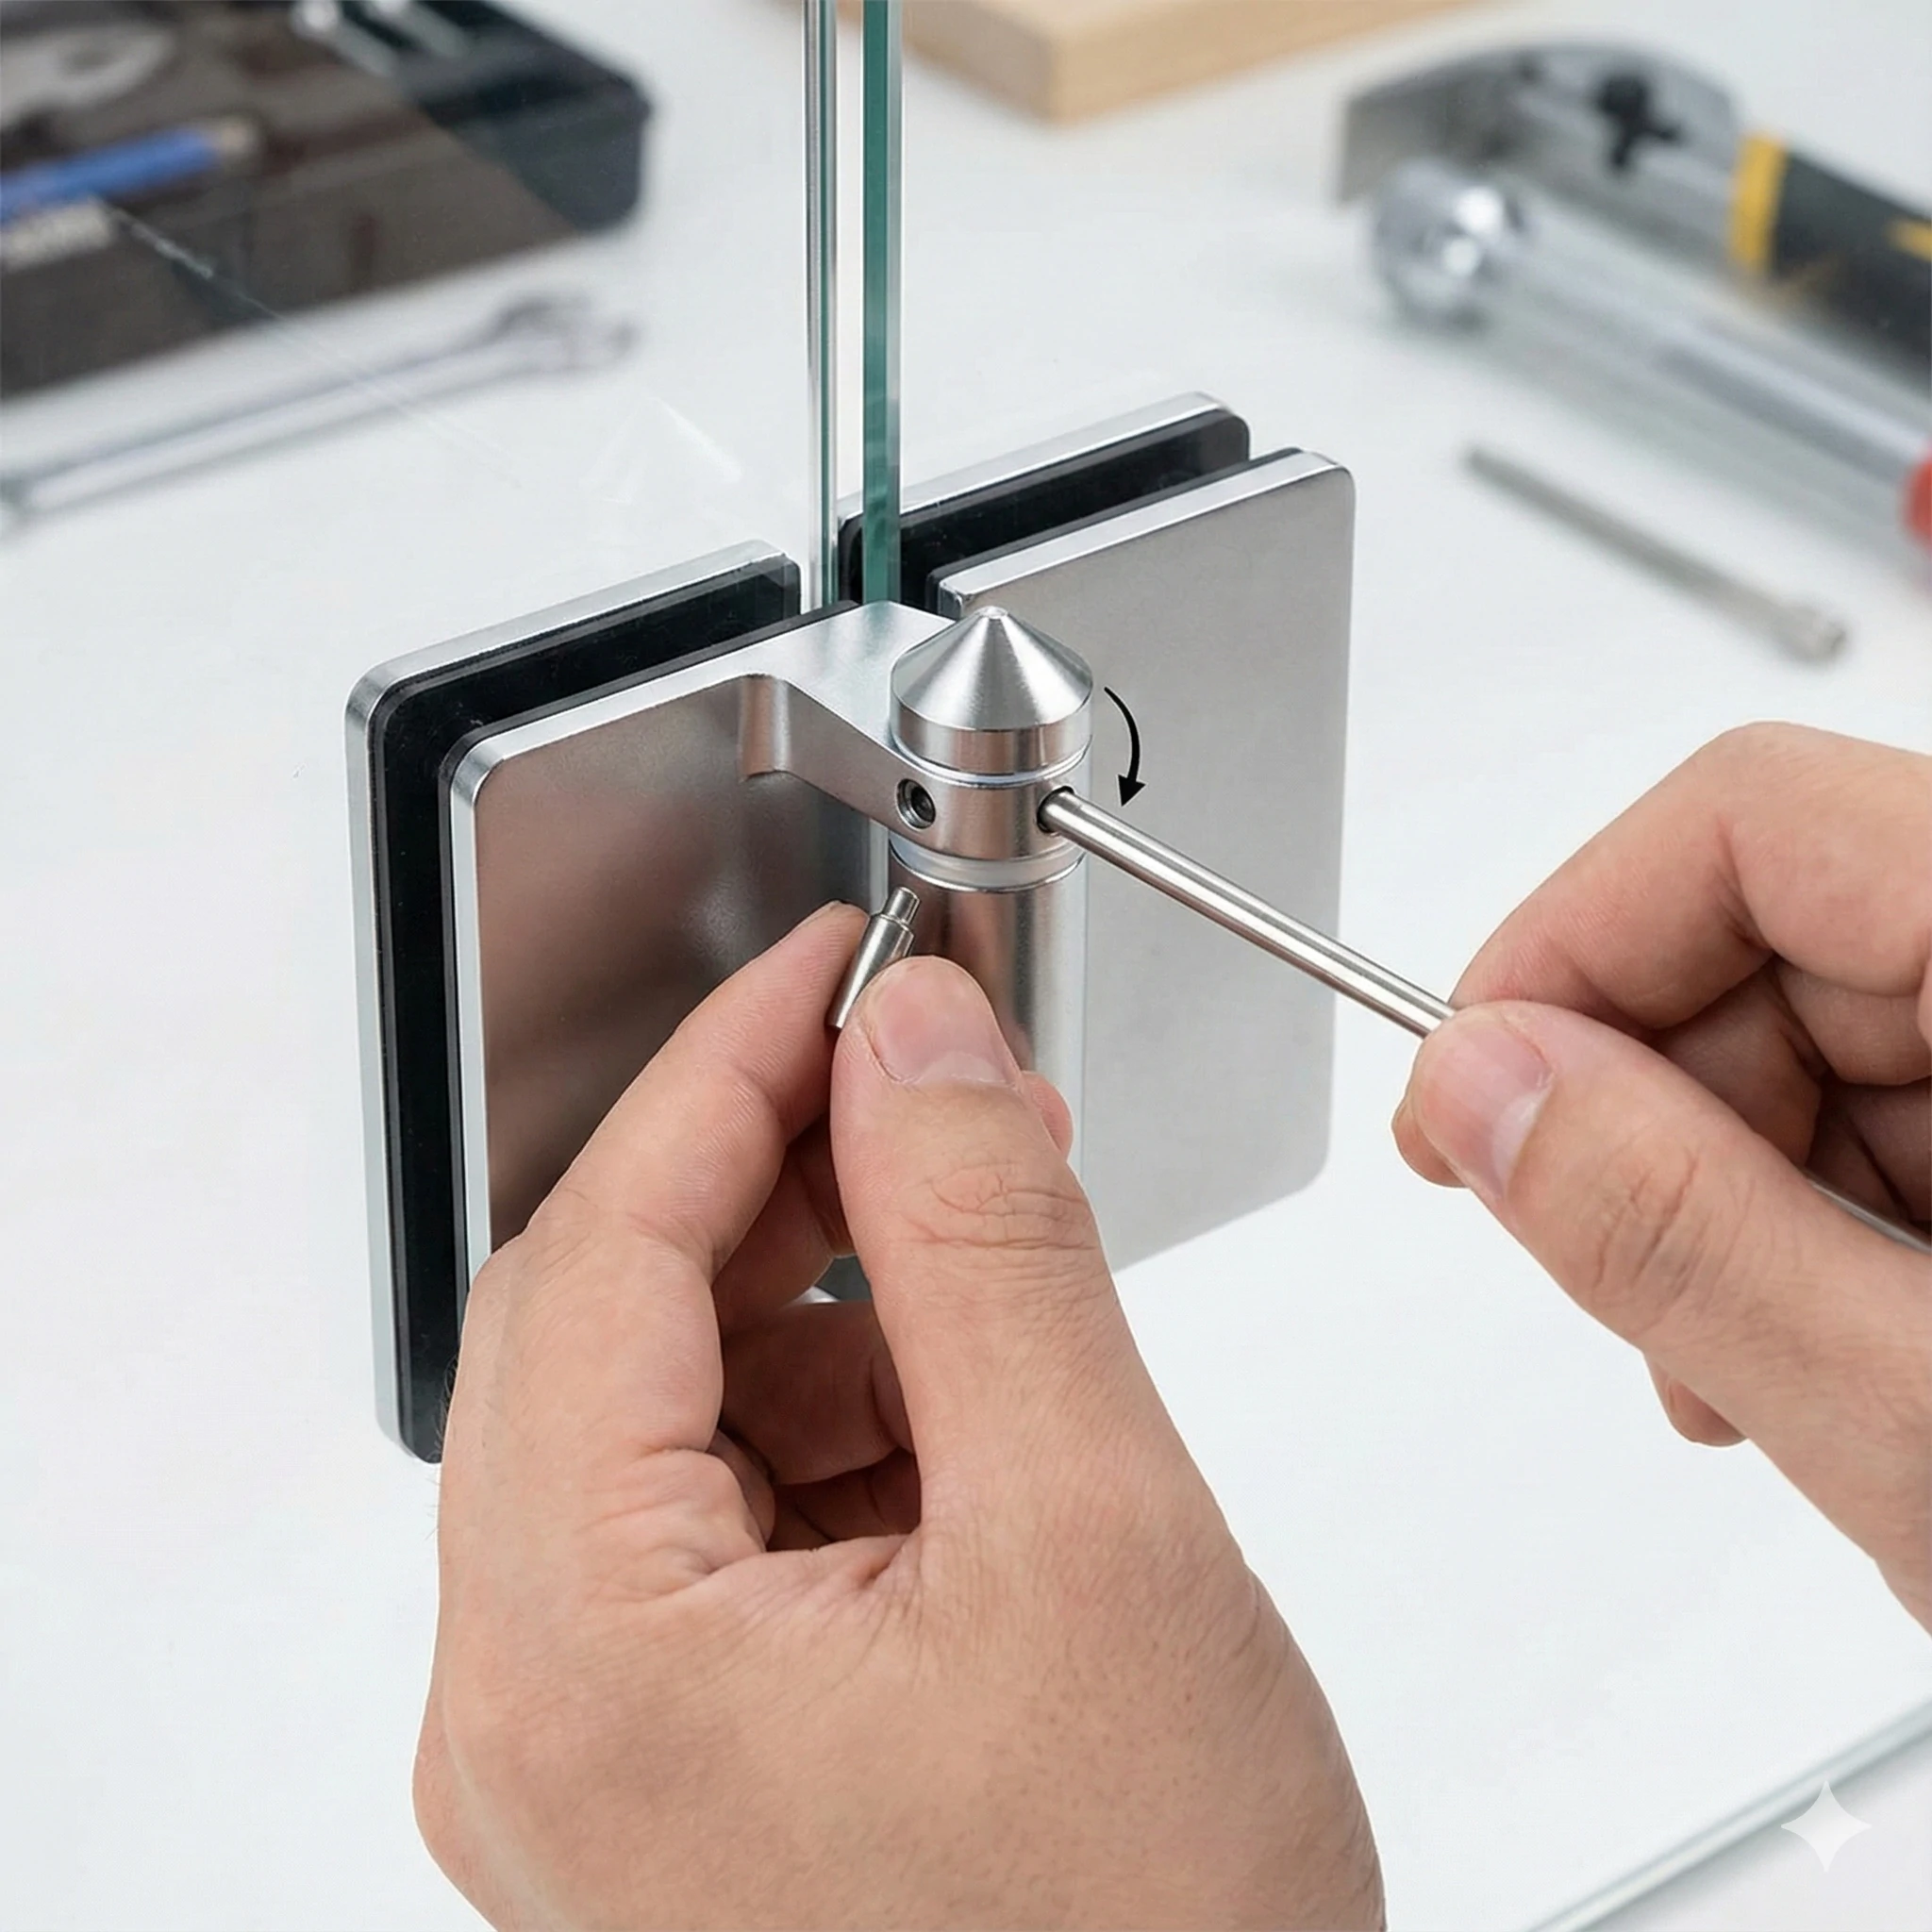
How you adjust the hinge depends on whether you need more or less tension.
To Increase Tension (Fix a Lazy Gate):
Hold the tension tool firmly and rotate the collar in the direction that tightens the spring—most commonly clockwise, though this varies by manufacturer. Turn until the next hole lines up with the stop-pin position. While holding the collar in place, move the stop pin into the new hole to lock the increased tension.
To Decrease Tension (Fix a Slamming Gate):
Insert the tension tool and secure a firm grip. Remove the stop pin while holding the collar steady. Slowly allow the spring to unwind by rotating the collar in the opposite direction until the previous hole aligns with the pin position. Insert the stop pin to secure the reduced tension. Never allow the spring to unwind freely.
Important: Some hinges use a set-screw system instead of a pin. In those cases, loosen the screw, rotate the collar to adjust tension, and retighten. Always check your specific hinge design.
Step 4: Adjust All Hinges Equally
This step is critical. If your gate has two hinges, both must be adjusted by the same amount. For example, if you increase the top hinge by one hole, you must do the same for the bottom hinge.
Uneven tension causes twisting as the gate closes, placing stress on the glass and hardware. Over time, this can lead to binding, misalignment, or even glass failure.
Testing the Gate: The Self-Latch Compliance Check
After adjustment, perform the following tests:
Test 1 – Full Open Test:
Open the gate fully (about 90 degrees) and release it. The gate should close smoothly and latch securely on its own.
Test 2 – Partial Open Test:
Open the gate slightly—around 10–15 degrees—and let go. The gate should still close and latch without assistance.
Test 3 – Alignment Check:
Watch how the latch engages. The latch pin should enter the striker cleanly without scraping or forcing the gate to flex.
Listen carefully. A proper adjustment produces a single, clean click—not a crash and not silence.
Troubleshooting: When Adjustment Doesn't Solve the Problem
Issue 1: Gate Binding or Dragging
If the gate still won’t close properly, look for physical interference. Check whether the gate is scraping the ground or rubbing against the fence. These issues usually require alignment or mounting adjustments rather than spring tension changes.
Issue 2: Broken Internal Spring
If the tension collar spins freely with no resistance, the internal spring is likely broken. Unfortunately, this means the hinge must be replaced—springs are not field-repairable.
Issue 3: Squeaking or Sticking Mechanism
If movement feels rough or noisy, apply a small amount of silicone spray or lithium grease to the hinge barrel. Avoid WD-40, as it attracts dirt and can worsen performance over time.
Upgrade Option: Why Switch to Soft-Close Hydraulic Hinges?
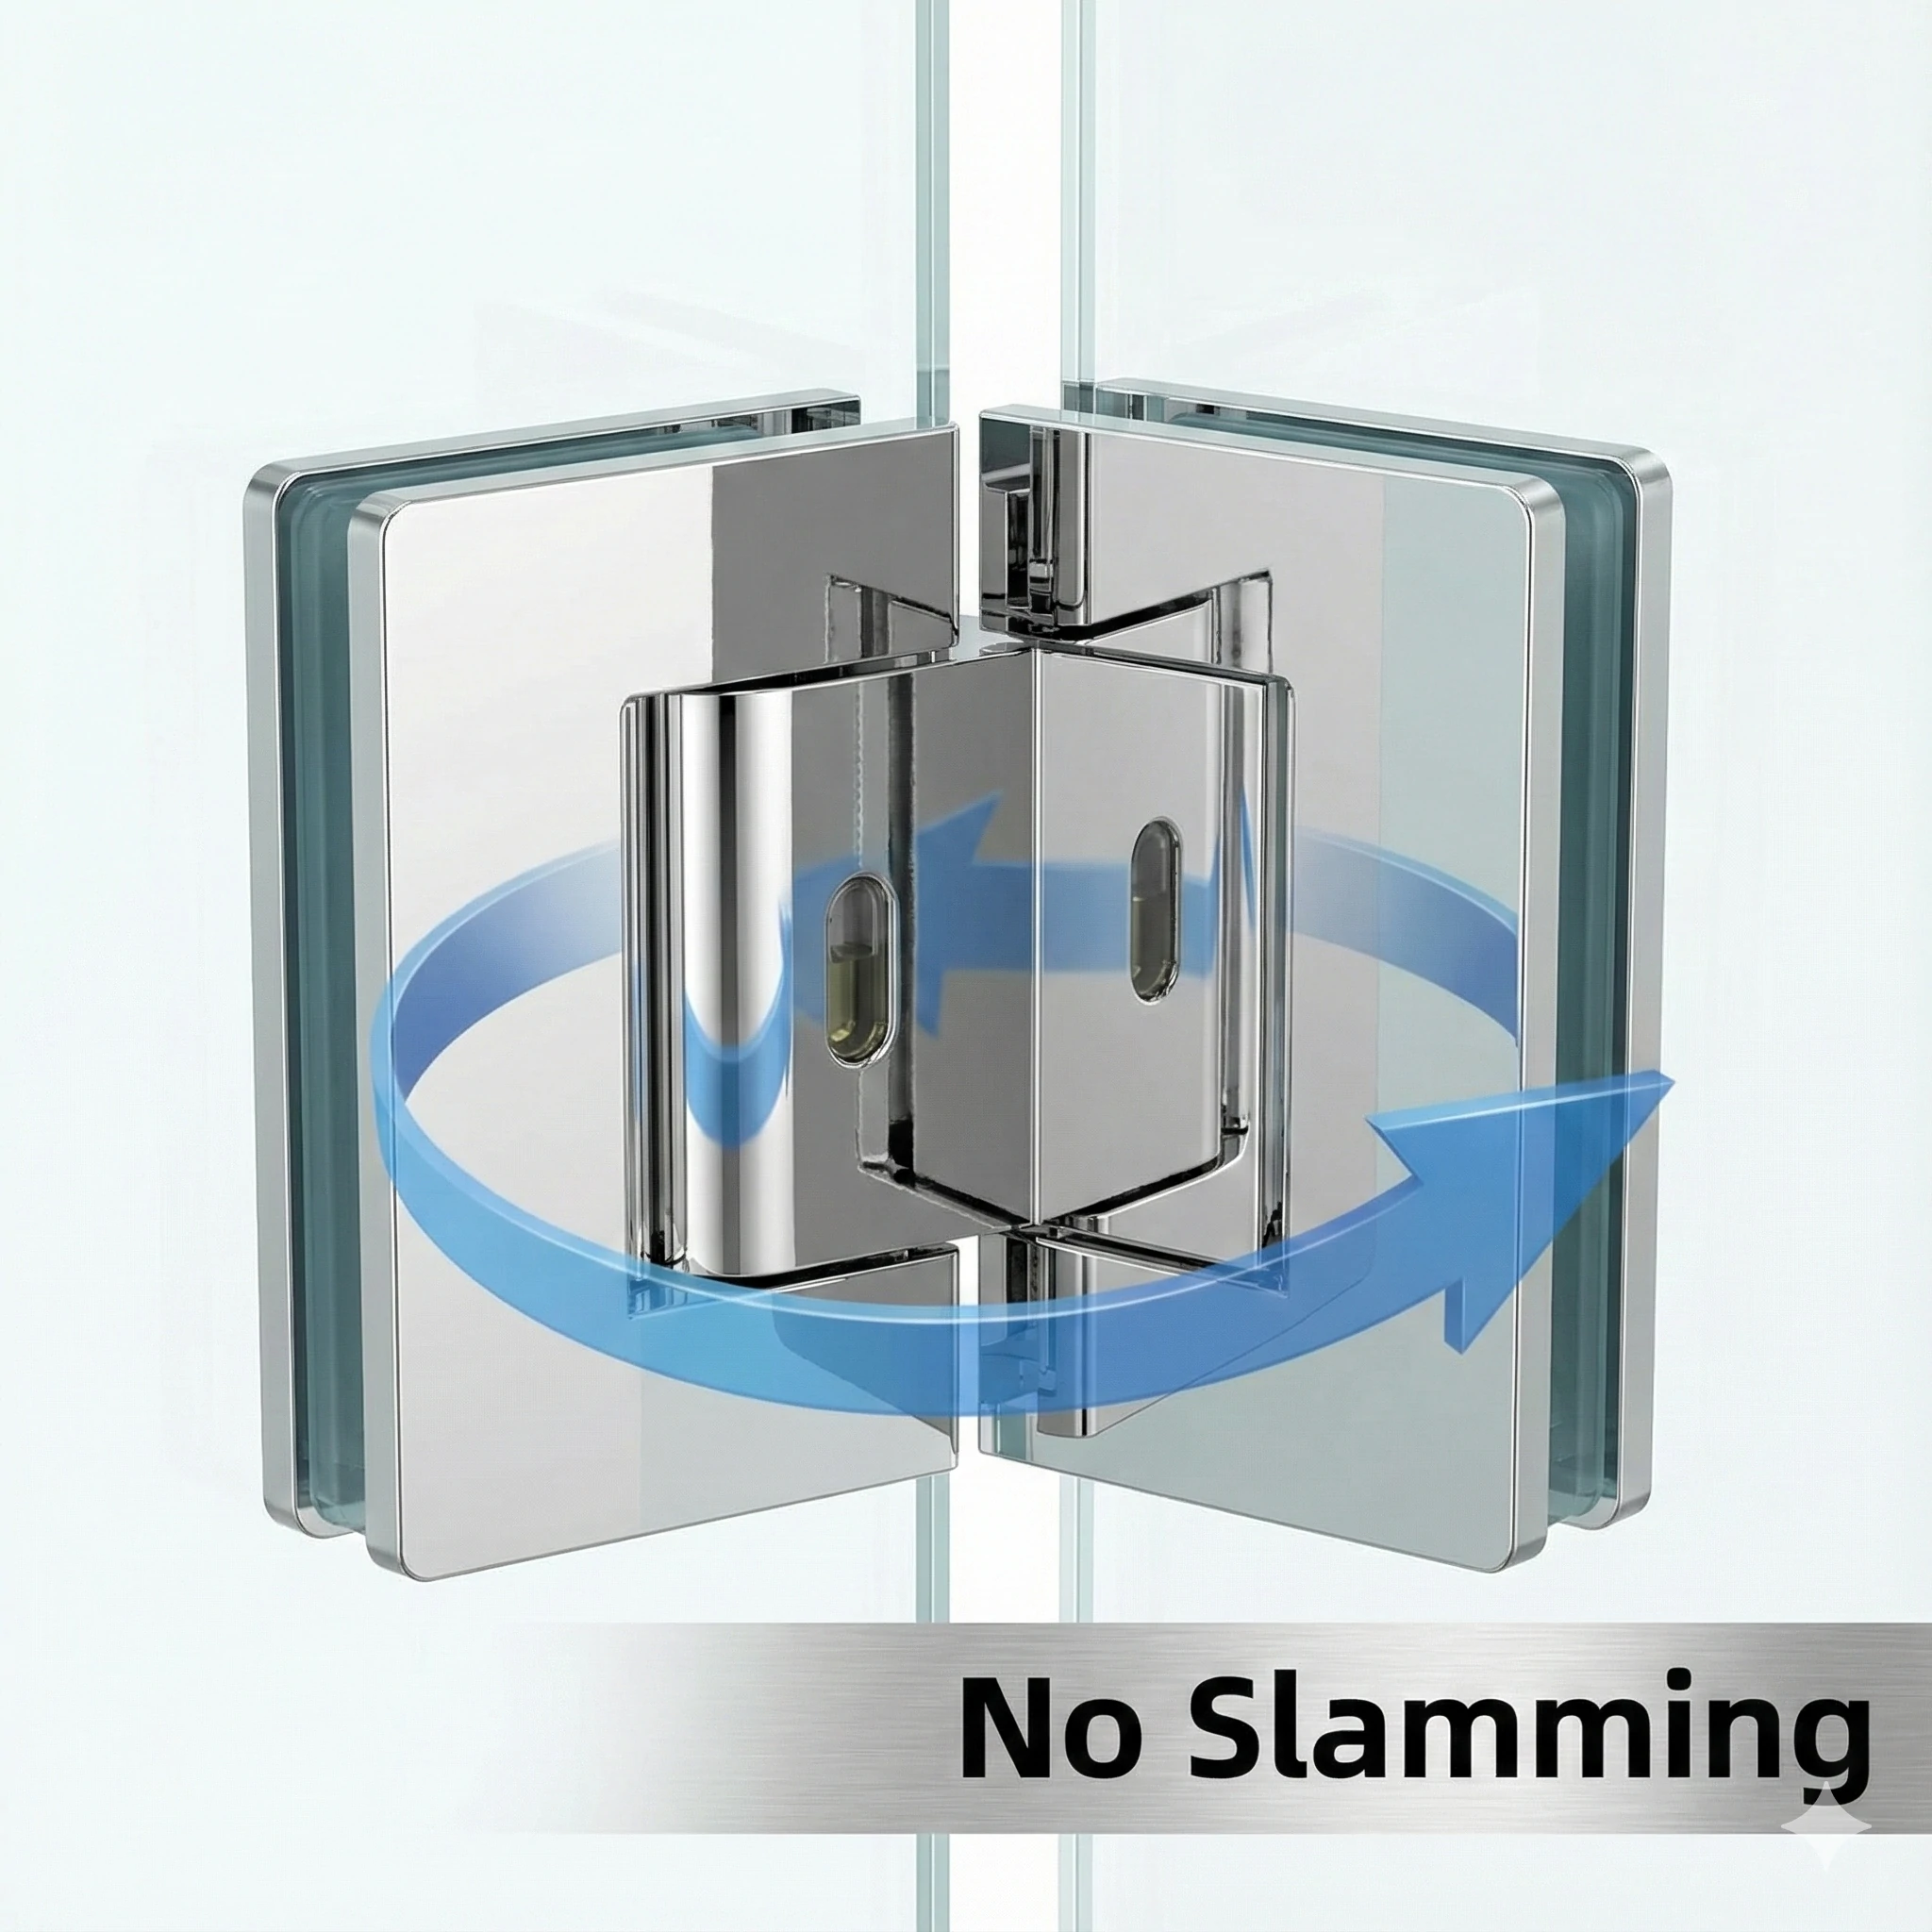
Spring hinges rely on stored energy, which means the gate moves fastest at the very end of its swing—right when impact occurs. This is the fundamental drawback of traditional spring hinges.
The Hydraulic Hinge Solution
Hydraulic soft-close hinges combine spring force with controlled damping. The gate closes reliably but slows dramatically just before latching. The result is quiet, smooth, and safe operation.
These hinges are especially useful for heavier glass panels or windy environments. While they cost more upfront, they significantly reduce maintenance and the risk of glass damage.
Conclusion: Maintaining Pool Safety Through Regular Hinge Maintenance
Correctly adjusted hinges are essential for a safe, code-compliant pool gate. With simple tools and a few minutes of work, you can keep your gate functioning as intended and avoid unnecessary service calls.
Make a habit of checking your gate monthly. Springs wear over time, and early adjustment prevents larger issues later.
When replacement becomes necessary, upgrading to hydraulic soft-close hinges is often the safest and most reliable long-term solution.
Frequently Asked Questions
Which way do I turn the tension tool to tighten the spring?
Most hinges tighten clockwise, but this varies by manufacturer. You’ll know you’re tightening correctly if resistance increases as you turn.
How tight should my pool gate hinges be set?
Only tight enough to ensure reliable latching from both wide-open and slightly open positions. Overtightening increases wear, noise, and safety risks.
Can I adjust the hinges while the gate is in the closed position?
It’s possible, but not recommended. Adjusting with the gate open reduces tension on the mechanism and is safer and easier overall.