You’re standing in front of your glass pool gate, ready to swap out a pair of worn spring hinges. Maybe they’ve started squeaking, maybe the gate no longer closes smoothly, or maybe you’ve finally decided it’s time to upgrade to soft-close hydraulic hinges that won’t slam shut on kids’ fingers.
You grab your drill and reach for the screws.
Pause.
Removing a spring-loaded hinge while it’s still under tension is one of the fastest ways to turn a simple hardware swap into a serious problem. When that stored spring energy releases suddenly, the hinge can twist violently, send metal pins flying, or crack an expensive tempered glass panel in an instant.
Spring hinges store a surprising amount of rotational force, and if that energy isn’t released in a controlled way, it will release itself.
This guide walks you through the only safe sequence that matters: De-tension → Support → Remove. Follow it in order, and you can remove your old hinges safely in about 30 minutes.
Safety Warning: Read This Before You Start
Before touching a single screw, make sure you understand the risks.
Wear eye protection.
When spring tension is released incorrectly, stop pins and adjustment tools can shoot out without warning. Safety glasses aren’t optional here.
Do not use a power drill on a tensioned hinge.
The combination of spring force and drill speed is unpredictable and dangerous. All work involving tension release should be done by hand.
Have a helper.
Glass gates are heavy, awkward, and unforgiving. Once the hinges are loose, someone needs to steady the panel to prevent tipping or dropping.
Tools Checklist
Get everything ready before you begin:
Tension adjustment tool (the metal rod supplied with the hinge, usually bent)
Needle-nose pliers (best for pulling stop pins)
Wood blocks or wedges to support the glass
Safety glasses
Phillips or flathead screwdriver (depending on the screws)
A helper
Razor blade and glass cleaner for cleanup
Lost the tension tool?
A snug-fitting 4mm or 5mm Allen key can often work, but only if it fits tightly. A loose tool can slip during de-tensioning, which defeats the entire safety process.
Step 1: Release the Spring Tension (The Crucial Step)

This is where most DIY mistakes happen—and where most glass gets broken.
Why it matters:
Inside the hinge body is a tightly wound spring constantly pulling the gate closed. If you remove the mounting screws while that spring is still loaded, the hinge will unwind violently.
How to de-tension the hinge
Open the gate slightly (about 30–45°) so you can access the adjustment collar.
Locate the adjustment hole on the hinge.
Insert the tension tool fully until it seats securely.
Apply light counter-pressure in the closing direction to take load off the stop pin.
While holding the tool steady, use pliers to pull the stop pin straight out.
Slowly allow the tool to rotate as the spring unwinds. Do not let go.
Repeat the process if the hinge still feels spring-loaded.
Some heavy-duty hinges use multiple pin positions. Continue until the hinge offers zero resistance.
How to know you’re done:
The gate should swing freely with no tendency to close on its own. Any resistance means tension is still present.
Step 2: Support the Glass Gate
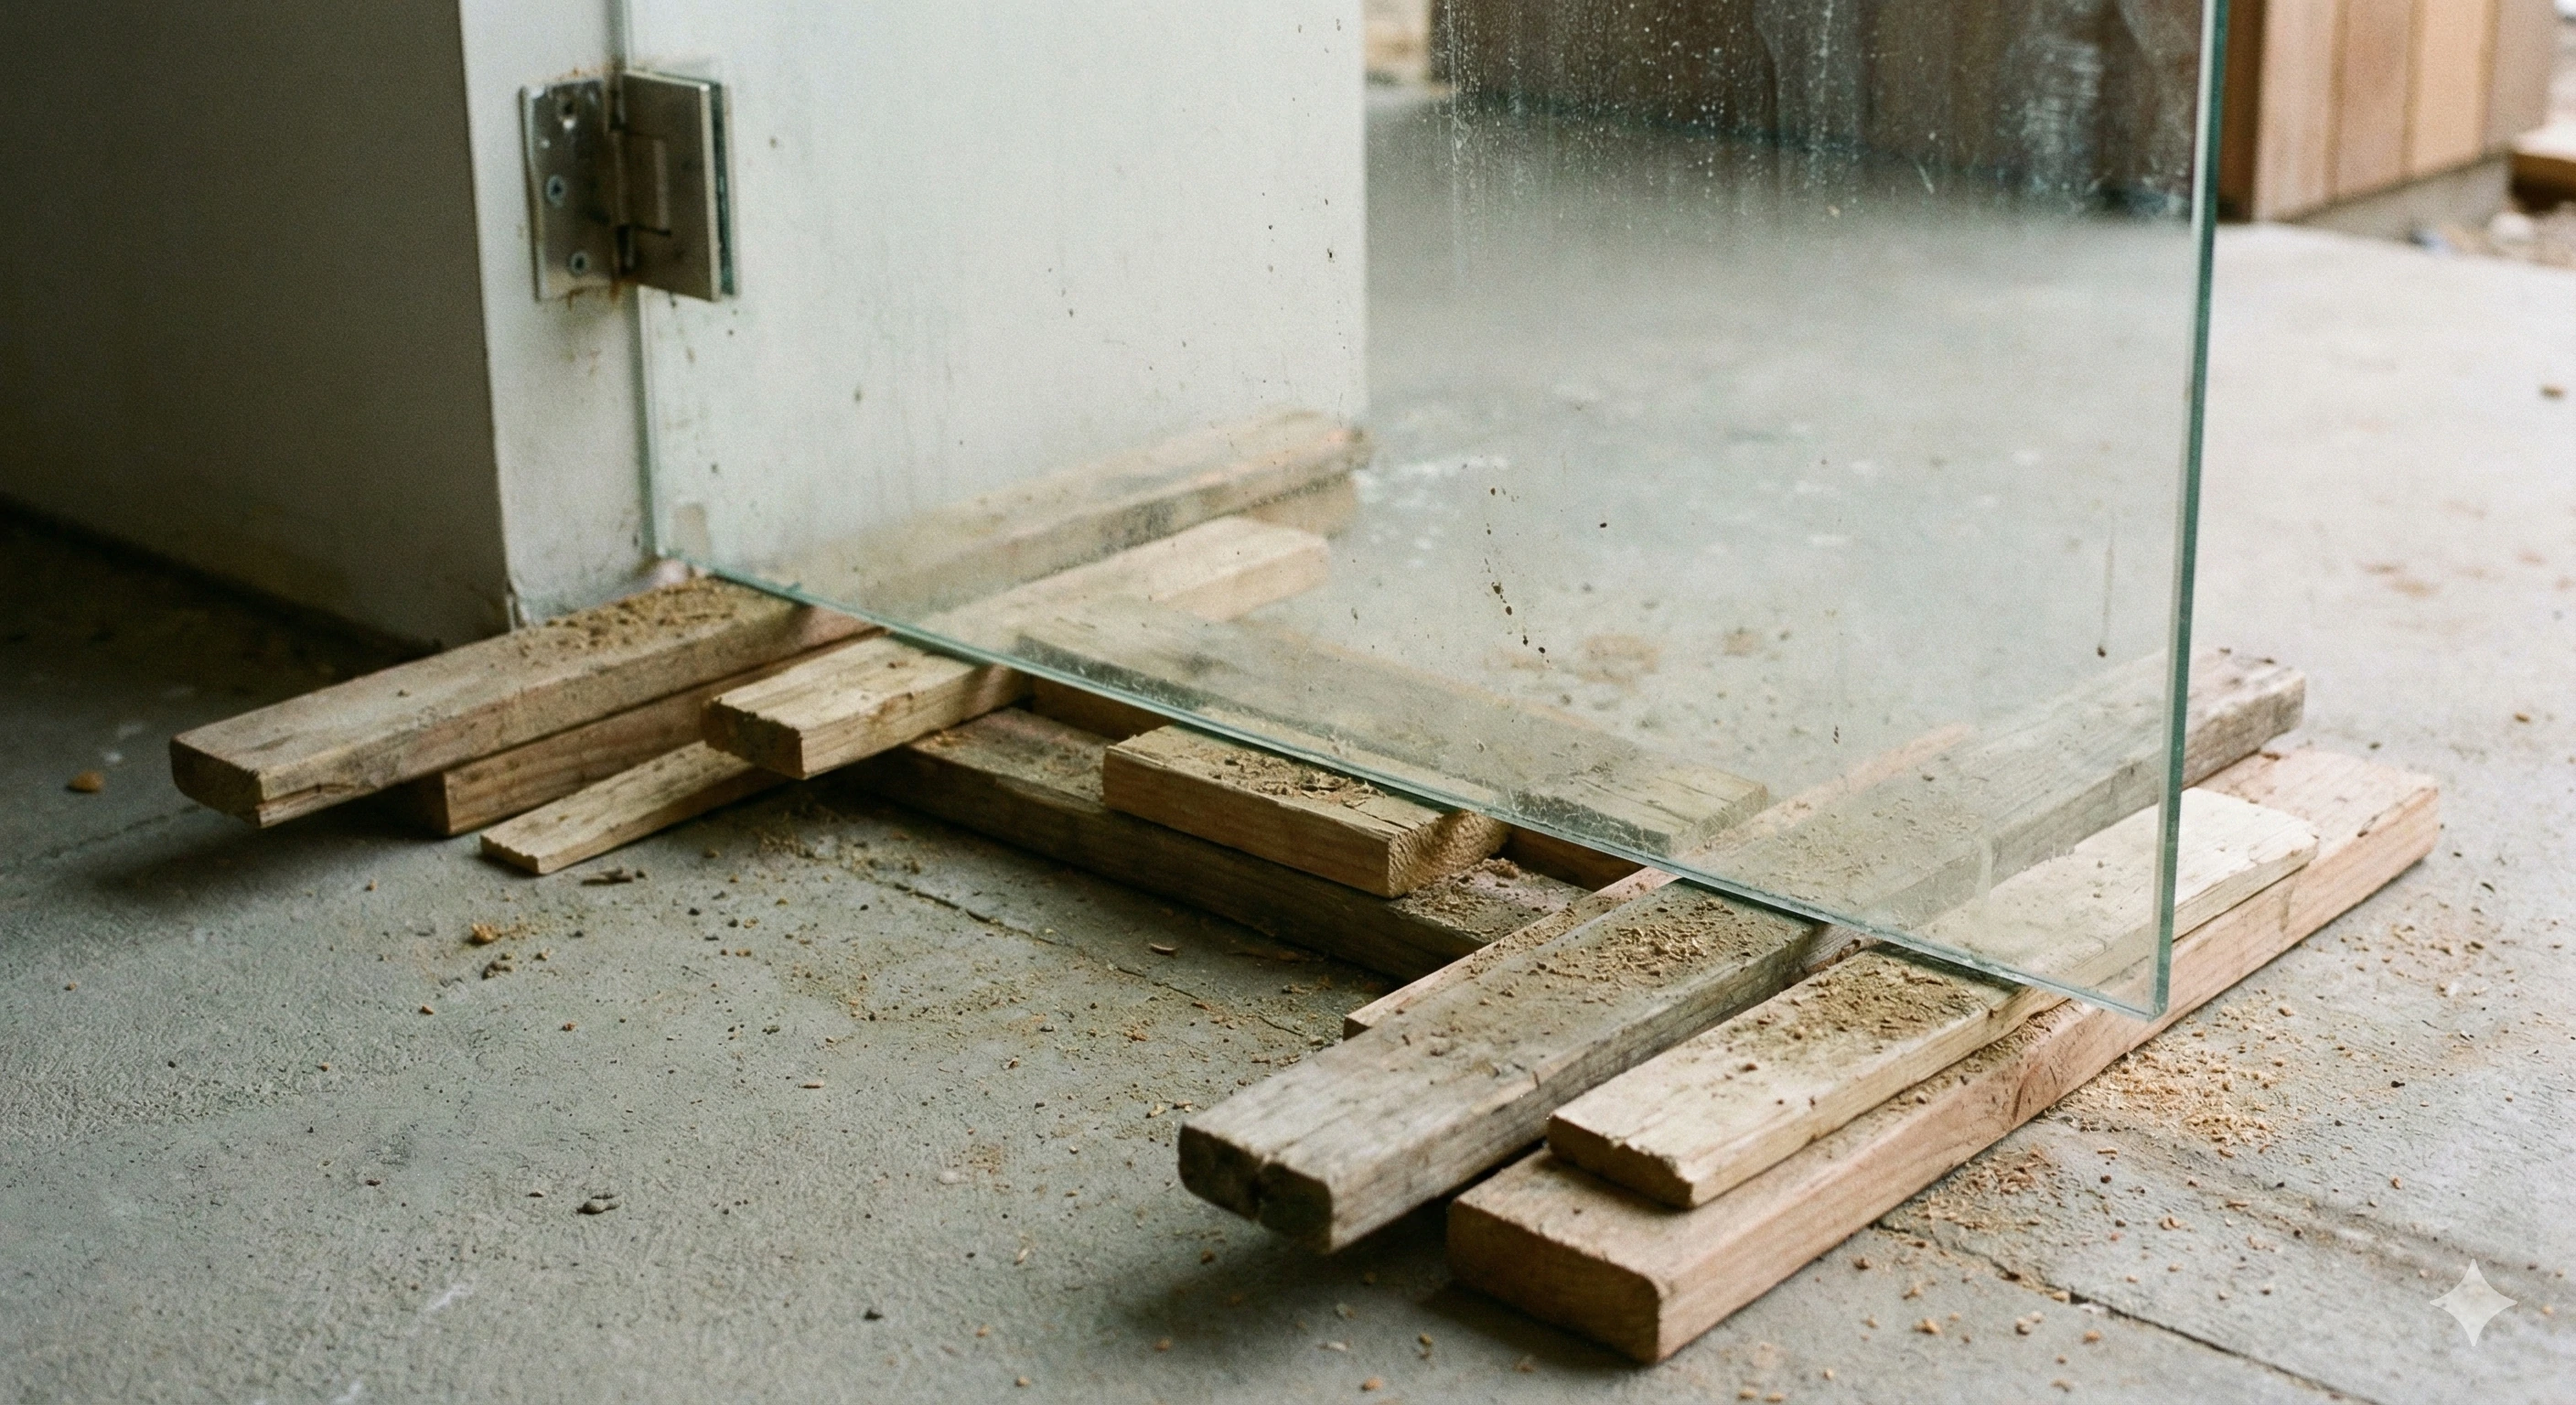
Once the spring tension is gone, the hinge is no longer supporting the gate’s weight.
A frameless glass gate typically weighs between 30 and 50 pounds, and tempered glass—while strong—fails catastrophically when stressed at the edges.
What to do:
Place solid support blocks under the bottom edge of the gate.
Have your helper stabilize the panel to prevent tipping.
Gently test stability before proceeding.
If the gate shifts or rocks, stop and re-position your supports.
Step 3: Unscrewing the Hinges
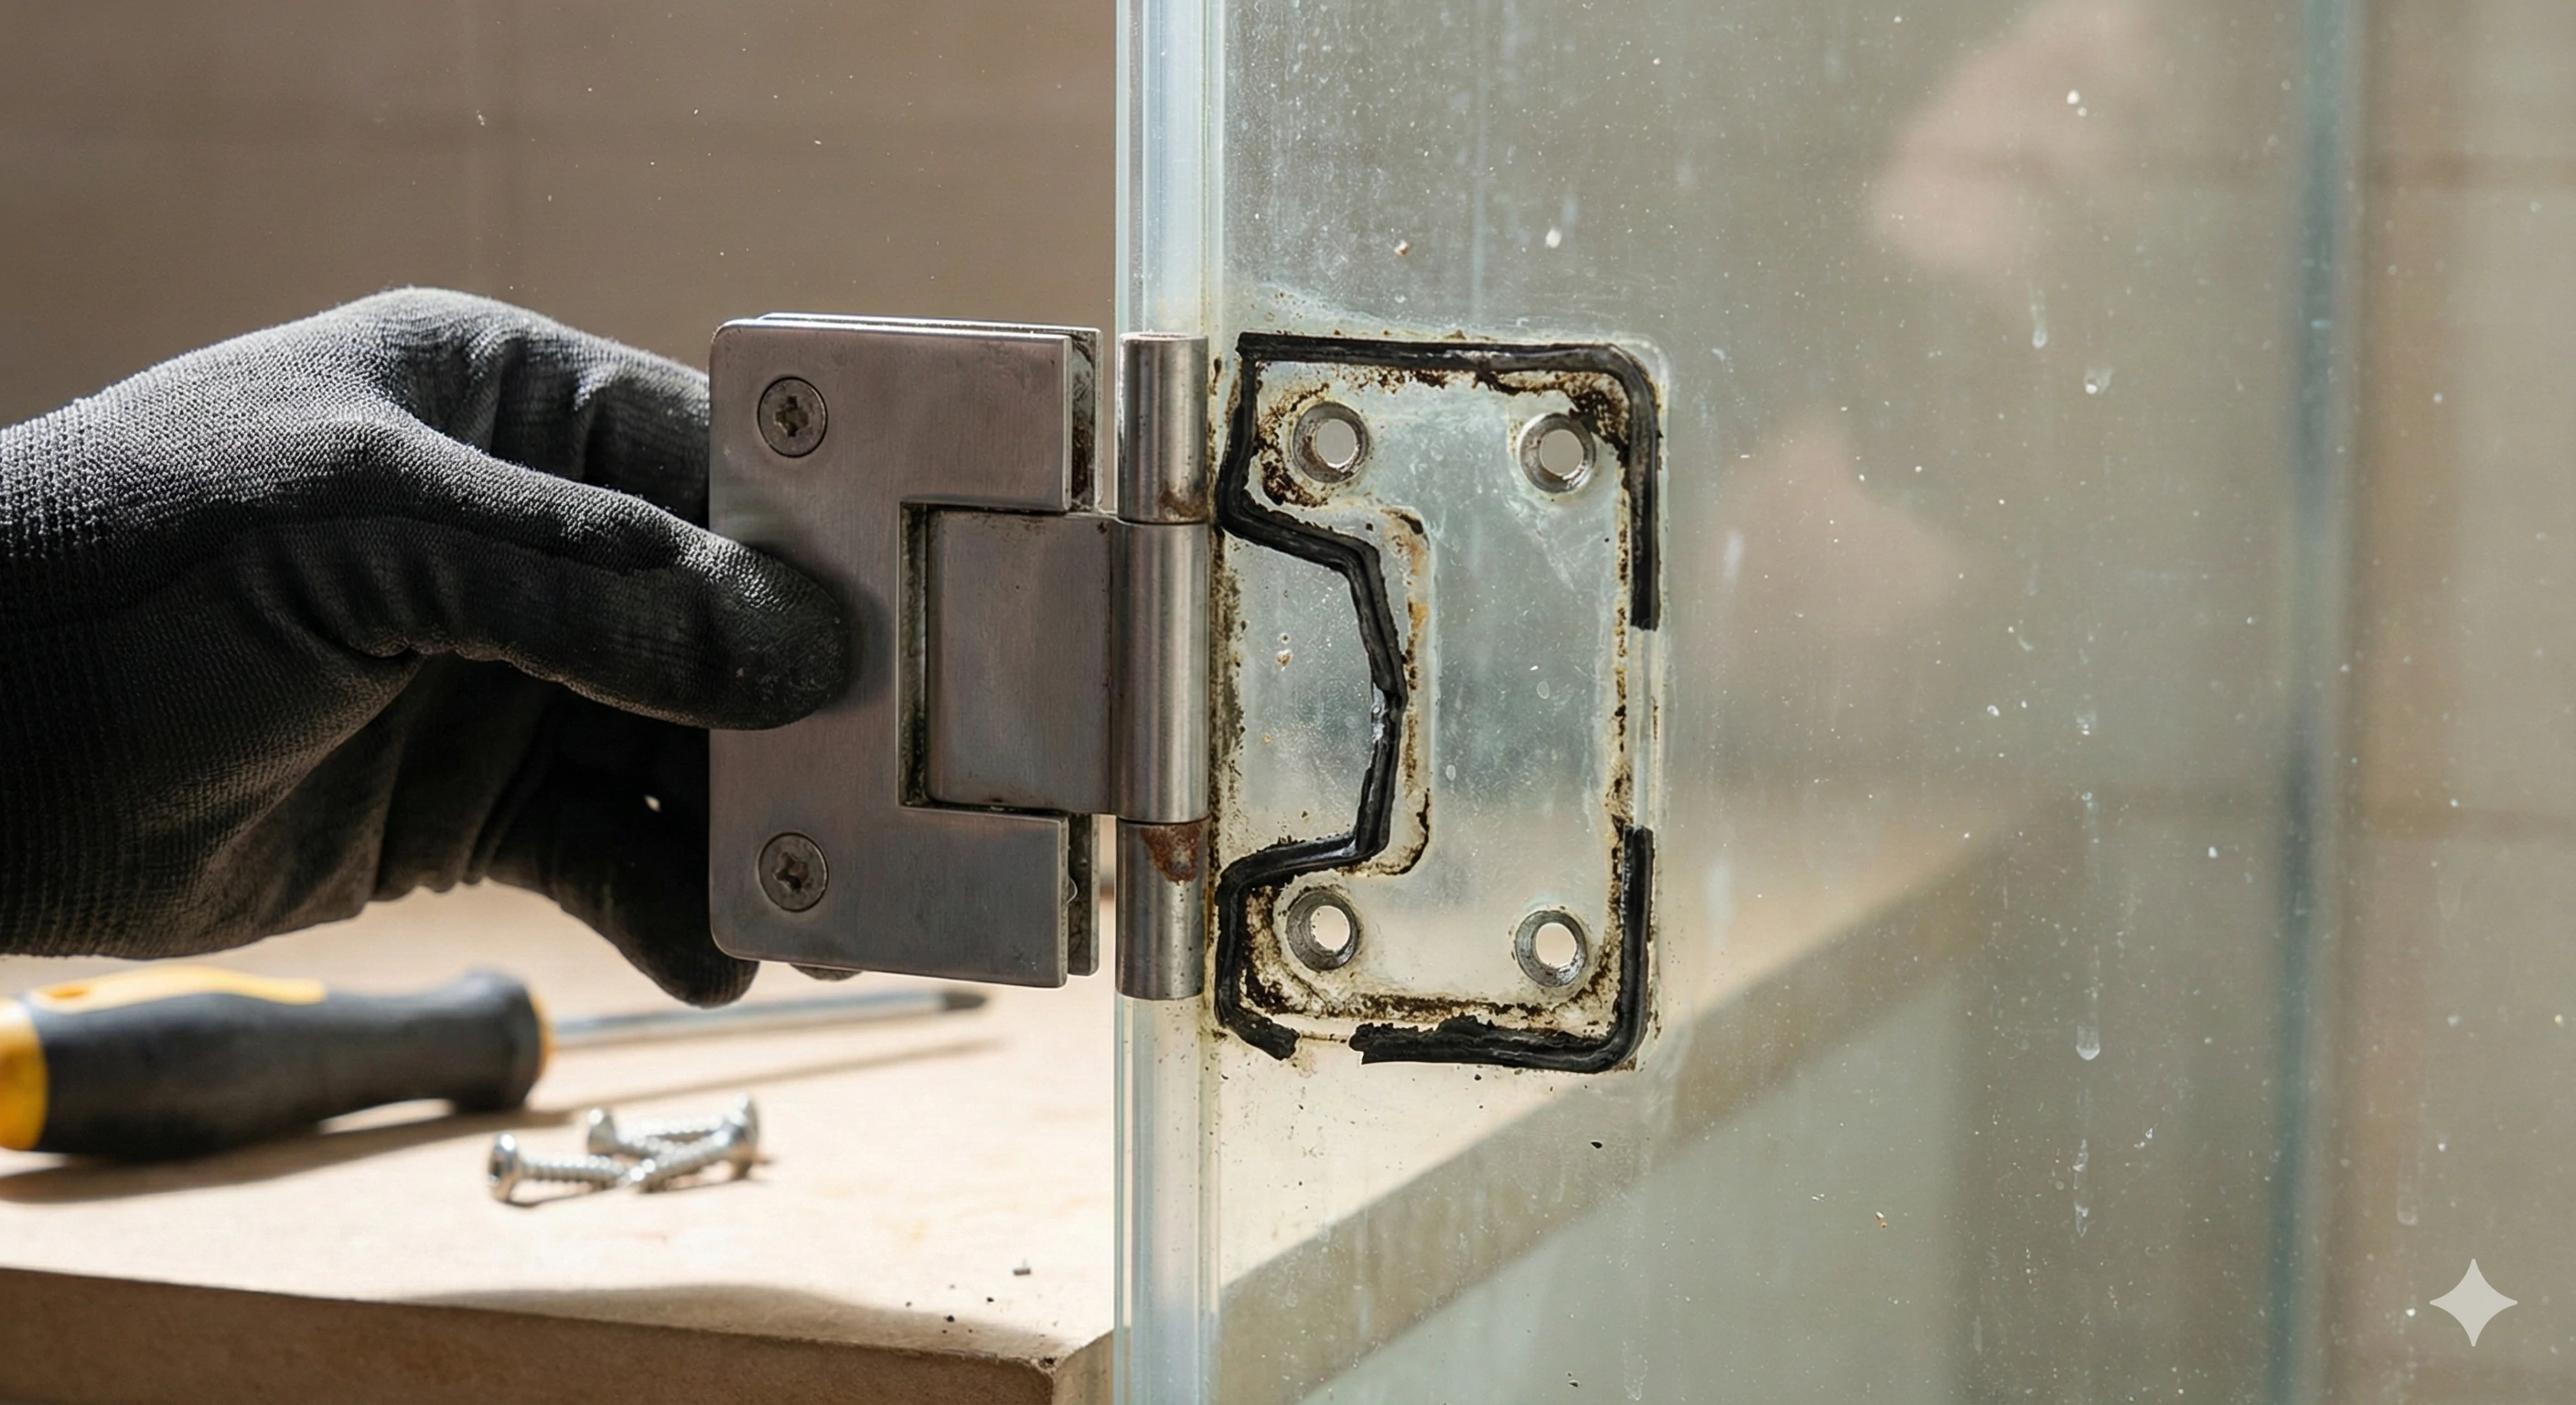
With tension released and the glass fully supported, removal becomes straightforward.
Correct removal order
Remove the hinges from the moving gate panel first.
Then remove the hinges from the fixed panel or wall.
This avoids leaving the gate supported at a single stress point, which can crack the glass.
Removal tips
Loosen the clamping screws slowly.
Remove all screws and keep them aside until you confirm new hardware.
Slide the hinge body off the glass edge—wiggle gently if needed.
Peel off old gaskets. A razor blade helps remove stubborn residue.
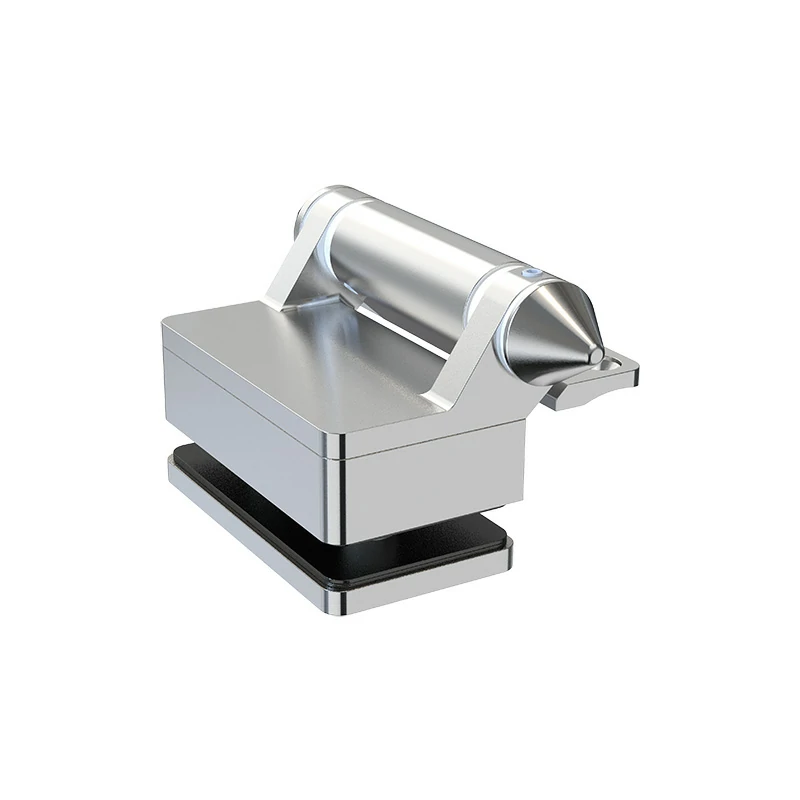
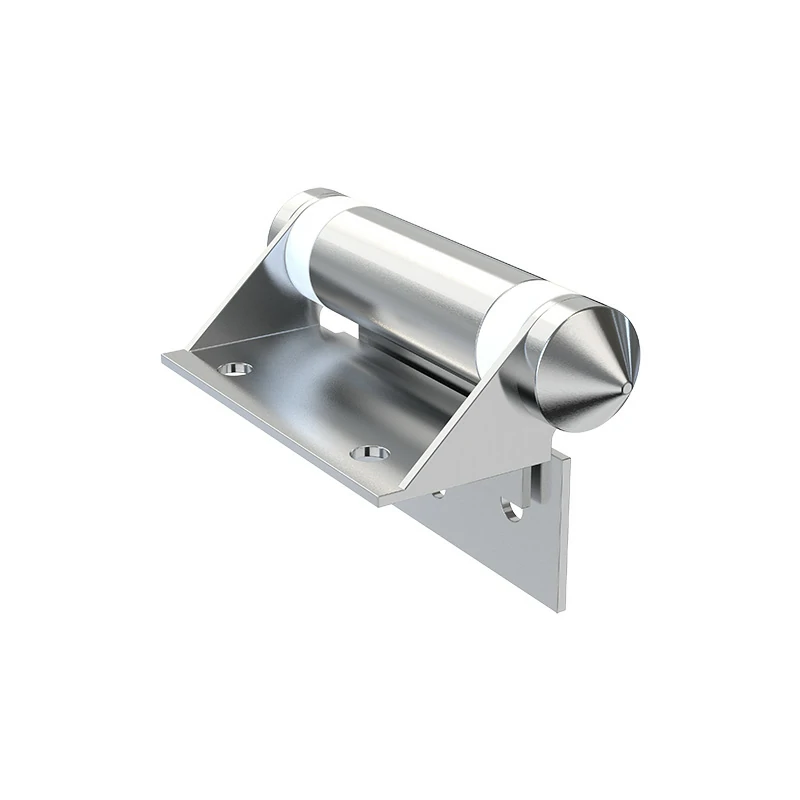
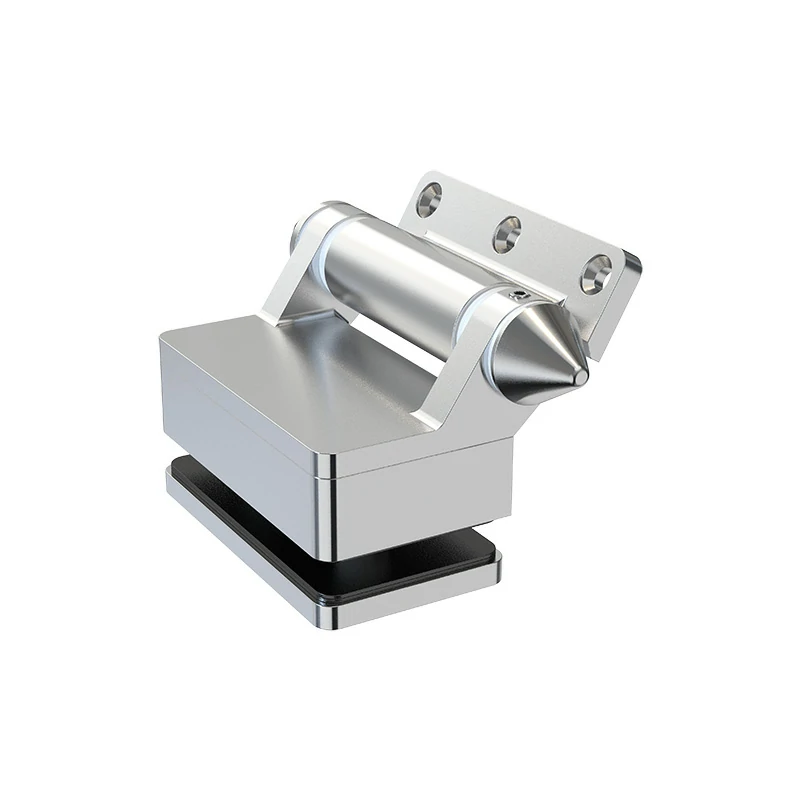
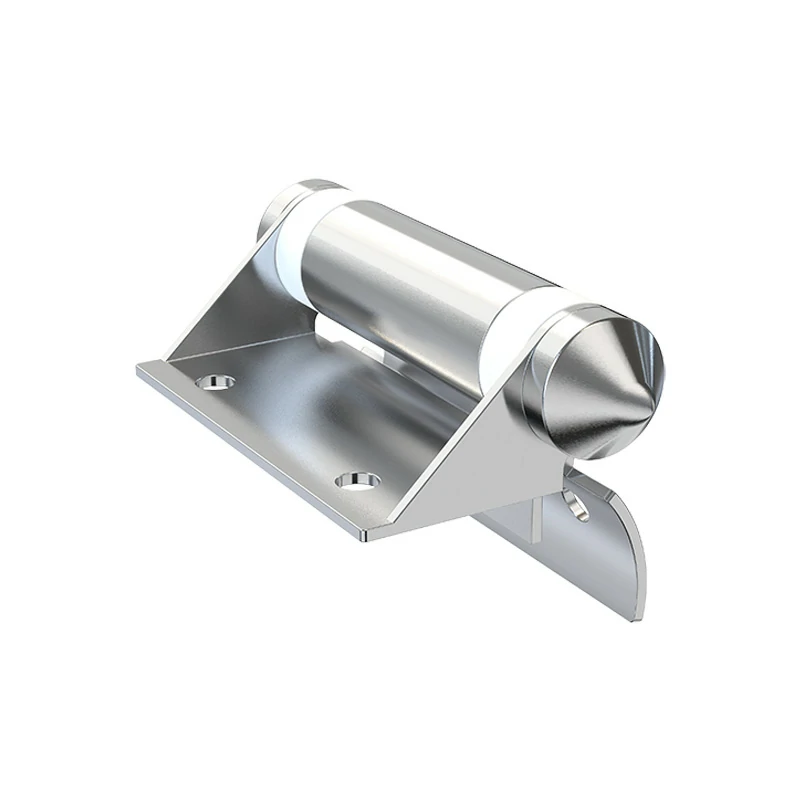
Glass-to-glass vs. glass-to-wall hinges:
The removal process is the same. Only the mounting shape differs.
Step 4: Cleaning and Prep for New Hinges
Good prep ensures proper clamping force and long-term reliability.
Scrape away old gasket residue and mineral deposits.
Clean the glass thoroughly.
Inspect the panel closely for:
Chips around mounting holes
Edge damage
Hairline or star cracks
Important:
If you find any cracks, do not install new hinges. Even minor damage can cause tempered glass to shatter when clamped.
Also confirm that your new hinges match the existing hole pattern before installation.
Why Upgrade? Spring vs. Hydraulic Hinges
If you’re already replacing hinges, it’s worth reconsidering spring hinges altogether.
Spring hinge drawbacks:
Slam shut forcefully
Finger-pinch hazards
Springs fatigue and fail
Noisy operation
Finicky adjustment
Hydraulic hinge advantages:
Smooth, controlled soft-close motion
Adjustable closing speed
No springs to snap or weaken
Quiet operation
Significantly safer for children
Easy retrofit:
Most quality hydraulic hinges are designed to fit standard spring hinge hole patterns, making upgrades straightforward.
Long-term value:
While hydraulic hinges cost more upfront, they last longer, reduce maintenance, and lower liability—especially for pool gates.
Conclusion
Safely removing spring-loaded hinges comes down to one thing: respecting the stored energy in the spring.
De-tension first.
Support the glass.
Then remove the hardware.
Follow that order, and the job is simple. Skip a step, and you risk broken glass or injury.
Done correctly, the entire process takes about 30 minutes per gate—a small investment compared to the cost of mistakes.
Once your old hinges are off, you’re ready for a clean, safe upgrade, whether you choose replacement spring hinges or modern soft-close hydraulics.
Frequently Asked Questions
I lost the tension tool—how do I remove the hinge?
A properly fitting 4mm or 5mm Allen key often works, but fit is critical. If the tool wobbles, stop and get a replacement tool from the manufacturer. It’s not worth the risk.
Can I reuse the old gaskets?
No. Old gaskets are compressed, brittle, and shaped to old hardware. Reusing them reduces clamping force and compromises safety.
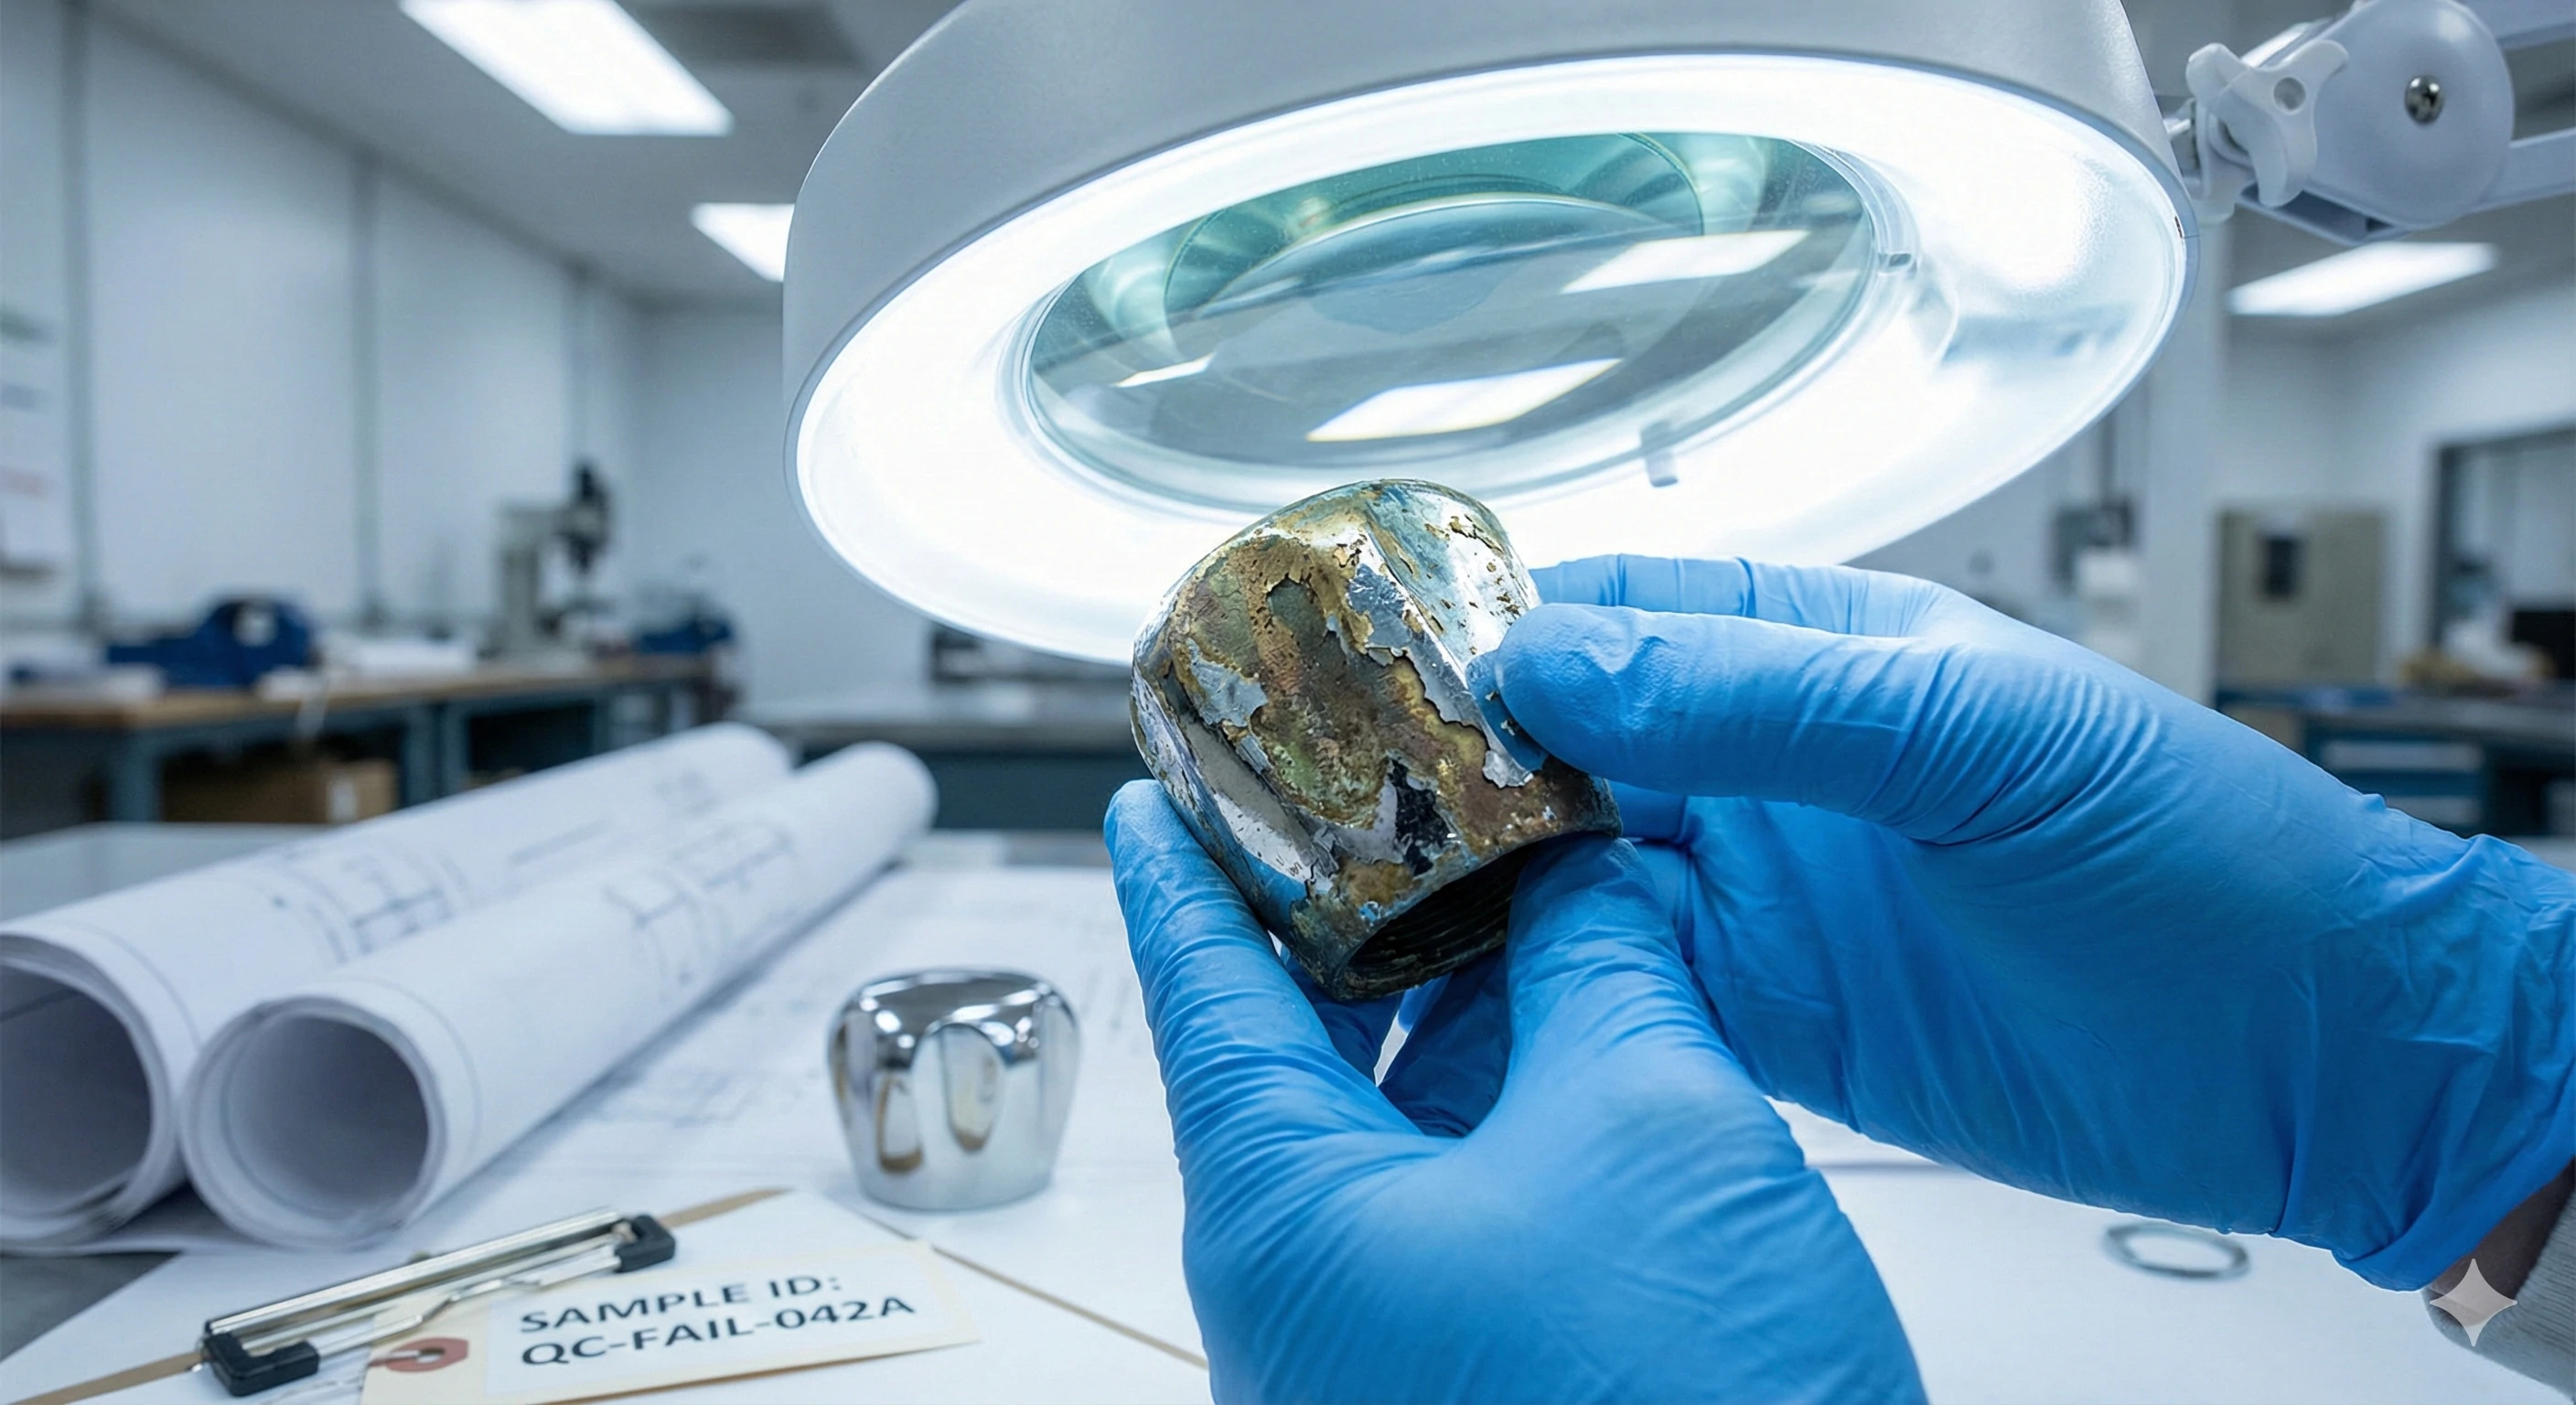
Why did my old spring hinge snap?
Over-tensioning is the most common cause. Add pool chemicals, corrosion, misalignment, and normal metal fatigue, and most spring hinges last only 2–4 years in pool environments.