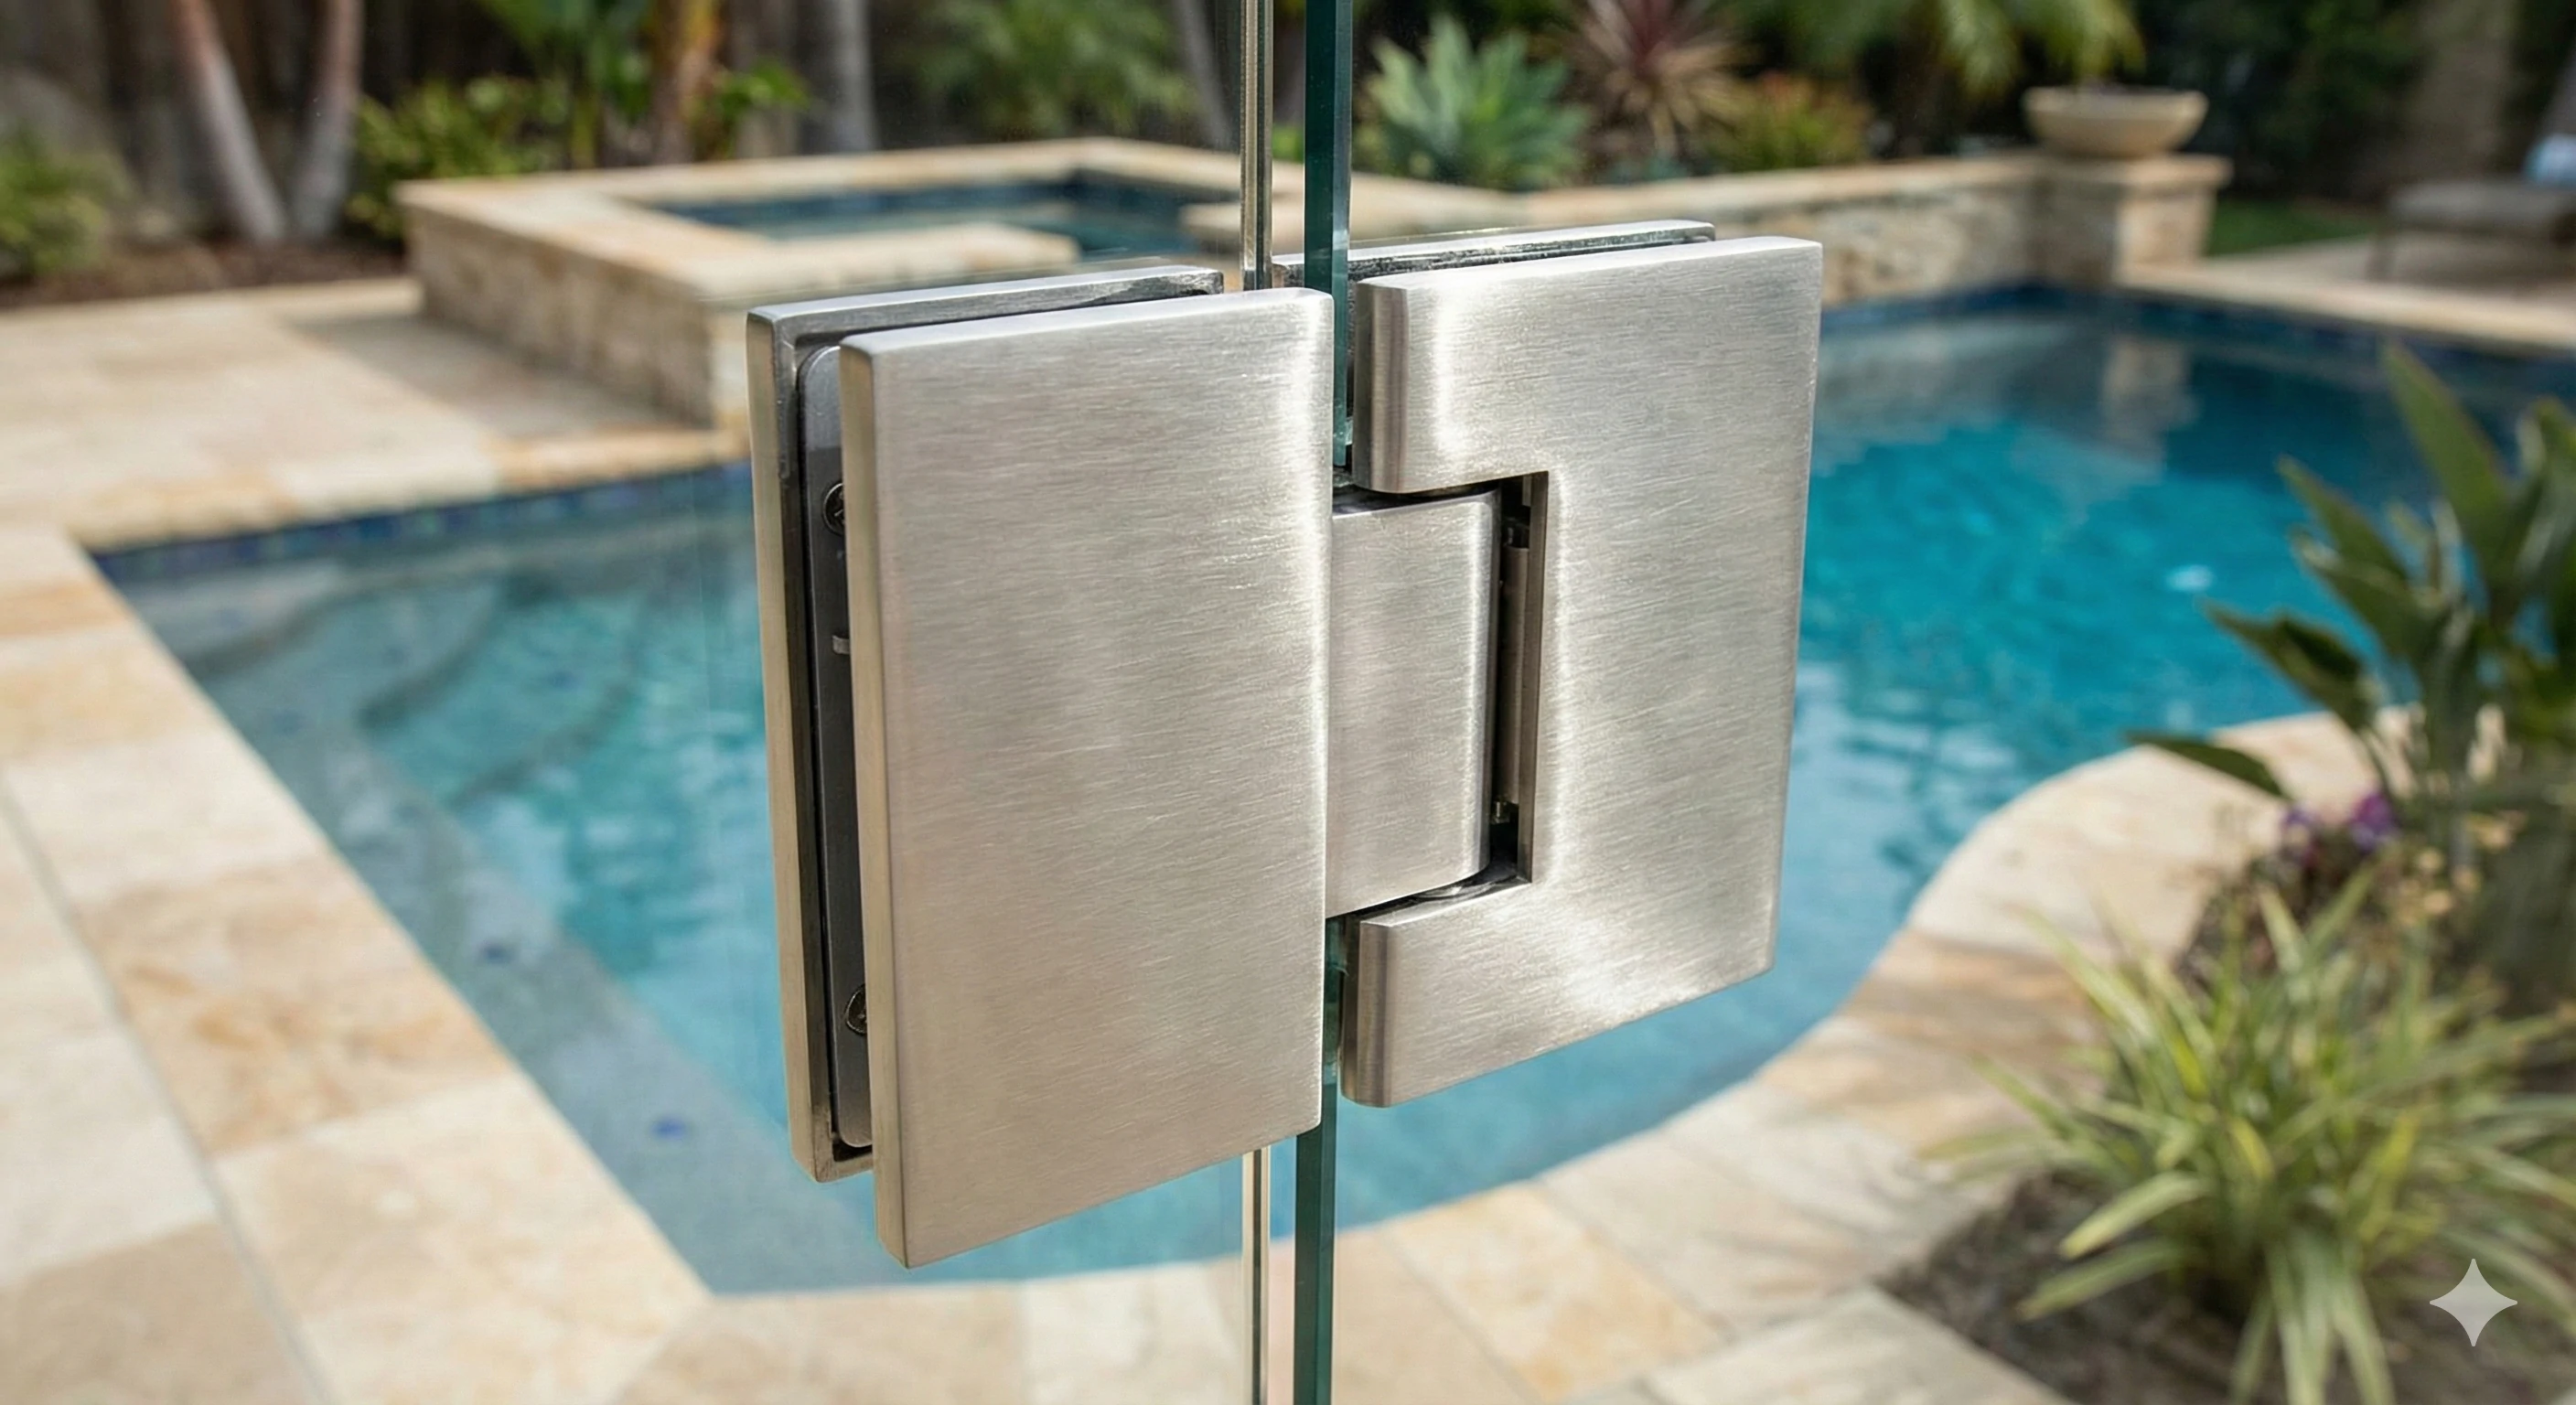
Hydraulic hinges are chosen for one main reason: smooth, controlled soft closing. When installed and adjusted correctly, they eliminate door slamming, reduce vibration, and protect both the glass and the hardware. The door closes quietly, steadily, and finishes with a clean, secure latch.
However, straight out of the box, hydraulic hinges rarely perform perfectly. Some doors close too slowly and struggle to latch. Others move too fast and slam shut, defeating the purpose of a soft-close system.
The good news is that hydraulic hinges are designed to be adjustable. Unlike spring hinges with fixed tension, hydraulic hinges rely on oil flow and internal valves to control movement. With a flathead screwdriver and a bit of patience, you can fine-tune both the closing speed and the final latching speed. This guide explains how the system works, how to adjust it step by step, and how to solve common issues so your door closes smoothly, safely, and reliably.
Understanding the Two Zones (Speed 1 vs. Speed 2)
Before making any adjustments, it’s important to understand how hydraulic hinges control motion. Every hydraulic hinge works in two distinct closing phases, each regulated by its own adjustment valve.
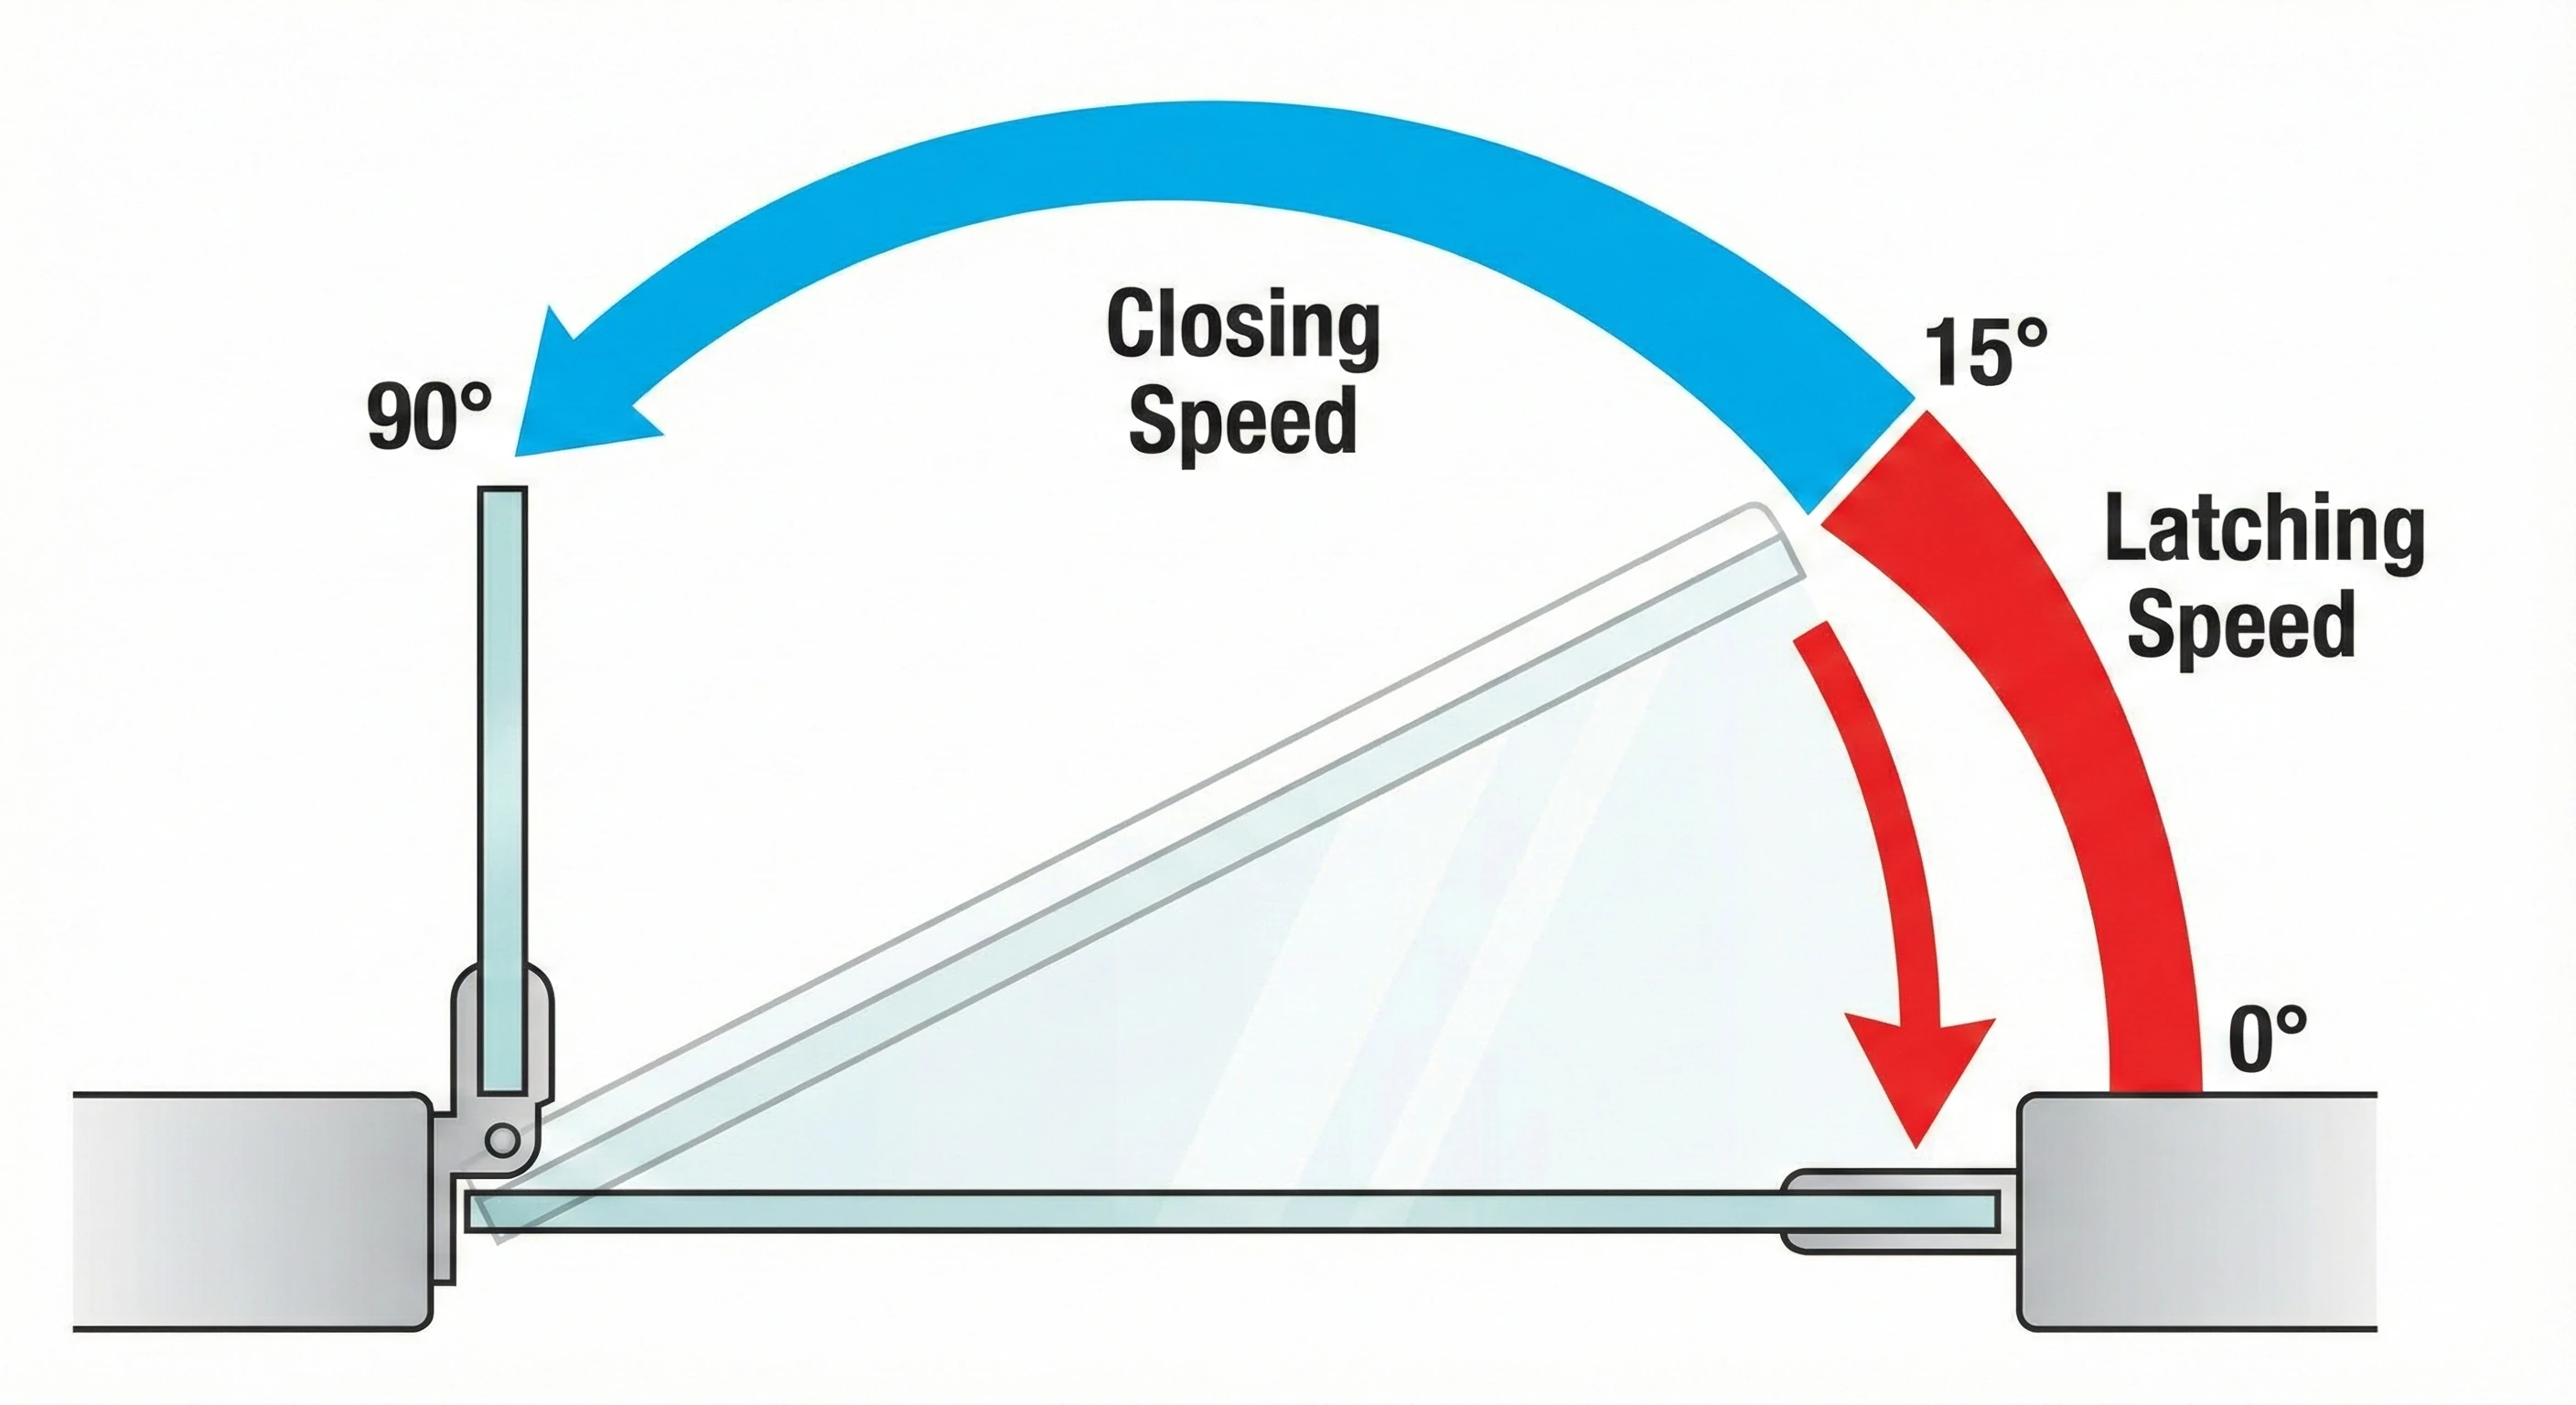
Zone 1: Closing Speed (The Sweep)
This valve controls the main part of the door’s movement—from fully open (usually around 90 degrees) down to roughly 15 degrees before closed. This is the longest and most visible part of the closing motion. Ideally, the door should move at a steady, controlled pace: fast enough to be practical, but slow enough to feel safe and refined.
Zone 2: Latching Speed (The Snap)
The second valve controls the final section of travel, typically from about 15 degrees down to fully closed. This stage is critical for proper latching. Many glass gates rely on magnetic latches or strike plates that require a small amount of momentum to engage. If this speed is too slow, the door may stop short. If it’s too fast, the door will hit the frame with unnecessary force.
The goal is a slight acceleration at the end—just enough to engage the latch cleanly without impact. Think of how a well-adjusted storm door works: a controlled swing followed by a firm but gentle final pull.
Tools You Will Need
Adjusting a hydraulic hinge is straightforward, and the tools required are minimal:
Flathead screwdriver – Most adjustment valves use a flat-slot design. A small or precision screwdriver provides better control.
Instruction manual (optional) – Helpful for identifying valve locations and markings, especially if the hinge is unlabeled.
Patience – Small adjustments make a big difference. Rushing the process usually leads to overcorrection.
Important Warning: DO NOT Overturn!
This is the most important point in the entire process.
Hydraulic hinges are sealed units filled with specialized oil. The adjustment screws control internal valves—they are not standard fasteners. If an adjustment screw is loosened too far, it can come out completely, allowing the oil to leak. Once that happens, the hinge is permanently damaged and cannot be repaired or refilled.
Rule of thumb: never turn an adjustment screw more than half a turn at once. In most cases, an eighth of a turn is enough. Always test the door after each adjustment before making another change.
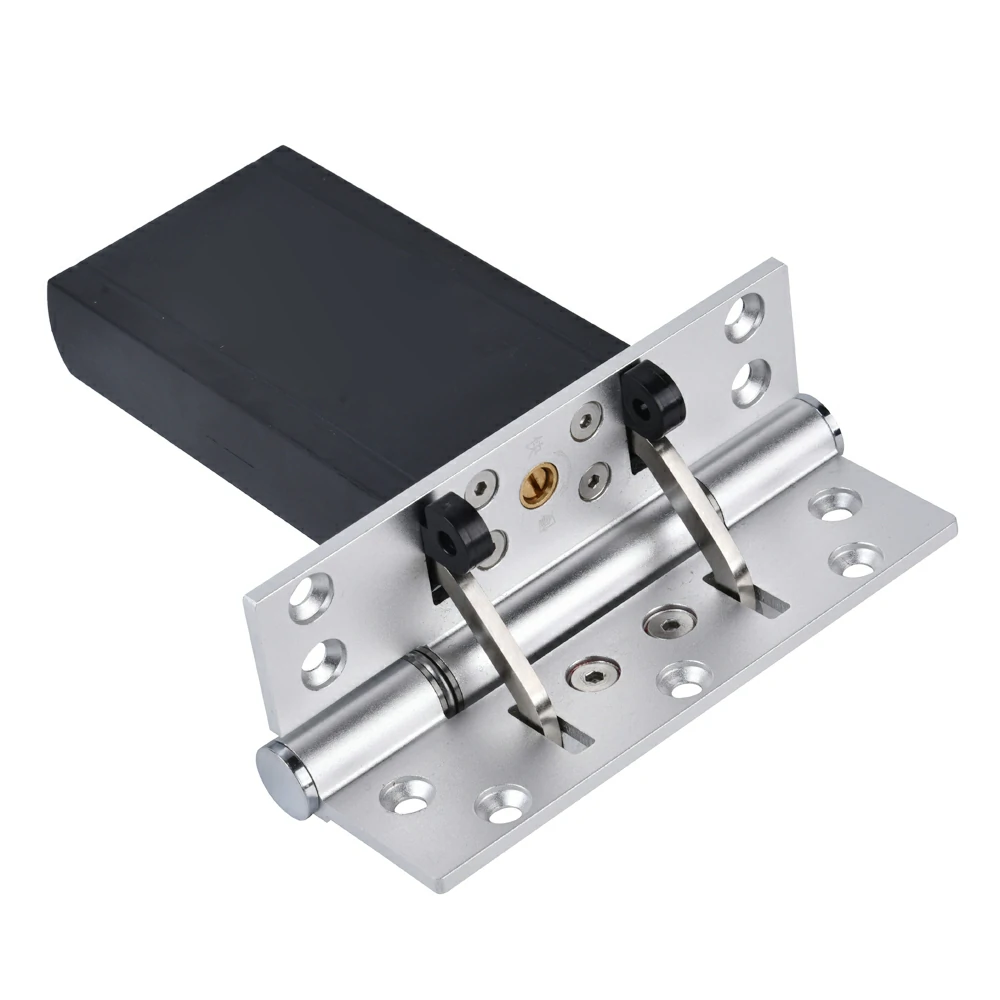
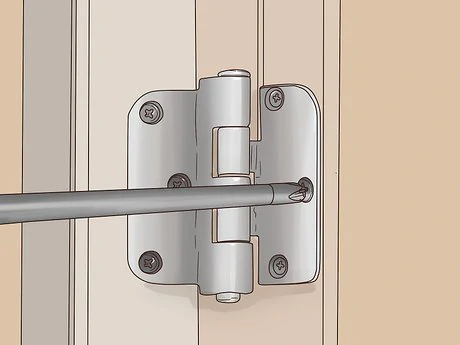
Step 1: Locate the Adjustment Valves
Adjustment valves are usually located on the top, bottom, or side of the hinge body, depending on the design. Look for small screw heads, most often flat-slot, though some models use Phillips-head screws.
Manufacturers may label the valves differently, such as:
“+” and “–” – “+” increases speed, “–” decreases speed
“1” and “2” – 1 for closing speed, 2 for latching speed
“C” and “L” – Closing and latching
If there are no markings, the valve closer to the pivot typically controls the sweep speed, while the one farther away controls the latching speed. When in doubt, refer to the product manual.
Step 2: Adjusting the Sweep (Closing Speed)
Begin with the closing speed valve. This adjustment controls how the door moves through most of its travel. A good benchmark is about four to five seconds for the door to move from fully open to the latching zone.
Open the door to roughly 90 degrees and release it. Observe the motion closely. If the door moves too slowly and feels heavy or sluggish, it needs more speed. If it swings quickly or feels uncontrolled, it needs to be slowed down.
Adjustment guidelines:
Turn toward “–” (counterclockwise) to slow the door
Turn toward “+” (clockwise) to speed it up
Make very small adjustments, then test again. The aim is a smooth, controlled movement—not a slow crawl and not a fast swing.
Step 3: Adjusting the Latch (Final Snap)
Once the sweep speed feels right, move on to the latching speed. This adjustment affects only the final few inches of movement and requires more precision.
Open the door to about 15–20 degrees and let it close. Watch how it behaves at the very end. If it slows down and stops before engaging the latch, increase the latching speed. If it hits the frame or latch plate with a noticeable impact, reduce the speed.
Adjustment guidelines:
Turn toward “+” if the door fails to latch
Turn toward “–” if the door slams
In most cases, the latching speed should be slightly faster than the main closing speed. This creates a natural, gentle acceleration at the end without causing impact or noise.
The "Seasonal" Effect (Winter vs. Summer)
Hydraulic hinge performance can change with temperature due to oil viscosity.
In colder weather, the oil thickens, which slows down the door. A hinge adjusted perfectly in summer may feel sluggish in winter. In warmer temperatures, the oil becomes thinner, allowing the door to move faster.
To compensate, make small seasonal adjustments:
In cold conditions, turn the valves slightly toward “+”
In hot conditions, turn them slightly toward “–”
These changes are usually very minor—often no more than an eighth of a turn—but they help maintain consistent performance year-round.
Troubleshooting Common Issues
Gate won’t close fully
This is often caused by mechanical issues rather than valve settings. Check for misaligned latches, warped frames, loose mounting screws, or friction points. Hydraulic resistance alone should not prevent a properly installed door from closing.
Oil leaking from the hinge
Any visible oil indicates internal seal failure. Because hydraulic hinges are sealed units, they cannot be repaired once this happens. Replacement is required.
Jerky or inconsistent movement
This is usually caused by air trapped inside the hydraulic chamber. Manually open and close the door five to ten times to help purge air bubbles. After cycling, the motion should become smoother.
Hinge feels stiff
New hinges often need a short break-in period. Manually operate the door ten to twenty times to help the seals settle and distribute the oil. Also check that the valves are not turned too far toward the slow direction.
Conclusion
A properly adjusted hydraulic hinge improves safety, reduces noise, and protects both the glass and the hardware. When tuned correctly, the door closes smoothly, latches securely, and feels refined every time it’s used.
The key is understanding the two-speed system, making small adjustments, and handling the valves with care. Take your time, test after every change, and remember that small movements of the adjustment screws have a big effect.
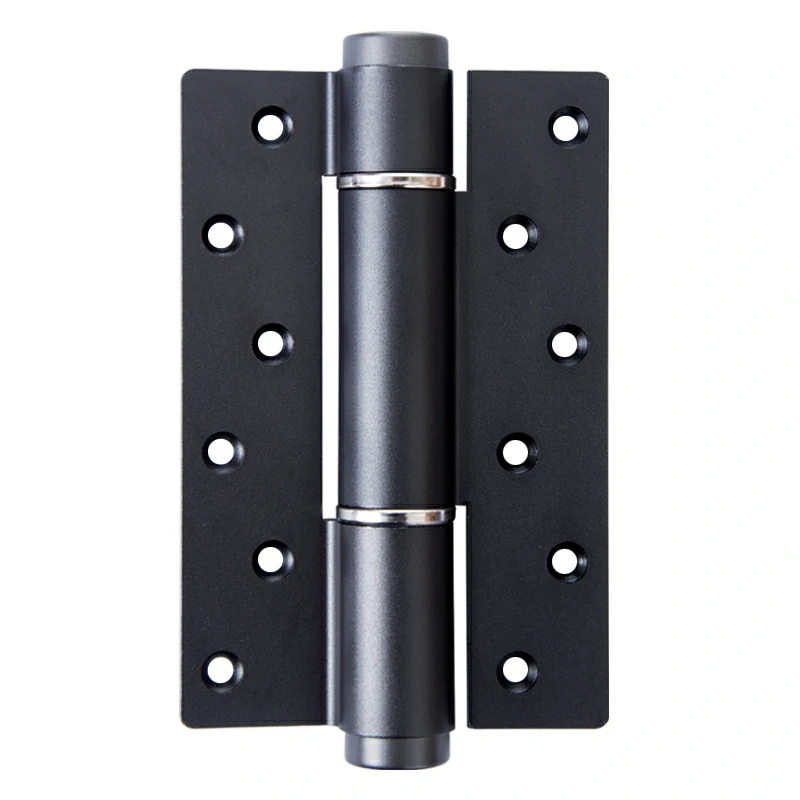
If you’re still dealing with noisy, slamming spring hinges, upgrading to a hydraulic soft-close system is a noticeable improvement. Our Hydraulic Soft-Close Hinges are built from premium stainless steel and designed for consistent, long-term performance.
Frequently Asked Questions
Why is my hydraulic hinge stiff?
New hinges often require a short break-in period. Manually cycle the door several times to help the internal seals settle and distribute the oil. Also check that the adjustment screws are not turned too far toward the slow (“–”) setting.
Can I use hydraulic hinges on any glass gate?
Yes, provided the glass has the correct hole pattern and thickness for the hinge model. Hydraulic hinges are available in glass-to-glass and glass-to-wall configurations. Always confirm specifications before installation.
Do hydraulic hinges rust?
High-quality hydraulic hinges are made from materials such as SS316 or duplex 2205 stainless steel, which offer excellent corrosion resistance. However, if the outer casing is damaged and the seal fails, internal corrosion can occur. Regular inspection helps prevent long-term issues.